List of figures
Fig. 1: Position of the stickers on the product 13
Fig. 2: Vacuum diagram of the OmniStar 22
Fig. 3: Vacuum diagram of the ThermoStar 22
Fig. 4: Additionally sealing gas supply in corrosive gas version 23
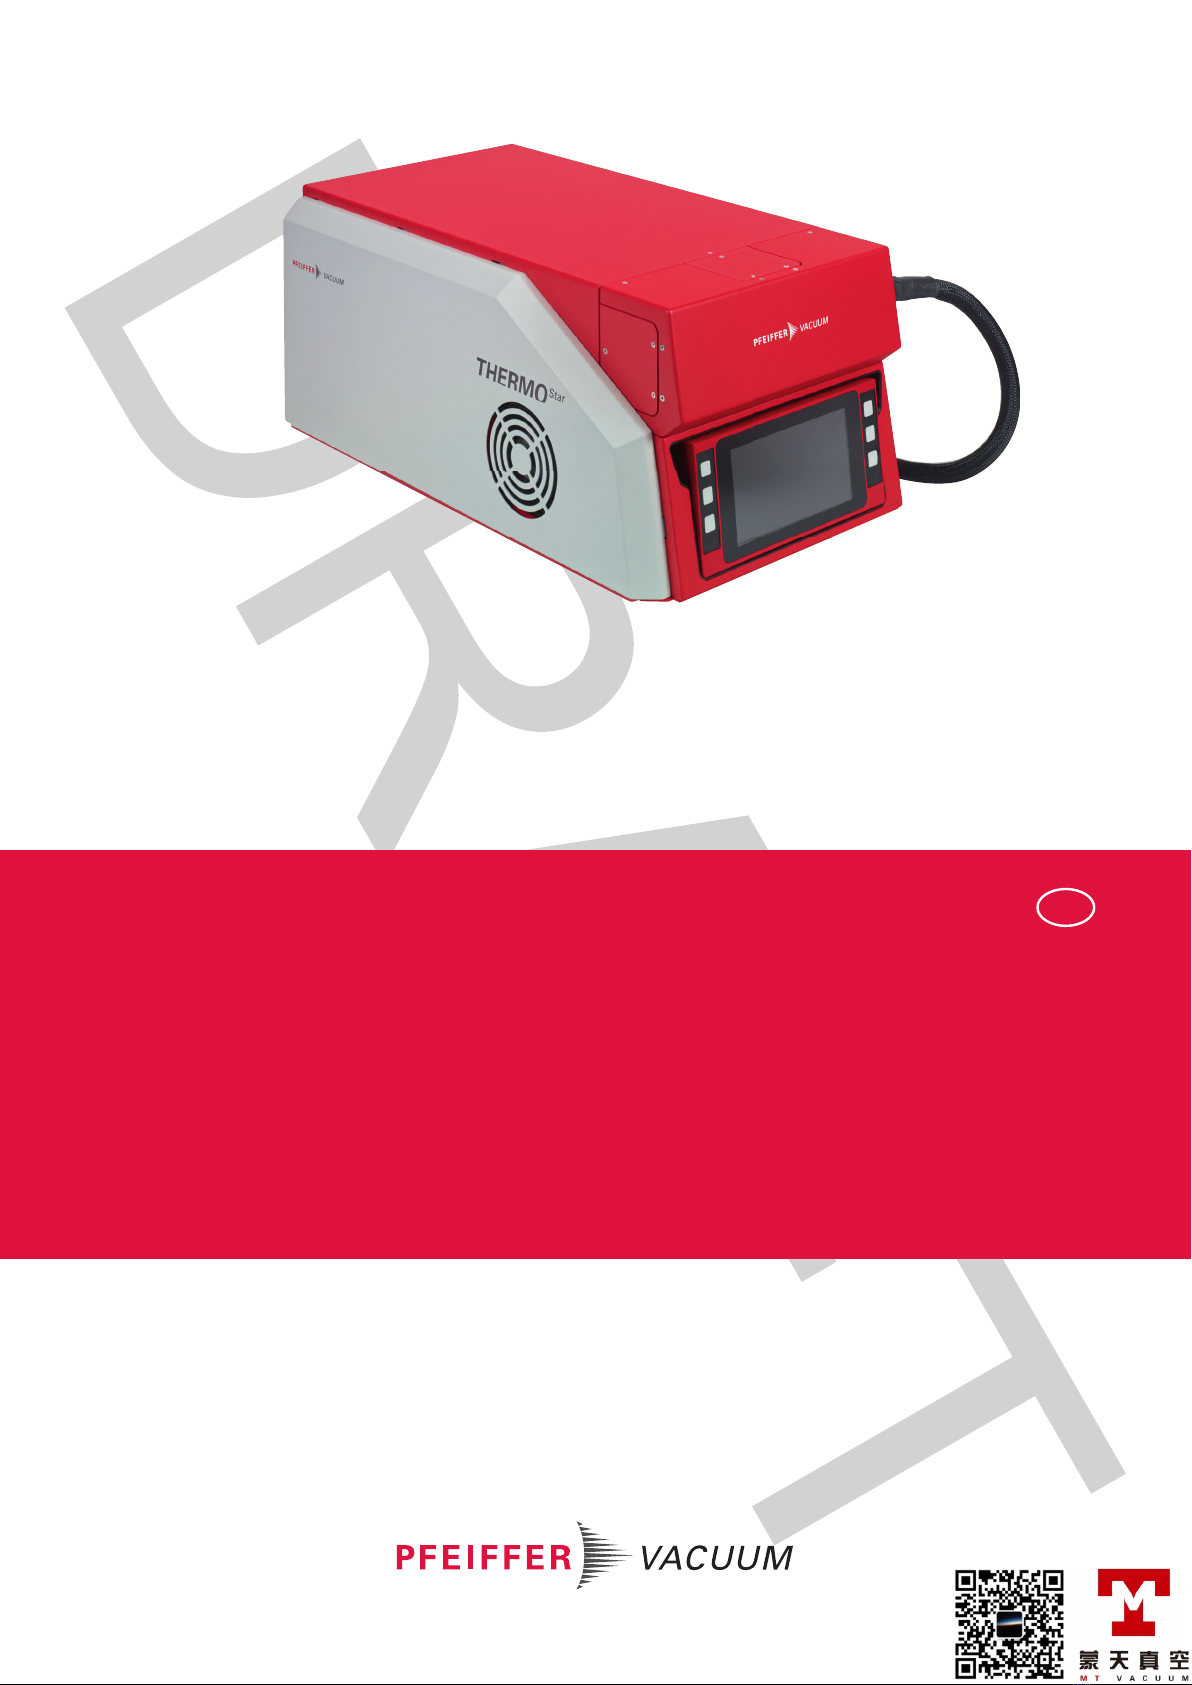
Fig. 5: Display with operator keys 23
Fig. 6: Housing parts 24
Fig. 7: Terminal area with interfaces and connections 25
Fig. 8: Gas inlet systems 26
Fig. 9: Calibration unit at the gas inlet 27
Fig. 10: Diaphragm Pump 28
Fig. 11: Sealing gas system 29
Fig. 12: Gas analysis unit components 30
Fig. 13: Vacuum chamber heating and insulation 31
Fig. 14: Gas inlet heating 31
Fig. 15: Capillary heating 32
Fig. 16: Electronic components 32
Fig. 17: Mains connection with main switch and fuse 33
Fig. 18: Mains cable with cold-device plug C13 33
Fig. 19: Connection for functional earth 34
Fig. 20: "USER IO" connection 35
Fig. 21: "AUX IO" connection 36
Fig. 22: "Ethernet" (LAN) connection 36
Fig. 23: Assembly aid for QMA 250 Analyzer 37
Fig. 24: Venting openings on the sides of the unit 40
Fig. 25: Mains connection with IEC 320 C13 socket 41
Fig. 26: Trimming the exhaust gas hose 42
Fig. 27: Connecting and disconnecting the exhaust gas hose 42
Fig. 28: Trimming the sealing gas hose 43
Fig. 29: Connecting/disconnecting the sealing gas line 44
Fig. 30: Connecting the capillary 45
Fig. 31: Capillary hose as-delivered position 46
Fig. 32: "Dashboard" screen after starting the program 49
Fig. 33: "Control" screen 50
Fig. 34: "Dashboard" screen 51
Fig. 35: Example of parameter setting 54
Fig. 36: "Measurement recipes" submenu 55
Fig. 37: Measurement recipe for "Spectrum Scan" measuring mode 55
Fig. 38: Measurement recipe for " Selected Masses" measuring mode 56
Fig. 39: Tempering mode of the vacuum chamber 57
Fig. 40: "Language" submenu 58
Fig. 41: "Autostart" submenu 58
Fig. 42: "Network" submenu 59
Fig. 43: "GSD system parameters" submenu 59
Fig. 44: "Factory settings" submenu 60
Fig. 45: "Control" menu 61
Fig. 46: Removing/attaching the gas inlet cover 69
Fig. 47: Removing/attaching the side covers 70
Fig. 48: Removing/attaching the housing cover 71
Fig. 49: Unit underside 73
Fig. 50: Venting valve on the turbopump 74
Fig. 51: Replacing the diaphragm pump 75
Fig. 52: Connect the exhaust gas and intake hose, and draw off 75
Fig. 53: PrismaPro Quadrupole mass spectrometer 77
Fig. 54: Groove on analyzer 78
Fig. 55: Total pressure gauge on the gas analysis unit 79
Fig. 56: Parts of the internal gas guide on OmniStar 80
List of figures
8/114