We solve the equation to get a and b. Then we configure parameters a1 and b1 into the sensor.
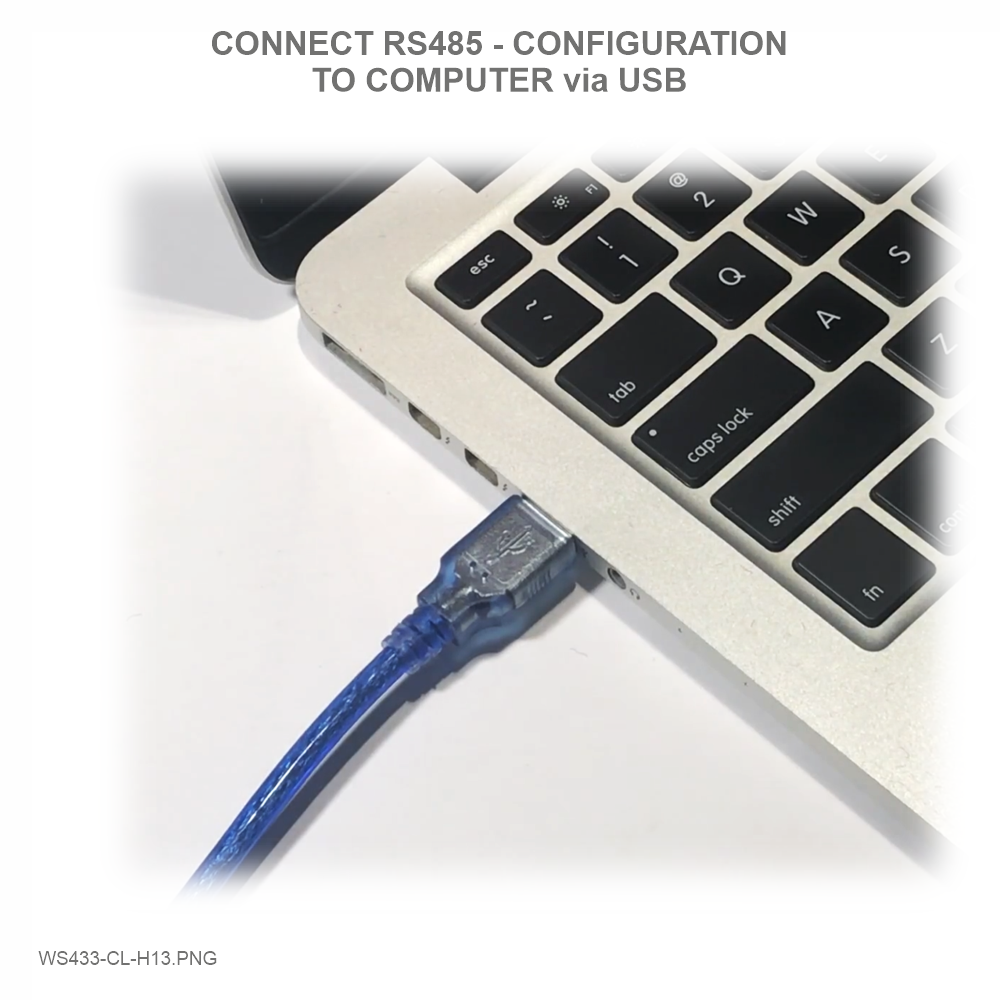
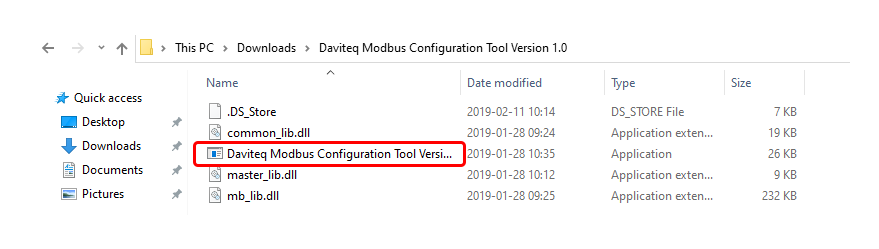
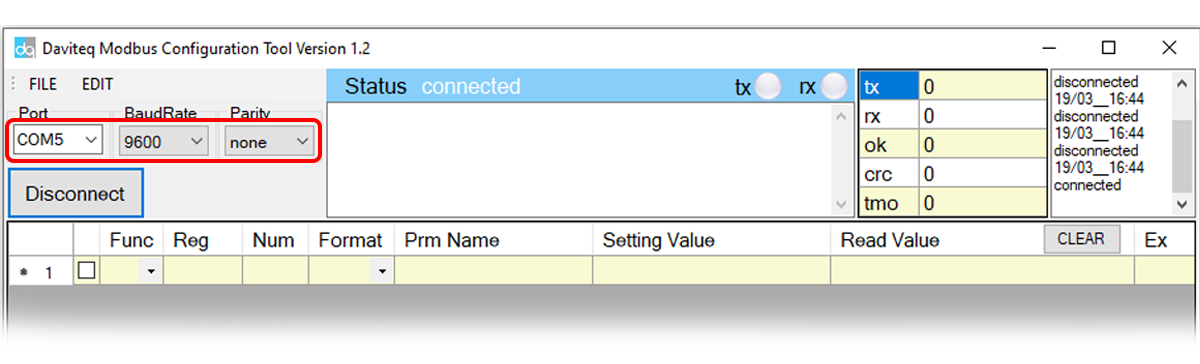
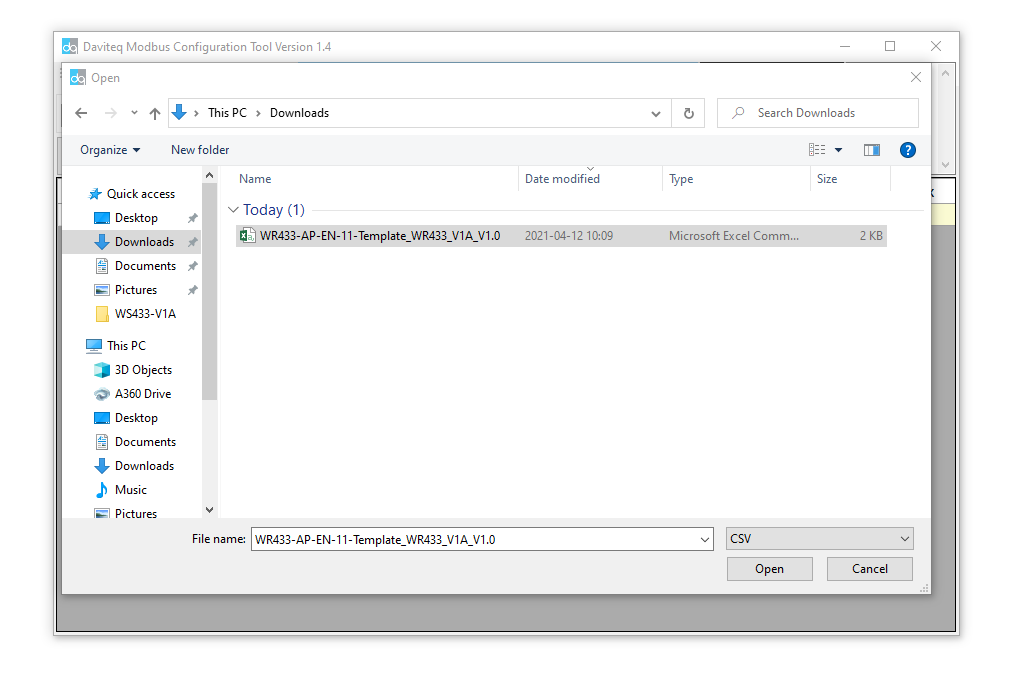
Use the offline configuration tool to configure sensor. Write in the sensor the parameters a1 and b1.
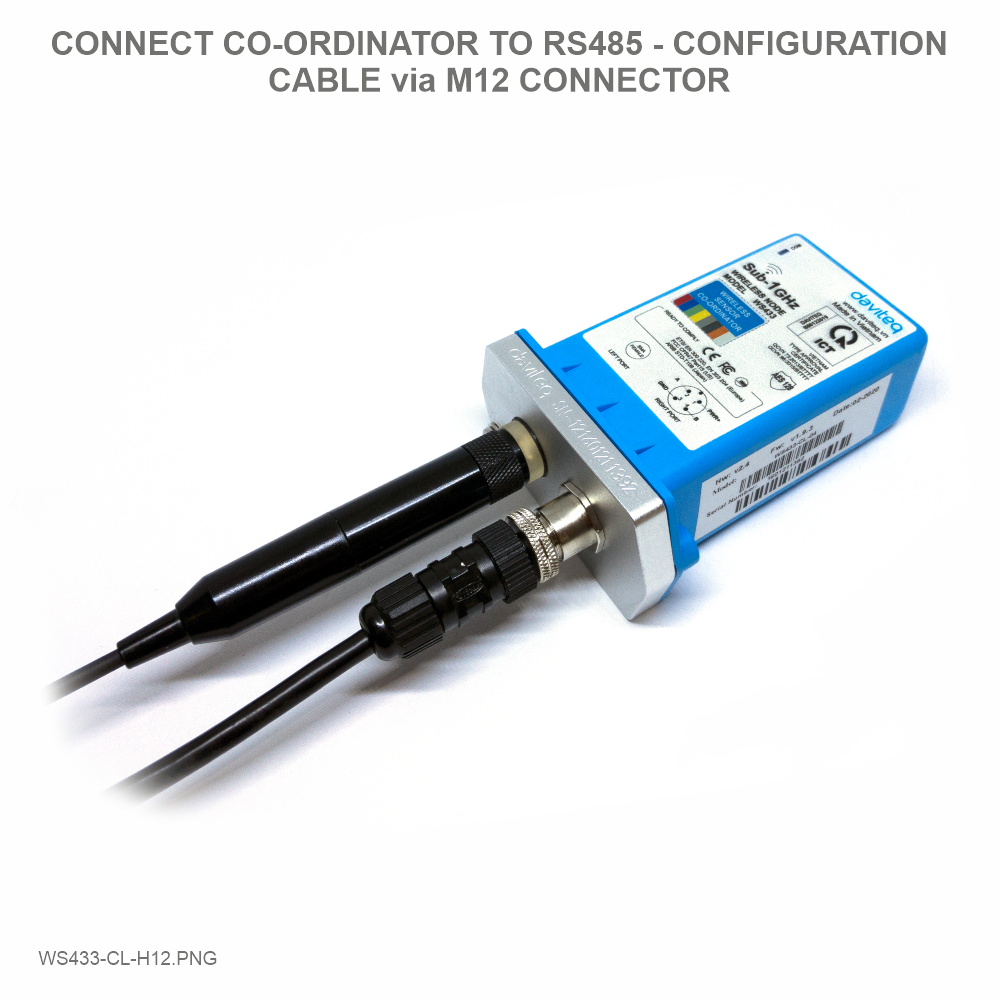
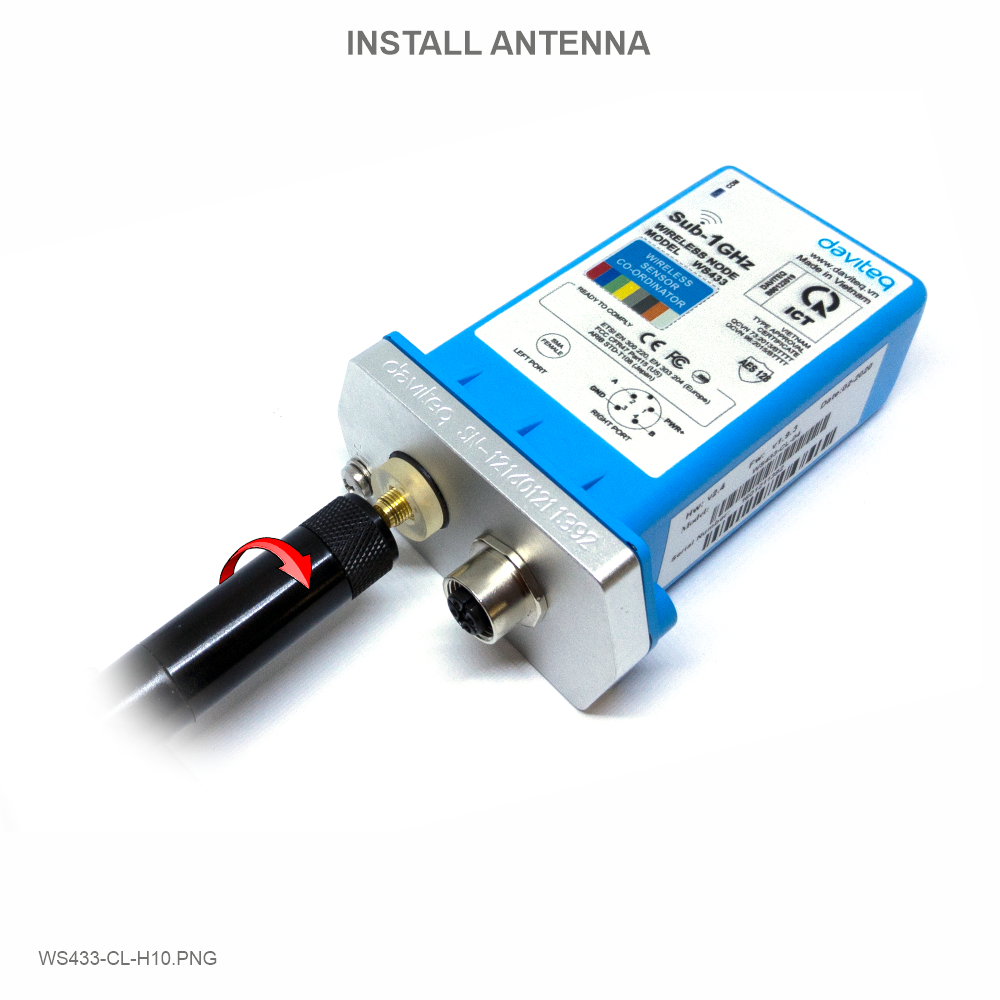
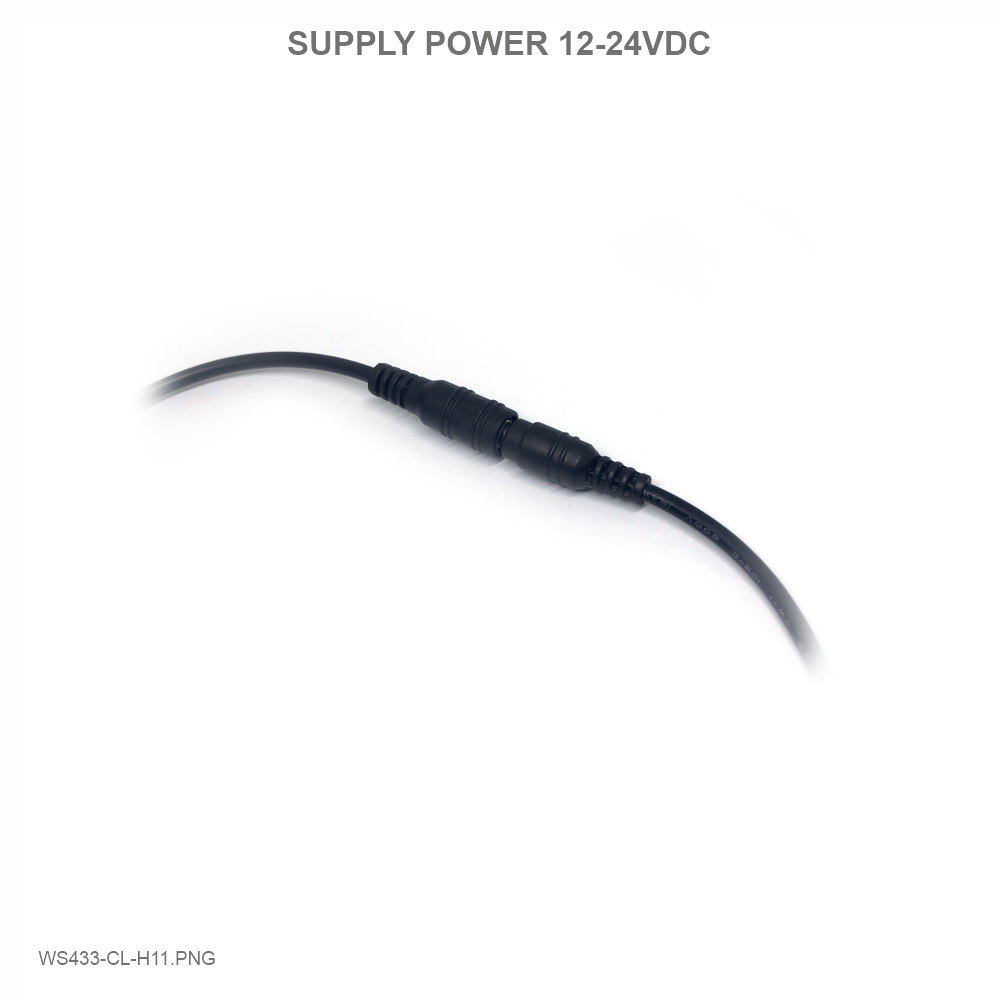
Step 1: After supplying power the Co-ordinator via M12 connector, the Node ID must be registered within the first 5
minutes, up to 40 WS.
Step 2: Bring the wireless sensor closer to the Co-ordinator's antenna then take off the wireless sensor battery, wait
for 5s then insert the battery again. If:
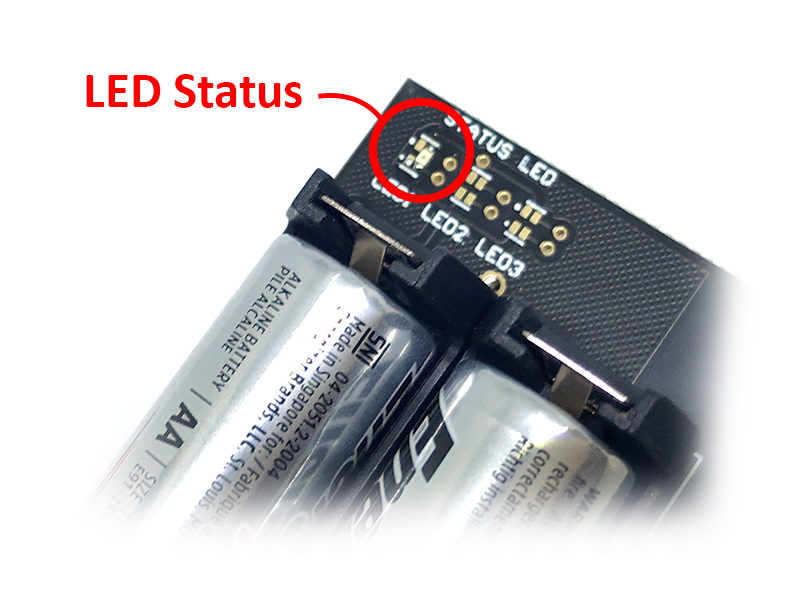
Buzzer plays 1 peep sound, LED blink 1 time, that means registering Node ID on Co-ordinator successfully.
Buzzer plays 2 peep sounds, LED blink 2 times, that this Node ID is already registered.
Node id added in this way will be written to the smallest node_id_n address which is = 0.
Set Rssi_threshold (see RF MODE CONFIG (in the Modbus Memmap of WS433-CL), default -25): The case if Co-
ordinator is on high position and need to add node sensor. We set the sensor as close as possible and set the
Rssi_threshold to -80, -90 or -100 to increase the sensitivity to allow WS433-CL-04 can add sensors at a longer
distance. After that, perform 2 steps of adding sensors and then reset Rssi_threshold = -25.
Enb_auto_add_sensors configuration (see RF MODE CONFIG (in the Modbus Memmap of WS433-CL)): In case
you do not want to turn off the power WS433-CL, you can set Enb_auto_add_sensors = 1, this way we have 5
minutes to add nodes (add up to 40 nodes) . After 5 minutes Enb_auto_add_sensors will automatically = 0.
if a1 and b1 in sensor are different from a1=1 and b1=0 then write down a1 and b1 numbers in
excel template configuration file
Refer to Section 4.4 for more details.
4.2 Add sensors node to Co-ordinator WS433-CL
4.2.1 Add Sensor Node ID automatically
If you do not hear the "Peep" sound, please disconnect the power the co-ordinator, wait a few minute and try
again.
Memmap resgisters