2 Installation
2.1 Contents of delivery
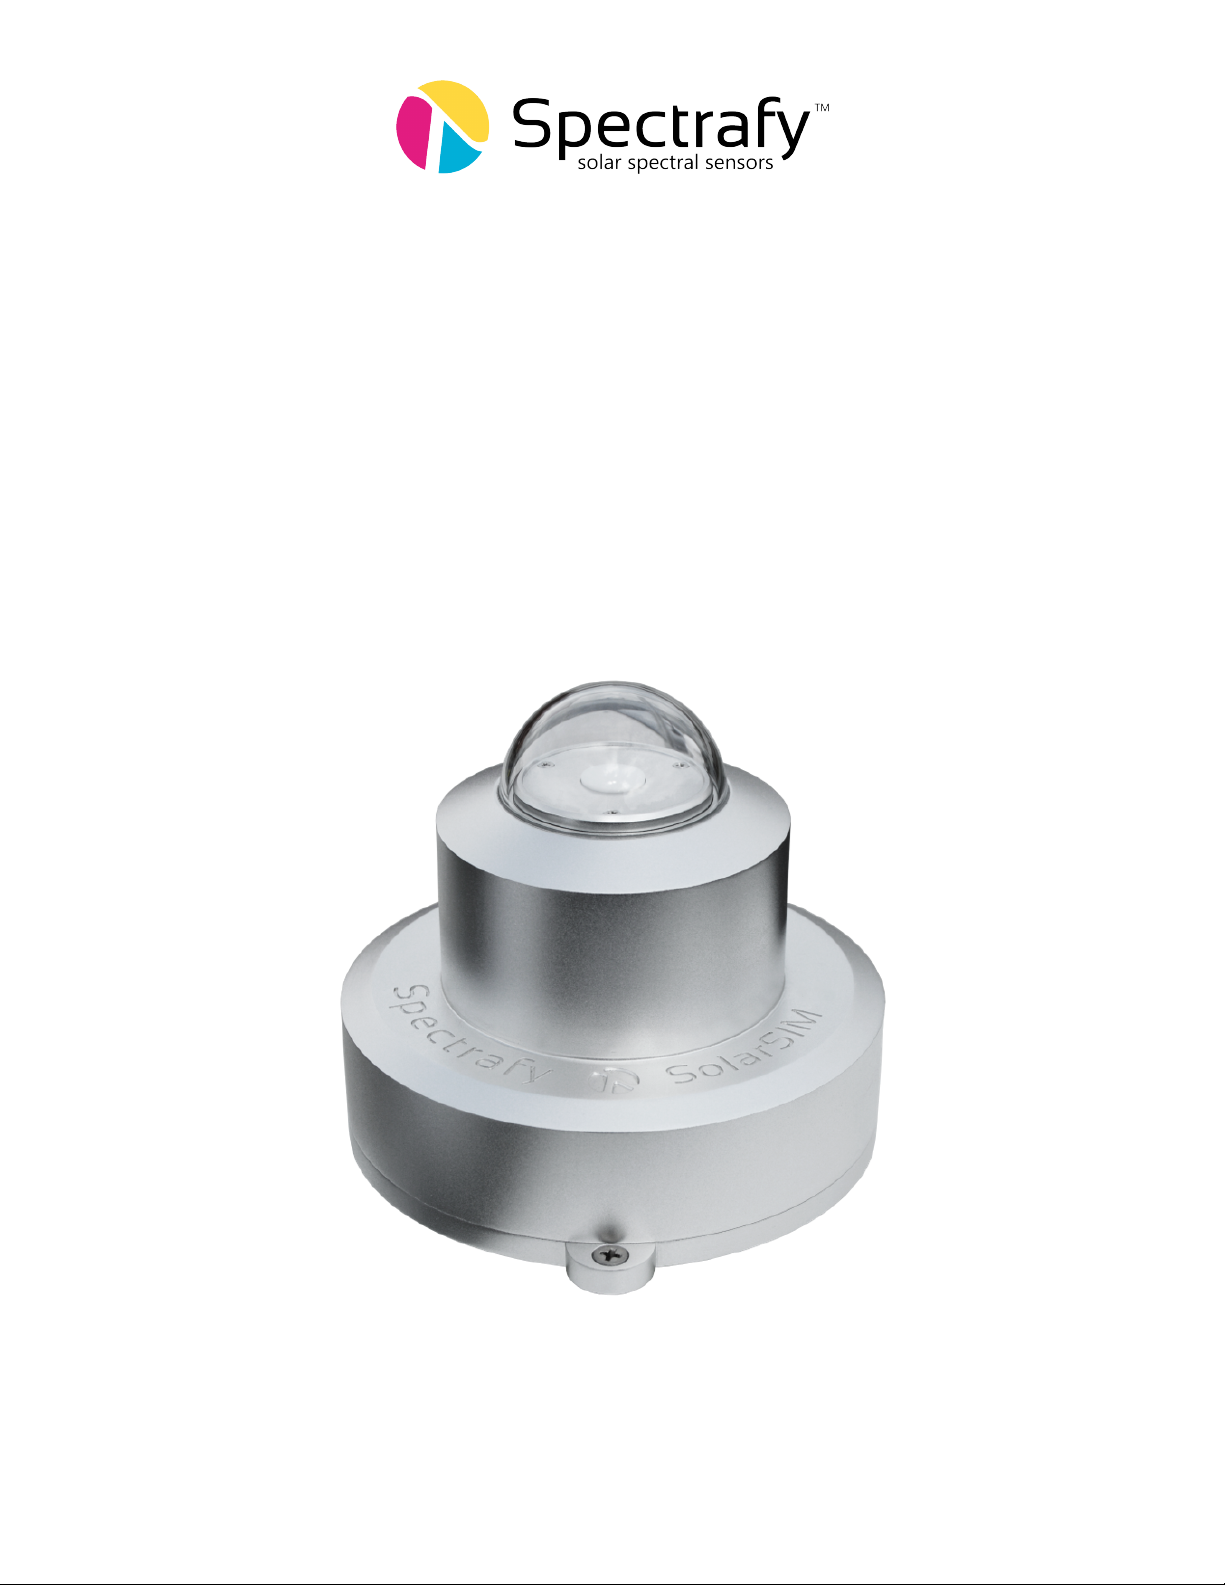
A typical SolarSIM-GPV delivery contains:
•1×SolarSIM-GPV,
•1×communication cable,
•1×SolarSIM-G COMBOX (optional),
•1×MP-G mounting plate (optional),
•3×mounting screws and springs, and
•a USB key loaded with the SolarSIM-GPV user manual and calibration certificate.
Please check the contents of your package and note if any damages have occurred during
shipment. A claim should be filed with the shipment carrier should this be the case. Addi-
tionally, please contact a Spectrafy representative to facilitate the repair or replacement of
the instrument and/or its accessories.
2.2 Mechanical installation
Installation of the SolarSIM-GPV consists of fastening it to a mounting plate using three M4
screws and springs, as demonstrated in Figure 2. The mounting plate can then be mounted
to a pole or table as required. The mounting plate is 7.3 mm thick and has three slots
with a 132 mm diameter that are 4.5 mm wide for external fastening, as shown in Figure 3.
The screws/bolts for external mounting are not provided. The procedure for mechanical
installation (in horizontal orientation) is described as follows:
1. Place the SolarSIM-GPV on the mounting plate as per Figure 3.
2. Place the springs under the SolarSIM-GPV so that they roughly align with the
mounting holes on the SolarSIM-GPV.
3. Insert the M4 mounting screws through the SolarSIM-GPV mounting holes and
springs. Then thread the screws into the mounting plate for several revolutions.
4. Adjust the mounting screws until the bubble level is centered within the circle.
5. The SolarSIM-GPV mounting plate can then be mounted to a table or tube/pipe
with screws or u-bolts as required.
6. Once mounted, adjust the SolarSIM-GPV’s mounting screws/springs until the
bubble level is centered within the circle.
4