
shelyak LHIRES III User manual


Table of contents
1)Introduction to the assembling process..........................................................3
2)Part List.....................................................................................................4
BA Adapters Rings.............................................................................. 4
CE Electronic........................................................................................ 4
EL Miscenalleous................................................................................... 5
OP Optical parts....................................................................................5
PU Machine parts.................................................................................. 6
TO Metallic parts................................................................................... 7
VI Screws............................................................................................ 7
3)Assembling................................................................................................ 8
Assemble the Webcam mirror mount:........................................................ 8
Mounting the mirror onto the spectrograph cover:....................................... 8
Attach the micrometer screw to its cover....................................................8
Mounting the main mirror:........................................................................9
Assembly of the Collimator support:.........................................................10
Stick the 4 rubber feet at the corners of the main body (L-Ref)....................11
Attach the right hand side panel onto the main body (L-Ref)....................... 11
Fix the top cover onto the right hand panel:..............................................11
Assembly of the telescope interface:........................................................ 11
Assembly of the Neon lamp:................................................................... 12
Assembly of the webcam holder...............................................................14
Assembly of the CCD camera holder.........................................................14
Assembly, tuning of the slit.....................................................................14
Closing of the chassis and doors.............................................................. 15
Final assembly...................................................................................... 16
Lhires III – Assembling Procedure – DC0002A 2 17

1) Introduction to the assembling process
Assembling your Lhires III will take around 4 hours. This lists all the steps to assemble it correctly.
If you have questions, do not hesitate to ask on the Spectro-L list
(http: groups.yahoo.com group spectro-l ) where we will bring your support.
All the instructions required for the successful assembly of your Lhires III spectrograph can be found
in the following pages. Although the various components are modular in nature and allow you easily
to change the construction of the different sub-assemblies, the assembly sequence suggested below
is the most logical.
Before we get to grips with the details, here are a few general considerations for you to be aware of:
●First of all, you should verify that you have received all the components for the spectrograph
in the shipment. Compare the components in your delivery with the photos of the various
components shown below, and confirm that you have the component.
●The kit also includes the principal hand tools that you will need, but you will also need the
following materials:
○A pair of scissors.
○A Stanley knife or similar cutting knife.
○A vice to insert the knurled knobs on to the BTR screws (a small hammer, if used with
care, will also do the same job but you must at all costs avoid bending the screws). Some
advice: put pieces of wood in the vice to protect screws and plastic part!
○Some universal or neoprene adhesive (one drop for fixing the guiding doublet lens in its
holder, and an other one to glue the micrometer end onto the micrometer).
○Some Scotch tape for fixing the light diffuser (small piece of tracing paper) in front of the
neon lamp.
●A few words about the screws. All the screws needed for the assembly of the spectrograph
are included in the kit, including a few extra just in case. These are all metric M3 or M4
stainless steel screws. As a general rule, the external panels (the chassis) of Lhires III are
attached using M3 x 10mm round-head screws. Whenever additional strength is required, M4
x 10mm round-head screws are employed. All remaining screws are for specific
requirements, e.g. the M3 nylon types as locking screws, countersunk screws for the M42
holder, M4 x 25mm screws for adjusting the 45º webcam mirror, etc. Knurled head screws
are employed whenever frequent adjustments are needed as, for example, with the grating
mount, doublet lens refocusing, slit removal, webcam mirror focusing, etc. These are BTR
type screws upon which knurled heads have been added for ease of turning.
●Some components are extremely fragile and require particular care and attention:
○The diffraction grating. It goes without saying that the grating will be rendered totally
useless if you place a greasy fingerprint on its surface! If you have come this far in
amateur astronomical spectroscopy to be interested in building your own spectrograph,
you should already know this!!
○The optical components (achromatic doublets and return mirrors) are similarly fragile. Do
NOT touch the optical surfaces and only handle them by the edges. Use gloves provided
in the kit...
○The slit is made of polished stainless steel. Avoid touching it with your fingers. If the faces
of the slit have become stained or dirty in any way, you can clean it safely with a Q-tip,
cotton-bud soaked in iso-propanol or some similar cleaner.
○Some cautions:
■Some metal parts are cut very sharp. Be very careful when assembling and using the
Lhires III – Assembling Procedure – DC0002A 3 17
Lhires III spectrograph!
■Keep away all the parts from children as those are not toys for kids. For exemple, do
not swallow them.
■The Lhires III spectrograph has been designed to do spectrography, especially behind
a telescope. Any other use is not allowed.
Okay! We have finished with the warnings and general considerations.... now it’s on to the details
of construction!
2) Part List
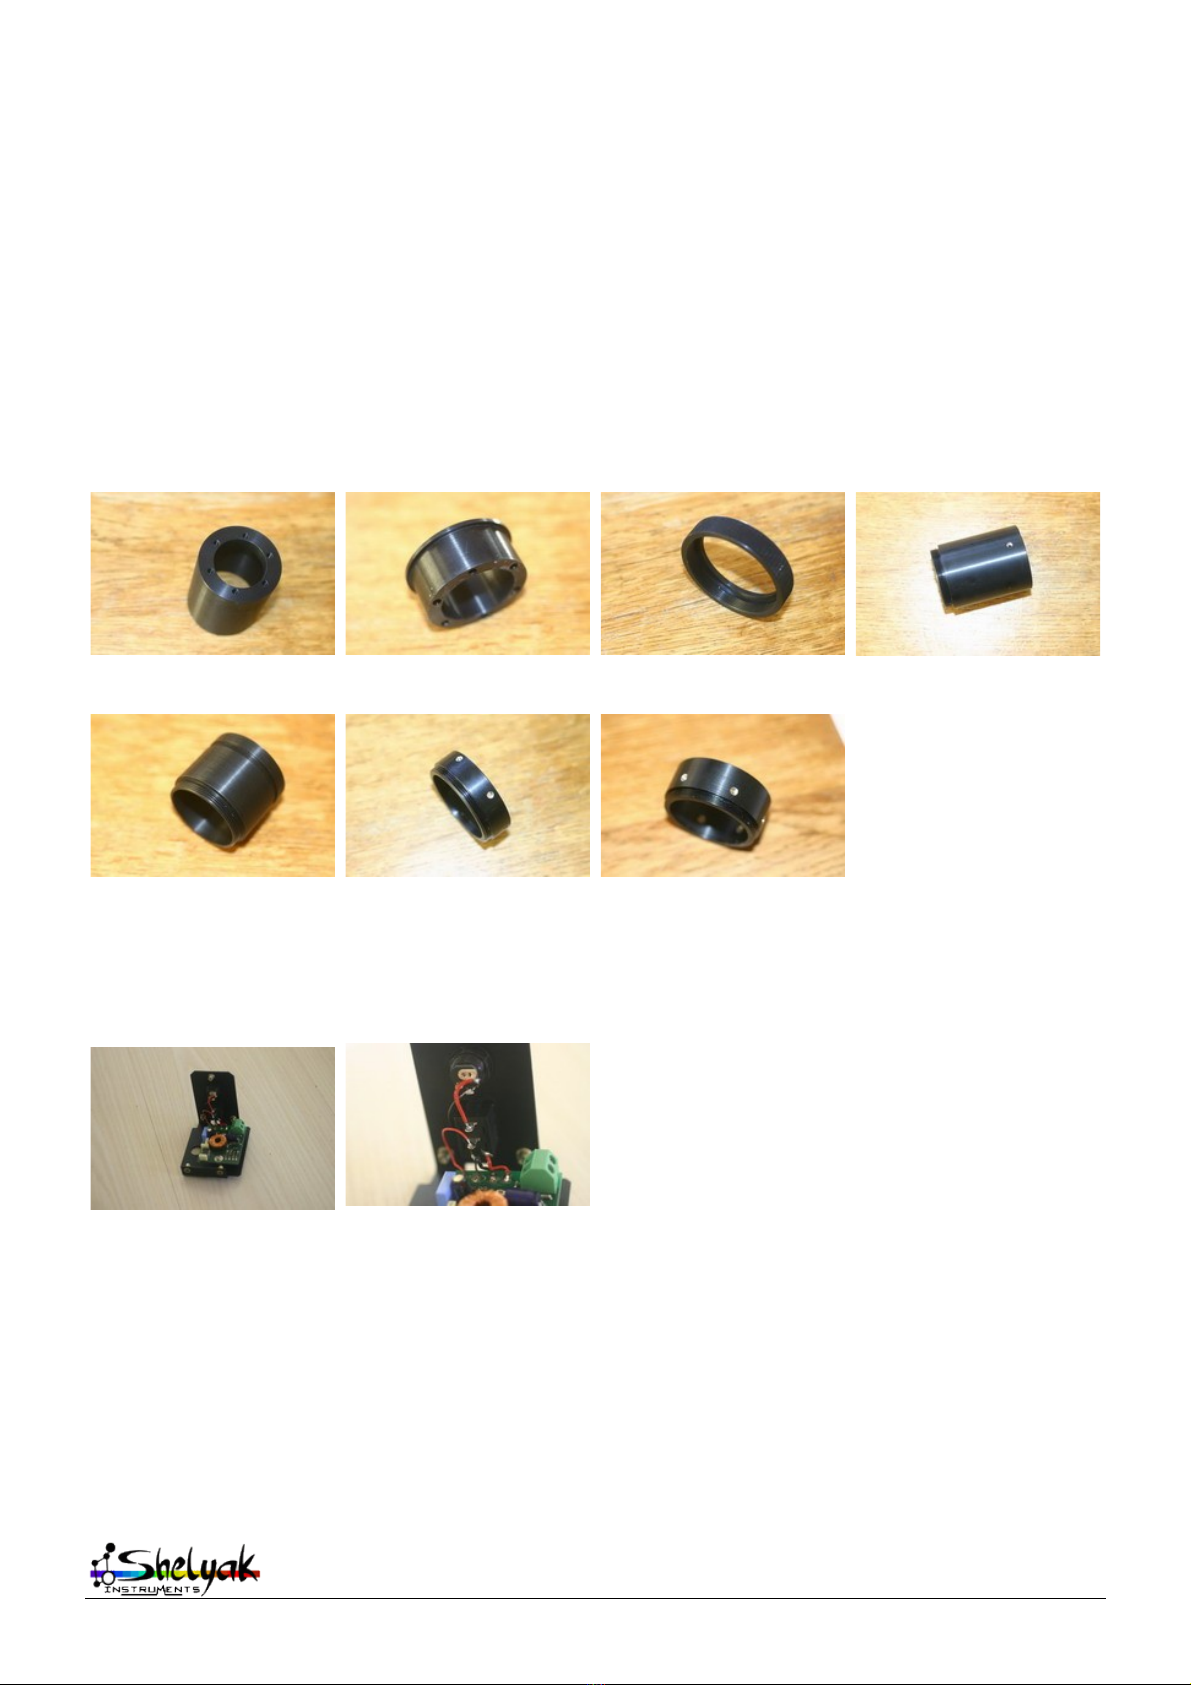
BA Adapters Rings
BA0001
2'' adapter(50.8mm)
BA0002
C8LX Interface
BA0003
Ring C8LX
BA0004
Eyepiece holder
BA0005
ST7 8 10 adapter
BA0006
ST7 8 10 ring
BA0007
Standard Audine ring
CE Electronic
Electronic Detail of electronic
Lhires III – Assembling Procedure – DC0002A 4 17

EL Miscenalleous
EL0001
Micrometer
EL0002
Plastic feet
EL0003 EL0004
Neon switch
EL0005 EL0006 EL0007
Neon lamp
EL0008
EL0009 EL0010 EL0011
OP Optical parts
OP0001
Grating (2400
lines mm)
OP0002
Main Doublet
OP0003
Guiding Doublet
OP0004
Mirror
OP0005
Mirror Slit (x2)
Assembled mirror Slit
Lhires III – Assembling Procedure – DC0002A 5 17

PU Machine parts
PU0001
M42 (SLR camera)
plate
PU0002
Guiding camera holder
PU0003
Main plate
PU0004
Doublet holder
PU0005
Doublet case
PU0006
Doublet case lock ring
PU0007
Primary mirror base
PU0008
Primary mirror support
PU0009
Slit base
PU0010
Slit holder
PU0015
Micrometer holder
PU0016
micrometer cap
PU0017
Neon lamp axis
PU0018
Neon lamp holder
Lhires III – Assembling Procedure – DC0002A 6 17

TO Sheet metal parts
TO0004
Cover
TO0006
Door (x2)
TO0007
Door inside plate (x4)
TO0010
Neon circuit holder
TO0011
Guiding mirror support
TO0012
Guiding mirror base
TO0013
L base
TO0014
Right plate
TO0015
Left plate
VI Screws
VI0001
M3x10 hexa
VI0002
M4x10
VI0003 VI0004
VI0005 VI0006 VI0008 VI0009 VI0010 VI0013
VI0014 VI0018
VI0022
Lhires III – Assembling Procedure – DC0002A 7 17

3) Assembling
First, use a large empty table to assemble your spectrograph, preferable in a quiet part of the
house. Also, fix the plastic buttons on the M3 and M4 BTR screws.
Assemble the Webcam mirror mount:
Materials: Webcam mirror supports 1 and 2, square mirror, 2 M3*10 round-head screws, 2 M3
locking washers, 2 M3 nuts
●Attach the two mirror supports together with 2 M3 bolts.
●Attach the mirror onto its support with the double-sided tape, ensuring it extends over by
2mm (refer to photo).
●Avoid touching the reflective surface of the mirror with your fingers and remove the
protecting film at the last minute (but do not forget it!).
Mounting the mirror onto the spectrograph cover:
Materials: pre-assembled mirror on mount (see above), cover, 4 M4 BTR screws with plastic caps
●Attach three “push” screws and one “pull” screw.
●The mirror support center screw should be located about 1.3 cm from the side of the cover.
Support itself should be 1cm from the metal base (parallel to the base side).
Attach the micrometer screw to its cover.
Materials: cover, micrometer thread collar with locking screw, micrometer, micrometer end 1 M3*10
& 3 M3*6 screws
●Attach the micrometer collar onto the support with 3 M3 screws.
●Slide the micrometer through its collar and block it with the locking screw. The vernier scale
Lhires III – Assembling Procedure – DC0002A 8 17

graduations should be visible and the micrometer bar pushed as far as it will go in the collar.
●The vernier scale should be turned towards the short side.
●Glue the tip of the micrometer
Mounting the main mirror:
Materials: Main mirror holder, squared mirror, 2 M4x 16 round-head screws, 2cm double-sided tape
●Attach the main mirror with double-sided tape and flush with the base (use provided gloves!)
●Attach the whole assembly to the main spectrograph body with 2 M4 x 16 screws.
Lhires III – Assembling Procedure – DC0002A 9 17

Assembly of the Collimator support:
Materials: Collimator lens tube, lens collar, two fibre O-rings 27x30mm, collimator doublet lens,
locking ring, 6 M2 x 6 screws, nylon locking screw, 2 M4 x 10 screws
●Attach the lens tube in the plastic collar at about the mid point of its adjustment range.
●Add one of the fibre o-rings.
●Carefully place the lens in the tube.
NOTE: the lens goes one way to mnimize aberrations. Look at it and there should be one side
which is flatter than the other; put that one so it's directed toward the 45° mirror. In other
word: the flat side goes inside the collar and the round side is on top.
●Add the second o-ring.
●Add the locking ring.
●Carefully tighten down the locking ring using 6 M2 x 6 screws, ensuring even screw pressure
around the ring.
●Add the 2 nylon locking screws onto the side of the collar.
●Mount the complete assembly onto the reference L side of the spectrograph with 2 M4 x 10
screws, ensuring that you have chosen the correct side.
Rounded side on top!
Lhires III – Assembling Procedure – DC0002A 10 17
Table of contents
Other shelyak Measuring Instrument manuals


