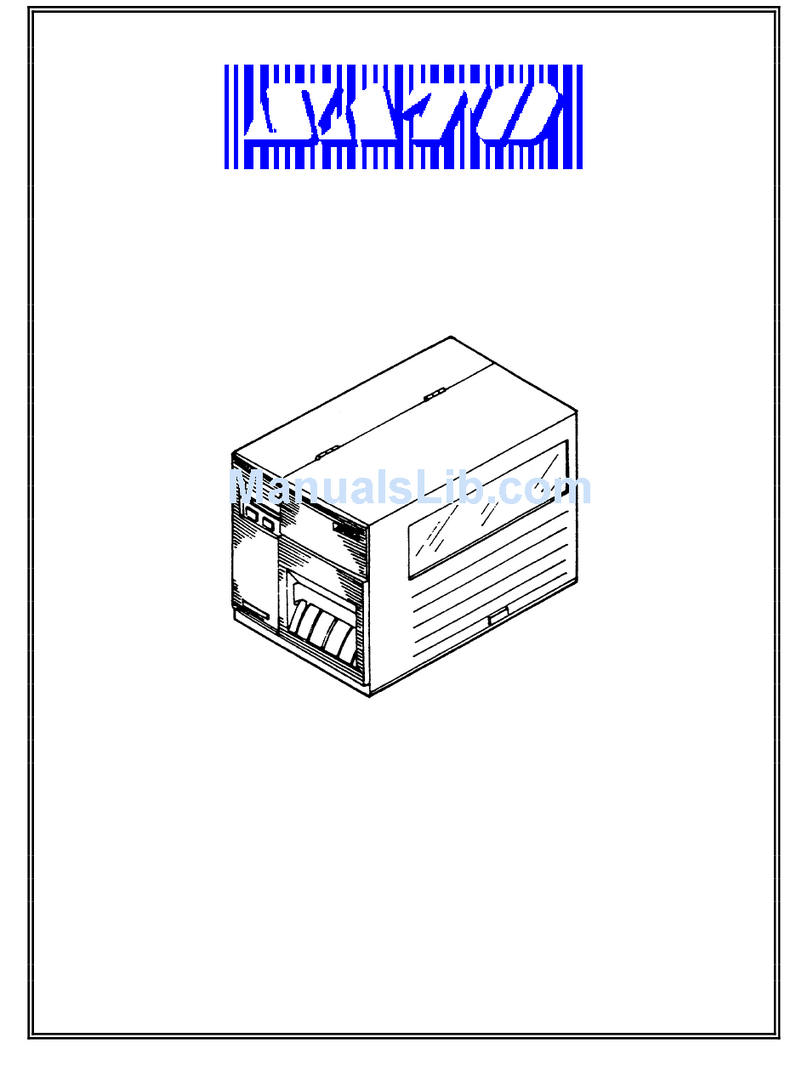
SATO PW4NX User manual

Copyrights
Any unauthorized reproduction of the contents of this document, in part or whole, is strictly prohibited.
Limitation of Liability
• SATO Corporation and its subsidiaries in Japan, the U.S. and other countries make
norepresentations or warranties of any kind regarding this material, including, but not limited to,
implied warranties of merchantability and fitness for a particular purpose. SATO Corporation shall
not be held responsible for errors contained herein or any omissions from this material or for any
damages, whether direct, indirect, incidental or consequential, in connection with the furnishing,
distribution, performance or use of this material.
• Specifications and contents in this document are subject to change without notice.
• Be sure to perform a virus check on the USB memory before connecting it to the product. SATO
Corporation shall not be held responsible for any product malfunctions caused by a virus spread via
USB memory.
Trademarks
• SATO and Stylized SOS (SATO Online Services) are a registered trademark of SATO Holdings
Corporation and its subsidiaries in Japan, the U.S. and other countries.
• NiceLabel®is a trademark or registered trademark of Euro Plus d.o.o.
• QR Code is a registered trademark of DENSO WAVE INCORPORATED.
• Wi-Fi®is a registered trademark of Wi-Fi Alliance.
• Wi-Fi Direct™, Wi-Fi Protected Setup™, WPA™ and WPA2™ are trademarks of Wi-Fi Alliance.
• Windows and Microsoft Edge are registered trademarks of Microsoft Corporation in the United
States.
• Bluetooth is a trademark of Bluetooth SIG, Inc., U.S.A.
• Android, YouTube, the YouTube logo, and Google Chrome are trademarks of Google LLC.
• iPad, iPhone, iPod and iPod touch are registered trademarks of Apple Inc., registered in the U.S.
and other countries.
• IOS (Internetwork Operating System) is a trademark or registered trademark of Cisco in the U.S.
and other countries and is used
• under license.
• Atheros is a registered trademark of Qualcomm Atheros, Inc.
• All other trademarks are the property of their respective owners.
Version: PW4NX-r01-31-1-22SM
© 2022 SATO Corporation.
All rights reserved.

PW4NX Service Manual 1
Back to top
Table of Contents
1 Introduction................................................................................ 4
1. 1 About This Manual..........................................................................4
1. 2 Precautions .....................................................................................4
1. 3 Parts Identification of the Printer ..................................................5
1.3.1 Front View............................................................................................. 5
1.3.2 Rear View ............................................................................................. 5
1.3.3 Internal View ......................................................................................... 6
1.3.4 Operator Panel View............................................................................. 6
2 Operation and Configuration.................................................... 7
2. 1 About [Settings] menu ...................................................................8
2. 2 About [Tools] menu........................................................................9
2.2.1 Test Print............................................................................................. 10
2.2.2 HEX-Dump.......................................................................................... 11
2.2.3 Reset................................................................................................... 12
2.2.4 Install Certificates, Delete Certificates ................................................ 13
2.2.5 Clone................................................................................................... 14
2.2.6 Startup Guide...................................................................................... 15
2. 3 About [Service Mode]...................................................................17
2.3.1 Logging in Service Menu .................................................................... 17
2.3.2 Details of the Service Menu ................................................................ 18
2.3.3 Maintenance ....................................................................................... 19
2.3.4 Factory Offset ..................................................................................... 20
2.3.5 Factory Pitch ....................................................................................... 21
2. 4 Checking and Updating the Firmware ........................................22
3 Checking and Performing Printer Adjustments.....23
3. 1 Checking Before Starting Work...................................................25
3.1.1 Checking Printing with Actual User Data ............................................ 25
3.1.2 Checking Installation Environment and Printer Conditions ................. 25
3.1.3 Checking Printing with Factory Settings ............................................. 26
3.1.4 Disabling the SOS Connection ...........................................................28
3.1.5 Checking the Battery Status ............................................................... 28

Back to top Table of Contents
PW4NX Service Manual 2
3. 2 Checking and Cleaning ................................................................29
3.2.1 Checking and Cleaning the Print Head (Thermal Head)..................... 29
3.2.2 Checking and Cleaning the Platen Roller ........................................... 29
3.2.3 Checking and Cleaning the Media Sensors........................................ 30
3. 3 Checks and Adjustments.............................................................31
3.3.1 Checking and Adjusting the I-mark Sensor and Gap Sensor .............31
3.3.2 Printing Quality.................................................................................... 35
3.3.3 Meandering ......................................................................................... 36
3.3.4 Checking and Adjusting the Print Position .......................................... 36
3.3.5 Checking the Stop Position................................................................. 36
3. 4 Final Check....................................................................................37
3.4.1 Checking Test Print with Factory Settings .......................................... 37
3.4.2 Checking the Customer’s Layout ........................................................ 37
3.4.3 Checking Barcode Scan ..................................................................... 37
3.4.4 Checking SOS Connection ................................................................. 38
3.4.5 Returning to the Original State............................................................ 38
4 Replacement ............................................................................ 39
4. 1 Notes on Replacing Parts ............................................................41
4. 2 EXPLODED VIEW..........................................................................42
4. 3 Case Cover ....................................................................................43
4.3.1 Replacing the TOP COVER ASSY ..................................................... 43
4.3.2 Replacing the BOTTOM COVER ASSY ............................................. 46
4.3.3 Replacing the OPEN COVER ASSY .................................................. 48
4.3.4 Replacing the DISPENSER ASSY...................................................... 51
4. 4 Printing Section ............................................................................54
4.4.1 Replacing the Print Head (Thermal Head).......................................... 54
4. 5 Paper Transfer Section ................................................................57
4.5.1 Replacing the Platen Roller ................................................................ 57
4.5.2 Replacing the Label Guide.................................................................. 58
4.5.3 Replacing the GEAR BOX SUB ASSY ............................................... 60

Back to top Table of Contents
PW4NX Service Manual 3
4. 6 Sensors..........................................................................................62
4.6.1 Replacing the IM GAP FPC ASSY...................................................... 62
4.6.2 Replacing the DISP NONSEPA .......................................................... 64
4.6.3 Replacing the IM GAP RELAY............................................................ 68
4.6.4 Replacing the HEAD FPC ASSY ........................................................ 71
4. 7 PCBs and Electrical Parts............................................................76
4.7.1 Replacing the PWR PCB .................................................................... 76
4.7.2 Replacing the CONT PCB .................................................................. 78
4.7.3 Replacing the speaker ........................................................................ 81
4.7.4 Replacing the NFC PCB ..................................................................... 83
4.7.5 Replacing the WLAN ANTENA SUB................................................... 85
5 Installation of Options............................................................. 86
5. 1 Installing the Linerless kit............................................................87
6 Troubleshooting ...................................................................... 93
6. 1 About Error Message ...................................................................93
6. 2 Error Code List..............................................................................94
6. 3 Error List........................................................................................96
6. 4 Status Icon List ...........................................................................108
7 Reference ............................................................................... 112

PW4NX Service Manual 4
1Back to top
Introduction
1. 1 About This Manual
This service manual gives all the information necessary for you to adjust and repair the
PW4NX.
This service manual is written only for SATO authorized service personnel.
The information in this manual is confidential to general users.
For basic specification, installation, operation and configurations of the printer, refer to
the operator manual of the PW4NX.
Since all problems that may arise during adjustment and repair work cannot be
described in this document, service personnel should always pay attention to safety in
addition to the precautions described in this document.
1. 2 Precautions
• Always power offthe printer and disconnect the AC power cord from the outlet before
you start any maintenance procedures including parts replacement.
• Wear a properly grounded static wrist strap as required during repair work.
• Wear proper gloves during adjustment and repair work.
• Do not touch the printing element with your bare hand when you replace the print
head (thermal head).
• Hold the circuit board on the sides. Do not touch the components or bend the circuit
board when you remove or install the circuit board.
• Do not touch the cutter with your hands, nor place objects into the cutter. Doing so
could cause an injury.
• The print head (thermal head) will become hot after printing. Be careful not to touch it
when replacing media or cleaning immediately after printing, to avoid being burned.

1 Introduction
PW4NX Service Manual 5
Back to top
1. 3 Parts Identification of the Printer
1.3.1 Front View
NFC antenna location
Strap groove
Attaching the shoulder strap (option) and the hand strap (option)
Top cover
Cover open button
DC input connector
(AC power connector)
USB connector
(Mini-B)
Window
You can check the amount of remaining media.
1.3.2 Rear View
Battery compartment
Charging terminal for the 1Bay Charging Cradle (Option)
Fan-fold media inlet

1 Introduction
PW4NX Service Manual 6
Back to top
1.3.3 Internal View
Dispenser roller release button
Media guide
Media guide lock
Print head
(Consumables)
Platen roller
(Consumables)
Dispenser sensor
Media sensors
1.3.4 Operator Panel View
Right select button
(*1)
Enter button
Applies selected items and set values.
Left select button
(*1)
LINE button
Switches online/offline, and plays and pauses videos.
(*1) The functions differ according to the screen.
The functions of the buttons are shown at the bottom of the screen.
Display
LED indicator
Power button
Battery indicator
Arrow buttons
Moves the cursor on the menu screens.

Back to top
2
PW4NX Service Manual 7
This chapter describes the following:
2. 1 About [Settings] menu
2. 2 About [Tools] menu
2.2.1 Test Print
2.2.2 HEX-Dump
2.2.3 Reset
2.2.4 Install Certificates, Delete Certificates
2.2.5 Clone
2.2.6 Startup Guide
2. 3 About [Service Mode]
2.3.1 Logging in Service Menu
2.3.2 Details of the Service Menu
2.3.3 Maintenance
2.3.4 Factory Offset
2.3.5 Factory Pitch
2. 4 Checking and Updating the Firmware
Operation and Configuration

Back to top 2 Operation and Configuration
PW4NX Service Manual 8
2. 1 About [Settings] menu
Icon Menu Description
[Printing] Access the settings related to printing.
[Interface] Access the settings related to the interfaces.
[Applications] Access the settings related to the printer command.
[System] Access the settings related to the display language, buzzer
volume, compatible mode, etc.
[Tools] Access the settings related to the media profiles editing, test
print, initialization, etc.
[Information] Display the printer information and help videos.
[Battery] Access the battery condition information and charging settings.
[Shortcut] Directly access frequently used settings.
You can find the [Service] menu in the [Tools] menu.
However, users cannot access the [Service] menu without password.
This menu is only for SATO authorized service personnel use.
Other manuals for PW4NX
1
Table of contents
Other SATO Printer manuals

SATO
SATO M10e Series User manual

SATO
SATO M-5900RVe Series User manual

SATO
SATO M-8490Se Series User manual

SATO
SATO LT408 User manual

SATO
SATO CX400 User manual

SATO
SATO MB200/201i User manual

SATO
SATO M-8460Se Series User manual

SATO
SATO CT4i Series User manual

SATO
SATO LM408e User manual

SATO
SATO CX200TT Installation guide