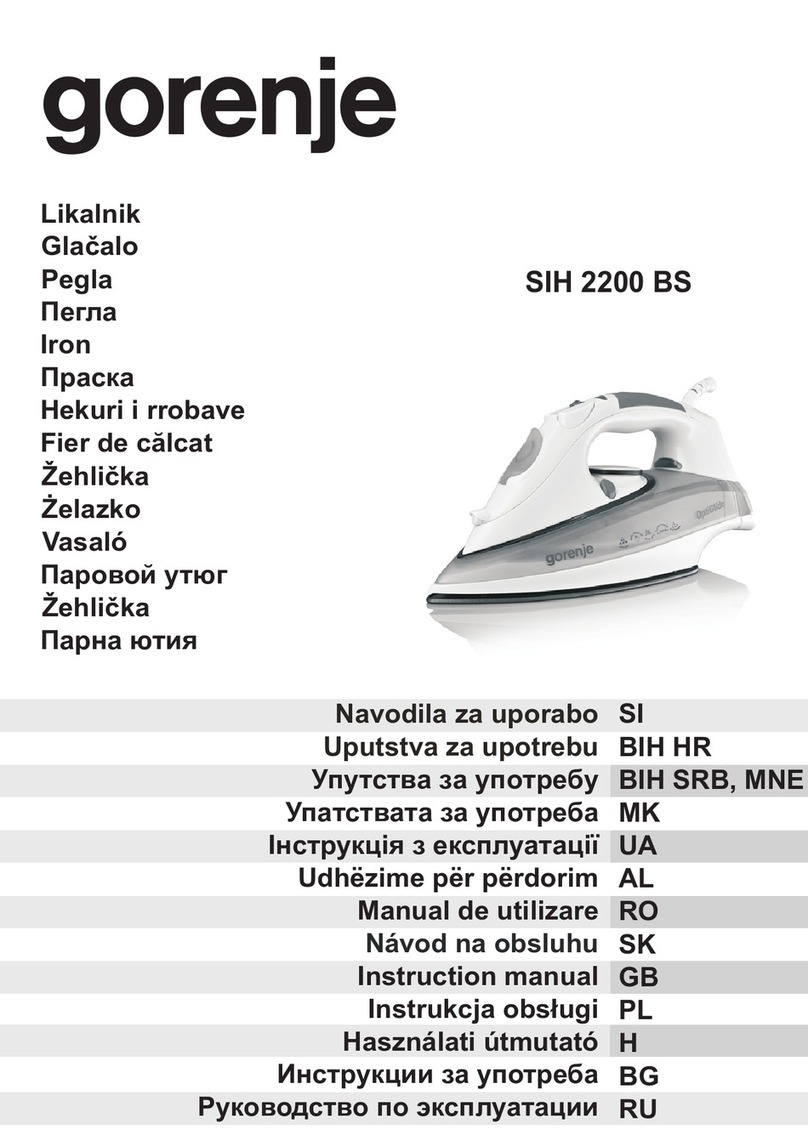
Oster GCSTBV4112 User manual

Instruction Manual
DRY IRON
READ ALL INSTRUCTIONS BEFORE USING THIS APPLIANCE
Manuel d’Instructions
FER À REPASSER À SEC
LIRE TOUTES LES INSTRUCTIONS AVANT D ’ UTILISER CET APPAREIL
Manual de Instrucciones
PLANCHA SECA
LEA TODAS LAS INSTRUCCIONES ANTES DE USAR ESTE APARATO
Manual de Instruções
FERRO SECO
LEIA TODAS AS INSTRUÇÕES ANTES DE USAR ESTE APARELHO
MODEL/MODÈLE
MODELO
MODEL/MODÈLE
MODELO GCSTBV4112

English - 1
IMPORTANT SAFEGUARDS
When using electrical appliances, basic safety precautions should always be followed to
reduce the risk of re, electric shock and/or injury to persons, including the following:
1. READ ALL INSTRUCTIONS BEFORE USING THE IRON.
2. Before connecting the Iron, make sure the voltage in your outlet is the same as the
voltage indicated on the appliance’s rating label.
3. DO NOT touch the Iron’s hot surfaces.
4. To protect against electric shock, DO NOT immerse the Iron in water or any other
liquid.
5. Use this Iron only for its intended use.
6. Turn the Iron off and unplug the power cord from the electric outlet when the Iron is
not in use and before cleaning.
7. To disconnect, ensure that the on/off button is in the “OFF” position and remove the
plug from the wall outlet. NEVER yank the cord to disconnect the appliance from the
outlet. To unplug, grasp the plug and pull straight out from the outlet.
8. DO NOT operate any appliance with a damaged cord or plug or after the unit
malfunctions or is damaged in any manner. To avoid the risk of electric shock, DO
NOT disassemble the appliance. Take it to an Authorized Oster®Service Center for
examination and repair. Incorrect re-assembly can cause a risk of electric shock when
the appliance is used.
9. The use of attachments or replacement parts not recommended by the manufacturer
may cause re, electrical shock or injury.
10. BE CAREFUL! If you need to leave the Iron unattended, always turn it “OFF”,
disconnect the unit and set the Iron in the upright position.
11. DO NOT allow the cord to touch hot surfaces. Let the Iron cool completely before
pulling away. Wind the electric cord around the heel rest of the Iron before storing.
12. In order to avoid overloading the circuits, never use another appliance with high
wattage on the same circuit.
13. Use with wall receptacle only.
14. This appliance is not intended for use by persons (including children) with reduced
physical, sensory or mental capabilities, or lack of experience and knowledge, unless
they have been given supervision or instruction concerning use of the appliance by a
person responsible for their safety. Children should be supervised to ensure that they
DO NOT play with the appliance.
15. Close supervision is necessary when any appliance is used by or near children, or
incapacitated individuals.
THIS APPLIANCE IS FOR HOUSHOLD USE ONLY

English - 2
(For 120 & 127 volts with two at pins only) This appliance has a polarized plug
(one blade is wider than the other). To reduce the risk of electric shock, this plug will t in
a polarized outlet only one way. If the plug does not t fully in the outlet, reverse the plug.
If it still does not t, contact a qualied electrician. DO NOT MODIFY THE PLUG IN ANY
WAY.
SPECIAL INSTRUCTIONS
1. To avoid a circuit overload, do not operate another high-wattage appliance on the
same circuit.
2. If an extension cord is absolutely necessary, a cord of the same amperage as the
appliance should be used. Cords rated for less amperage may overheat. Care should
be taken to arrange the cord so that it cannot be pulled or tripped over.
into the outlet, reverse the plug. If it still does not t, contact a qualied electrician. Do not
attempt to defeat this safety feature.
SAVE THESE INSTRUCTIONS

English - 3
DESCRIPTION OF THE APPLIANCE
1. Temperature Control Dial
2. Soleplate
3. Indicator Light
4. Comfortable Handle
5. Cord Wrap Area
6. Wide Heel Rest
3
2
1
4
6
5

USING YOUR IRON
• Set the Iron in an upright position.
• Insert the plug into a wall outlet.
• Select the desired temperature on the Temperature Control Dial.
• The Indicator Light will illuminate. Once the selected temperature is reached the light
will go off and you can begin to iron.
• The Indicator Light will illuminate each time the Iron is heating. Once it reaches the
optimal temperature setting the Indicator Light will turn off.
• The light will turn on and off from time to time while you are ironing since the
thermostat automatically maintains the soleplate at the optimal temperature setting.
• If you select a lower temperature after having ironed at a higher temperature, do not
start to Iron again until the Indicator Light goes back on.
NOTE:
• When using the Iron for the rst time, test it on apiece of old cloth to be sure that the
soleplate is free of any residue.
• It is possible that the Iron will discharge some smoke during its rst usage. This is
completely normal and will stop shortly afterwards.
DRY IRONING
• Insert the plug into a wall outlet.
• Select the Temperature Control Dial setting most suited to the fabric that is to be
ironed.
• After the Indicator Light goes off, you may start to iron.
IRONING TEMPERATURE
• Check the ironing instructions on the label of the item that you wish to iron. Should the
specic ironing instructions not appear on the label, follow instructions indicated in the
Fabric Ironing Table.
• This table is only valid for the fabrics indicated and does not apply to special textiles
such as materials with a gloss nish, etc. Textiles with special coatings (such as gloss,
relief wrinkles, etc.) are best ironed at very low temperatures.
• The Iron heats up faster than it cools down. Therefore, when ironing various types
of fabrics it is best to start with textiles, e.g. synthetics, which require lower ironing
temperatures.
• If the textile consists of several different types of bers, always select the lowest
temperature for the most delicate composition of bers (for example, if it consists of
“60% polyester and 40% cotton”) you should iron at the temperature
indicated for polyester.
English - 4

English - 5
SETTING THE TEMPERATURE
• Set the Iron in the upright position.
• Connect the Iron.
• Set the Temperature Control Dial to the correct ironing temperature as indicated (see
table).
TABLE FOR IRONING INSTRUCTIONS
Fabric Ironing
Table
Kind of
Textile Fiber Material Temperature Dial
Position
•Synthetic
Acrylic
Acetate
Nylon
•Polyester Rayon
Polyester
•Silk Silk
• • Wool Wool
• • • Cotton Cotton
• • • Linen Linen
NOTE: On label means: This article cannot be ironed!

English - 6
MAINTENANCE AND CLEANING
• Before cleaning the Iron, always make sure that it is disconnected from the wall outlet
and is completely cool.
• Residue on the soleplate can be wiped off with a cloth soaked in a solution of water
and vinegar.
• The housing can be cleaned with a moist cloth and then wiped dry.
• Do not use abrasives to clean the soleplate.
• Avoid all contact of the soleplate with metal objects.
STORING YOUR IRON
• Turn off the Iron and disconnect the plug from the wall outlet.
• Set the Iron in the upright position and let it cool down completely.
• The electric cord can be wound around the heel rest.
• The Iron should always be stored in the upright position (Figure 1).
Figure 1

Français - 1
PRÉCAUTIONS IMPORTANTES
Lorsque I’ on fait usage d’appareil électriques, on doit prendre quelques mesures
élémentaires de sécurité an de réduire le risque d’incendie ou décharges électriques e/
ou dégât personnel, en incluant les suivantes:
1. LIRE TOUTES LES INSTRUCTIONS AVANT D’UTILISER.
2. Avant de brancher le fer, assurez-vous que le voltage de votre prise de courant
correspond à celui indique sur la plaque du fer.
3. NE touchez pas les surfaces chaudes.
4. Pour éviter tout risque de choc électrique, NE jamais tremper le fer dans de I’ eau ou
dans tout autre liquide.
5. N’utiliser ce fer que pour son utilisation appropriée.
6. Débrancher le fer de la prise de courant lorsqu’elle ne sera pas en usage, lorsque
I’ on retirera ou placera des pièces de rechange et avant de le nettoyer.
7. An de débrancher cet appareil placer I’ interrupteur en position éteint “OFF”.
Empoigner le branchement et le retirer tout droit vers vous. NE JAMAIS tirer du câble
électrique. Pour débrancher de la prise murale, saisir la che et tirer.
8. NE pas utiliser cet appareil avec le câble électrique ou le branchement abîmes, s’il ne
fonctionne pas bien ou s’il est abîme. An d’éviter le risque d’une décharge électrique
NE pas démanteler I’ appareil. L’envoyer à un Centre de Service Oster® Autorise an
qu’il soit examine et ou réparé. Si I’ appareil a été ré assemble de façon incorrecte, il
peut exister le risque de chocs électriques quand il sera utilise.
9. L’emploi de pièces de rechange qui ne soient pas autorisées par le fabriquant pourra
éventuellement produire un incendie, une décharge électrique ou des blessures.
10. SOVEZ PRUDENT! Si vous avez besoin de laisser le fer sans surveillance, éteignez
le, débranchez la che de la prise murale et mettez le fer en position verticale.
11. NE pas laisser le cordon en contact avec des surfaces chaudes. Laisser le fer se
refroidir complètement avant de le ranger. Enrouler le cordon électrique autour du
support de semelle avant rangement.
12. An d’éviter une surcharge électrique, ne jamais utiliser un autre appareil ménager à
haut voltage sur le même circuit.
13. N’utiliser le fer qu’avec une prise murale.
14. Cet appareil n’est pas destiné à être utilisé par des personnes (enfants y compris)
dont les capacités physiques, sensorielles ou mentales sont diminuées, ou qui ne
disposent pas des connaissances ou de l’expérience nécessaire, à moins qu’elles
n’aient été formées et encadrées pour l’utilisation de cet appareil par une personne
responsable de leur sécurité. Les enfants doivent être surveillés pour s’assurer qu’ils
NE jouent PAS avec l’appareil.
15. Les enfants et personnes handicapées doivent être surveillés lorsqu’ils utilisent
l’appareil ou que l’appareil est utilisé à côté d’eux.
CET APPAREIL EST PRÉVU UNIQUEMENT POUR UN USAGE MÉNAGER

Français - 2
(Seulement pour appareils de 120 & 127 V avec deux ches plates) Cet appareil à
une che polarisée (l’une des lames est plus large que l’autre). An de réduire le risque
d’électrocution, cette che ne rentre dans la prise polarisée que d’une seule façon. Si
la che ne rentre pas complètement dans la prise, inverser la che. Si la che ne rentre
toujours pas, veuillez contacter un électricien qualié. NE MODIFIER LA FICHE EN
AUCUN CAS.
INSTRUCTIONS SPECIALES
1. Pour éviter toute surcharge, ne pas utiliser sur le même circuit électrique qu’un autre
appareil à haut wattage.
2. Si l’utilisation d’une rallonge est absolument nécessaire, il est recommandé d’utiliser
un l électrique de même ampérage. Des ls électriques de moindre ampérage
pourraient surchauffer. Il est important de placer le l de telle manière qu’on ne puisse
pas s’enchevêtrer ou tirer dessus par accident.
into the outlet, reverse the plug. If it still does not t, contact a qualied electrician. Do not
attempt to defeat this safety feature.
CONSERVER CES INSTRUCTIONS

Français - 3
DESCRIPTION DE L’APPAREIL
1. Sélecteur de contrôle de température
2. Semelle
3. Témoin lumineux
4. Poignée confortable
5. Emplacement pour rangement du l
électrique
6. Large talon pour position verticale
3
2
1
4
6
5
Table of contents
Languages:
Other Oster Iron manuals

Oster
Oster GCSTUP8201 User manual

Oster
Oster GCSTCM2001 User manual

Oster
Oster 5104 User manual

Oster
Oster GCSTBS5802 User manual

Oster
Oster 6020 User manual

Oster
Oster 6014 User manual

Oster
Oster GCSTEP2501 User manual

Oster
Oster 5002 User manual

Oster
Oster GCSTTS7010 User manual

Oster
Oster PRESSXPRESS GCSTPX4060 User manual

Oster
Oster GCSTCM2001P User manual

Oster
Oster GDSTCM2001 User manual

Oster
Oster 4415-449 User manual

Oster
Oster GCSTAE6501 User manual

Oster
Oster GCSTBS5802 User manual

Oster
Oster GCSTBS4951L User manual

Oster
Oster GCSTBS4901L User manual

Oster
Oster GCSTCS-401 User manual

Oster
Oster GCSTCM2002P User manual

Oster
Oster GCSTBS3801 User manual