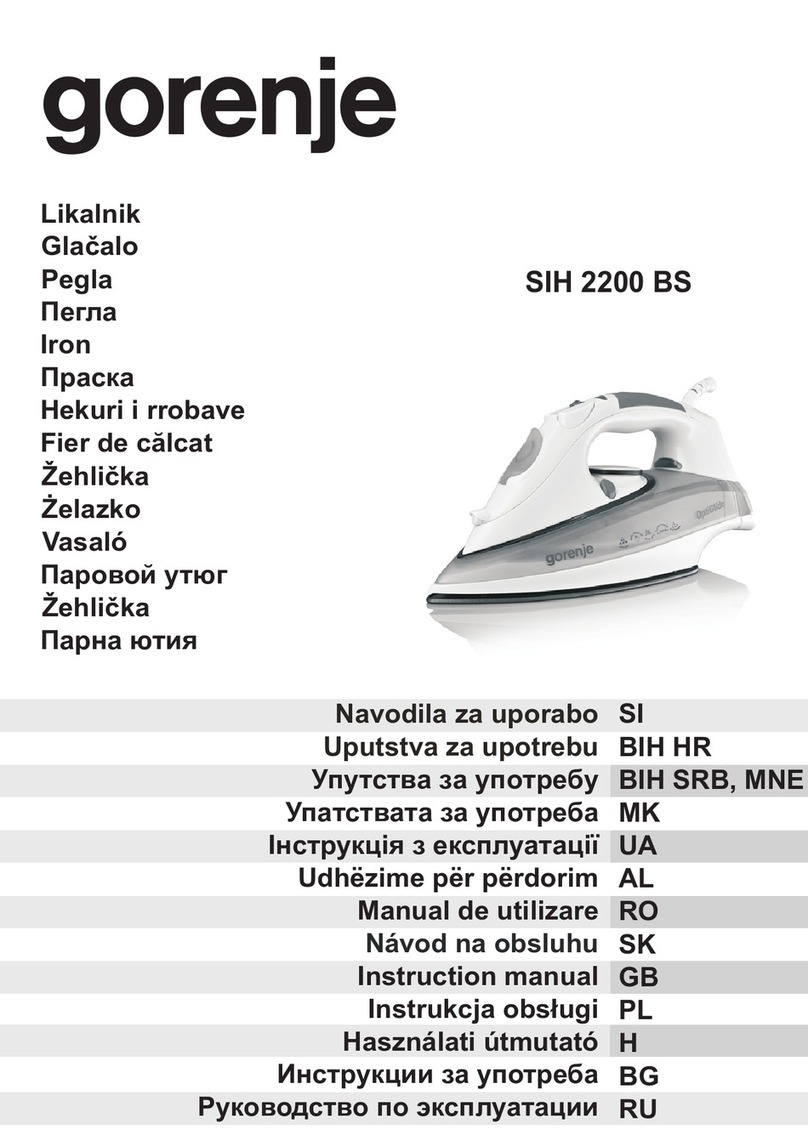
Oster 6014 User manual

Instruction Manual
Steam Iron
PLEASE READ ALL INSTRUCTIONS BEFORE USING THIS APPLIANCE
Manuel d'Instructions
Fer À Vapeur
LIRE TOUTES LES INSTRUCTIONS AVANT D'UTILIZER CET APPAREIL
Manual de Instrucciones
Plancha de Vapor
LEA TODAS LAS INSTRUCCIONES ANTES DE USAR ESTE APARATO
Manual de Instruções
Ferro Elétrico a Vapor
LEIA TODAS AS INSTRUÇÕES ANTES DE USAR ESTE APARELHO
6014, 6015
& 6016
6014, 6015
& 6016
R
STEAM MASTER® IRON

1
IMPORTANT SAFEGUARDS
When using electrical appliances, basic safety precautions should always be followed,
including the following:
• READ ALL INSTRUCTIONS BEFORE USE.
• Use Iron only for its intended use.
• To protect against risk of electric shock, do not immerse the Iron in water or other
liquids.
• The Fabric Select Dial and Steam Lever should always be turned to O/Off and
before plugging or unplugging from outlet. Never yank Cord to disconnect from outlet;
instead, grasp Plug and pull to disconnect.
• Do not allow Cord to touch hot surfaces. Let Iron cool completely before putting
away. Loop Cord loosely around Iron when storing.
• Always disconnect Iron from electrical outlet when filling with water or emptying
and when not in use.
• Do not operate Iron with a damaged Cord or if the Iron has been dropped or damaged.
To avoid the risk of electric shock, do not disassemble the Iron. Take it to an Oster®
Authorized Service Center for examination and/or repair. Incorrect reassembly can
cause a risk of electric shock when the Iron is used.
• Close supervision is necessary for any appliance being used by or near children.
Do not leave Iron unattended while plugged in or turned on or on an ironing board.
• Burns can occur from touching hot metal parts, hot water or steam. Use caution when
you turn a Steam Iron upside down - there may be hot water in the Reservoir.
• If the Iron is not operating normally, disconnect from the power supply and have the
Iron serviced by an Oster® Authorized Service Center.
• Your OSTER® Iron is designed to rest on the heel rest. Do not leave the Iron
unattended. Do not set the Iron on an unprotected surface, even if it is on its
heel rest.
• This is a high wattage appliance. To avoid a circuit overload, do not operate another
high wattage appliance on the same circuit.
• If an extension cord is absolutely necessary, a 15-ampere cord should be used.
Cords rated for less amperage may overheat. Care should be taken to arrange the
extension cord so that it cannot be pulled or tripped over.

2
SAVE THESE INSTRUCTIONS
(For 120 & 127 Volts)
To reduce the risk of electrical shock, this appliance has a polarized plug (one blade is
wider than the other). This plug fits a polarized outlet only one way. This is a safety
feature intended to help reduce the risk of electrical shock. If the plug does not fit fully
into the outlet, reverse the plug. If it still does not fit, contact a qualified electrician. Do
not attempt to defeat this safety feature.

3
1. SPRAY MIST® Release
2. Covered Water Fill Hole
3. Fabric Select Dial
4. Steam/ Self-Clean Lever
5. SPRAY MIST® Button
6. SHOT OF STEAM®/ Vertical Shot of Steam Button
7. Power Indicator Light/MOTION SMART Auto-Off Indicatior
Blinking Light (model 6016 only)
8. 360° Tangle-Free Swivel Cord
9. See-Through Water Reservoir
10. Soleplate
DESCRIPTION OF THE APPLIANCE
1
2
3
4
5
67
8
9
10
®
R

4
Filling With Water
1. Make sure the iron is unplugged. Set the Steam Lever to and the Fabric
Select Dial to O/OFF.
2. Lift the Water Fill Hole Cover.
3. Fill water cup with water. Pour water into the Iron's Water Reservoir. Do not fill Water
Reservoir beyond maximum fill level.
WARNING: To prevent the risk of burns, be careful when filling a hot iron with water.
Hot metal parts, hot water and steam can cause injuries.
Dry Ironing
1. Make sure the Steam Lever is turned to the setting.
2. Plug the cord into the outlet.
3. Turn the Fabric Select Dial to the fabric setting you desire (Silk or Synthetics).
Allow the Iron to heat for 2 minutes. While the Iron is heating, make sure it is sitting on
its heel rest on a stable, protected surface.
NOTE: While the Steam Lever is turned to the setting, you may still use the
SHOT OF STEAM® or SPRAY MIST® features. Please make sure the Water
Reservoir is 1/4 full of water.
TIP: Refer to the "Ironing Guide" for the recommended setting for your fabric.
Steam Ironing
1. Follow the instructions for "Filling With Water".
2. Plug the cord into the outlet.
3. Turn the Fabric Select Dial to the fabric setting you desire (Synthetic, Silk, Linen,
Cotton or Wool). Allow the Iron to heat for 2 minutes. While the Iron is heating,
make sure it is sitting on its heel rest on a stable, protected surface.
4. Allow the Iron to heat for 2 minutes, and then turn the Steam Lever to the appropriate
setting.
5. Please note that your Steam Iron has an anti-drip system that
prevents water from leaking, spitting, and dripping from the steam
vents, even at the lowest ironing temperatures (model 6015 only).
TIP: Refer to the "Ironing Guide" for the recommended setting for your fabric.
IMPORTANT: When not ironing, always set the Steam Lever to and the
Fabric Select Dial to O/OFF.
INSTRUCTIONS FOR USE

5
Ironing Tips
• Always read garment labels and follow the manufacturer's ironing instructions.
• Sort the articles to be ironed according to the type of fabric.
• You should first iron garments requiring low temperature (e.g., silks and synthetics)
to avoid damaging them with an iron that is too hot.
• If you are unsure of the fabric content of the garment, test a small area, such as a
seam or facing, before ironing a visible area. Start with a low temperature and
gradually increase the heat to find the best setting.
• When changing the temperature from a high setting to a low setting, allow
approximately 5 minutes for the lower temperature to be reached.
• When steam ironing, use long, slow passes over the fabric. This will allow the steam
to penetrate the fabric while allowing the heat of the soleplate to dry out the moisture.
• To iron linens, turn garment inside out. Be careful not to use an iron that is too hot
because the lining may melt or stick to the soleplate.
• To iron zippers, use an ironing cloth or make sure the zipper is closed and iron over
the flap. Never iron directly over an unprotected zipper.
• Use the "Ironing Guide" to select the best setting and method for the fabric you plan to
iron.

6
* An ironing cloth is a cotton, dry-cleaned cloth that you place over the garment you are ironing
to prevent the fabric from looking shiny.
Note: Some fabrics may require more steam than others. Your iron has the capability to adjust
steam as needed.
Suggested
Steam
Setting
Ironing
Recomendations Fabric Select
Dial Slecting
Fabric
Ironing Guide
Acrylic
Acetate
Polyester
Rayon
Silk
Viscose
Nylon
Wool
Wool Blends
Cotton Blends
Corduroy
Cotton
Linen
Denim
Synthetic
Synthetic
Synthetic
Synthetic
Silk
Silk
Silk
Wool
Wool
Cotton
Cotton
Cotton
Linen
Linen
Iron garment inside out
Iron garment inside out while still
damp.
Iron garment inside out while still
damp.
Iron garment inside out.
Iron garment inside out. Use an
ironing cloth* to prevent shine
marks.
Mainly dry iron; steam may be
used under garment
manufacturer’s instructions.
Iron garment inside out while still
damp.
Iron garment inside out or use an
ironing cloth.*
Iron garment inside out or use an
ironing cloth.*
Follow garment manufacturer’s
instructions.Use setting for the
fiber requiring the lowest setting.
Iron garment inside out or use an
ironing cloth* and then brush the
garment with your hand to raise
the texture of the fabric.
Iron dark fabrics inside out to
prevent shine marks.
Iron garment inside out or use an
ironing cloth* to prevent shine
marks (especially on dark fabrics).
Use the SPRAY MIST® and/or
the SHOT OF STEAM® feature
for deeper penetration to remove
wrinkles.

7
Spray Mist® Feature
The SPRAY MIST® feature is a powerful water spray mist that dampens the fabric to
aid in removing wrinkles from heavy fabrics and for setting creases.
To use the SPRAY MIST® Feature: Press the SPRAY MIST® Button firmly.
Shot of Steam® Feature
The SHOT OF STEAM® feature provides an extra burst of steam for deep penetration
of stubborn wrinkles. You can use this feature while dry or steam ironing, but the Water
Reservoir must be at least 1/4 full of water.
To use the SHOT OF STEAM® feature: Place the Iron on top of the wrinkle and press
the SHOT OF STEAM® Button each time you would like an extra burst of steam. The
SHOT OF STEAM® feature may be used continuously with just a short pause
between shots.
Vertical Steam and Vertical Shot of Steam
The Vertical Steam feature allows your Iron to function as a garment steamer.
TIP: When using the Vertical Steam on clothing, hang the clothing on a clothes hanger
for best results. Hanging curtains and drapes may also be steamed.
To use Vertical Steam:
1. Make sure that the Iron has heated up (2 minutes).
2. Hold the Iron in a vertical position, with the Iron close to but not touching the fabric
you want to steam.
3. With your other hand, pull the fabric tight.
4. Press the SHOT OF STEAM® Button for approximately 3-second intervals as you
move the Iron across the wrinkled area.
WARNING: To prevent the risk of burns, keep your hands away from the area being
steamed.
WARNING: DO NOT steam garments while wearing them; this may result in injuries.
USING THE IRON'S SPECIAL FEATURES

8
Patented Motion Smart® Auto-Off Feature
(Model 6016 Only)
When the Iron is plugged in, the Power Indicator will light steadily, indicating that there
is power to the Iron.
If you leave the Iron:
• In a horizontal position without moving it, or accidentally
tip the Iron over, it will automatically stop heating after
30 seconds. The Power Indicator will blink to let you
know that the Iron has stopped heating.
• In a vertical position (on its heel rest) without moving it,
the Iron will automatically turn off after 15 minutes.
The Power Indicator will blink to let you know that the
Iron has stopped heating.
IMPORTANT: The Power Indicator will continue to blink
until the Iron is unplugged or reset.
To reset the Iron:
Move the Iron back and forth and allow it to reheat for
2 minutes. The Indicator Light will stop blinking and
the Iron will start heating again.
WARNING: The patented MOTION SMART® Auto-Off is a safety feature, not a
recommended means for turning your Iron off. See "Caring for Your Iron
After Use" for information on turning off your Iron and storing it safely
between use.

9
Turning Off Your Iron
1. Turn the Steam Lever to and Fabric Select Dial to O/Off.
2. Unplug the Iron from the power source.
WARNING: NEVER yank the power Cord when unplugging the Iron. This can damage
the Cord.
Storing Your Iron
1. Allow the Iron to cool.
2. If you do not use your Iron on a daily basis, empty the Water Reservoir after each use
for a longer iron life. To do so, unplug the Iron, turn the Iron upside down, open the
Fill Hole Cover, and allow water to flow from the Fill Hole. Shake the Iron gently to
remove trapped water drops.
3. Loosely loop the power Cord around the heel rest and store the Iron on its heel rest.
IMPORTANT: Wrapping the Cord around the Iron too tightly can damage the Cord.
TIP: When not ironing, always set the Steam Lever to and the Fabric Select
Dial to O/Off.
Maintaining Your Steam Iron
CLEANING THE SOLEPLATE
Clean the Soleplate if starch or other residue accumulate.
To clean the Soleplate:
1. Allow the Iron to cool and then wipe it with a soft, damp cloth.
WARNING: DO NOT use abrasive cleansers, scouring pads or vinegar to clean
the Soleplate. This will damage the finish.
2. Run the Iron over an all-cotton cloth to remove any residue.
USING THE SELF-CLEANING FEATURE
You should use the Self-Cleaning feature once a month to maintain the optimal
performance of your Iron.
To use the Self-Cleaning feature:
1. Move the Steam Lever back and forth from several times to remove debris
and minerals from the Steam Valve. This keeps water flowing into the steam chamber.
CARING FOR YOUR IRON AFTER USE
This manual suits for next models
2
Table of contents
Languages:
Other Oster Iron manuals

Oster
Oster GCSTBS5802 User manual

Oster
Oster GCSTBS5802 User manual

Oster
Oster GCSTBS5001 User manual

Oster
Oster GCSTBS6001 User manual

Oster
Oster GCSTBS4801L User manual

Oster
Oster GCSTBS3801 User manual

Oster
Oster 4019 User manual

Oster
Oster GCSTBS5802 User manual

Oster
Oster GCSTCM2001P User manual

Oster
Oster GCSTTS7010 User manual

Oster
Oster 5002 User manual

Oster
Oster GCSTCM2002P User manual

Oster
Oster GCSTAC6901 User manual

Oster
Oster GCSTTS7001 User manual

Oster
Oster GCSTBS5803 User manual

Oster
Oster 4420-449 User manual

Oster
Oster GCSTCS-401 User manual

Oster
Oster GCSTCC3000 User manual

Oster
Oster GCSTCS-412 User manual

Oster
Oster GCSTSP6212 User manual