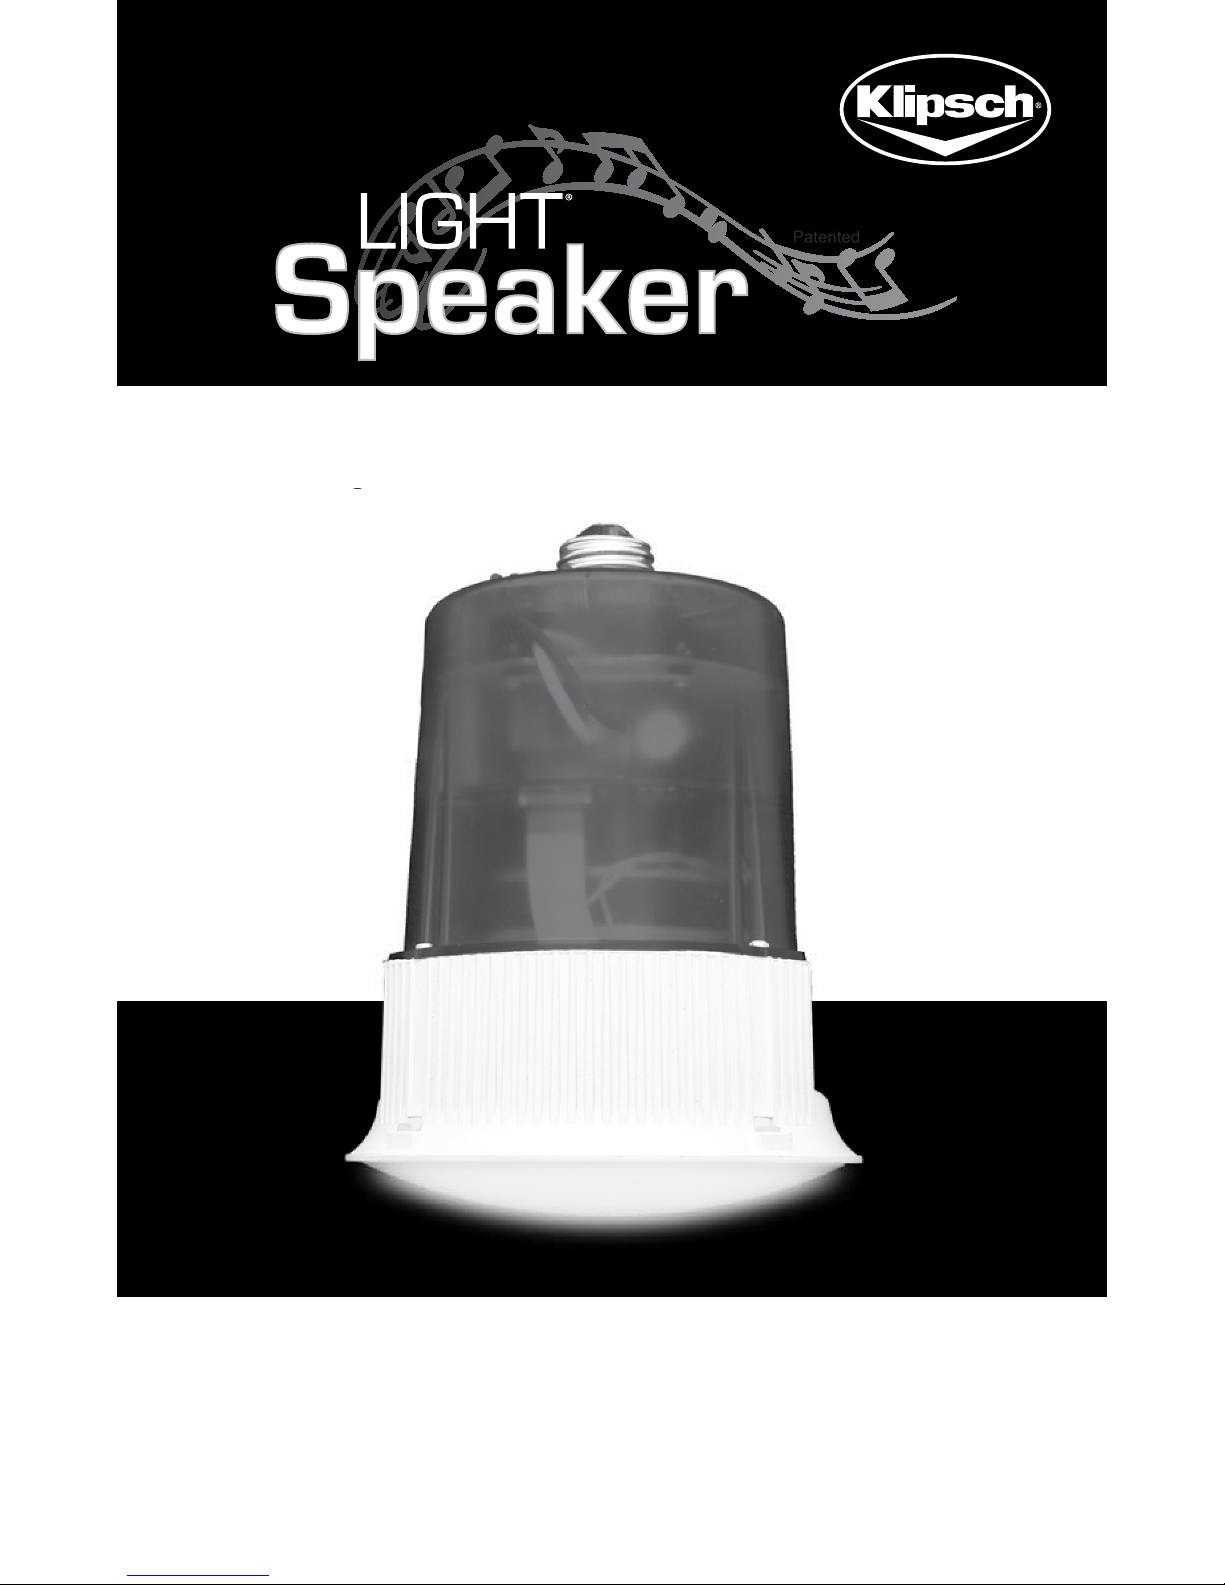
Klipsch LightSpeaker User manual
Tech Support: 1-800-KLIPSCH
1
OWNER’S MANUAL
State-of-the-art LIGHT & SOUND
One LightSpeaker®5 installs in 15 minutes or less!
g
Note: The LightSpeaker®is an add on unit to an existing LightSpeaker®System. You
need a LightSpeaker®Transmitter to supply audio and control the lights on this unit.
The Transmitter and Remote discussed in the manual are sold separately.

2
Tech Support: 1-800-KLIPSCH
The lightning flash with arrowhead symbol, within an equilateral
triangle, is intended to alert the user to the presence of
uninsulated “dangerous voltage” within the product’s enclosure
that may be of sufficient magnitude to constitute a risk of electric
shock to persons.
Le symbole de l’éclair fléché dans un triangle équilatéral, a pour but
d’avertir l’utilisateur de la présence non isolées d’une «tension
dangereuse» dans le boîtier du produit que mai d’une magnitude
suffisante pour constituer un risque d’électrocution pour les
personnes.
The exclamation point within an equilateral triangle is intended
to alert the user to the presence of important operating and
maintenance (servicing) instructions in the literature
accompanying the appliance.
Le point d’exclamation dans un triangle équilatéral sert à alerter
l’utilisateur de la présence d’importantes exploitation et de
maintenance (entretien) dans la documentation accompagnant
l’appareil.
Caution marking is located at the side of the apparatus.
Attention marquage est situé sur le côté de l’appareil.
CAUTION: Risk of Electrical Shock - Use in Dry Locations Only
ATTENTION: Risque de Choc Électrique - Utiliser Seulement Dans des Endroits
Secs
CAUTION: To reduce the risk of electric shock, do not remove cover (or back). No
user servicable parts – refer servicing to qualified service personnel only.
ATTENTION: Pour réduire le risque de choc électrique, ne pas retirer le
couvercle (ou l’arrière). Non utilisateur servicable parts - confier l’entretien de
service qualifie seul le personnel.
WARNING: To reduce the risk of fire or electric shock, do not expose this
apparatus to rain or moisture.
AVERTISSEMENT: Pour réduire le risque d’incendie ou de choc électrique, ne
pas exposer cet appareil sous la pluie et l’humidité.

Tech Support: 1-800-KLIPSCH
3
IMPORTANT SAFETY INSTRUCTIONS
1. Read these instructions. Keep these instructions. Heed all Warnings. Follow
all instructions.
2. Do not use this apparatus near water. The apparatus shall not be exposed
to dripping or splashing and that no objects filled with liquids, such as vases,
shall be placed on apparatus.
3. Clean only with a dry cloth.
4. Do not block any ventilation openings. Install in accordance with the
manufacturer’s instructions.
5. Do not install near any heat sources such as radiators, heat registers, stoves,
or other apparatus (including amplifiers) that produce heat.
6. The lamp holder is used as disconnect device. The lamp holder of apparatus
should not be obstructed OR should be easily accessed during intended use.
To completely disconnect the power input, the lamp holder of the apparatus
shall be disconnected from the mains.
7. Only use attachments/accessories specified by the manufacturer.
8. Refer all servicing to qualified service personnel. Servicing is required when
the apparatus has been damaged in any way, such as power-supply cord
or plug is damaged, liquid has been spilled or objects have fallen into the
apparatus, the apparatus has been exposed to rain or moisture, does not
operate normally, or has been dropped.
9. Added weight of the device may cause instability of a free-standing portable
lamp. Use only with portable table lamps in which the distance from the
bottom of the base to the top of the lampholder does not exceed three (3)
times minimum base width. Use only with portable table lamps which are
provided with lamp shades” or the equivalent.
10. This device is not intended for use with emergency exit fixtures or
emergency exit lights
11. NOT FOR USE WHERE EXPOSED TO THE WEATHER
NE PAS EXPOSER AUX INTEMPÉRIES
12. NOT FOR USE IN TOTALLY ENCLOSED RECESSED LUMINAIRES
NE PAS INSTALLER DANS DES LUMINAIRES ENCASTRÉS COMPLÈTEMENT
FERMÉS

4
Tech Support: 1-800-KLIPSCH
Congratulations
Thank you for choosing a LightSpeaker®5 from Klipsch®.
You have chosen one of the most unique, patented,
audio systems in the world. With proper installation and
operation, you will enjoy years of trouble-free use. Klipsch®
sells numerous loudspeakers for use inside or outside your
home. For the complete Klipsch®product line, visit the
Internet at: www.klipsch.com.

Tech Support: 1-800-KLIPSCH
5
Table of Contents
LightSpeaker®5 Overview..................................................................6
What is in this box...................................................................................8
Step 1 - Where will you install..........................................................9
Step 2 - Check your connector type.............................................9
Step 3 - Test fit your LightSpeaker® 5......................................10
Step 4 - Installing the trim ring....................................................10
Step 5 - Adjusting the SimpleTabsTM..........................................11
Step 6 - Setting the zone and stereo switches..................12
Step 7 - Installing your LightSpeaker®5................................13
Step 8 - Pairing your LightSpeaker®5...................................14
Step 9 - Enjoy your Lightspeaker®...............................................15
Installing and removing the Lens................................................15
Selecting LightSpeaker®locations..............................................17
Specifications.......................................................................................18
Possiblecausesof interference....................................................20
Warranty...............................................................................................21
FCC Declaration...................................................................................23
Technical Support Information...................................Back Cover

6
Tech Support: 1-800-KLIPSCH
LightSpeaker®5 Overview
This wireless LightSpeaker®5
is intended to install into any
home easily and without any
expensive and complicated
wiring. You can install a unit
in your home in a few minutes
and not have to worry about
repairing walls or ceilings. Plus
there is no climbing into attics
or wriggling into crawl spaces!
LightSpeakers®deliver great sound
into any room in your house, using your existing wiring
and your recessed lighting fixtures. The LightSpeaker®5
installs in a standard 5” or 6” recessed ceiling light fixture
common in most homes. It will replace a standard light
bulb (R-30 or R-40). This unique patented LightSpeaker®
has full bandwidth audio and “green” lighting together in
one small package.
Your part of what makes this possible is the use of a 10W
LED to provide the equivalent light bright enough to replace
a 60W incandescent bulb while using 80% less power
than the light bulb it replaced. Consider also that you may
never have to replace this light; an operating life of 25,000
to 40,000 hours means that with average use this light
should easily last 15 to 25 years.
Remote and transmitter sold separately.

Tech Support: 1-800-KLIPSCH
7
Your system can use up to 8 LightSpeakers®to provide
audio and lighting to your entire home. You can even
divide your home into two unique areas where different
music sources, sound and lighting control allow you to add
music with integrated “green” lighting to places you only
dreamed of having it before.
There’s no wiring and no big (or small) boxes. The
wireless transmitter can be centrally located which will
provide audio and, together with the remote, allow you to
control your LightSpeakers®from anywhere in your home
To expand your system, additional LightSpeakers®or
wireless RockSpeakers are available at www.klipsch.com.
This incredible patented system provides even greater
flexibility to you as the owner; since you can take this
system with you if you move; and when you do, it leaves no
trace (holes that need to be covered) that the system was
ever installed and used.

8
Tech Support: 1-800-KLIPSCH
Take just a minute to be sure you have everything you
need to install your additional wireless distributed audio
LightSpeaker®5 from Klipsch®.
Large & Small Trim Rings Lens
LightSpeaker®5
Note: The LightSpeaker®5 is an add on unit to an
existing LightSpeaker®System. You need a LightSpeaker®
Transmitter to supply audio and control the lights on
this unit. The Transmitter and Remote discussed in the
manual are sold separately.

Tech Support: 1-800-KLIPSCH
9
Instruction Manual
Step 1:
Decide which light will be replaced with
LightSpeaker®5.
Your Klipsch
®
LightSpeaker®5 has been specifically
designed to cover large areas, however if the location of
your fixtures allow you to do so, you should think about
how you use your room and where you are likely to spend
most of your time. Then choose the fixtures that are most
evenly spaced to your preferred listening position.
A) Turn off the circuit breaker and light switch, to the
bulb you intend to replace with a LightSpeaker®5.
B) Remove the existing light
bulb.
Step 2: Check your connector
type. Your Klipsch®LightSpeaker®
5 is designed to fit into a standard
Edison connector. It will not fit any
other type connector.
WARNING!
Turn off circuit breakers
to all lighting fixtures you
are working on!
STOP!
Check your
connector!

10
Tech Support: 1-800-KLIPSCH
Step 3: Test fit your LightSpeaker®5.
Your LightSpeaker®5 is designed to fit directly into most
5“ (R30) and 6“ (R40) down light cans by simply removing
the existing light and, in the same manner as a light bulb,
re-installing your LightSpeaker®5 in its place. You may
simply test fit your LightSpeaker®5.
If your LightSpeaker®5 fits directly into your recessed
lighting fixture without any modifications you can skip
forward to Step 6.
If your LightSpeaker®5 does not fit either because the
trim ring/reflector opening is too small or the lighting
fixture is not set deep enough, please go to www.klipsch.
com or refer to your Complete System Manual.
Step 4: Installing the trim ring.
Your LightSpeaker®5 comes with their own integrated
trim ring. There are two different sizes. Choose
your trim ring based on either A or B below and place
the LightSpeaker®5 trim ring over the back of the
LightSpeaker®5. Be sure the finished side is facing out.
Upon completion of the install, this trim ring should fit
snuggly and uniformly to the ceiling and should also seat
properly around the entire edge of your LightSpeaker®5.
A) The thicker trim ring will be used when your
LightSpeaker®5 is installed into a 6” lighting fixture.
Other manuals for LightSpeaker
2
This manual suits for next models
1
Table of contents
Other Klipsch Stereo System manuals

Klipsch
Klipsch Gig User manual

Klipsch
Klipsch kmc1 User manual

Klipsch
Klipsch kmc1 User manual

Klipsch
Klipsch KMC 3 User manual

Klipsch
Klipsch Reference Premiere RP-280F User manual

Klipsch
Klipsch SB 120 User manual

Klipsch
Klipsch STADIUM User manual

Klipsch
Klipsch STADIUM User manual

Klipsch
Klipsch The Capitol Three Special Edition User manual

Klipsch
Klipsch STADIUM User manual