Ares Optim 80 CP User manual
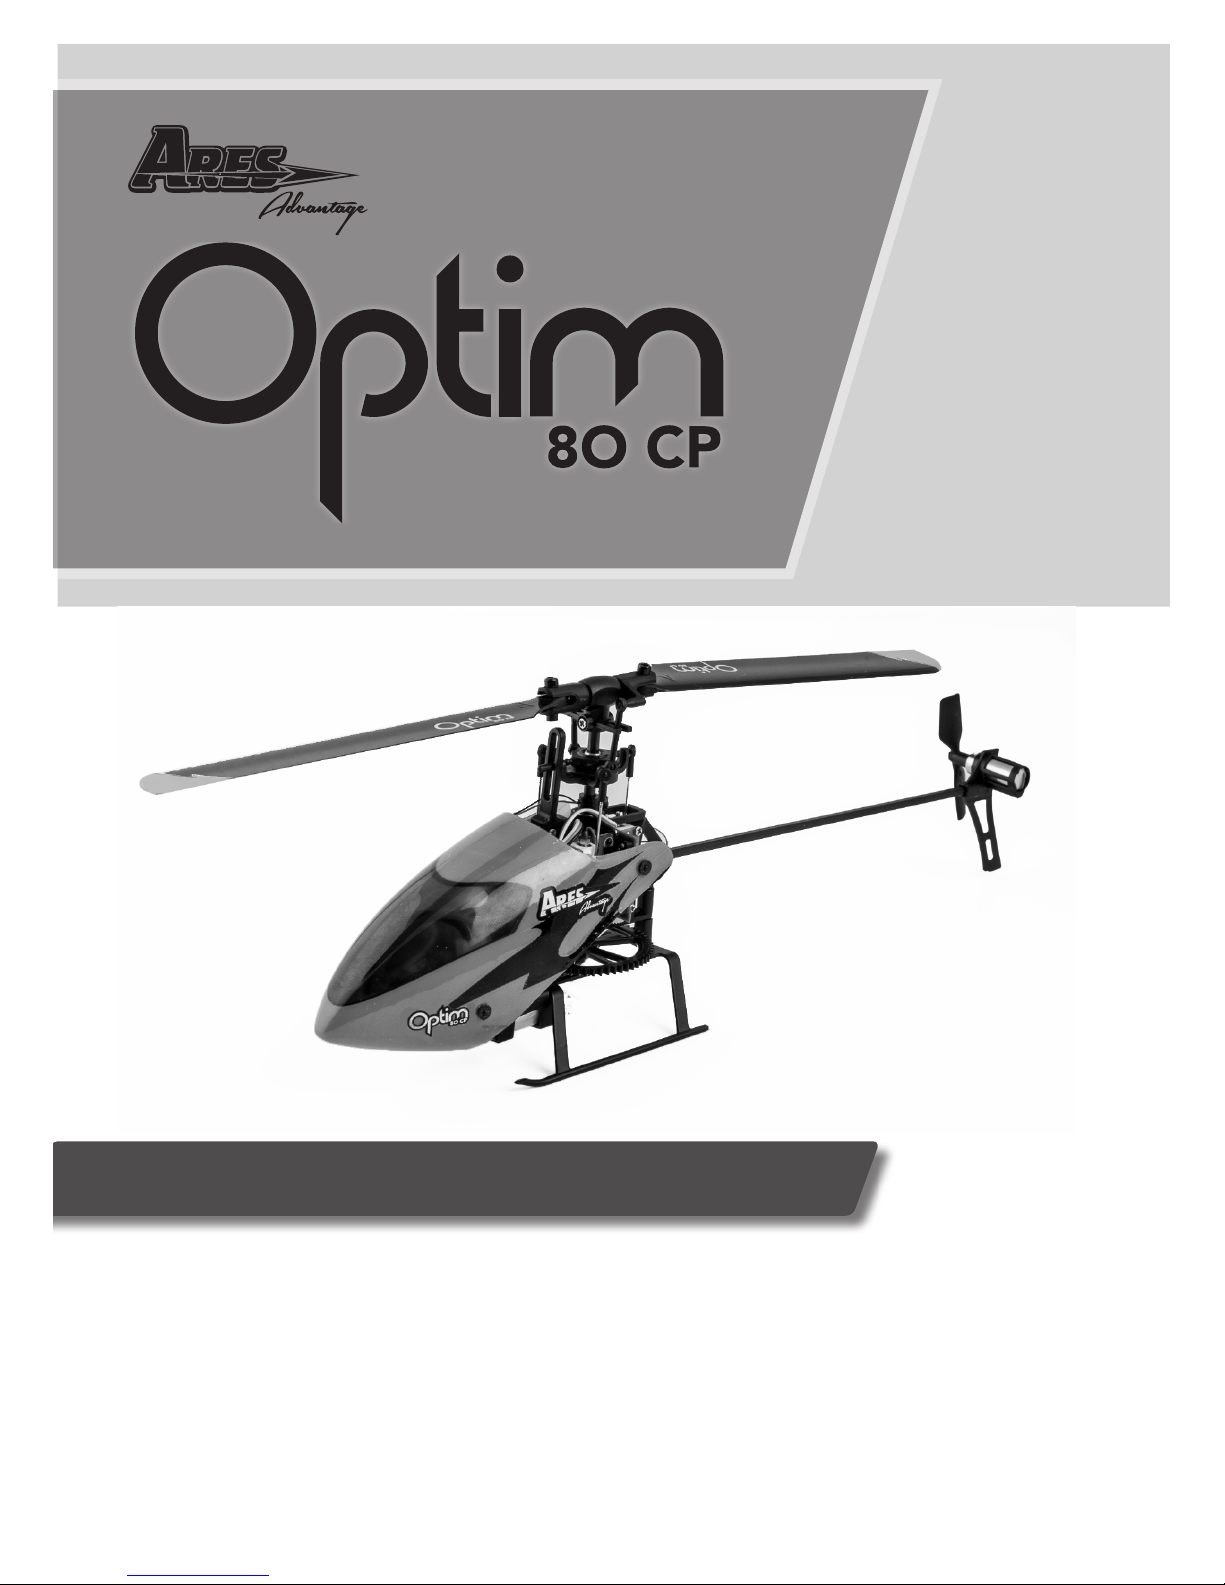
Instruction Manual
Length: 8.5 in (215.9mm)
Height: 3 in (76.2mm)
Main Rotor Diameter: 8 in (203.2mm)
Weight with Baery: 1.3 oz (36g)
Main Motor: Coreless (installed)
Tail Motor: Micro-Coreless (installed)
Baery: 180mAh 1S 3.7V 25C LiPo (included)
Transmier: 6-channel 2.4GHz (included)
On-Board Electronics: 3-in-1 control unit with High Speed Linear Servos
Specifications

2
Table of Contents
Contents
Specicaons ........................................................................... 1
Introducon . ........................................................................... 3
Safety Precauons .................................................................... 4
General Precauons ................................................................. 4
FCC Informaon ....................................................................... 5
Opm 80 CP Contents............................................................... 5
Needed to Complete ................................................................ 6
LiPo Baery Warnings .............................................................. 6
Charging LiPo Baery ............................................................... 8
Natural Flight Progression ........................................................ 9
Stability Control Switch .......................................................... 10
Transmier Details ................................................................. 10
Dual Rate Switch .................................................................... 11
Idle Up Switch (Stunt)............................................................. 11
Throle Hold Switch .............................................................. 11
Flight Controls ........................................................................ 12
Binding Procedure .................................................................. 13
Flight Baery Install ............................................................... 13
Exploded View ....................................................................... 14
Parts Legend. ......................................................................... 15
Warranty Informaon............................................................. 16

3
Introduction
The Ares (air-eez) Advantage Opm 80 CP is the ideal RC helicopter for
learning how to take the big step from sport ying to 3D. If you’re new
to CP ight, your rst step is to y using the advanced 6-axis stabilizaon
system on the Opm 80 CP that allows you to y basic sport maneuvers.
All you have to do if you happen to get into trouble is let go of the scks
and the 80 CP will right itself, return to a level hover and avoid a potenal
crash. When you’re ready to give 3D ying a try, just the ip of a switch
puts you into 3-axis control mode and you’re able to try just about any 3D
move you can imagine. If you get out of control, just ipping the switch
back to 6-axis control automacally stabilizes the heli – helping to make
the Opm 80 CP the best product on the market to help you advance from
sport ying to 3D ight!
The Ares Advantage Opm 80 CP airframe is powered by a coreless motor
and comes 100% factory-assembled as a RTF (Ready-to-Fly) heli, so you get
a 6-channel 2.4Ghz transmier, a 180mAh 1S 3.7V 25c LiPo baery and
even the AA baeries to power your transmier. A 500mA DC Dual Port
Charger and 5V 1S USB Power Cord are also included so you can charge 2
baeries at once to maximize your ying me. With nothing extra to buy,
you’ll be ying your Ares Advantage Opm 80 CP either indoors, or outside
in light winds within minutes of opening the box!

4
Failure to use this product in the intended manner as described in the
following instrucon can result in damage and/or personal injury. A Radio
Controlled (RC) airplane/helicopter/quadcopter is not a toy! If misused it
can cause serious bodily harm and damage to property.
Keep items that could become entangled in the rotor blades away from the
rotor blades, including loose clothing, tools, etc. Be especially sure to keep
your hands, face and other parts of your body away from the rotor blades.
As the user of this product you are solely and wholly responsible for operang
it in a manner that does not endanger yourself and others or result in damage
to the product or the property of others.
This model is controlled by a radio signal that is subject to possible
interference from a variety of sources outside your control. This interference
can cause momentary loss of control so it is advisable to always keep a safe
distance from objects and people in all direcons around your model as this
will help to avoid collisions and/or injury.
Safety Precautions
• Never operate your model if the voltage of the
baeries in the transmier is too low.
• Always operate your model in an open area away from
obstacles, people, vehicles, buildings, etc.
• Carefully follow the direcons and warnings for this
and any oponal support equipment
(chargers, rechargeable baeries, etc.).
• Keep all chemicals, small parts and all electronic
components out of the reach of children.
• Moisture causes damage to electronic components.
Avoid water exposure to all electronic components,
parts, etc. not specically designed and protected for
use in water.
• Never lick or place any poron of the model in your
mouth as it could cause serious injury or e v e n d e a t h .
General Precautions

5
FCC Information
This device complies with part 15 of the FCC rules. Operaon is subject to
the following two condions:
(1) This device may not cause harmful interference, and (2) this device must
accept any interference received, including interference that may cause
undesired operaon.
Cauon: Changes or modicaons not expressly approved by the party
responsible for compliance could void the user’s authority to operate the
equipment.
This product contains a radio transmier with wireless technology which
has been tested and found to be compliant with the applicable regulaons
governing a radio transmier in the 2.400GHz to 2.4835GHz frequency
range.
The associated regulatory agencies of the following countries recognize the
noted cercaons for this product as authorized for sale and use: USA
Optim 80 CP Contents
Item Descripon
Not Available Separately ........... Opm 80 CP RTF Airframe
AZSZ2405 ...................................6-Channel Helicopter Transmier, 2.4GHz,
Mode 2
Not Available Separately ............ AA Baeries (4pcs)
AZSZ2473 ................................180mAh 1-Cell/1S 3.7V 25C LiPo Baery (2pcs)
AZSZ2484 ................................. 500mA DC USB Dual Port Charger
AZSZ2449 .................................... Main Rotor Blade Set
AZSZ2439 .................................... Tail Rotor

6
Needed to Complete
The Opm 80 CP RTF includes everything
needed to y right out of the box. There’s
nothing extra to buy or provide!
LiPo Battery Warnings
IMPORTANT NOTE: Lithium Polymer baeries are signicantly more
volale than the alkaline, NiCd or NiMH baeries also used in RC
applicaons. All instrucons and warnings must be followed exactly to
prevent property damage and/or personal injury as mishandling of LiPo
baeries can result in re. By handling, charging or using the included LiPo
baery you assume all risks associated with LiPo baeries. If you do not
agree with these condions please return the complete product in new,
unused condion to the place of purchase immediately.

7
You MUST charge the LiPo baery in a safe area away from
ammable materials.
NEVER charge the LiPo baery unaended at any me. When
charging the baery you should A LWAY S remain in constant
observaon to monitor the charging process and react immediately
to any potenal problems that may occur.
Aer ying/discharging the baery you must allow it to cool to
ambient/room temperature before recharging.
To charge the LiPo baery you MUST use only the included dual
port USB charger. Failure to do so may result in a re causing
property damage and/or personal injury. DO NOT use a NiCd or
NiMH charger.
If at any me during the charge or discharge process the baery
begins to balloon or swell, disconnue charging or discharging
immediately. Quickly and safely disconnect the baery, then place
it in a safe, open area away from ammable materials to observe
for at least 15 minutes. Connuing to charge or discharge a baery
that has begun to balloon or swell can result in a re. A baery that
has ballooned or swollen even a small amount must be removed
from service completely.
Store the baery at room temperature, approximately 68–77°
Fahrenheit (F), and in a dry area for best results.
•
•
•
•
•
•
When transporng or temporarily storing the baery, the
temperature range should be from approximately 40–100°F. Do not
store the baery or model in a hot garage, car or direct sunlight
whenever possible. If stored in a hot garage or car the baery can
be damaged or even catch re!
Do not over-discharge the LiPo baery. Discharging the LiPo baery
too low can cause damage to the baery resulng in reduced
power, ight duraon or failure of the baery enrely.
•
•

8
LiPo cells should not be discharged to below 3.0V each under load.
In the case of the 1-Cell/1S 3.7V LiPo baery used to power the
Opm 80 CP, you will not want to allow the baery to fall below
3.0V during ight.
The 3-in-1 control unit has low voltage cuto (LVC) protecon.
When the ight baery voltage drops below a set point the LED will
begin to blink rapidly and the throle gradually is reduced. At this
point the baery is at about 3.4V and should be recharged.
•
•
You MUST charge the included 180mAh 1-Cell/1S 3.7V 25C LiPo Baery
(AZSZ2473) using the included 500mA DC USB Dual Port Charger (AZSZ2484)
or a suitably compable LiPo baery charger. Charging the LiPo baery using
a non-LiPo baery compable charger (such as a NiCd or NiMH baery
charger), or even a dierent LiPo baery charger with the incorrect sengs,
may result in damage to the baery or even re resulng in property damage
and/or personal injury.
To charge the ight baery, rst plug the Mini-USB charge cord into the
500mA DC USB Dual Port Charger. Then plug the standard USB end into your
computer or other suitable 5V USB outlet. The LED will start GREEN and
when you plug the ight baery into the charger the LED change to RED.
When the charge is complete the LED returns to GREEN.
Charging LiPo Battery

9
The Opm 80 CP oers two ight modes that enable pilots with varying
degrees of experience to enjoy CP helicotper ight. The rst mode is Stable
Mode, which the pilot can turn on by seng the switch labeled “Stable
Mode” to the “ON” posion.
In Stable Mode, the helicopter ies like a high performance tradional CP
helicopter, except that there is a stabilizing force which pulls it toward a
neutral hover. As the helicopter moves further from neutral, this restoring
or stabilizing force increases. Thus the helicopter can not become inverted
when Stable Mode is acve. When the cyclic sck is released, the helicopter
quickly returns to neutral, making stable mode excellent for low-me pilots
who are not enrely comfortable with tradional CP ight. The helicopter
ies and feels like a CP, but it returns to a stable conguraon when no
inputs are applied, thus making it easier to avoid crashes.
Stable Mode funcons in both normal and inverted ight. It is turned o by
moving the switch to the up, or “OFF” posion. When in “OFF”, the stabili-
zaon soware is disabled and the helicopter responds quickly and nimbly
to the pilot’s input. In this mode the helicopter does NOT return to neutral
when the cyclic sck is released. If the pilot loses control in this mode, they
can simply ip the Stable Mode switch back to the “ON” posion, to help
regain control of the helicopter.
If stability mode is acvated when the helicopter is inverted, the helicopter
will stabilize in an inverted conguraon. The helicopter responds to cyclic
inputs like a CP helicopter, but when the cyclic sck is released the helicop-
ter automacally returns to neutral inverted ight. This is a very useful tool
for pilots looking to progress into and master inverted ight.
Natural Flight Progression

10
Transmitter Details
Stability Mode Switch
Normal/3D Switch
Dual Rate Switch
Throttle Hold Switch
Throttle/Rudder
(Throttle/Yaw)
Aileron/Elevator
(Roll/Pitch)
Throttle Trim
Rudder Trim Aileron Trim
Elevator Trim
ON/OFF Switch Power Indicator Light
Stability Control Switch
The Ares Optim 80 is equipped with NFP (Natural Flight Progression) technology
that allows the user to start with stabilized CP ight, then move into normal CP
ight. It’s recommended that pilots
new to CP ight start by ying in
stable mode before attempting
normal CP ight. To put the
helicopter into stable mode, locate
the stable switch located on the front
left of the transmitter (see photo)
and ip it to the on position. In this
mode, the pilot will experience
stable yet agile ight accomplished
by the helicopter returning to
level ight when the cyclic stick is
returned to neutral.
Other manuals for Optim 80 CP
1
Table of contents
Other Ares Toy manuals

Ares
Ares TIGER MOTH 75 User manual

Ares
Ares Nanos FP75 User manual

Ares
Ares Gamma Pro V2 User manual

Ares
Ares Alpine 1200 Operator's manual

Ares
Ares Chronos CX 100 User manual

Ares
Ares fokker D.VII User manual

Ares
Ares V-Hawk X4 User manual

Ares
Ares Gamma V2 Float Set User manual

Ares
Ares Crusader II RTF Manual

Ares
Ares Optim 80 CP User manual

Ares
Ares P-51D Mustang 350 User manual

Ares
Ares Ethos FPV User manual

Ares
Ares Chronos FP 110 User manual

Ares
Ares CHRONOS CX 75 User manual

Ares
Ares Gamma 370 Pro User manual

Ares
Ares Gamma 370 Pro User manual

Ares
Ares AZSA1700 User manual

Ares
Ares sopwith pup User manual

Ares
Ares Decathlon User manual

Ares
Ares Gamma 370 Pro User manual


