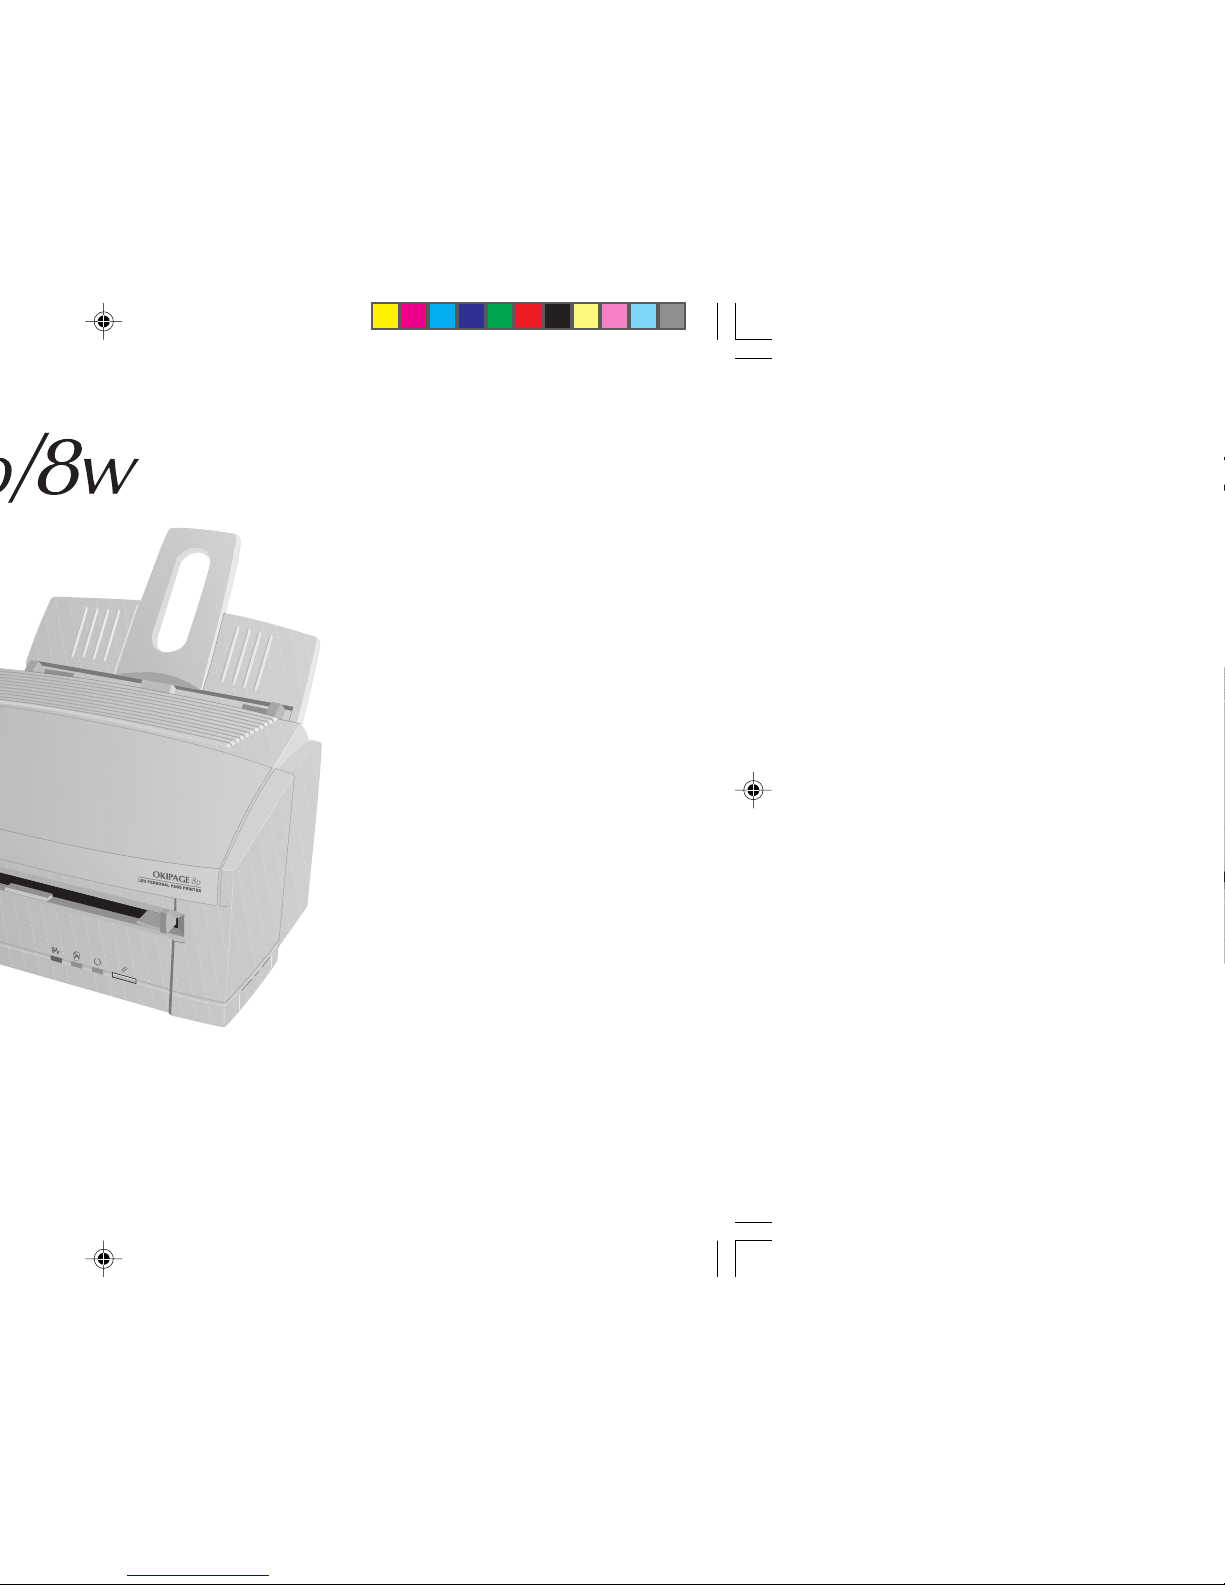
Oki OKIPAGE 8W User manual
Setup Guide
8pwsgb.P65 24/08/98, 21:501

2
OKIPAGE 8p/8w
Notice
Every effort has been made to ensure that the information in this
document is complete, accurate, and up-to-date. Oki assumes no
responsibility for the results of errors beyond its control. Oki also
cannot guarantee that changes in software and equipment made by other
manufacturersandreferredtointhisguidewillnotaffecttheapplicability
of the information in it. Mention of software products manufactured by
other companies does not necessarily constitute endorsement by Oki.
First edition March 1998
Copyright
© Copyright 1998 by Oki.All rights reserved.
Written and produced by the Oki Documentation Dept.
Trademarks
Oki is a registered trademark of
Oki Electric Industry Company, Ltd.
ENERGY STAR is a trademark of the
United States Environmental Protection Agency
Microsoft, MS-DOS and Windows are registered trademarks of
Microsoft Corporation.
HP and HP LaserJet are registered trademarks of
Hewlett Packard.
TrueType is a registered trademark of
Apple Computer.
IBM is a registered trademark of
International Business Machines Corp.
8pwsgb.P65 24/08/98, 21:502

Setup Guide 3
English
Contents
Safety instructions .................................................................. 4
Printer Features........................................................................ 6
Additional features for OKIPAGE 8p ................................. 6
Checking the contents ............................................................ 7
Printer Components ................................................................ 8
Setting up your printer ............................................................9
Attaching the paper input tray........................................... 9
Removing the image drum protection sheet ...................10
Installing toner .................................................................11
Loading paper ..................................................................12
Connecting the data cable ...............................................13
Connecting power to your printer ...................................13
Installing a Windows™ printer driver ..................................14
Other Items on the CD ......................................................14
Windows 3.1x ...................................................................15
Windows 95/98 and Windows NT4 .................................15
Index ......................................................................................16
8pwsgb.P65 24/08/98, 21:503

4
OKIPAGE 8p/8w
Safety instructions
Your Oki printer has been carefully designed to give you years
of safe, reliable performance. As with all electrical equipment,
however, there are a few basic precautions you should take to
avoid hurting yourself or damaging the printer:
• Read the set up instructions in this handbook carefully. Be
sure to save it for future reference.
• Read and follow all warning and instruction labels on the
printer itself.
• Unplug the printer before you clean it. Use only a damp
cloth; do not use liquid or aerosol cleaners.
• Place your printer on a firm, solid surface. If you put it on
something unsteady, it may fall and be damaged; if you
place it on a soft surface, such as a rug, sofa, or bed, the
vents may become blocked, causing the printer to overheat.
• To protect your printer from overheating, make sure all
openings on the printer are not blocked. Do not put the
printer on or near a heat source, such as a radiator or heat
register. Keep it out of direct sunlight. Allow enough room
around the printer for adequate ventilation and easy access
to the paper trays.
• Do not use your printer near water, or spill liquid of any
kind into it.
• Be certain that your power source matches the rating listed
on the back of the printer. If you are not sure, check with
your dealer or with your local power company.
• Your printer has an earthed, 3-pin plug as a safety feature,
and it will only fit into an earthed outlet. If you can not
plug it in, chances are you have an older, non-earthed
outlet; contact an electrician to have the outlet replaced.
Do not use an adapter to defeat the earthing.
• To avoid damaging the power cable, do not put anything
on it or place it where it will be walked on. If the cable
becomes damaged or frayed, replace it immediately.
• If you are using an extension cable or power strip with the
printer, make sure that the total of the amperes required by
all the equipment on the extension is less than the
extension’s rating. The total ratings of all equipment
plugged into the outlet should not exceed 13 amperes.
• The power outlet into which you plug your printer must
remain accessible at all times.
• Lifting the top cover exposes hot surfaces. These are clearly
labelled. Do NOT touch them.
• Do not poke anything into the ventilation slots on the
printer; you could get a shock or cause a fire.
8pwsgb.P65 24/08/98, 21:504
Setup Guide 5
English
• Aside from the routine maintenance described in this
handbook, do not try to service the printer yourself;
opening the cover may expose you to shocks or other
hazards. Always contact your local dealer.
• Do not make any adjustments other than those outlined in
the handbook. You may cause damage requiring extensive
repair work.
• It is recommended that the printer be switched off prior to
opening or removing covers.
If anything happens that indicates that your printer is not
working properly or has been damaged, unplug it immediately
and contact your dealer.
These are some of the things to look for:
• The power cable or plug is frayed or damaged.
• Liquid has been spilled into the printer, or it has been
exposed to water.
• The printer has been dropped, or the cabinet is damaged.
• The printer does not function normally when you are
following the operating instructions.
EMC/Low Voltage Directive
This product complies with the requirements of the
CouncilDirectives 89/336/EECand 73/23/EECon the
approximationofthe lawsofthemember statesrelating
toelectromagnetic compatibilityandlow voltage.
Conventions
This symbol marks a ‘note’. Notes are hints or tips which
offer additional information to help you.
This symbol marks a ‘caution’. Cautions are special
notices which you should read and follow carefully to
avoid possible damage to your equipment.
This symbol marks a ‘warning’. Warnings are special
notices which you should read and follow carefully to
avoid potential danger to yourself or others.
Energy Star
AsanENERGYSTAR Partner,Okihasdeterminedthatthis
productmeets theENERGY STAR guidelinesfor energy
efficiency.
8pwsgb.P65 24/08/98, 21:505

6
OKIPAGE 8p/8w
Printer Features
Congratulations! You have selected a printer with fast output,
excellent print quality, and easy operation.
Your printer’s features include:
• 8 page per minute (ppm) output
• 100 sheet universal paper feeder, plus manual feed for
envelopes and special documents
• Outstanding print quality utilising a solid state LED array
• Compatible with Windows™ applications
• Bidirectional Centronics IEEE 1284 parallel interface
• Onscreen soft operator panel for printer setup and control,
and status monitor for realtime printer status information
• 600 × 600 DPI output
Additional features for OKIPAGE 8p
• HP PCL®6 (HP LaserJet®6p compatible)
• 600 × 1200 DPI output
• 2MB of memory with Enhanced Memory Management,
upgradeable to 6MB
• 45 scalable fonts
• Compatible with Windows™ and DOS applications
8pwsgb.P65 24/08/98, 21:506
Setup Guide 7
English
Checking the contents
Carefully remove all the contents from the box and unpack
your printer. In addition to the printer manual(s) you should
have the following items:
• Printer
• Toner cartridge
• Paper input tray
• Image drum cartridge
(shipped inside printer but not ready for use)
Other items in the box:
• driver disk(s)
• power cable
• lightproof plastic bag
Check the contents carefully…
if anything appears to be missing or damaged, contact your
dealer as soon as possible.
8pwsgb.P65 24/08/98, 21:507

8
OKIPAGE 8p/8w
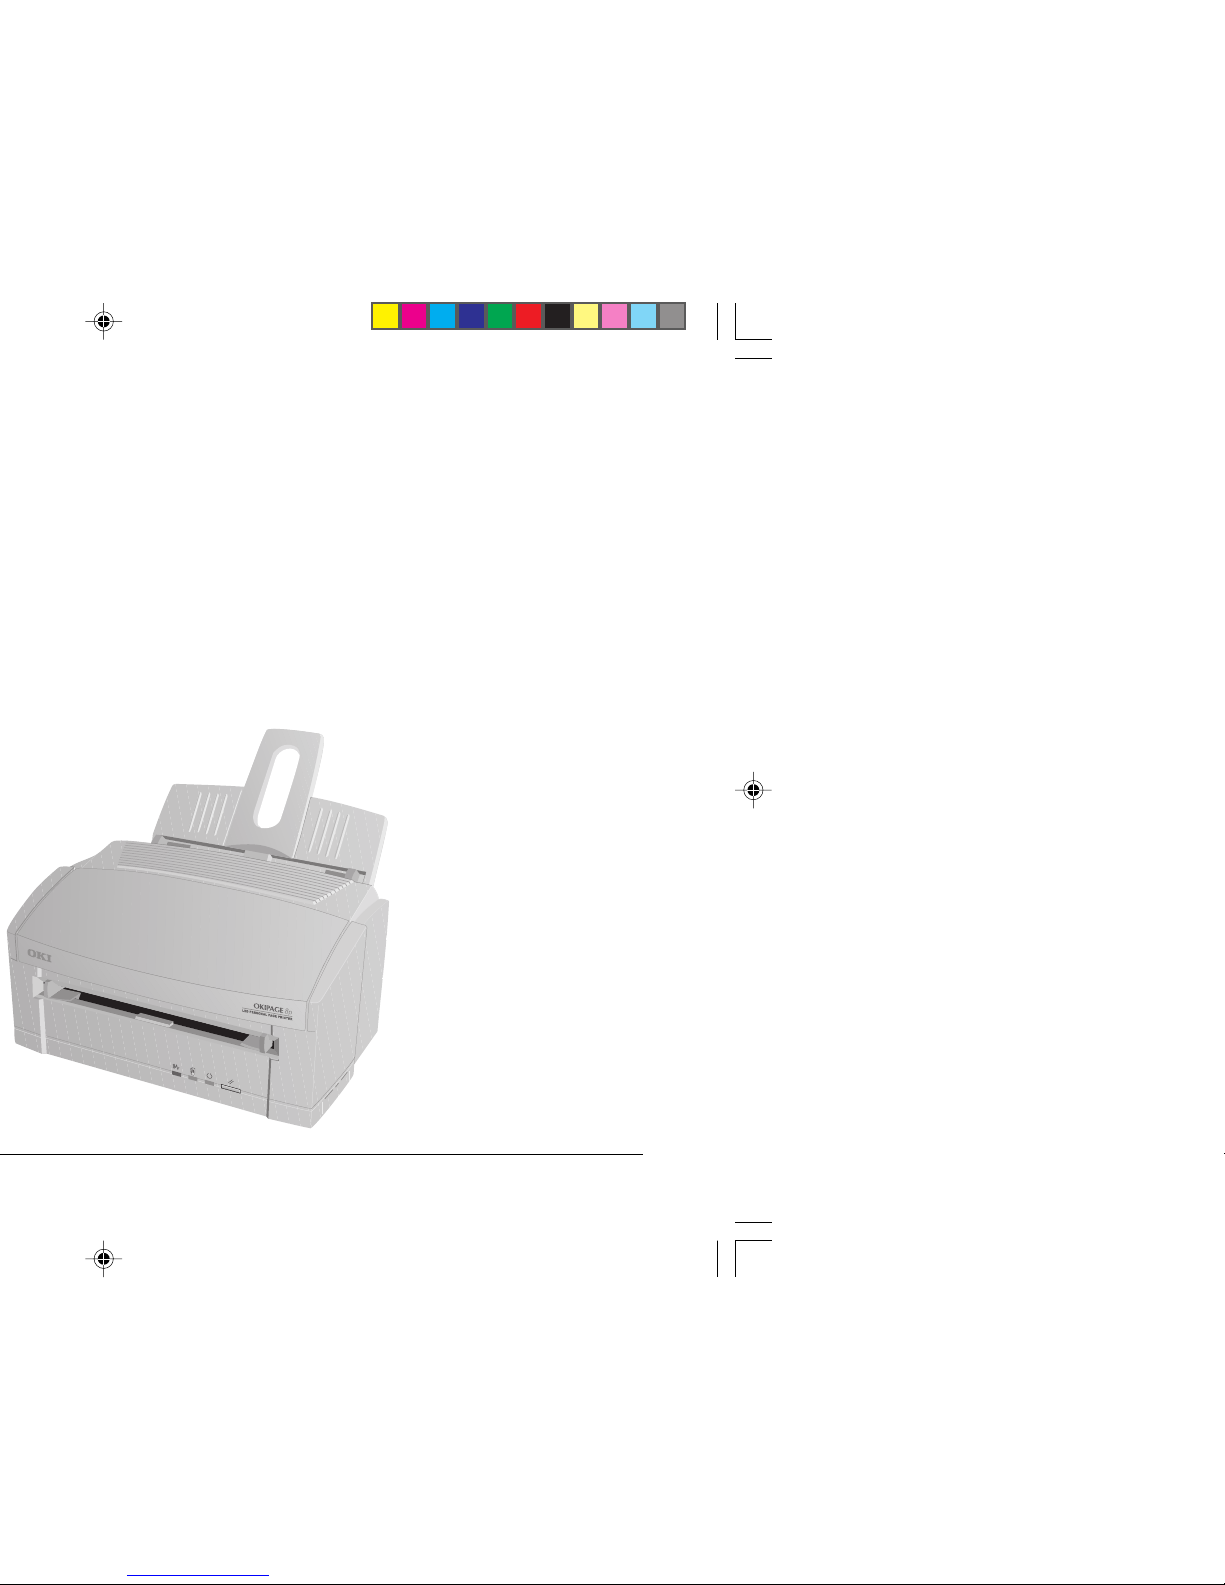
Printer ComponentsPrinter Components
Paper feed/exit tray
Manual feed slot
Control panel (8p)
LED array
Image drum cartridge
Toner cartridge
Power switch
Powercable receptacle
Parallelinterface
connector
Printer cover
8pwsgb.P65 24/08/98, 21:508
Setup Guide 9
English
Setting up your printer
Choose a location that is clean, dry, well ventilated and out
of direct sunlight. The area should be free of electromagnetic
interference and not suffer from extremes or drastic changes
in temperature or humidity. The printer should be placed on
a surface which is not be subject to shock or vibration.
Before you continue, you should already have:
• Checked that all contents as listed have been supplied.
• Familiarised yourself with printer components.
• Identified a suitable location for your printer.
The following sections will guide you through:
• Attaching the paper input tray.
• Removing the image drum protection sheet.
• Installing toner.
• Loading paper.
• Connecting your printer.
• Installing a printer driver.
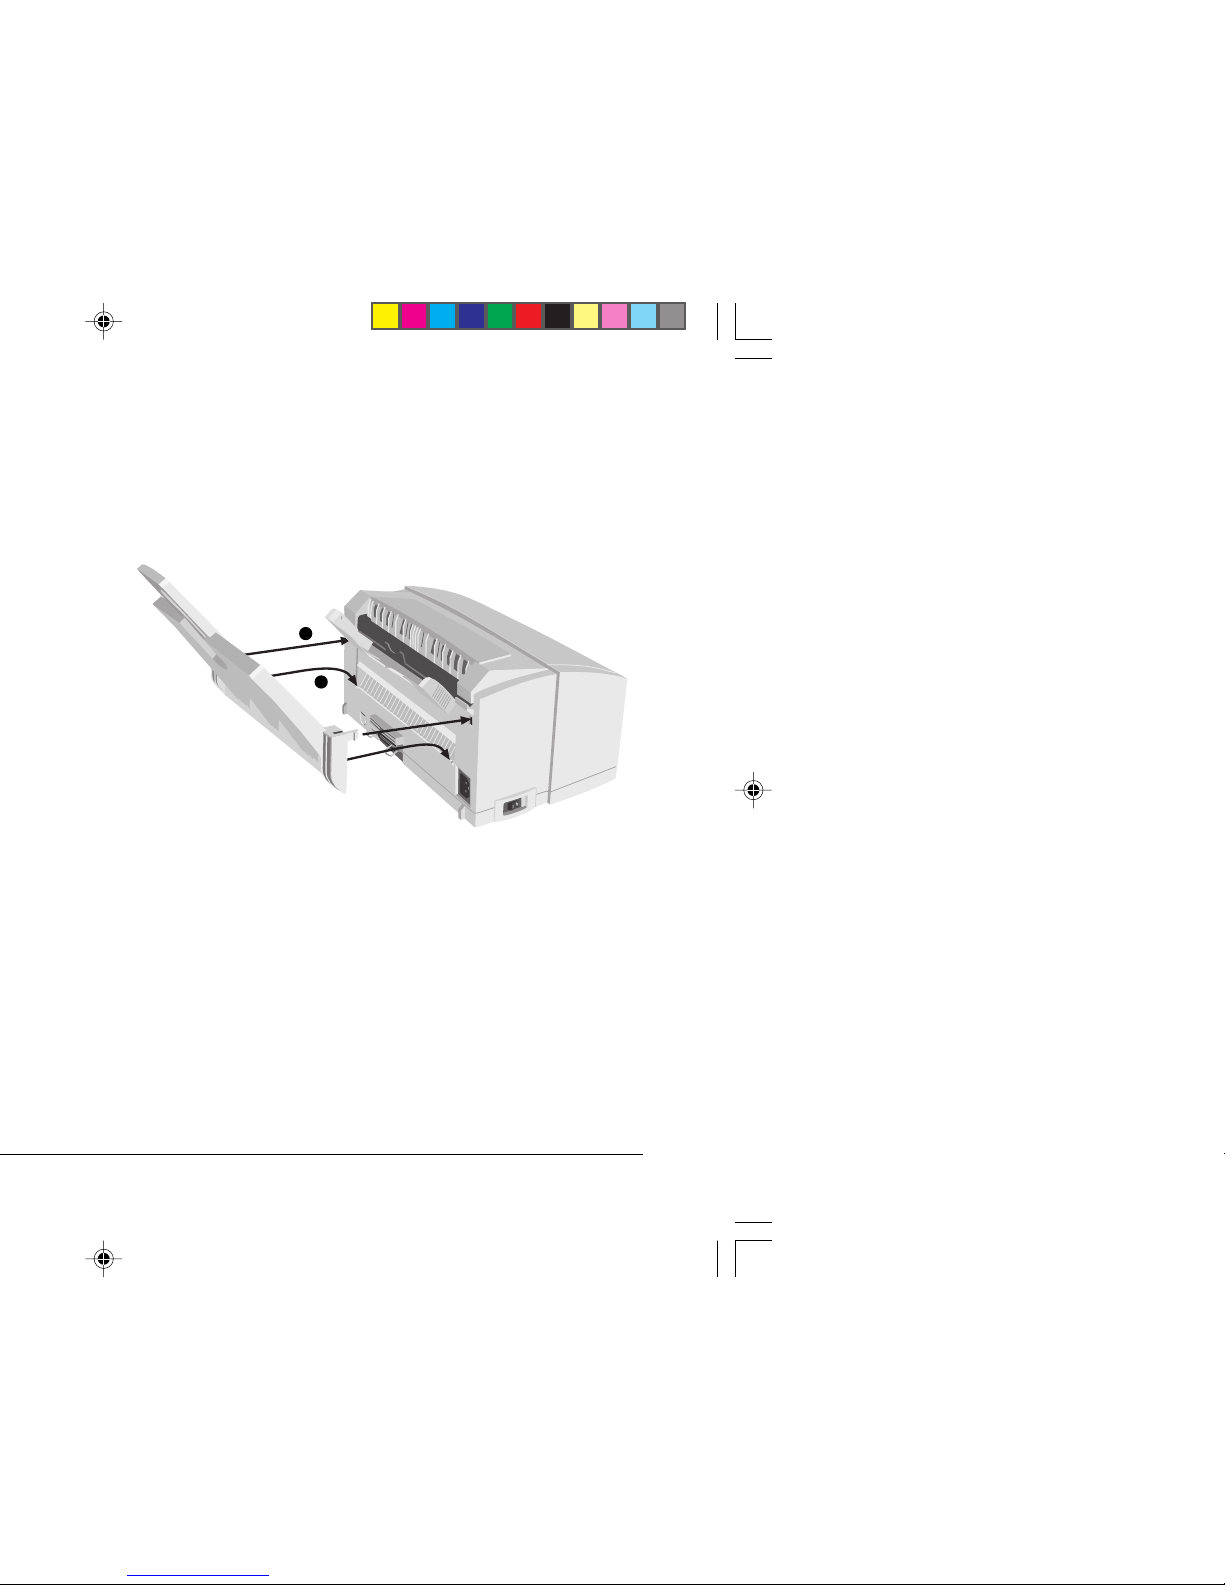
Attaching the paper input tray
1Insert the paper tray so that the hooks on the lower edge
latch with the printer.
2Push the paper tray forwards until it latches and is secure
on both sides.
1
2
8pwsgb.P65 24/08/98, 21:509
10
OKIPAGE 8p/8w
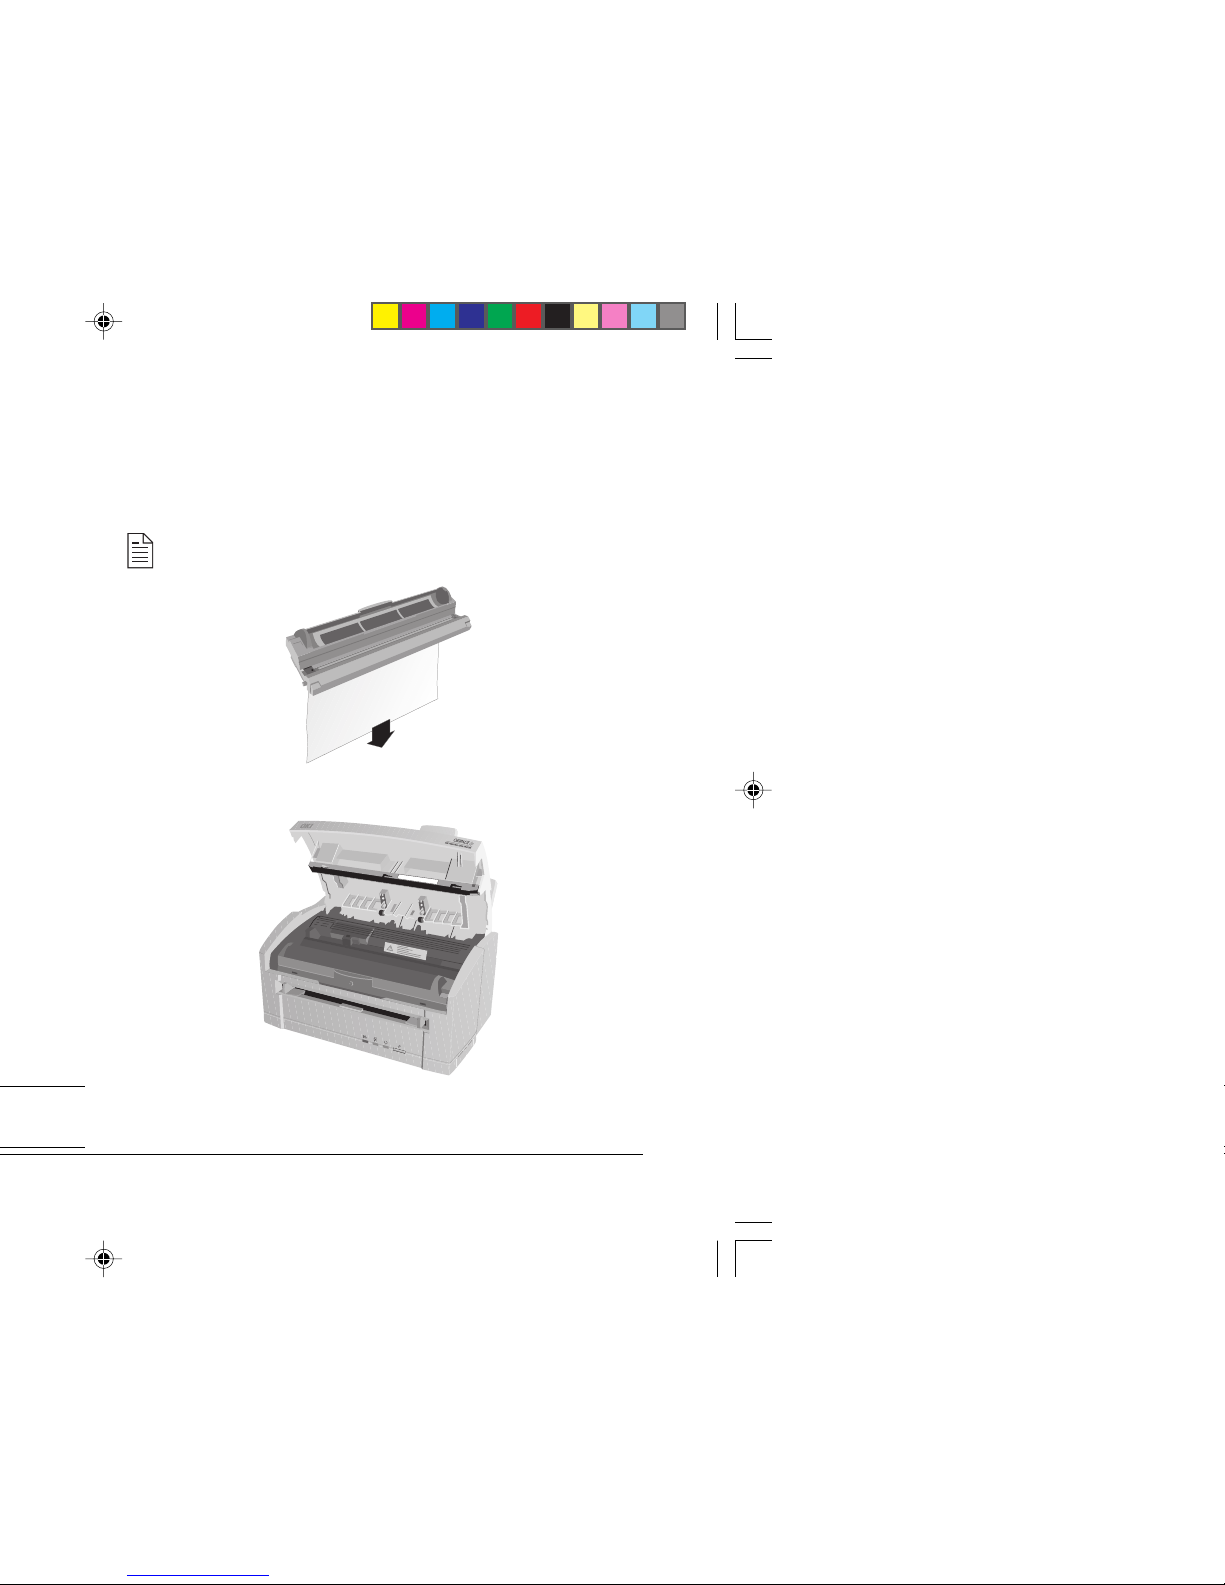
Removing the image drum protection sheet
1Open the cover.
2Remove the image drum cartridge.
3Remove the protective sheet.
Keep the image drum as level as possible to avoid toner
spillage. (Some toner is added during the test phase.)
Do not expose the image drum to strong light.
Do not touch the image drum’s green surface.
4Replace the image drum.
8pwsgb.P65 24/08/98, 21:5010
This manual suits for next models
2
Table of contents
Other Oki Printer manuals


Oki
Oki OKIPAGE14e Use and maintenance manual

Oki
Oki Okipage8z Use and maintenance manual

Oki
Oki OKIPAGE8c User manual

Oki
Oki OKIPOS X400 User manual

Oki
Oki OKIPAGE14e User manual

Oki
Oki C 5650dn Installation instructions

Oki
Oki C5800Ldn Series User manual

Oki
Oki C7200 User manual

Oki
Oki B6250dn Installation instructions

Oki
Oki C9600hdn Configuration guide


