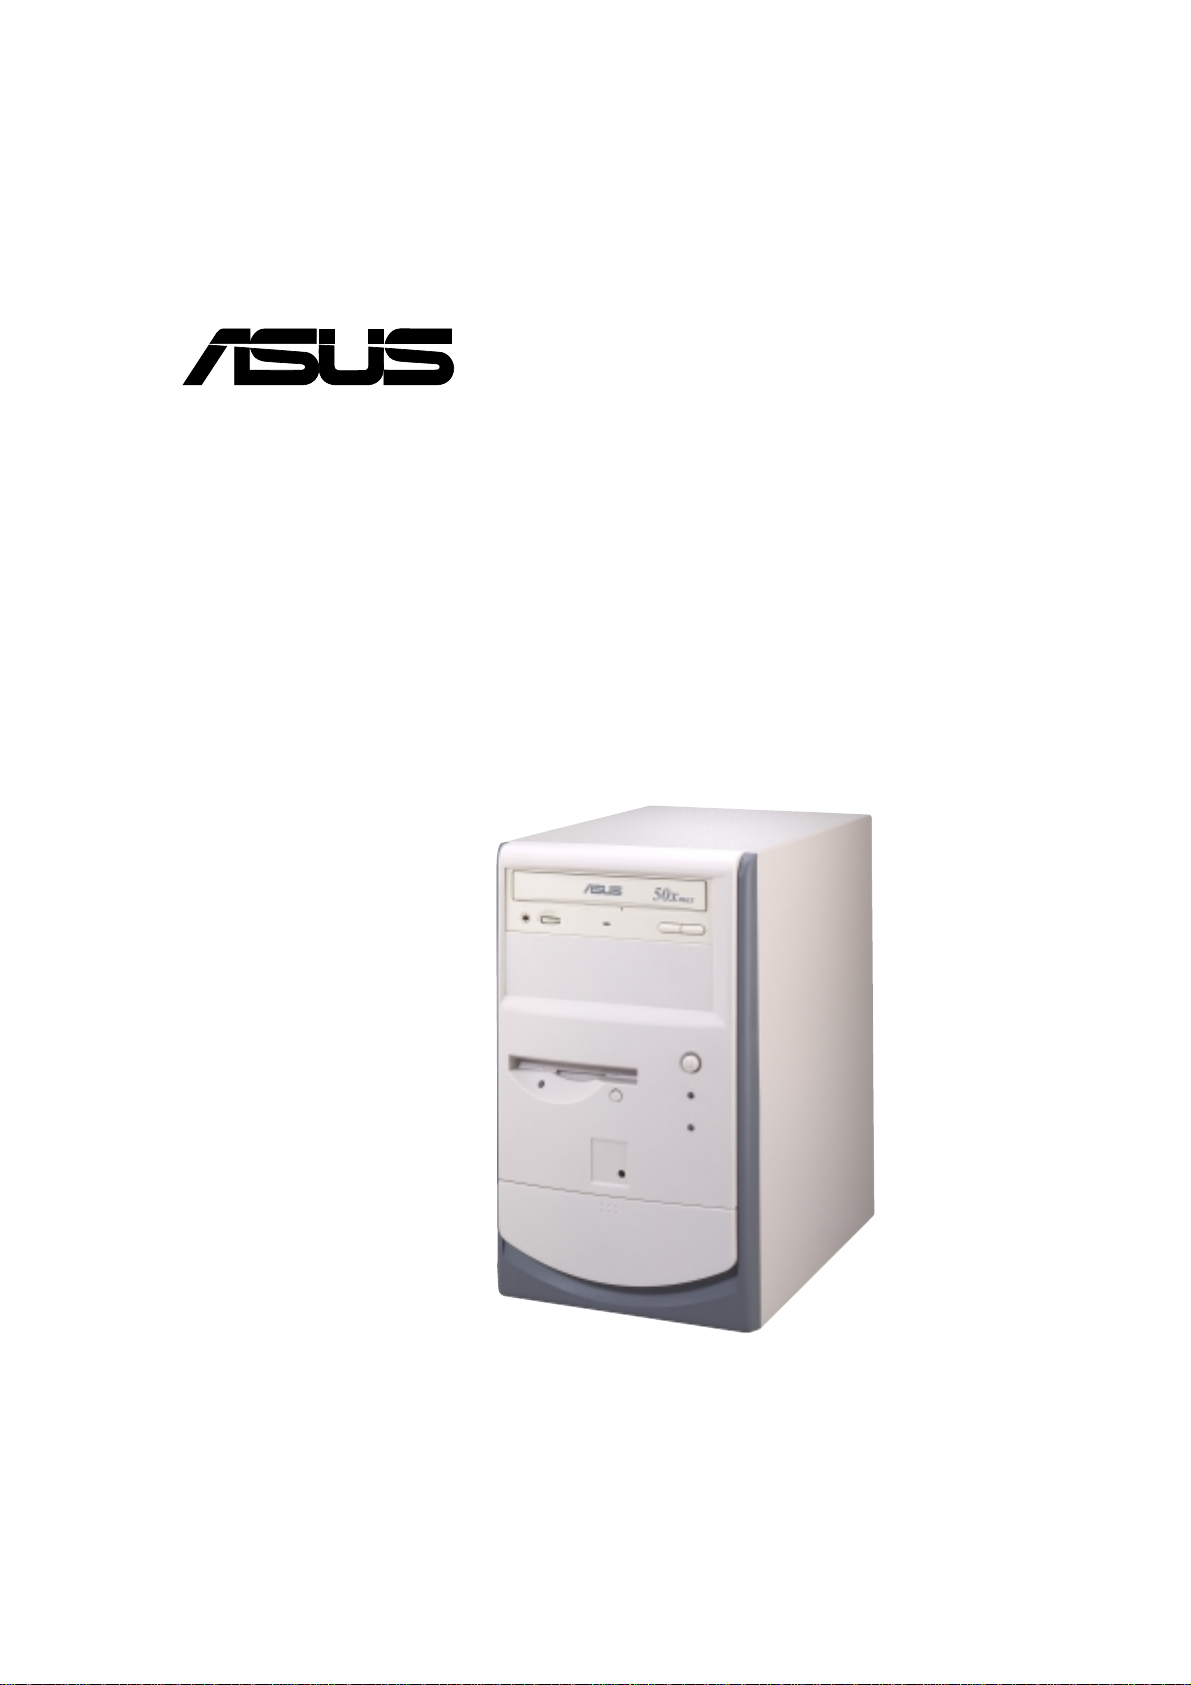
Asus Terminator Tualatin User manual

Barebone System
®
Terminator
Tualatin
User’s Guide

2
Checklist
Disclaimer/Copyrights
No part of this manual, including the products and software described in it, may be
reproduced, transmitted, transcribed, stored in a retrieval system, or translated into
anylanguageinanyformorbyanymeans,exceptdocumentationkeptbythepurchaser
forbackuppurposes, without theexpresswritten permission ofASUSTeKCOMPUTER
INC. (“ASUS”).
ASUS PROVIDES THIS MANUAL “AS IS”WITHOUT WARRANTY OF ANY KIND,
EITHER EXPRESS OR IMPLIED, INCLUDING BUT NOTLIMITEDTO THE IMPLIED
WARRANTIES OR CONDITIONS OF MERCHANTABILITY OR FITNESS FOR A
PARTICULAR PURPOSE. IN NO EVENT SHALL ASUS, ITS DIRECTORS,
OFFICERS, EMPLOYEES ORAGENTS BE LIABLE FORANY INDIRECT, SPECIAL,
INCIDENTAL, OR CONSEQUENTIAL DAMAGES (INCLUDING DAMAGES FOR
LOSS OF PROFITS, LOSS OF BUSINESS, LOSS OF USE OR DATA,
INTERRUPTION OF BUSINESS AND THE LIKE), EVEN IF ASUS HAS BEEN
ADVISED OF THE POSSIBILITY OF SUCH DAMAGES ARISING FROM ANY
DEFECT OR ERROR IN THIS MANUAL OR PRODUCT.
Productwarranty or servicewill not be extended if:(1) the product is repaired,modified
or altered, unless such repair, modification of alteration is authorized in writing by
ASUS; or (2) the serial number of the product is defaced or missing.
Productsand corporatenames appearing in this manual may or may not be registered
trademarks or copyrights of their respective companies, and are used only for
identification or explanation and to the owners’benefit, without intent to infringe.
The product name and revision number are both printed on the product itself. Manual
revisions are released for each product design represented by the digit before and
after the period of the manual revision number. Manual updates are represented by
the third digit in the manual revision number.
Forpreviousorupdatedmanuals,BIOS,drivers,or product release information, contact
ASUSathttp://www.asus.com.tworthroughanyofthemeansindicatedonthe following
page.
SPECIFICATIONS AND INFORMATION CONTAINED IN THIS MANUAL ARE
FURNISHED FOR INFORMATIONALUSE ONLY,ANDARE SUBJECTTO CHANGE
AT ANY TIME WITHOUT NOTICE, AND SHOULD NOT BE CONSTRUED AS A
COMMITMENT BY ASUS. ASUS ASSUMES NO RESPONSIBILITY OR LIABILITY
FOR ANY ERRORS OR INACCURACIES THAT MAY APPEAR IN THIS MANUAL,
INCLUDING THE PRODUCTSAND SOFTWARE DESCRIBED IN IT.
Copyright © 2001 ASUSTeK COMPUTER INC. All Rights Reserved.
Product Name: Terminator Barebone System
Manual Revision: 1.01 E786
Release Date: September 2001

3
Features
ASUS Contact Information
ASUSTeK COMPUTER INC. (Asia-Pacific)
Marketing
Address: 150 Li-Te Road, Peitou, Taipei, Taiwan 112
Telephone: +886-2-2894-3447
Fax: +886-2-2894-3449
Email: [email protected]
Technical Support
Tel (English): +886-2-2890-7123
Tel (Chinese): +886-2-2890-7113
Fax: +886-2-2890-7698
Email: [email protected]
Newsgroup: cscnews.asus.com.tw
WWW: www.asus.com.tw
FTP: ftp.asus.com.tw/pub/ASUS
ASUS COMPUTER INTERNATIONAL (America)
Marketing
Address: 6737 Mowry Avenue, Mowry Business Center, Building 2
Newark, CA 94560, USA
Fax: +1-510-608-4555
Email: [email protected]
Technical Support
Fax: +1-510-608-4555
BBS: +1-510-739-3774
Email: [email protected]
WWW: www.asus.com
FTP: ftp.asus.com.tw/pub/ASUS
ASUS COMPUTER GmbH (Europe)
Marketing
Address: Harkortstr. 25, 40880 Ratingen, BRD, Germany
Fax: +49-2102-442066
Technical Support
Hotline: MB/Others: +49-2102-9599-0
Notebook: +49-2102-9599-10
Fax: +49-2102-9599-11
Support (Email): www.asuscom.de/de/support (for online support)
WWW: www.asuscom.de
FTP: ftp.asuscom.de/pub/ASUSCOM

4
Safeguards
FCC/CDC Statements
Federal Communications Commission Statement
This device complies with FCC Rules Part 15. Operation is subject to the
following two conditions:
•This device may not cause harmful interference, and
•This device must accept any interference received including
interference that may cause undesired operation.
This equipment has been tested and found to comply with the limits for a
Class B digital device, pursuant to Part 15 of the FCC Rules. These limits
are designed to provide reasonable protection against harmful interference
in a residential installation. This equipment generates, uses and can radiate
radio frequency energy and, if not installed and used in accordance with
manufacturer’s instructions, may cause harmful interference to radio
communications. However, there is no guarantee that interference will not
occur in a particular installation. If this equipment does cause harmful
interference to radio or television reception, which can be determined by
turning the equipment off and on, the user is encouraged to try to correct the
interference by one or more of the following measures:
•Reorient or relocate the receiving antenna.
•Increase the separation between the equipment and receiver.
•Connect the equipment to an outlet on a circuit different from that to
which the receiver is connected.
•Consult the dealer or an experienced radio/TV technician for help.
WARNING! The use of shielded cables for connection of the monitor
to the graphics card is required to assure compliance with FCC
regulations. Changes or modifications to this unit not expressly
approvedbythepartyresponsible for compliancecould void theuser’s
authority to operate this equipment.
Canadian Department of Communications Statement
This digital apparatus does not exceed the Class B limits for radio noise
emissionsfromdigitalapparatus set outin theRadio InterferenceRegulations
of the Canadian Department of Communications.
This class B digital apparatus complies with Canadian ICES-003.

5
Table of Contents
Disclaimer/Copyrights....................................................... 2
ASUS Contact Information ................................................ 3
FCC/CDC Statements ........................................................ 4
System Package Contents ................................................ 7
Introduction: About This Guide ............................ 9
Audience........................................................................... 10
Contents Description....................................................... 10
Chapter 1: System Introduction......................... 11
1.1 Front Panel Features ............................................... 12
1.2 Rear Panel Features ................................................ 13
Chapter 2: Basic Installation.............................. 15
2.1 Remove the Cover ................................................... 16
2.2 Detach the Drive Frame........................................... 17
2.3 Install a CPU ............................................................. 19
2.4 Install System Memory ............................................ 21
2.5 Install a Hard Disk Drive.......................................... 22
2.6 Install a CD-ROM Drive............................................ 24
2.7 Install a Modem Riser Card..................................... 26
2.8 Install a PCI Expansion Card .................................. 27
2.9 Re-connect Cables .................................................. 28
2.10 Replace the Cover ................................................... 30
2.11 Connect External Devices....................................... 32
2.12 Power Supply Specifications.................................. 32
Chapter 3: M/B Information ................................ 35
3.1 Specifications .......................................................... 36
3.2 Components ............................................................. 38
3.3 Layout ...................................................................... 40
3.4 Hardware Setup Procedures................................... 41
3.5 Motherboard Settings.............................................. 42
3.6 System Memory ....................................................... 44

6
3.7 Central Processing Unit (CPU) ............................... 46
3.8 Expansion Cards ..................................................... 47
3.9 Connectors ............................................................... 49
Chapter 4: Starting Up ........................................ 61
4.1 Powering Up the First Time .................................... 62
4.2 Install the Operating System .................................. 64
4.3 ASUS PC Probe........................................................ 67
Chapter 5: BIOS Information.............................. 73
5.1 Managing and Updating Your BIOS ....................... 74
5.2 BIOS Setup Program ............................................... 78
5.3 Main Menu ................................................................ 81
5.4 Advanced Menu ....................................................... 87
5.5 Power Menu.............................................................. 97
5.6 Boot Menu .............................................................. 102
5.7 Exit Menu ................................................................ 104

7
System Package Contents
The following checklist enumerates the components included in the
standard system package.
1) System Chassis
2) Motherboard
3) Switching Power Supply
4) 1.44MB Floppy Disk Drive
5) CD-ROM Drive (optional)
6) 56K PCI Modem Card (optional)
7) Support CD with Drivers and Utilities
8) User’s Guide
NOTE
If you are assembling the system by yourself, make sure to
prepare all the components before starting. It saves you a lot of
timenot having to hunt down components whenyou needthem.

8
N TES

9ASUS Terminator Barebone System
You are reading the ASUS Terminator
BareboneSystemInstallationGuide.This
guide provides general information and
installation instructions about the
Terminator Barebone System.
“About This Guide”contains an
introduction on the contents of this
document that include target audience
and chapter description.
Introduction
About This Guide

10 Introduction: About This Guide
Checklist
This installation guide contains the following parts:
1. Introduction: About This Guide
Thispartcontainsanintroductiononthecontentsofthisdocument
that includes target audience and chapter description.
2. Chapter 1: System Introduction
This chapter gives a general description of the ASUS Terminator
K7barebone system.Itincludes introductiononthe frontand rear
panel features, and the internal features.
3. Chapter 2: Basic Installation
This chapter tells how to install components into the barebone
system through illustrated step-by-step instructions.
4. Chapter 3: Motherboard Information
This chapter gives information about the TUSC motherboard that
comes with theASUS Terminator Barebone System.This chapter
includes the motherboard layout, jumper settings, and connector
locations.
5. Chapter 4: Starting Up
This chapter describes the power-up sequence and gives
information on the BIOS beep codes.The contents of the support
CD are also enumerated.
6. Chapter 5: BIOS Information
Thischapterdetailshowto change systemsettingsusingtheBIOS
setup menus.
Audience
This installation guide is intended for experienced users and
integrators with hardware knowledge of personal computers.
Contents Description
Table of contents
Other Asus Desktop manuals

Asus
Asus PB60-B7692MD User manual

Asus
Asus VIVOMINI VC65 SERIES User manual

Asus
Asus Essentio CP6230 User manual

Asus
Asus ESC2000 G2 User manual

Asus
Asus BM1AD1 User manual

Asus
Asus D510MT User manual

Asus
Asus Essentio CM1745 User manual

Asus
Asus G10DK User manual

Asus
Asus D700MA User manual

Asus
Asus D415MT User manual

Asus
Asus T2-PE1 User manual

Asus
Asus A20BF User manual

Asus
Asus Chromebit CS10 User manual

Asus
Asus Desktop PC T2-AE1 User manual

Asus
Asus Vintage V2-PE2 User manual

Asus
Asus Vintage User manual

Asus
Asus ZenAiO Z272SD User manual

Asus
Asus ET2020INKI User manual

Asus
Asus D700SE User manual

Asus
Asus Essentio CM6850 User manual