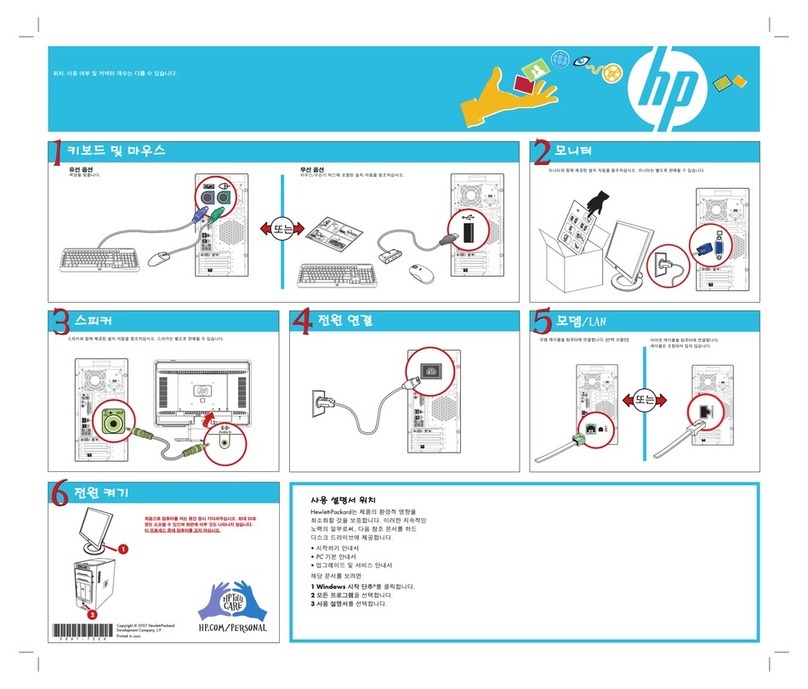
Acer Altos 500L User manual

AcerAltos 500L
User’s Guide

ii
Copyright
Copyright 1999 by Acer Incorporated. All rights reserved. No part
of this publication may be reproduced, transmitted, transcribed, stored
in a retrieval system, or translated into any language or computer
language, in any form or by any means, electronic, mechanical,
magnetic, optical, chemical, manual or otherwise, without the prior
written permission of this company.
Disclaimer
This company makes no representations or warranties, either
expressed or implied, with respect to the contents hereof and
specifically disclaims any warranties, merchantability or fitness for any
particular purpose. Any software described in this manual is sold or
licensed "as is". Should the programs prove defective following their
purchase, the buyer (and not this company, its distributor, or its dealer)
assumes the entire cost of all necessary servicing, repair, and any
incidental or consequential damages resulting from any defect in the
software. Further, this company reserves the right to revise this
publication and to make changes from time to time in the contents
hereof without obligation to notify any person of such revision or
changes.
All brand and product names mentioned in this manual are trademarks and/or
registered trademarks of their respective companies.

iii
IMPORTANT SAFETY
INSTRUCTIONS
1. Read these instructions carefully. Save these instructions for
future reference.
2. Follow all warnings and instructions marked on the product.
3. Unplug this product from the wall outlet before cleaning. Do not
use liquid cleaners or aerosol cleaners. Use a damp cloth for
cleaning.
4. Do not use this product near water.
5. Do not place this product on an unstable cart, stand, or table.
The product may fall, causing serious damage to the product.
6. Slots and openings in the cabinet and the back or bottom are
provided for ventilation; to ensure reliable operation of the product
and to protect it from overheating, these openings must not be
blocked or covered. The openings should never be blocked by
placing the product on a bed, sofa, rug, or other similar surface.
This product should never be placed near or over a radiator or
heat register, or in a built-in installation unless proper ventilation is
provided.
7. This product should be operated from the type of power indicated
on the marking label. If you are not sure of the type of power
available, consult your dealer or local power company.
8. This product is equipped with a 3-wire grounding-type plug, a plug
having a third (grounding) pin. This plug will only fit into a
grounding-type power outlet. This is a safety feature. If you are
unable to insert the plug into the outlet, contact your electrician to
replace your obsolete outlet. Do not defeat the purpose of the
grounding-type plug.

iv
9. Do not allow anything to rest on the power cord. Do not locate
this product where persons will walk on the cord.
10. If an extension cord is used with this product, make sure that the
total ampere rating of the equipment plugged into the extension
cord does not exceed the extension cord ampere rating. Also,
make sure that the total rating of all products plugged into the wall
outlet does not exceed 15 amperes.
11. Never push objects of any kind into this product through cabinet
slots as they may touch dangerous voltage points or short out
parts that could result in a fire or electric shock. Never spill liquid
of any kind on the product.
12. Do not attempt to service this product yourself, as opening or
removing covers may expose you to dangerous voltage points or
other risks. Refer all servicing to qualified service personnel.
13. Unplug this product from the wall outlet and refer servicing to
qualified service personnel under the following conditions:
a. When the power cord or plug is damaged or frayed
b. If liquid has been spilled into the product
c. If the product has been exposed to rain or water
d. If the product does not operate normally when the operating
instructions are followed. Adjust only those controls that are
covered by the operating instructions since improper
adjustment of other controls may result in damage and will
often require extensive work by a qualified technician to
restore the product to normal condition.
e. If the product has been dropped or the cabinet has been
damaged
f. If the product exhibits a distinct change in performance,
indicating a need for service
14. Replace battery with the same type as the product's battery we
recommend. Use of another battery may present a risk of fire or
explosion. Refer battery replacement to a qualified serviceman.

v
15. Warning! Battery may explode if not handled properly. Do not
recharge, disassemble or dispose of in fire. Keep away from
children and dispose of used battery promptly.
16. Use only the proper type of power supply cord set (provided in
your keyboard/manual accessories box) for this unit. It should be
a detachable type: UL listed/CSA certified, type SJT, rated 6A
125V minimum, VDE approved or its equivalent. Maximum
length is 15 feet (4.6 meters).

vi
FCC Class B Radio Frequency
Interference Statement
Note:
This equipment has been tested and found to comply with the limits for
a Class B digital device, pursuant to Part 15 of FCC Rules. These
limits are designed to provide reasonable protection against harmful
interference in a residential installation. This equipment generates,
uses, and can radiate radio frequency energy and, if not installed and
used in accordance with the instructions, may cause harmful
interference to radio communications. However, there is no guarantee
that interference will not occur in a particular installation. If this
equipment does cause harmful interference to radio or television
reception, which can be determined by turning the equipment off and
on, the user is encouraged to try to correct the interference by one or
more of the following measures:
1. Reorient or relocate the receiving antenna.
2. Increase the separation between the equipment and receiver.
3. Connect the equipment into an outlet on a circuit different from
that to which the receiver is connected.
4. Consult the dealer or an experienced radio/television technician
for help.
Notice 1:
The changes or modifications not expressly approved by the party
responsible for compliance could void the user's authority to operate
the equipment.
Notice 2:
Shielded interface cables, if any, must be used in order to comply with
the emission limits.

vii
About this Manual
Getting Started
This user’s guide aims to give you all the necessary information to
enable you to operate the AcerAltos 500L system.
Manual Structure
Chapter 1 System Housing
This chapter describes the assembly and disassembly of the
system housing. It also shows you how to install housing
components.
Chapter 2 System Board
This chapter describes the main board. Also, It introduces the
system’s unique features and powerful architecture.
Chapter 3 BIOS Utility
This chapter explains the BIOS parameter functions. It tells how
to configure the system by setting the parameters.

viii
Conventions
The following are the conventions used in this manual:
Text entered by user Represents text input by the user.
Option Items Represents options that you can
select on the screen.
, , , etc. Represent the actual keys that you
have to press on the keyboard.
NOTE
Gives bits and pieces of additional
information related to the current
topic.
CAUTION
Gives precautionary measures to
avoid possible hardware or software
problems.
IMPORTANT
Reminds you to take specific action
relevant to the accomplishment of
the procedure at hand.
WARNING
Alerts you to any danger that might
result from doing or not doing
specific actions.

ix
Table of Contents
Chapter 1 System Housing
Standalone System.......................................................................1-1
Features........................................................................................1-2
Front Panel ......................................................................1-2
Rear Panel.......................................................................1-3
Internal Structure .............................................................1-4
Opening the Housing Panels........................................................1-5
Front Panel ......................................................................1-5
Left Panel.........................................................................1-6
Installing Disk Drives.....................................................................1-7
3.5-inch Floppy Drive.......................................................1-7
5.25-inch Drives...............................................................1-8
Hard Disk Drives..............................................................1-9
Installing Expansion Cards .........................................................1-10
Chapter 2 System Board
Major Components .......................................................................2-2
System Board Layout.......................................................2-3
Jumpers and Connectors..............................................................2-4
Jumper and Connector Locations....................................2-4
Jumper Settings...............................................................2-5
Connector Functions........................................................2-5
ESD Precautions...........................................................................2-7
Installing the Pentium II Processor ...............................................2-8
Attaching the Processor Fan Sink ...................................2-8

x
Installing a Pentium II Processor...................................2-11
Removing a Pentium II Processor.................................2-13
Memory Upgrade........................................................................2-15
Memory Configurations.................................................2-15
Installing a DIMM...........................................................2-16
Removing a DIMM.........................................................2-17
Reconfiguring the System.............................................2-18
Error Messages..........................................................................2-19
Software Error Messages..............................................2-19
System Error Messages................................................2-19
Correcting Error Conditions...........................................2-22
Chapter 3 BIOS Utility
Entering Setup..............................................................................3-2
System Information ......................................................................3-4
Processor........................................................................3-5
Processor Speed.............................................................3-5
Internal Cache Size.........................................................3-5
External Cache................................................................3-5
Floppy Drive A.................................................................3-5
Floppy Drive B.................................................................3-5
IDE Primary Channel Master...........................................3-6
IDE Primary Channel Slave.............................................3-6
IDE Secondary Channel Master......................................3-6
IDE Secondary Channel Slave........................................3-6
Total Memory ..................................................................3-6
Serial Port 1.....................................................................3-7
Table of contents
Other Acer Desktop manuals

Acer
Acer Aspire 3300S User manual

Acer
Acer AcerPower SLE User manual

Acer
Acer Aspire E650 User manual

Acer
Acer Aspire M3600 User manual

Acer
Acer Aspire L310 Setup guide

Acer
Acer Veriton Fpi User manual

Acer
Acer DA241HL User manual

Acer
Acer Veriton X2610 User manual

Acer
Acer A8003 User manual

Acer
Acer Veriton M460G User manual

Acer
Acer Power Sd User manual

Acer
Acer Altos 22000 User manual

Acer
Acer Aspire X1600 User manual

Acer
Acer Aspire G600 User manual

Acer
Acer Veriton 5800 User manual

Acer
Acer Altos G530 Series User manual

Acer
Acer Aspire Notebook Series User manual

Acer
Acer Aspire X1930 User manual

Acer
Acer Veriton M670 User manual

Acer
Acer AcerPower F2b Quick start guide