Zu Audio DW 6 Standard User manual
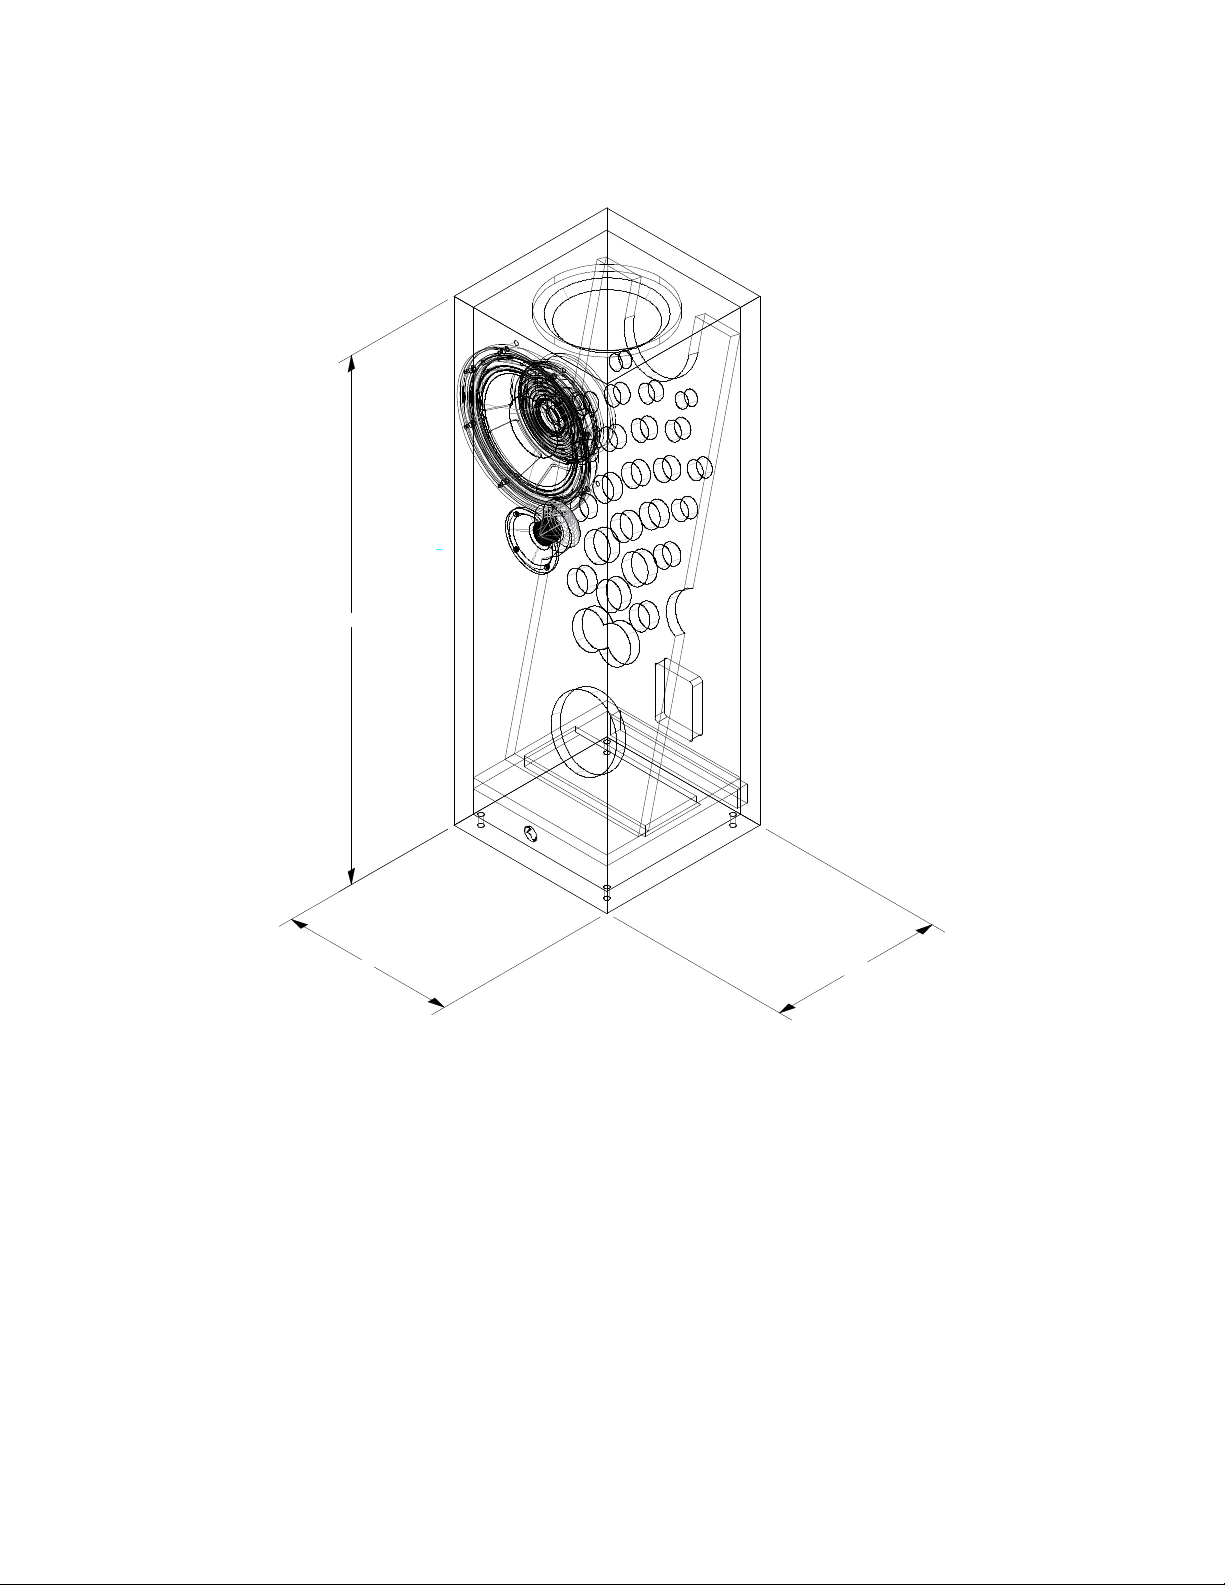
12.0"
12.0"
36.0"
STANDARD | SUPERFLY | SUPREME
OWNERS MANUAL [2023]
DW 6

DW 6, DW 6 SUPERFLY & SUPREME OWNER’S MANUAL
Page 2
TABLE OF CONTENTS PAGE
Key Points –––––––––––––––––––––––––––––––––––––––––––––––––––––––––––––––––––– 3
Welcome and Thank You ––––––––––––––––––––––––––––––––––––––––––––––––––––––– 4
Manual Information & Copyright ––––––––––––––––––––––––––––––––––––––––––––––––– 4
Included With DW 6 Loudspeakers –––––––––––––––––––––––––––––––––––––––––––––– 5
Safety Precautions ––––––––––––––––––––––––––––––––––––––––––––––––––––––––––––– 5
Unboxing DW 6 ––––––––––––––––––––––––––––––––––––––––––––––––––––––––––––––– 9
Design Overview –––––––––––––––––––––––––––––––––––––––––––––––––––––––––––––– 11
DW 6 vs DW 6 Supery vs DW 6 Supreme –––––––––––––––––––––––––––––––––––––––– 12
Burn-In / Break-In –––––––––––––––––––––––––––––––––––––––––––––––––––––––––––––– 13
Burn-In Overview –––––––––––––––––––––––––––––––––––––––––––––––––––––––––– 13
Burn-In Main Points –––––––––––––––––––––––––––––––––––––––––––––––––––––––– 15
Burn-In & Fatigue Prole –––––––––––––––––––––––––––––––––––––––––––––––––––– 16
Fatigue Proles –––––––––––––––––––––––––––––––––––––––––––––––––––––––––––– 17
Initial Placement ––––––––––––––––––––––––––––––––––––––––––––––––––––––––––––––– 20
Connecting Amp and DW 6 ––––––––––––––––––––––––––––––––––––––––––––––––––––– 22
Connector Detail ZuB3 ––––––––––––––––––––––––––––––––––––––––––––––––––––––––– 23
Amplication Guidance ––––––––––––––––––––––––––––––––––––––––––––––––––––––––– 24
Speaker Cable Guidance ––––––––––––––––––––––––––––––––––––––––––––––––––––––– 25
Room & Speaker Acoustic Tuning –––––––––––––––––––––––––––––––––––––––––––––––– 27
Terms Attack - Sustain - Decay –––––––––––––––––––––––––––––––––––––––––––––– 27
Zu Mono & Mirror Method ––––––––––––––––––––––––––––––––––––––––––––––––––– 29
Bass Tuning –––––––––––––––––––––––––––––––––––––––––––––––––––––––––––– 31
Midrange Tuning –––––––––––––––––––––––––––––––––––––––––––––––––––––––– 31
Treble Tuning ––––––––––––––––––––––––––––––––––––––––––––––––––––––––––– 33
Riser Tuning –––––––––––––––––––––––––––––––––––––––––––––––––––––––––––– 33
Care & Maintenance ––––––––––––––––––––––––––––––––––––––––––––––––––––––––––– 33
Special Care - Animal Urine ––––––––––––––––––––––––––––––––––––––––––––––––– 36
Specications ––––––––––––––––––––––––––––––––––––––––––––––––––––––––––––––––– 37
Impedance Curve –––––––––––––––––––––––––––––––––––––––––––––––––––––––––– 38
Warranty ––––––––––––––––––––––––––––––––––––––––––––––––––––––––––––––––––––– 39

DW 6, DW 6 SUPERFLY & SUPREME OWNER’S MANUAL
Page 3
We know you’re excited to get your new DW 6 red up—still, we strongly recommend you
study this manual. Here are a few key points:
• Burn-in is dramatic with DW 6, and very dramatic with the Supreme version—Supery
version falls in between. Please read the Burn-In/Break-In section.
• Remove the slip-t full-range driver protective covers to listen. These protective disks have
the sticker remove to groove on them.
• 60-day trial period can be extended if you email us. We’re happy to open up additional time
for burn-in, room tuning or trial of amps and other components as long as you are dealing
fairly with us.
• We oer exceptional customer service, and the people you will talk to at Zu have a lifetime
of experience and will deal honestly with you.
• Implementing the information detailed in the Room & Speaker Acoustic Tuning section
will get your room and DW 6 working well together without a lot of eort.
• If your DW 6 are to be shipped or returned to Zu, you need to read and follow the
instructions outlined in the Unboxing section. Failure to do so may result in damages that
you will be liable for.
• Return of Materials Authorization (RMA) is needed if you are sending your speakers back
for any reason. Failure to do so may result in refusal of the shipment. You may call or email
us for an RMA number.
• We only issue return authorization after at least four weeks of daily play and an honest
eort to follow our suggestions, six weeks for DW 6 Supreme. We expect you to read this
owner’s manual and give us a call if you are running into any issues—we’re here to help.
KEY POINTS

DW 6, DW 6 SUPERFLY & SUPREME OWNER’S MANUAL
Page 4
WELCOME AND THANK YOU
Thank you for your purchase of DW 6 loudspeakers. They are designed and built for a lifetime
of trouble-free high-performance playback. It is our desire to exceed your expectations in
product performance, quality, durability and customer service. If we have fallen short we would
sincerely appreciate knowing how we may improve. If we have exceeded them we hope you
will let your family and friends know.
David Toop in his book Ocean Of Sound paints a powerful image of today’s musical creativity,
“...Starting with Debussy in 1889, is an erosion of categories, a peeling open of systems to
make space for stimuli, new ideas, new now, this environment included sounds of the world—
previously unheard musics and ambient sounds of all kinds, urban noise and bioacoustics...
unfamiliar tuning system and structuring principles, improvisation and chance.”
The quantity and qualities of music the modern world has at its ngertips is unfathomable—we
want to amplify your nds and choices and extend the time you immerse yourself in them.
Thanks again, and welcome.
–Zu Audio
MANUAL INFORMATION
The latest version of the manual can be found at www.zuaudio.com/downloads
© 2000 - 2023 Zu Audio All rights reserved. No part of this work may be reproduced in any
form or by any means for other than your own use without the written permission of Zu Audio.
Products that are referred to in this document may be either trademarks and/or registered
trademarks of the respective owners. Zu Audio make no claim to these trademarks.
DW 6, DW 6 SUPERFLY & SUPREME OWNER’S MANUAL
Page 5
Read and follow these precautions to use DW 6 loudspeakers safely.
Zu Audio is not liable for any failures, damages or problems caused by the use or misuse of
DW 6 loudspeakers by the purchaser or any third party.
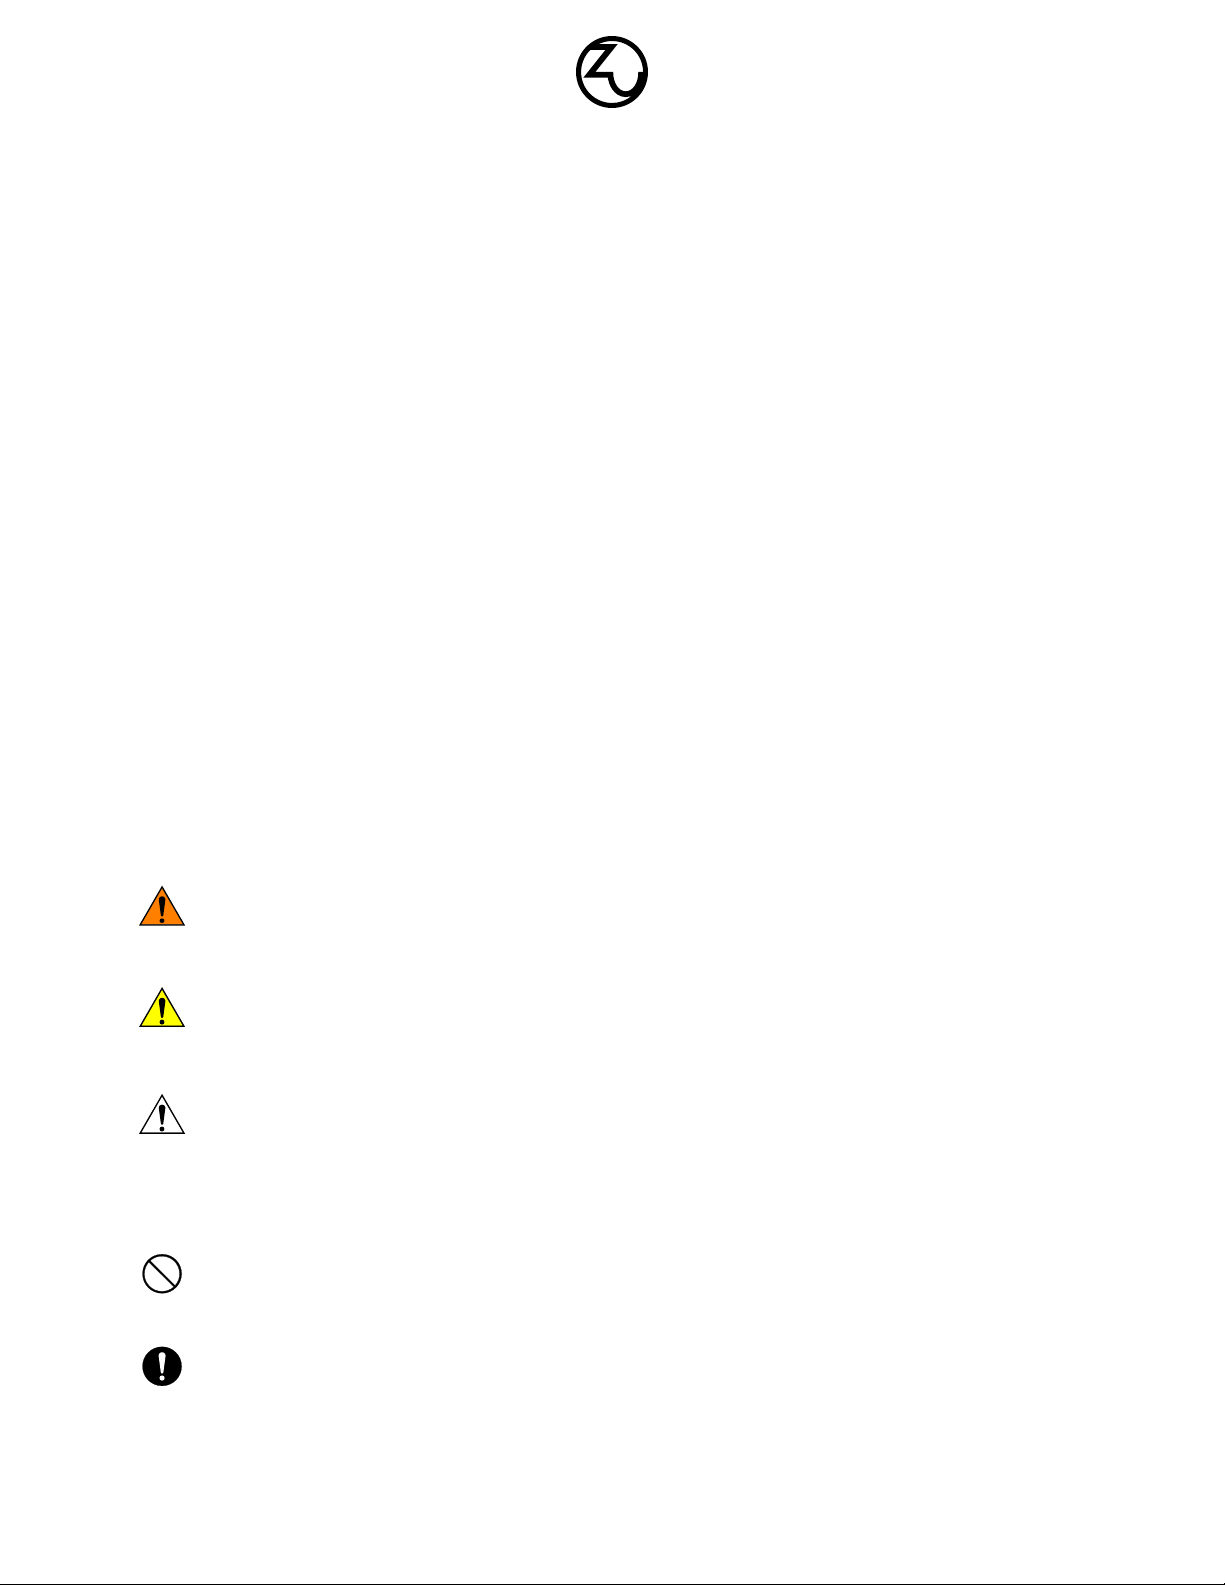
This mark indicates the possibility of hazardous situation, which if not
avoided could result in serious injury or death.
This mark indicates the possibility of hazardous situation, which if not
avoided could result in serious injury.
This mark indicates the possibility of hazardous situation, which if not
avoided may result in minor injury or property damage.
This mark signies prohibited action, which must not be done to use this
product safely or to prevent premature wear.
This mark signies required action, which must be done to use this
product safely, to get good sound or to prevent premature wear.
DANGER
WARNING
CAUTION
REQUIRED
PROHIBITED
SAFETY PRECAUTIONS TERMS
Included with each pair of DW 6 loudspeakers
(2x) slip-t hard plastic driver covers - installed
(8x) 1” long [26 mm] 3/8–16 stainless-steel oval-end feet - installed
(8x) 9/16” [14 mm] hex 3/8–16, stainless-steel thin (jam) nuts - installed
Additional Items Included In Package
(1x) nish cleaning cloth
Packaging is double-wall cardboard with closed-cell foam frames and end-caps.
INCLUDED WITH LOUDSPEAKERS
DW 6, DW 6 SUPERFLY & SUPREME OWNER’S MANUAL
Page 6
DANGER - avoid electrocution by making sure your amplier is powered down (or the
amp’s power cable is disconnected) prior to disconnecting/connecting loudspeakers.
Electrocution through touching of bare metal amplier output posts, bare metal
loudspeaker cable connectors when connected to amplier, or bare metal loudspeaker
connectors when connected to the amplier is possible though extremely rare.
Ampliers designed to output enough power to cause electrocution while operating
will feature touch-proof contacts such as Neutrik® speakON® connectors.
DANGER - place your loudspeakers so there is little to no chance of them falling or
tipping over on someone.
DW 6 loudspeakers are very stable when oor standing and footers adjusted so there
are four points of contact. Nevertheless, children, and especially infants and toddlers,
should not be left unsupervised near them.
DANGER - DW 6 loudspeakers are moderately heavy at about 76 pounds packaged
[34.5 kg] and should only be handled and moved by the physically able. Those lifting
and moving the DW 6 loudspeaker should practice good lifting techniques (lift with
your knees and not your back—and ask a friend to assist.) While not acutely at risk
of death, back injuries can and often do cause chronic pain, sometimes reaching
unbearable levels.
DANGER - RISK OF SEVERE INJURY OR DEATH
WARNING - potential shock hazard exists when touching of bare metal loudspeaker
and loudspeaker cable contacts. To avoid this make sure your amplier is powered
down prior to connecting or disconnecting cables to your amp or loudspeaker.
WARNING - DW 6 loudspeakers are capable of very high sound pressure levels, play
responsibly—consider your neighbors and consider your hearing.
WARNING - again, when moving or lifting DW 6 loudspeakers, be careful with your
back—lift with your legs, not your back, and ask a friend to assist you.
WARNING - the drivers of the Zu DW 6 loudspeaker create stray magnetic elds that
extend beyond the boundaries of the cabinet. We recommend you keep magnetically
sensitive electronics and media at least eight inches [20 cm] from the loudspeaker.
WARNING - RISK OF INJURY
DW 6, DW 6 SUPERFLY & SUPREME OWNER’S MANUAL
Page 7
CAUTION - RISK OF MINOR INJURY OR PROPERTY DAMAGE
CAUTION - corners are fragile, do not set or pivot your DW 6 loudspeaker on the
corner of cabinet. (Pivoting them on the installed footers or spikes is not a problem as
they are designed to take those forces.)
CAUTION - with wood nishes we recommend you keep the loudspeakers out of
prolonged and frequent direct sunlight. How long is prolonged and frequent? Well,
three hours a day of direct sunlight every day will cause some color changes after a
year or two. Painted nishes will not. While we use materials and top coats with the
highest levels of UV resistance and absorption, some color changes to wood nish is
going to happen when sitting in direct sunlight day after day.
CAUTION - amplier may be damaged if the loudspeaker outputs are shorted, i.e., the
red (+) and black (–) contacts of a loudspeaker cable come in direct contact with each
other while the amplier is switched on.
CAUTION - turn your audio equipment o anytime you leave your home. Yeah, yeah,
solid-state electronics sound better warmed up and not being turned o every time
you go out—while the risk is very low there have been house res from all forms of
electronics, including the best designed audio.
CAUTION - turn your audio equipment o and unplug the mains power cables from
the wall during a lightning storm to prevent your gear from being damaged. If lightning
strikes your home, or very near it, damage to your audio gear is possible even if
switched o.
DW 6, DW 6 SUPERFLY & SUPREME OWNER’S MANUAL
Page 8
CAUTION - RISK OF PROPERTY DAMAGE
CAUTION - do not use the tops of your loudspeakers as a bar table, condensation
forming on a container will pool and may cause water damage to the nish, especially
wood veneer nishes.
CAUTION - do not use solvents save water to clean DW 6. A slightly water-damp soft
cloth should be all that is needed. For dusting of the driver we recommend a can of
compressed air.
CAUTION - do not use tools to tighten binding posts, hand-tight is all that is
necessary. Applying high torque on posts may damage binding post and is not
covered by warranty.
CAUTION - if smoke or an electric odor is emitted by the loudspeaker or any device,
turn o all components. If you have tools and skill you may troubleshoot the problem
one device at a time, working your way to the amplier—typically the source of
the problem. If you do not have the tools or skills call the brand of the amplier or
suspected component for assistance.
CAUTION - screws fastening the full-range driver and connector plate need only be
torqued to 26 inch-pounds [3 N-m].
CAUTION - we do not recommend storage of DW 6 in non-climate controlled spaces.
DO NOT STORE THEM LONG TERM WRAPPED IN NON-BREATHABLE PLASTIC
FILM AS THIS MAY CAUSE DAMAGE TO THE FINISH.
PROTECT - When storing your speakers, we recommend placing a clean, thin soft
fabric such as felt or eece between speaker and packaging. Tolerable long-term
storage maximum temperature range is 20˚ F [-17˚ C] to 122˚ F [50˚ C] with a humidity
average not to exceed 90%.
PROTECT - when not in use, specically when there are unsupervised animals such
as cats, dogs and kids abiding near your speakers, we recommend you snap the
protective driver covers on. This will also help safeguard from foreign materials.
REMOVE - the protective driver covers that come installed on your loudspeaker to let the
sound out. They don’t sound good at all when covering the driver. “This one time, at band
camp, they left the slip-t driver covers on and nobody liked it.”
PROTECT - when transporting DW 6, wrap them with new stretch wrap lm, ne felt or
eece to protect the nish from being marred by the packaging foam. Failure to do so
will result in scung and marring of the nish.

DW 6, DW 6 SUPERFLY & SUPREME OWNER’S MANUAL
Page 9
Save all packaging except for the polyester banding and the metal staples. All other parts are
needed for repackaging. Failure to repackage as they were originally is likely to result in the
loudspeakers being damaged when transported.
We recommend you remove rings, watches, belt buckles, anything you might be wearing
that can mark or scratch the nish, or lessen your grip. Also, trade your button-up or snap
shirt for a tee.
If DW 6 loudspeakers are sent back to Zu for refund (RMA required) they must be
repackaged as sent including the thin protective plastic lm directly wrapping the
loudspeaker. The exception is the banding and staples as we know few have convenient
access to them. In place of staples please secure all cardboard edges with packing tape. In
place of banding please secure all edges of the edge protectors with packing tape. If they are
sent back to Zu for refund and are not packaged as outlined the purchaser is liable for damage
to the loudspeaker.
1. With the box standing up, cut banding and dispose, banding is 100% polyester.
Save the thick cardboard edge protectors for future use.
2. Starting at either stapled corner, with the model/serial number label on top and facing you,
lift the cardboard ap until the staple releases from the underlying cardboard. This is easily
done without a tool but a heavy-duty staple lifter makes releasing and removal of staples
easier.
3. Continue releasing the remaining staples so the ap is free to fold back and out of the way.
We recommend removal of the released staples to prevent the sharp edges from
accidently snagging or scratching your clothing, skin, walls, oor or your new
loudspeakers. If you are careful this is easily done with bare hands, just bend them straight and
twist them out.
UNBOXING
PET
1

DW 6, DW 6 SUPERFLY & SUPREME OWNER’S MANUAL
Page 10
Unboxing Continued
4. Remove the two loudspeaker-length cardboard sheets. There is one on the left and one on
the right, sitting between the foam frames and the main cardboard box. These reinforce
the packaging, and when removed provide the space needed to shimmy your speakers out
from the box.
5. Now shimmy-slide the DW 6 speaker out from the main box.
6. Remove (and save) the top and middle foam frames. We recommend keeping the bottom
foam frame in place, it makes sliding the speaker into position easy and will prevent the
installed oval-end footers from scratching your oor when speaker is slid.
7. Leave the plastic wrap and move/slide speaker to near about where you want them.
The plastic wrap protects the nish while handling and dramatically increases grip.
8. Remove the bottom foam and plastic lm once you have the speaker near where you want
them. Laying the speaker face down on the removed foam makes removal of the bottom
foam easy. It also makes installing spikes or alternate footers easy.
9. With the speaker standing, remove the plastic lm.
10. Remove the ip-t driver covers. Keep them near as they are eective guards, quickly
pressing on to protect the cone from the curious. Installing them when you’re on vacation
also safeguards the full-range driver from bugs and dust.
This manual suits for next models
2
Table of contents
Other Zu Audio Speakers manuals


