
Viper 5906V User manual

OWNER’S GUIDE
MODEL
The company behind Viper®Auto Security
Systems is Directed.
Since its inception, Directed has had one
purpose, to provide consumers with the fin-
est vehicle security and accessories avail-
able. The recipient of nearly 100 patents and
Innovations Awards in the field of advanced
electronic technology.
Quality Directed products are sold and ser-
viced throughout North America and around
the world.
Call (800) 876-0800 for more information
about our products and services.
Directed is committed to delivering
world class quality products and
services that excite and delight our
customers.
®
NO ONE DARES
COME CLOSE ®
5906V
©2013 Directed. All rights reserved. QRG5906V 2013-09
Vista, CA 92081
www.viper.com

Congratulations
Congratulations on the purchase of your state-of-the-art remote start
and security system. Reading this Owner’s Guide prior to using your
system will help maximize the use of your system and its many fea-
tures. For any additional questions please contact your authorized
Directed dealer or contact Directed at 1-800-753-0600 (U.S. only).
Additional Guide Information
Only basic commands, features and essential information are covered
in this compact guide. Your product has many advanced features
which are not discussed here, please consult the expanded online ver-
sion for these on the website listed on the back cover. Most sections in
this guide also contain additional information which can be found in
the expanded online version.
Government Regulations and Safety information
Read the Government Regulations and Warning! Safety
First sections of this manual prior to operating this system.
Warning! Failure to heed this information can result in
death, personal injury or property damage and may also
result in the illegal use of the system beyond its intended
purpose.

Your Warranty
Your system comes with a warranty. The warranty terms are detailed at
the end of this guide. Make sure that you receive the proof of purchase
from your dealer, indicating the product was installed by an autho-
rized Directed dealer.
Replacement remote controls
Please see your authorized dealer or visit us at www.directedstore.
com to order additional remote controls. Remote control part numbers
are found on the back of the device.
Getting Started
Due to transit and storage time prior to your purchase, the battery
charge may have depleted. To ensure proper operation, check the
battery level and connect the included USB cable between it and a
computer if not fully charged. The displayed battery level icon indi-
cates when the battery is fully charged.

Contents
Remote Control Information.................................................................................. 2
Control Center..................................................................................... 3
Specifications...................................................................................... 3
Status Screen Icons.............................................................................................. 4
Using your System............................................................................................... 6
Commands and Confirmations .............................................................. 6
Navigation ......................................................................................... 6
Performing Commands ......................................................................... 6
Fault Condition Alerts........................................................................... 7
Basic commands (function level 1) ........................................................................ 8
Arm ................................................................................................... 8
AUX/Trunk.......................................................................................... 8
Disarm ............................................................................................... 9
Remote Start........................................................................................ 9
Configuring your System.................................................................................... 10
Navigating menus and configuring features ......................................... 10
1-way Companion Remote Control..................................................................... 12
Specifications.................................................................................... 12
Battery Information (Responder HD).................................................................... 13
Battery Information (1-Way) ................................................................ 13
Battery Disposal ................................................................................ 13
Patent Information ............................................................................................. 14
Government Regulations .................................................................................... 14
Warning! Safety First......................................................................................... 16
Installation ........................................................................................ 16
Remote Start Capable ........................................................................ 16
Manual Transmission Vehicles ............................................................. 16
Interference....................................................................................... 18
Upgrades and Batteries ...................................................................... 18
Water/Heat Resistance ...................................................................... 18
Limited lifetime consumer warranty ..................................................................... 19

2© 2013 Directed. All rights reserved.
Remote Control Information
Feature Description
Internal Antenna* Used for transmitting and receiving information
Display Full color display
Command buttons
(4):
A U X
A U X
A U X
A U X
Used to perform arming, disarming, auxiliary channel and
remote start commands
Menu wheel
(located on side)
Used to access Function Level screens, control Status Screen
info center content, and navigates the remote control and
system configuration menus
Reset Button** Resets the remote control’s microprocessor
Mini USB Port Used for charging the internal battery (not shown)
* Avoid touching or grasping the area where the internal antenna is located as it may
reduce range (the internal antenna is located above the display, towards the top).
** Should the remote stop responding to button presses, insert a pin or the end of a
paper clip through the small hole on the remote control rear and press in on the reset
button for one second.

3
© 2013 Directed. All rights reserved.
Control Center
Status LED Control button
Menu
Wheel
Menu
Wheel
Menu
Wheel
The Control Center, typically located on the upper part of the front
windshield sends and receives commands or messages to and from
your system. It consists of:
• The In-vehicle system antenna, for 2 way communication.
• The Status LED, as a visual indicator of the system’s status.
• The Control button, for placing the system into Valet Mode* and
to perform the Emergency Override** operation.
Specifications
Responder HD 2-way SST Remote Control
Power Requirements: 5 VDC, 500 mA
Display: 128 by 128 pixel, 65k, Color Organic Light Emitting Diode
(OLED)
Frequency: 900 - 928 MHz Spread Spectrum
Operating Temperature: -10°C to +40°C (23°F to 104°F)
* See “Remote and System Operations” in online guide.
** See “Alarm Features” in online guide.

4© 2013 Directed. All rights reserved.
Status Screen Icons
Clock
Battery Level
Timer Mode/Smart Start
Remote Start Status
Name Tag
Info Center
Sensor Status
Siren Status
Page/Alerts
System Status
12
34
12
34
12
12
34
12
12
34
12
34
The table below describes all the Status screen icons.
Feature Description
Clock Indicates the time in 12 or 24 hour format
Battery level
Full ¾ ½ ¼ Empty
Timer Mode
/ Smart Start Timer Mode is enabled. Smart Start is enabled.
Remote Start
Remote start is active, the engine is running. Manual
Transmission Start mode is enabled, the engine can be started
System Status The system is armed, the alarm is enabled.
The system is disarmed, the alarm is disabled.
The system is Locked in Valet, the alarm is disabled.
The system is Unlocked in Valet, the alarm is disabled.
Second system operation: If set to control a second system, the
above lock icons will contain a “2”.

5
© 2013 Directed. All rights reserved.
Feature Description
Name Tag Displays a personalized name tag 1-15 characters long
Info Center Displays the Remote Start runtime, Temperature Auto-report, Parking
meter and Countdown timers. While Status screen is on, press the
menu wheel to change the displayed information.
Sensor Status Trigger Zones are enabled and functioning normally.
Trigger zone fault found when arming and is bypassed.
NPC On, a sensor has triggered excessively and is bypassed
Remote Sensor bypass On, the bypassed sensor will not
trigger the alarm.
Siren Status Siren is enabled and will sound for all alarm outputs.
Siren is disabled for sensor triggers, remote is paged for all
triggers (Sensor Silent Arm).
Siren is disabled for all triggers, remote is paged for all trig-
gers (Full Silent Arm).
Page/Alerts Pager On, Pager Off.
Battery Save On (Red dot), Battery Save Off (No dot).
Tone On (icon is not present when Tone is Off).
Vibrate On (icon is not present when Vibrate is Off).
Example Page Off, Vibrate On & Tone On.
Varying combinations of these icons reflect the Paging and Alert
Types menu settings.

6© 2013 Directed. All rights reserved.
Using your System
Commands and Confirmations
Commands, Basic or Advanced, are used to activate system features
and are performed by pressing one of the Command buttons. Basic
commands control the most often used security and remote start fea-
tures while Advanced commands control more specialized features
and request reports.
Confirmations for Basic or Advanced commands are indicated
first by siren chirps and vehicle light flashes, and then as animations,
still screens and beeps or tones on the remote control. A description of
each feature confirmation is found in the following Basic commands
section with the Advanced commands section found online.
Navigation
To navigate to the Status and Function level screens, toggle the menu
wheel up or down, the screens will cycle as shown in the facing dia-
gram. These screens remain displayed for 3 seconds before reverting
to a blank screen. To display a screen for an extended 20 second
period; toggle and hold the menu wheel on the desired screen for this
duration, after which the display reverts to a blank screen.
Performing Commands
Perform Basic commands by pressing one of the command buttons
while the remote control display is blank or the Status screen is On.
Perform Advanced commands by pressing one of the command but-
tons while a Function Level screen is displayed.
Advanced command example: Silent Arm
1. Toggle the menu wheel to display the Function Level 2 screen.

7
© 2013 Directed. All rights reserved.
2. Press the
AUX
AUX
button while this screen is still on to perform the
Silent Arm command.
3. The Responder HD remote will play the SILENT ARM animation
followed by the Status screen.
Function Level Displays (2 - 5)
Blank
Display Toggle
Menu Wheel
Up or Down
Status Screen
Fault Condition Alerts
If, when performing a command, a condition exists that does not al-
low the activation of a feature, a fault screen and tone plays as an
alert. For more details on the condition and possible resolutions, use
the fault screen title and locate the respective section through the table
of contents.
Other manuals for 5906V
1
Table of contents
Other Viper Car Alarm manuals


Popular Car Alarm manuals by other brands

Clifford
Clifford 3606X owner's guide

Ultra Start
Ultra Start 2500M SERIES install guide

Ultra Start
Ultra Start 650 Series owner's manual

Audiovox
Audiovox Prestige Platinum+ APS-511C owner's manual

Sparkrite
Sparkrite SRA8 Guide
Federal Signal Corporation
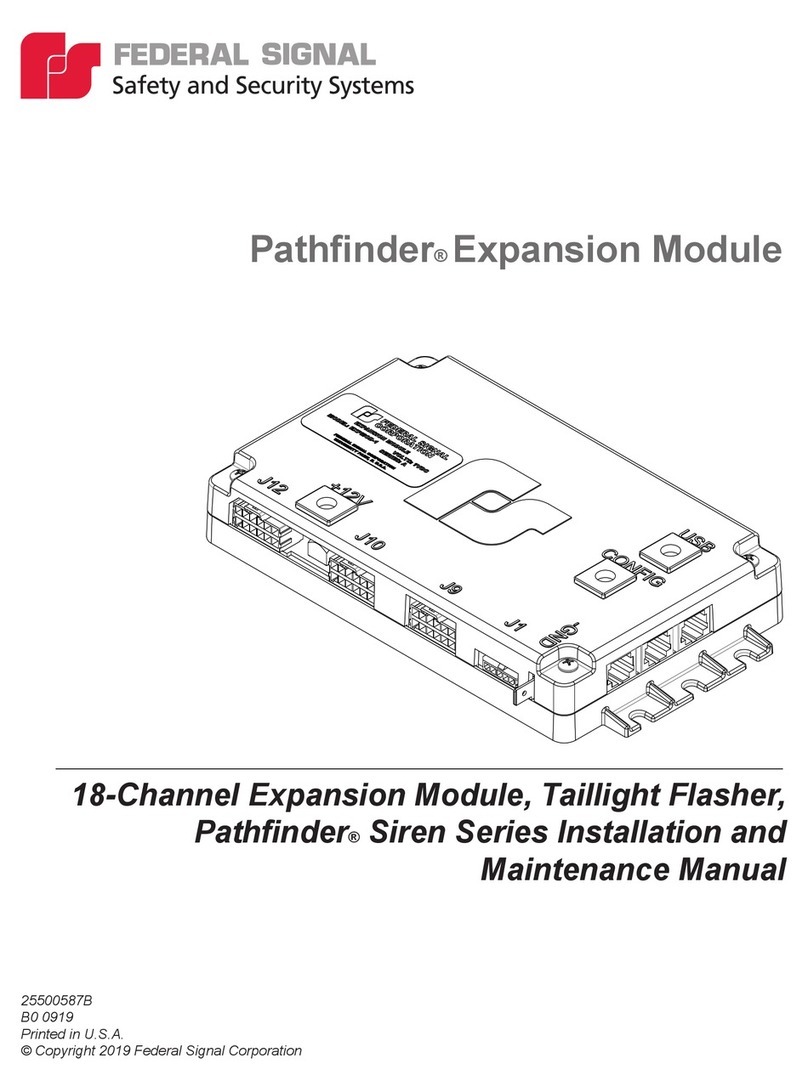
Federal Signal Corporation Pathfinder Siren Series Installation and maintenance manual


