
Viper 3305V User manual


Congratulations
Congratulations on the purchase of your state-of-the-art security and re-
mote start system. Reading this Owner’s Guide prior to using your sys-
tem will help maximize the use of your system and its many features.
Please visit: www.viper.com – For general and additional guide infor-
mation. For any additional questions please contact your authorized
Directed dealer or contact Directed at 1-800-753-0600 (U.S. only).
Additional support is also available at: http://support.directed.com.
What is included
Welcome to the best generation of security. Your system contains ev-
erything you need.
s 4- button 2- way LCD remote control
s 4- button 1- way remote control
s In-vehicle status LED indicator light and push-button Valet switch
s Owner’s guide and Warranty card

Important information
Government Regulations
Read the Government Regulations section of this manual
prior to operating this system.
Your Warranty
Your Responder LC system comes with a warranty. Make sure you
receive the warranty registration card and proof of purchase from your
dealer indicating the product was installed by an authorized Directed
dealer. Please validate it online at www.prodregister.com/directed or
complete and return the warranty registration card.
Replacement remote controls
Your system comes with two remotes, the 7345V 2-way, and the
1-way companion remote 7145V. If additional remote controls are
desired, please see your authorized dealer or visit us at:
www.directedstore.com.

Contents
Congratulations .................................................................................................. 1
What is included................................................................................................. 1
Important information ......................................................................................... 2
2-way LCD remote control.................................................................................... 3
LCD Screen ....................................................................................................... 4
LCD status icons / 2-way only ............................................................... 5
Remote control configuration................................................................................ 6
2-way standard configuration................................................................ 6
Remote control functions ...................................................................................... 7
2- way and 1- way .............................................................................. 7
Remote paging, 2-way ........................................................................................ 8
Signal paging features ......................................................................... 8
Programming your 2-way remote control ............................................................ 10
Beeps and Vibration, On/Off.............................................................. 10
Illumination On/Off ........................................................................... 10
Page notification................................................................................ 11
Vehicle Select.................................................................................... 11
Using your system ............................................................................................. 12
Active arming.................................................................................... 12
Passive arming .................................................................................. 12
Multi-level security arming................................................................... 14
Disarming......................................................................................... 15
High Security Disarm.......................................................................... 15
Disarming without a transmitter............................................................ 16
Dome light control.............................................................................. 16
Silent mode....................................................................................... 17
Panic mode....................................................................................... 18
Valet mode ....................................................................................... 19
Nuisance prevention circuitry .............................................................. 20
Auxiliary outputs .............................................................................................. 21
Diagnostics....................................................................................................... 21
Arming diagnostics ............................................................................ 22
Disarming diagnostics ........................................................................ 22
System status chirps ........................................................................... 23
Table of zones................................................................................... 23
Interpreting zone diagnostics............................................................... 24
Vehicle recovery system (VRS) ............................................................................ 24
Arming the VRS ................................................................................. 25
Triggered sequence, VRS.................................................................... 26
Disarming the VRS ............................................................................. 26
Code hopping................................................................................................... 28

Owner recognition ............................................................................................ 28
Rapid resume logic............................................................................................ 29
Power saver mode............................................................................................. 29
Programming options ........................................................................................ 30
Installation options ............................................................................................ 33
Security & Convenience Expansions.................................................................... 34
System maintenance.......................................................................................... 36
Glossary of Terms.............................................................................................. 37
Patent Information ............................................................................................. 38
Government Regulations .................................................................................... 39
Limited lifetime consumer warranty ..................................................................... 41

3
© 2012 Directed. All rights reserved.
2-way LCD remote control
Internal Antenna
Display
Command Buttons
Battery Compartment (at rear)
Programming Button (at rear)
Feature Description
Internal Antenna Used for transmitting and receiving information
Display The LCD screen provides visual confirmation of the vehicle
status using symbols and icons, such as alarm information.
Command buttons (4) Used to perform arming, disarming, auxiliary channel and
remote start commands
Programming Button Used for customizing the remote control and for car
selection.
Battery Compartment 1 AAA battery powers the 2-way unit. Remove door on unit
rear to access.

4© 2012 Directed. All rights reserved.
LCD Screen
LCD Icon descriptions
1. Transmit 10. Battery level indicator
2. Out-of-range 11. Remote sending
3. Receive 12. Vibrate mode
4. Auxiliary output 2 or 3 13. Ignition
5. Garage door (no function) 14. Vehicle number
6. Warn away 15. Door
7. Alarm 16. Arm
8. Trunk or Hood 17. Disarm
9. Sensor

5
© 2012 Directed. All rights reserved.
LCD status icons / 2-way only
Icon Description
1On during remote command transmission to the vehicle.
2On during remote command transmission to vehicle, but
command page is not received.
3On during receipt of page from the vehicle to the
remote.
4Displays which auxiliary is operating, or which security
sensor is in Warn Away or alarm state.
5No Function
6
+
Displays when a security feature is tripped, but not to
full alarm.
7
+
Displays when a security is tripped to a full alarm state.
8Trunk icon flashes a few seconds during full alarm and
then remains displayed until page is cleared.
9Shock sensor icon flashes a few seconds during Warn
Away and full alarm, and then remains displayed until
page is cleared.
10 Battery icon displays current charge capacity of the
remote’s battery.
11 Bar indicates remote is sending.
12 Vibrator icon displays if remote is programmed for
vibrator notification. (See remote Programming section)
13 Ignition icon flashes a few seconds during full alarm,
then remains displayed until page is cleared.

6© 2012 Directed. All rights reserved.
Icon Description
Hood icon flashes a few seconds during full alarm, and
then remains displayed until page is cleared.
14 Displays the vehicle (1of 4) that the remote controls.
See “Vehicle Select” section.
15 Door icon flashes a few seconds, and then remains
displayed until page is cleared.
16 Arm icon flashes when doors are locking, and then
remains displayed until the system is disarmed.
17 Disarm icon flashes when doors are unlocking, and
then remains displayed until the system is armed.
Remote control configuration
2-way standard configuration
Arm
Disarm
Channel 2/Silent Mode AUX
Panic
Channel 3 and

7
© 2012 Directed. All rights reserved.
Remote control functions
The LCD remote control buttons are used to send commands to the sys-
tem. The descriptions below reflect the standard configuration for this
system. The buttons can be custom configured for the user’s specific
needs by the installer.
2- way and 1- way
s Press and release to lock the doors and arm the vehicle.
s Press and release to unlock the doors and disarm the vehicle.
s Press and release AUX then press or to activate Silent
Mode™ or press and hold for approximately two seconds to
activate optional auxiliary function such as trunk release.
The auxiliary output controls____________________
s Press and hold for two seconds, to activate Panic.
s Press and release and simultaneously to an activate
auxiliary convenience or expansion option.
The auxiliary output controls____________________
This manual suits for next models
1
Table of contents
Other Viper Car Alarm manuals


Viper
Viper 4606V User manual

Viper
Viper SmartStart 3000 Series User manual

Viper
Viper 771XV User manual

Viper
Viper 5704 Responder LC3 User manual

Viper
Viper 4708V User manual

Viper
Viper 5606V User manual

Viper
Viper 791 XV User manual

Viper
Viper SmartStart VSM50BTP1 User manual

Viper
Viper 4806V User manual

Viper
Viper 5501 User manual


Popular Car Alarm manuals by other brands

Clifford
Clifford 3606X owner's guide

Ultra Start
Ultra Start 2500M SERIES install guide

Ultra Start
Ultra Start 650 Series owner's manual

Audiovox
Audiovox Prestige Platinum+ APS-511C owner's manual

Sparkrite
Sparkrite SRA8 Guide
Federal Signal Corporation
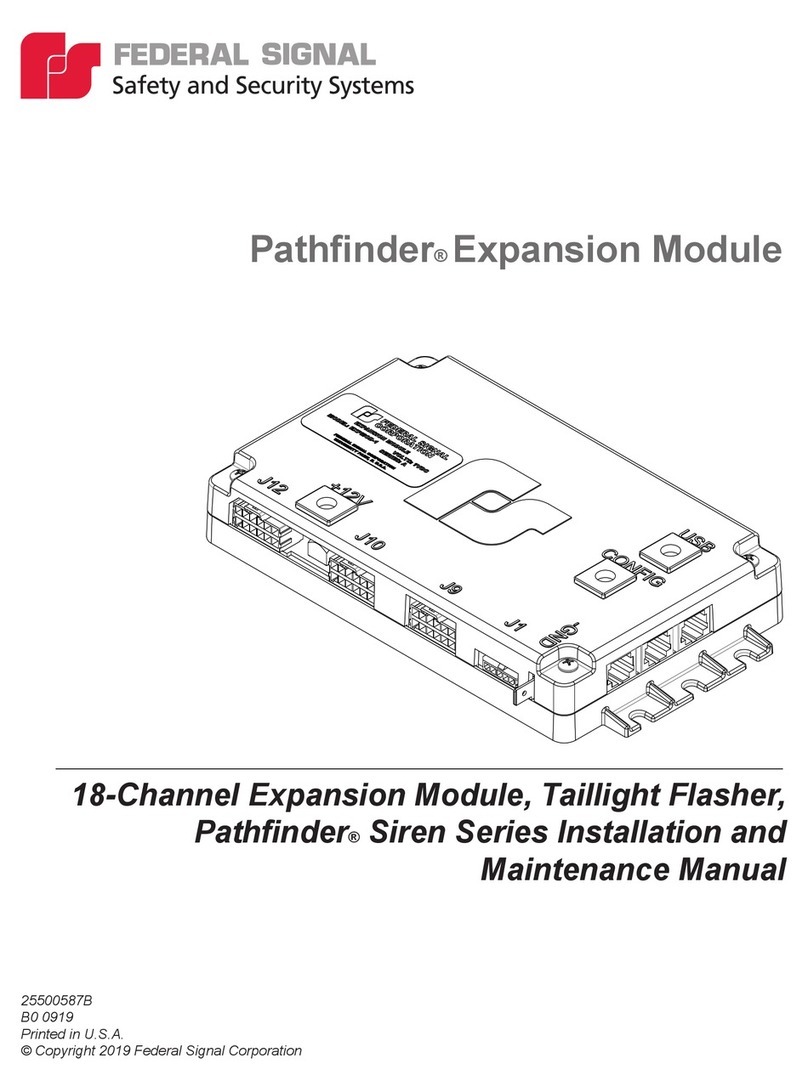
Federal Signal Corporation Pathfinder Siren Series Installation and maintenance manual


