Uniden MULTIRANGE DRX332 User manual

AC adapter
(PS-0033)
Battery
cover
yIf any items are missing or damaged, contact our Customer
Care Line immediately. Never use damaged products!
yNeed Help? Get answers 24/7 at our website: www.uniden.com.
If You... Contact Uniden’s... Phone Number
have a question or problem Customer Care Line* 817-858-2929 or
800-297-1023
need a part or accessory Parts Department* 800-554-3988
need special assistance due
to a disability Accessibility Help Line 800-874-9314
(voice or TTY)
* During regular business hours, Central Standard Time. Visit our website
for detailed business hours.
DRX332 Accessory Handset and
MULTIRANGE
TM Charger User's Guide
What's in the box?
Rechargeable
battery pack
(BT-1018)
DRX332
accessory handset with
MULTIRANGE
TM
charger
© 2010 Uniden America Corp. Printed in Vietnam
Fort Worth, Texas UUZZ01221BZ(0)

Important Safety Instructions!
When using your telephone equipment, basic safety precautions
should always be followed to reduce the risk of fire, electric
shock and injury to persons, including the following:
yDo not use this product near water, for example, near a
bath tub, wash bowl, kitchen sink or laundry tub, in a wet
basement or near a swimming pool.
yAvoid using a telephone (other than a cordless type) during
an electrical storm. There may be a remote risk of electric
shock from lightning.
yDo not use the telephone to report a gas leak in the vicinity of
the leak.
yUse only the power cord and batteries indicated in this
manual. Do not dispose of batteries in a fire. They may
explode. Check with local codes for possible special disposal
instructions.
yDo not place the handset in any charging cradle without the
battery installed and the battery cover securely in place.
SAVE THESE INSTRUCTIONS!
What's in the manual?
Important Safety Instrucons! ..2
Seng Up Your Handset..........3
Install the Baery....................3
Connect the Charger...............3
Registering the Handset..........4
Using the Handset...................5
Using the
MULTIRANGE
TM
Charger ...................................6
How It Works ..........................6
Registering the
MULTIRANGE
charger..................................7
Placing the
MULTIRANGE
charger..................................8
Important Informaon .......... 10
Specificaons ........................10
Baery Informaon ..............10
Compliance Informaon .......12
One-year Limited Warranty ..14

3
Seng Up Your Handset
Install the Baery
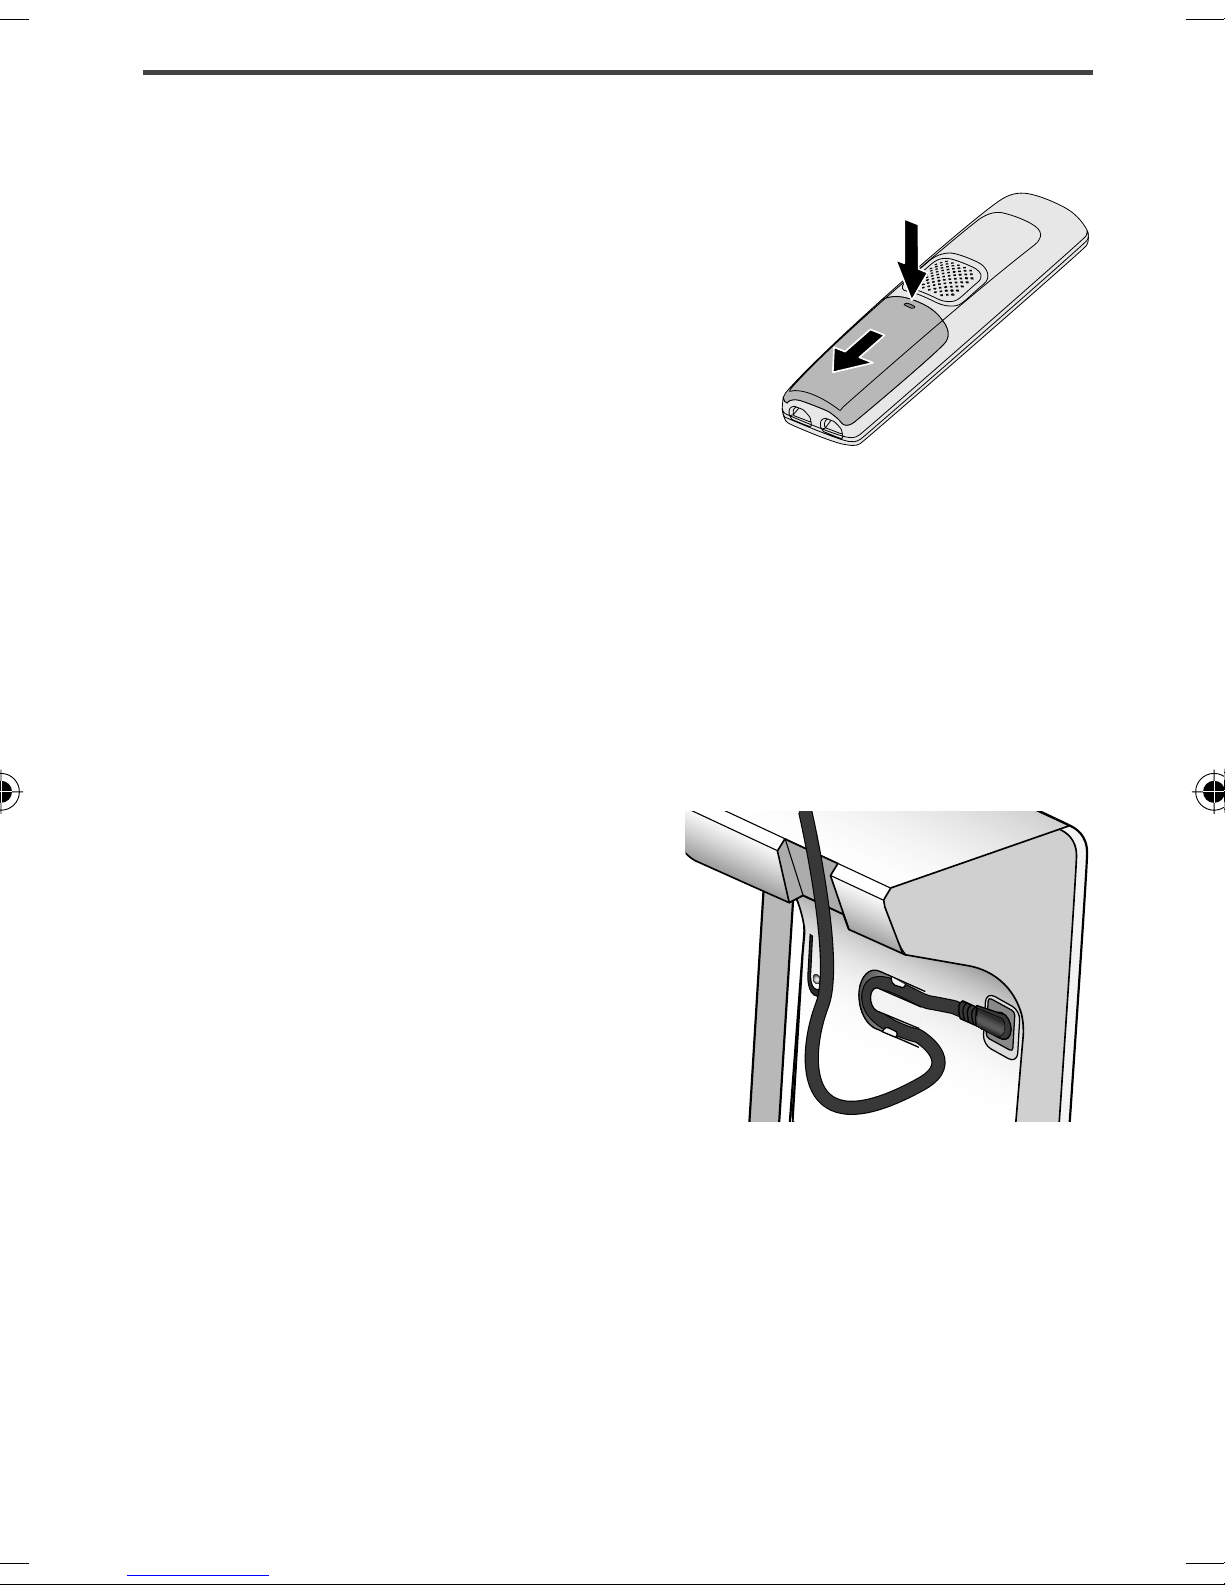
1. Unpack the handset, battery pack, and
battery cover. If the battery cover is
already on the handset, press in on
the notch and slide the cover down
and off.
2. Line up the battery pack connector
with the jack inside the handset.
(The battery connector only fits one way.)
3. Push the battery pack connector in until it clicks into place.
Tug gently on the wires to make sure the battery pack is
securely connected.
4. Place the cover over the battery compartment and slide it
up into place.
Connect the Charger
1. Connect the AC adapter to the
charger's
AC IN 6.5V
jack and
route the cord as shown. (This
adapter might already be
connected.)
2. Plug the other end of the
adapter into a standard 120V AC power outlet.
3. Place the handset in the charger with the display facing
forward. The display on the handset should light up; if it
doesn't, reseat the handset or try plugging the AC adapter
into a different outlet.
#Charge the handset completely (about 15 hours) before using it.

4
Registering the Handset
#Registering the handset is a separate process from registering the
MULTIRANGE
TM charger. You can use the handset normally even
if the charger is not registered.
#The accessory handset will not work until you register it to a
base!
Compable Bases
This handset is designed for use with Uniden's DECT3380
base. Other Uniden DECT6.0 bases might be compatible with
this handset. For up-to-date list of compatible bases for this
handset, see our website.
Register the handset
In most cases, all you need to do is place the handset in the
base. The display should say
Handset Registering
.
If the handset doesn't fit in the base cradle or if the base has a
corded handset, follow the steps below:
1. On the base, press and hold
FIND
when the phone is in
standby (about 5 seconds).
2. On the handset, press and hold
POUND (#)
until the display
says
Handset Registering
(about 2 seconds).
#After about 30 seconds, the handset display should say
Registration Complete
.

5
Test the connecon
Pick up the handset and press
TALK
. Make sure you get a dial
tone. (Press
END
to hang up.)
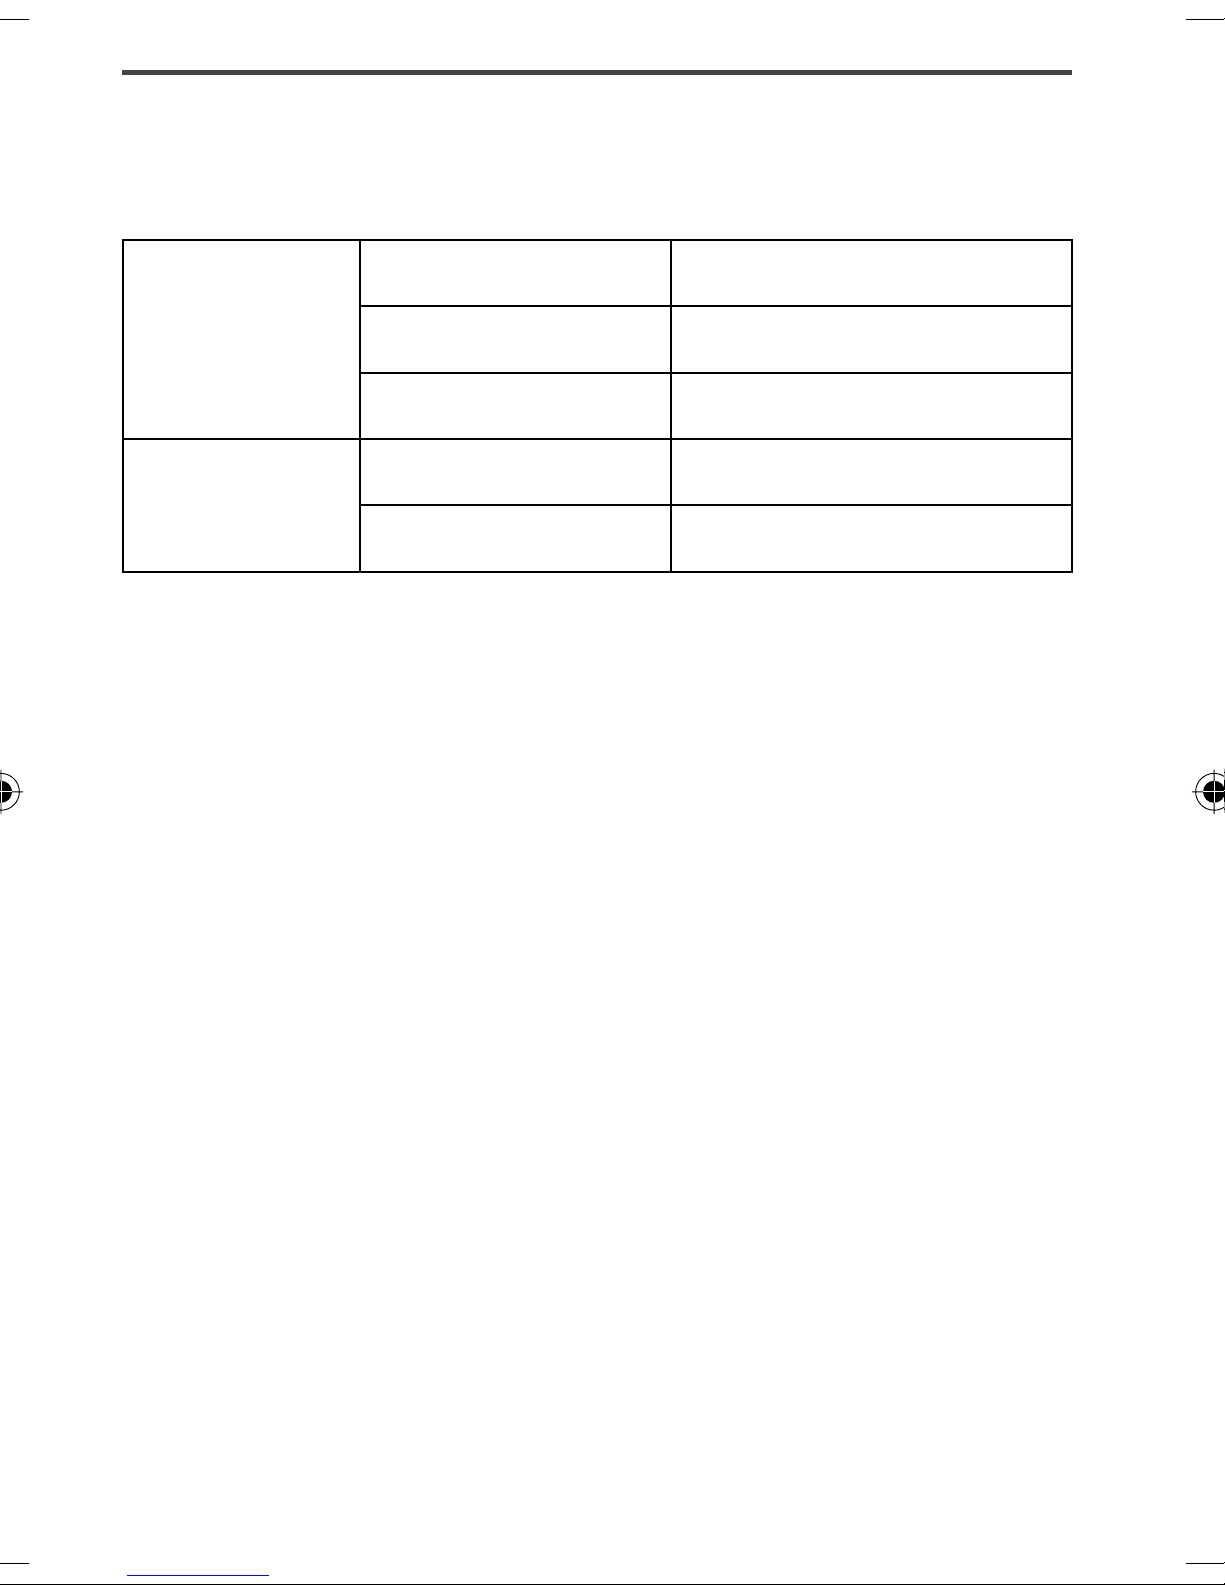
If... Try...
-you don't hear a dial tone
-the display says
Registration
Failed
Making sure the handset is fully
charged, then trying again.
Using the Handset
yWhen the handset registers to a base, it adapts its software
to match that specific base. This means that the exact
features and operation of the handset will vary slightly
depending on which base you register the handset to. Refer
to the user guide for the base you're registering the handset
to for feature descriptions.
yAll features and operation for the handset are described
in the user's guide for one of the bases listed under the
Compatible Bases section.
yUser guides for all Uniden phones are available on our
website for free downloading.

6
Using the
MULTIRANGE
TM Charger
How It Works
The DRX332
MULTIRANGE
TM charger extends the range of your
base in all directions, including up and down. Each handset will
automatically connect to the charger or the base, depending on
which signal is stronger. (The handset operates exactly the
same way whether it's connected to the base or to the
MULTIRANGE
charger.)
yTo use the charger's
MULTIRANGE
function, you must
register the charger to a DECT3380 base. (Any
MULTIRANGE
chargers that came packaged with the base are already
registered to that base for you.)
Base Coverage Area
Handsets in this area always
connect to the base.
Overlap Coverage
Area
Handsets in
this area might
connect to the
base or the charger.
Extended Coverage Area
Handsets in this area
always connect to the
charger.
Base
MULTIRANGE
TM
charger

7
yEach of these bases can support up to two DRX332
MULTIRANGE
chargers, including any that were supplied
with your phone.
yUsually, you can't tell when a handset switches between the
base and the charger in the middle of a call, but sometimes,
you might notice a brief pause in your conversation.
Registering the
MULTIRANGE
charger
#Registering the
MULTIRANGE
charger is a separate process from
registering the handset. You can use the charger even if the
handset is not registered.
1. On the base, press and hold
FIND
when the phone is in
standby.
2. On the bottom of the
MULTIRANGE
charger, press
and hold the registration
button until the
LINK
light
starts to blink (about 2
seconds).
3. Release the button and wait
for the
LINK
light to turn on
and steady (this can take
about 90 seconds).
If the
LINK
light doesn't turn on, disconnect the charger's AC
adapter. Wait about 20 seconds, then try these steps again.

8
Some important things to remember:
yOnly register one charger at a time. If more than one charger
is in registration mode at the same time, they can interfere
with each other.
yIf you want to use the
MULTIRANGE
charger with a different
base, just register the charger to the new base. The charger
automatically erases the link to the old base when it
registers to the new one.
yOnly register the charger to one base at a time. If more than
one base is in registration mode at the same time, you can't
control which base the charger registers to.
Placing the
MULTIRANGE
charger
Here are a few tips for placing your
MULTIRANGE
charger so
that you get the clearest signal and the maximum range:
yMake sure you have good reception from the base.
yPut the charger at least 35 feet away from the base or any
other charger. (If you put the charger on a different floor
from the base, don't forget to allow 35 feet vertically, also.)
Picking the best spot
The best spot for the
MULTIRANGE
charger is as far from the
base as possible while
still maintaining a good
signal, or near the edge of
the base’s coverage area.
To find the edge of the
coverage area:
1. Stand near the base
and make a call on
the handset.

9
2. While on the call, carry the handset away from the base
towards the general area where you want to put the
charger.
3. Watch the signal strength icon on the handset. Make a note
where the icon drops from 4 bars to 3 bars.
4. Continue walking away from the base. Make a note where
the signal strength icon drops from 3 bars to 2 or if you
start to hear noise on the line (which indicates the signal is
getting weaker).
5. Place the charger anywhere inside the range where the
signal strength icon showed 3 bars and the handset had a
clear signal with no noise.
Tesng the locaon
Connect the charger's AC adapter and make sure the
LINK
light
comes on steadily. If the light flashes, the
MULTIRANGE
charger
is not getting a good signal from the base. The charger may be
too far away from the base, there may be interference from
electronic devices, or the signal might be blocked by thick walls
or metal objects. Try moving the charger to another location.

10
Important Informaon
Specifications
AC Adapter
Part number PS-0033
Input voltage 120V AC, 60 Hz
Output voltage 6.5V AC @ 350mA
Battery pack
Part number BT-1018
Capacity 500mAh, 2.4V DC
yUse only the supplied AC adapter.
yBe sure to use the proper adapter for the base and any
chargers.
yDo not place the power cord where it creates a trip hazard
or where it could become chafed and create a fire or
electrical hazard.
yDo not place the unit in direct sunlight or subject it to high
temperatures.
Battery Information
yFully charged, the battery should provide about 10 hours of
talk time and about 7 days of standby time. For best results,
return the handset to the cradle after each call to keep it
fully charged.
yKeep an eye on the battery status icon. When the battery
gets too low, the handset shows a low battery alert. If you
hear a strange beep during a call, check the display: if you
see the low battery alert, finish your conversation as quickly
as possible and return the handset to the cradle. If the
handset is in standby, none of the keys will operate.
Other manuals for MULTIRANGE DRX332
1
Table of contents
Other Uniden Handset manuals

Uniden
Uniden DSS 7905 User manual

Uniden
Uniden XC631Plus User manual

Uniden
Uniden DCX210 User manual

Uniden
Uniden AT440HS User manual

Uniden
Uniden DCX291 Parts list manual

Uniden
Uniden DCX320 User manual

Uniden
Uniden DCX170 User manual

Uniden
Uniden DCX170 User manual

Uniden
Uniden DECT 1802 User manual

Uniden
Uniden XDECT 7005 User manual

Uniden
Uniden DCX400 User manual

Uniden
Uniden DECT1820 User manual

Uniden
Uniden DS 805 User manual

Uniden
Uniden TCX4 Series User manual

Uniden
Uniden DWX337 User manual

Uniden
Uniden DCX170BT User manual

Uniden
Uniden DCX330 Service manual

Uniden
Uniden DECT 6015 User manual

Uniden
Uniden WXI3077 User manual

Uniden
Uniden DCX200 Series User manual