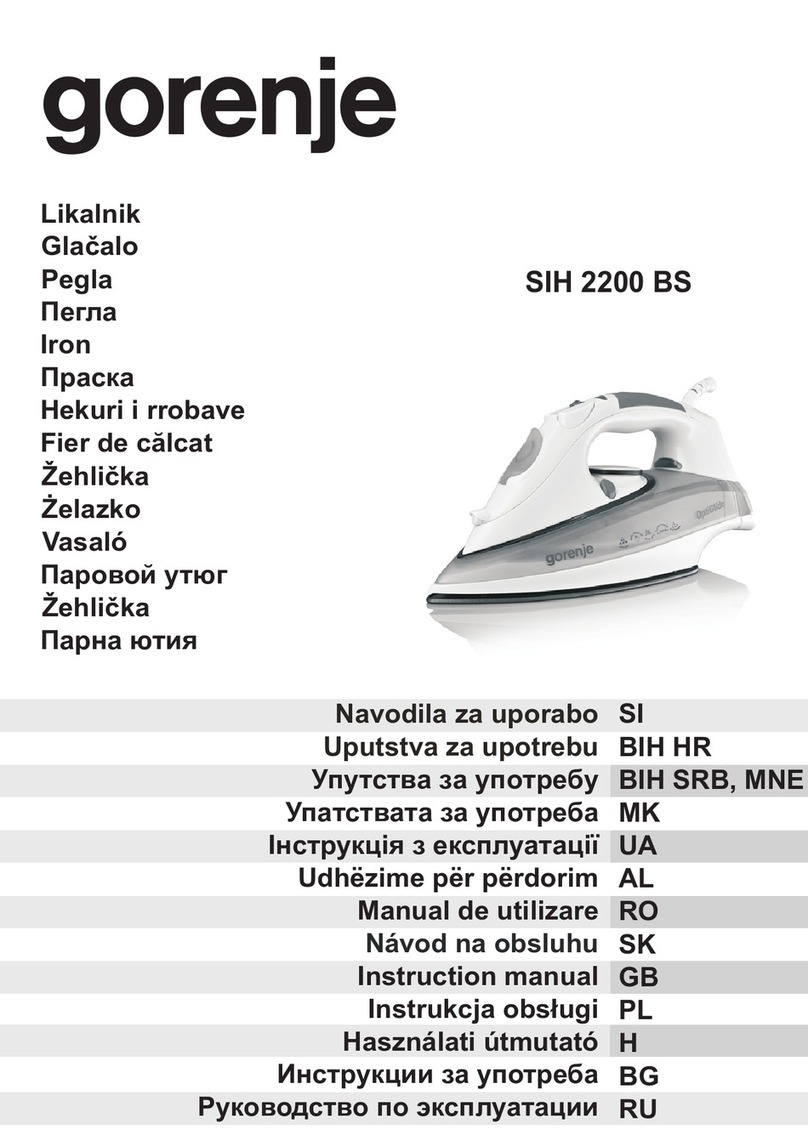
Steamfast SF-717 User manual

Home & Away Steam Iron
Presse De Repassage À La Vapeur – Taille Moyenne
Plancha A Vapor Para Tela De Medio Porte
Dual Voltage (100-127 / 220-240V Selectable)
Bitension (100-127 V / 220-240 V, réglable)
Voltaje doble (100-127V/220-240V seleccionable)
Owner’s Guide
Mode d’emploi
Guía del Usuario
MODEL SF-717
MODÉLE SF-717
MODELO SF-717
ENGLISH p. 2
FRANÇAIS p. 12
ESPAÑOL p. 24
KEEP YOUR RECEIPT FOR WARRANTY PURPOSES. Please read all instructions before use. Please visit the
PRODUCT REGISTRATION page on our Web site and ll out the online form to register your unit for warranty service.
GARDEZ VOTRE REÇU AUX FINS DE LA GARANTIE. Veuillez lire toutes les instructions avant l’utilisation. Veuillez
visiter la page d'ENREGISTREMENT DE PRODUIT de notre site Web an de remplir le formulaire en ligne et
d'enregistrer votre appareil pour le service de garantie.
GUARDE SU RECIBO A EFECTOS DE LA GARANTÍA. Lea todas las instrucciones antes de usarlo. Visite la página
de REGISTRO DEL PRODUCTO en nuestro sitio web y complete el formulario en línea para registrar su unidad y así
obtener el servicio de garantía.

IMPORTANT SAFETY INSTRUCTIONS
2 |ENGLISH
READ ALL INSTRUCTIONS BEFORE USE
DANGER
Any appliance is electrically live even when switch is off. To reduce risk of death by
electrical shock:
1. Always unplug power cord immediately after using.
2. Do not place or store unit where it can fall or be pulled into a sink or tub.
3. Do not place in, or drop into water or other liquid.
4. If unit falls into water, immediately unplug power cord. Do not reach into the
water.
WARNING
To reduce risk of burns, electrocution, re, or injury to persons:
1. Use Home & Away Steam Iron only for its intended purpose as indicated in these
instructions.
2. Do not use an extension cord to operate this unit.
3. Before plugging power cord into electrical outlet, be sure that all electrical
information on rating label agrees with your power supply.
4. To reduce likelihood of circuit overload, DO NOT operate another high wattage
appliance on the same circuit as this unit.
5. To protect against risk of electrical shock, do not immerse unit in water or other
liquids. Do not use power cord as handle, allow it to hang over edge of counters,
or be crimped or closed in doors.
6. Never yank power cord to disconnect from outlet; instead, grasp plug and pull to
disconnect.
7. Do not operate unit with a damaged power cord or if the unit has been dropped
or damaged. To avoid risk of electrical shock, do not disassemble unit; take it to a
qualied service repair person for examination and repair. Incorrect reassembly
can cause a risk of electrical shock when unit is used.
8. Close supervision is required for any appliance being used near children, pets
and plants. Do not leave unit unattended while plugged in.
WARNING: To reduce risk of re, electrical shock or injury, the follow-
ing basic safety precautions should always be followed when using an
electrical appliance.

ENGLISH |3
9. This unit is not intended for use by persons (including children) with reduced
physical, sensory or mental capabilities, or lack of experience and knowledge,
unless they have been given supervision or instruction concerning use of the unit
by a person responsible for their safety.
10. If Heating Indicator Light does not illuminate when Temperature Control Dial
is turned to one of three heat settings, unit is not operating normally.
Immediately unplug and have unit serviced by qualied service personnel.
11. Unplug power cord before lling Water Tank with water.
12. Do not use unit where aerosol-based products are being used, or where oxygen
is being administered.
13. Unit is only meant to be used with recommended SF-717 accessories. Using
other types of attachments may cause damage to unit or injury.
14. When lling Water Tank, only water should be used in unit - other cleaning
agents could damage unit or cause injury. Distilled or de-mineralized water is
highly recommended, in order to minimize potential build-up of mineral deposits.
Do not overll unit.
15. Do not attempt to use steam function without properly lling Water Tank.
16. To reduce risk of contact with hot water emitting from steam vents, check
appliance before each use by positioning it away from body and pressing Steam
Button. Do not operate unit if steam vents are blocked.
17. Burns can occur from touching hot metal parts, hot water, or steam. Do not
touch Ironing Plate while unit is in use. Do not turn unit upside-down - it may
contain hot water.
18. When steaming/ironing any item for the rst time, it is recommended that you
consult the manufacturer’s guidelines for material being steamed. For items in
question, test on an inconspicuous area before proceeding.
19. Do not allow power cord to touch hot surfaces (such as Ironing Plate) during
use. Wrap cord around base of Hand Grip when storing.
20. Always allow Home & Away Steam Iron to cool completely (at least 30 minutes)
before storing. Prop unit upright on Stand when cooling, to avoid heat damage
to surfaces.
SAVE THESE INSTRUCTIONS!
FOR HOUSEHOLD USE ONLY

12
3
4
12
13
14
5
7
611
8 9 10
Product Information
4 |ENGLISH
FEATURES
1. Ironing Plate
2. Main Body
3. Heating Indicator Light
4. Power Cord Clip
5. Water Tank Cap
6. Water Tank Windows (2)
7. Steam Button
8. Temperature Control Dial
9. Hand Grip
10. Water Tank (internal)
11. Voltage Selector
12. Stands (2)
ACCESSORIES
13. Measuring Cup
14. Travel Bag

ENGLISH |5
• The Ironing Plate is the heated, non-stick surface that is used to press fabrics,
remove wrinkles and create creases.
• The Main Body contains the unit's internal heating components.
• The Heating Indicator Light illuminates when the Temperature Control Dial is set to
one of the three heat settings. Refer to Page 8 for details.
• The Power Cord Clip holds the power cord securely when wrapped around the
base of the Hand Grip for storage. Refer to Page 9 for details.
• The Water Tank Cap covers the Water Tank ll hole. The Water Tank Cap is
tethered to the unit, and cannot be completely removed. Refer to Page 7 for
details.
• The Water Tank Windows let you monitor the level of water in the Water Tank.
The unit must be sitting upright to correctly read the water level.
• The Steam Button is pressed to activate the unit's steam function. Locking the
Steam Button down disables steam; pressing the Steam Button releases it into the
unlocked position, enabling steam. Refer to Page 8 for details.
• The Temperature Control Dial is turned to select one the three heat settings, and
to turn heating off. Refer to Page 8 for details.
• The Hand Grip is ergonomically designed for user comfort. The Hand Grip
contains the unit's Water Tank, and the base is specially designed for the power
cord to be wrapped around for storage.
• The Water Tank, located inside the Hand Grip, is designed to hold a maximum of
1.1 oz (32 ml.) water. Refer to Page 7 for details.
• The Voltage Selector is the recessed switch which is used to set the unit to either
100-127V or 220-240V electrical voltage standards. By default the Voltage
Selector is set to 100-127V. Refer to Page 6 for details.
• The Stands are the two supports located at the rear of the Main Body. The Stands
are designed to support the unit in an upright position when the Ironing Plate is
hot, to help prevent damage to surfaces.
• The Measuring Cup is designed to help you easily and consistently ll the Water
Tank with the optimum amount of water.
• The Travel Bag is designed to hold the unit and Measuring Cup for more
convenient packing and travel.

6 |ENGLISH
SETTING VOLTAGE
The Home & Away Steam Iron features dual-voltage functionality, which allows it
to function correctly in regions with either 100-127V or 220-240V electrical voltage
standards. Voltage is set using the Voltage Selector.
IMPORTANT: By default, the Voltage Selector is set to the 100-127V setting.
Be sure to select the correct voltage for your location before plugging power
cord into an electrical outlet.
To change the voltage setting:
NOTE: These steps assume that Voltage Selector is still set to 100-127V
default.
1. Locate Voltage Selector, recessed inside slot at rear of Main Body. Note
the white open notch in middle of Voltage Selector (FIGURE 1-A).
2. Find a tool with a ne tip - a pen is ideal.
3. Carefully insert tip of pen into white notch. Slide Voltage Selector to the
right, towards 220-240V label (FIGURE 1-B).
IMPORTANT: Be sure that Voltage Selector is moved as far to the right
as possible for voltage setting to take effect correctly. Voltage Selector
should appear as shown (FIGURE 1-C).
4. Unit is now ready for use in
a 220V region. To set unit
back to 100V, reverse STEPS
2 & 3, this time sliding Voltage
Selector as far to the left
(towards 100-127V label)
as possible.
Using the
Home & Away Steam Iron
100-127V 220-240V
100-127V 220-240V
100-127V 220-240V
A
B
C
NOTCH
FIGURE 1

ENGLISH | 7
FILLING WATER TANK (FOR STEAM IRONING)
1. Turn off and unplug unit.
2. Place unit (Ironing Plate down) on a at, heat-resistant surface.
3. Fill Measuring Cup with water up to MAX (1.1 oz. / 32 ml.) mark.
NOTE: In order to extend the life of your unit and keep it functioning
at it’s maximum potential, it is highly recommended that distilled or
de-mineralized water be used in Water Tank.
4. Open Water Tank Cap. Pour water from Measuring Cup into Water Tank
(FIGURE 2). Close Water Tank Cap.
While steam-ironing, the Water Tank Windows let you monitor the water level in the
Water Tank. When the water level becomes low:
1. Turn off and unplug unit. Allow to cool for at least 5 minutes.
2. Follow STEPS 1-3 above.
3. Plug power cord back in and resume ironing as usual.
FIGURE 2

8 |ENGLISH
OPERATING UNIT
DRY IRONING
IMPORTANT: Make sure Steam Button is locked in lowered
position (FIGURE 4-B) before dry ironing. This will prevent any
water from accidentally dripping.
1. Plug power cord into a convenient electrical outlet.
2. Turn Temperature Control Dial clockwise so that small arrow ( )
on Hand Grip (FIGURE 3-A) points to one of three heat settings on
Dial (FIGURE 3-B). Heating Indicator Light will illuminate.
NOTE: It is recommended to start with lower temperatures
rst, as high settings designed for heavy materials can
damage delicate fabrics.
3. When Heating Indicator Light turns off, Ironing Plate is heated and
ready for use.
NOTE: During use, Heating Indicator Light will cycle on and
off as unit works to maintain a constant temperature. You
may continue to iron while Light cycles.
STEAM IRONING
1. Plug power cord into a convenient electrical outlet.
2. Turn Temperature Control Dial clockwise as far as possible to
set unit to high temperature (MAX •••). Heating Indicator Light will
illuminate.
3. When Heating Indicator Light turns off, press Steam Button.
Button will lock into raised position (FIGURE 4-A), and unit will
begin emitting steam from steam vents on Ironing Plate.
NOTE: Unit is designed to steam horizontally. Steam ow will
stop whenever unit is in vertical upright position.
4. To stop steam ow, press Steam Button again to lock it into
lowered position (FIGURE 4-B).
A
B
A
B
ARROW
Synthetics, Silks
(LOW TEMP)
Wool
(MEDIUM TEMP)
Cotton, Linen
(HIGH TEMP)
FIGURE 3
FIGURE 4
Once all ironing tasks are nished, immediately turn Temperature Control Dial counter-clockwise
until it is set to off (O) position. Be sure that Steam Button is locked in lowered position - this
will prevent water from accidentally dripping during next use. Prop unit upright on Stands to cool,
and refer to CARE & STORAGE GUIDELINES on Page 9 for proper cleaning and storage.

CLEANING & STORAGE
1. Turn Temperature Control Dial to "off" (O) position. Unplug power cord.
2. Prop unit upright on Stands and allow Ironing Plate to cool for 30 minutes.
3. Open Water Tank Cap and drain any remaining water into a sink or tub. Close
Cap when nished.
4. Wipe Main Body and Ironing Plate with a soft cloth lightly moistened with water.
• DO NOT clean Ironing Plate with detergents or descalers
• DO NOT clean Ironing Plate with abrasive or corrosive products
• DO NOT submerge unit or hold unit under running water.
5. Wrap power cord around base of Hand Grip
and secure end in Power Cord Clip as shown
(FIGURE 5). Place unit and Measuring Cup inside
Travel bag and store in a cool, dry location.
MINERAL BUILD-UP
1. Follow STEPS 1-3 under CLEANING & STORAGE section above; however,
leave Water Tank Cap open.
2. Make a mixture of 0.5 oz. distilled water and 0.5 oz. vinegar.
3. Using included Measuring Cup, pour water-vinegar solution into Water Tank.
Close Water Tank Cap.
4. Follow normal steam ironing procedure, as outlined on Page 8. Allow unit to
steam out full contents of Water Tank. When nished, lock Steam Button in
lowered position and unplug unit.
5. Allow to cool for 5 minutes, then rell Water Tank with fresh distilled water.
Repeat STEP 4 until vinegar odor dissipates.
6. Store unit as normal.
ENGLISH |9
FIGURE 5
Product Information

10 |ENGLISH
CUSTOMER SUPPORT
For problems with your Home & Away Steam Iron, please direct all inquiries to our
Customer Support services through our Web site, www.SteamFast.com.
If you do not have internet access, you may also contact our Customer Support
Department directly by telephone, at 1-800-711-6617.
NOTE: In order for our customer service representatives to help you as
quickly and efciently as possible, please have the following information
ready before calling:
• Purchase information (where and when you purchased this product)
• Copy of purchase receipt / proof of purchase
• Product Serial Number
PRODUCT SPECIFICATIONS
VOLTAGE: 100-127V / 220-240V
WATTAGE: 260W - 420W / 343W - 408W
AMPERAGE: 3.0A
WATER CAPACITY: 1.1 OZ. (32 ML.)
HEATING TIME: 15 SEC. (APPROXIMATE)
TEMPERATURE RANGE: 140ºF - 428ºF (60ºC - 220ºC)
UNIT WEIGHT: 0.93 LBS. (0.42 KGS.)
UNIT SIZE: 5.3" (13.5 CM.) x 2.9" (7.6 CM.) x 3.1" (7.9 CM.)
Patented. US Pat. No. 7,062,870 B1
Support /
Product Specifications
Other manuals for SF-717
3
Table of contents
Languages:
Other Steamfast Iron manuals

Steamfast
Steamfast SteamJet SF-777 Installation guide

Steamfast
Steamfast SF-680 User manual

Steamfast
Steamfast SF-710 User manual

Steamfast
Steamfast SF-622 User manual

Steamfast
Steamfast SF-680 User manual

Steamfast
Steamfast SF-432 User manual

Steamfast
Steamfast SF-707 User manual

Steamfast
Steamfast SF-767 User manual

Steamfast
Steamfast SF-760 User manual

Steamfast
Steamfast SF-750 User manual