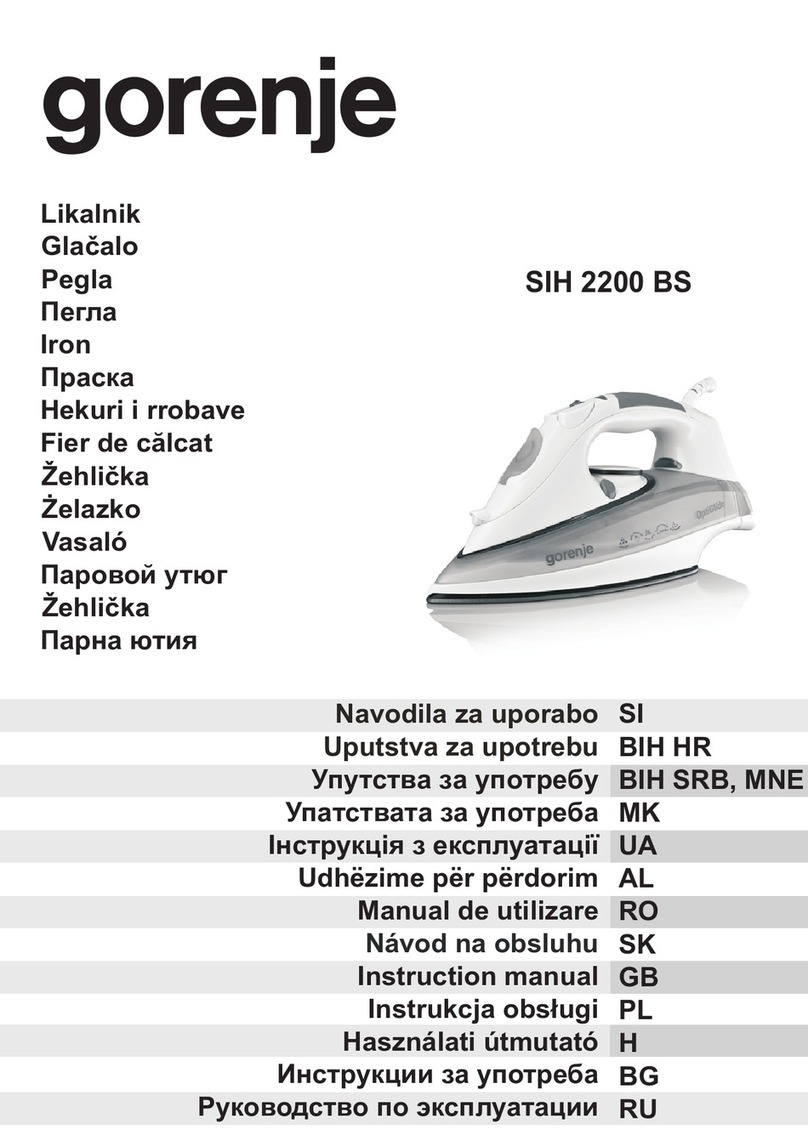
Steamfast SF-717 User manual

HOME & AWAY STEAM IRON
OWNER’S GUIDE

2 |ENGLISH
WARNING
• To reduce risk of burns, electrocution, re, or injury to persons: Do not
tamper with or modify this product in any way. The manufacturer assumes no
responsibility for damage or injury caused by failure to follow these instructions,
improper use, or unauthorized product modication. Any such actions will
invalidate the productwarranty.
• To reduce the risk of electric shock, this appliance has a polarized plug (one
blade is wider than the other). This plug will t in a polarized outlet only one
way. If the plug does not t fully in the outlet, reverse the plug. If it still does not
t, contact a qualied electrician to install the proper outlet. Do not change the
plug in any way.
1. Use Home & Away Steam Iron only for its intended purpose as indicated in these
instructions.
2. Do not use an extension cord to operate this unit.
3. Before plugging power cord into electrical outlet, be sure that all electrical
information on rating label agrees with your power supply.
4. To reduce likelihood of circuit overload, DO NOT operate another high wattage
appliance on the same circuit as this unit.
5. To protect against risk of electrical shock, do not immerse unit in water or other
liquids. Do not use power cord as handle, allow it to hang over edge of counters,
or be crimped or closed in doors.
6. The iron should always be turned OFF before plugging or unplugging from
outlet. Never yank power cord to disconnect from outlet; instead, grasp plug
and pull todisconnect. Always keep unplugged when not in use.
7. Do not operate unit with a damaged power cord or if the unit has been dropped
or damaged. To avoid risk of electrical shock, do not disassemble unit; take it to
a qualied service repair person for examination and repair. Incorrect reassembly
can cause a risk of electrical shock when unit is used.
8. Close supervision is required for any appliance being used near children, pets
and plants. Do not leave unit unattended while plugged in.
9. This unit is not intended for use by persons (including children) with reduced
physical, sensory or mental capabilities, or lack of experience and knowledge,
unless they have been given supervision or instruction concerning use of the unit
by a person responsible for their safety.
10. If Heating Indicator Light does not illuminate when Temperature Control
Dial is turned to one of three heat settings, unit is not operating normally.
Immediately unplug and have unit serviced by qualied service personnel.
11. Unplug power cord before lling or emptying Water Tank.
IMPORTANT SAFETY INSTRUCTIONS
READ ALL INSTRUCTIONS BEFORE USING

ENGLISH |3
12. Do not use unit where aerosol-based products are being used, or where
oxygen is beingadministered.
13. Unit is only meant to be used with recommended SF-717/ SF-720 accessories.
Using other types of attachments may cause damage to unit orinjury.
14. When lling Water Tank, only water should be used in unit - other cleaning
agents could damage unit or cause injury. Distilled or de-mineralized water
is highly recommended, in order to minimize potential build-up of mineral
deposits. Do not overll unit.
15. Do not attempt to use steam function without properly lling Water Tank.
16. To reduce risk of contact with hot water emitting from steam vents, check
appliance before each use by positioning it away from body and pressing
Steam Button. Do not operate unit if steam vents are blocked.
17. Burns can occur from touching hot metal parts, hot water, or steam. Do not
touch Ironing Plate while unit is in use. Do not turn unit upside-down - it may
contain hotwater.
18. When steaming/ironing any item for the rst time, it is recommended that you
consult the manufacturer’s guidelines for material being steamed. For items in
question, test on an inconspicuous area before proceeding.
19. Do not allow power cord to touch hot surfaces (such as Ironing Plate) during
use. Wrap cord around base of Hand Grip when storing.
20. Always allow Home & Away Steam Iron to cool completely (at least 30 minutes)
before storing. Prop unit upright on Stand when cooling, to avoid heat damage
to surfaces.
21. The iron must be used and rested on a stable surface.
22. When placing the iron on its stand, ensure that the surface on which the stand
is placed isstable.
This equipment may generate, use and/or radiate radio frequency energy that may
cause harmful interference to radio communications. If this equipment does cause
harmful interference to radio or television reception, which can be determined by
turning the equipment off and on, the user is encouraged to contact Steamfast
Consumer Service at 1-800-711-6617.
SAVE THESE INSTRUCTIONS
Please refer to our website for the most current version of our owner’s guide.
Questions or comments?
•steamfast.com
•1-800-711-6617
Speak your mind! We invite you to review this product online:
steamfast.com/reviews

4 |ENGLISH
Product Information
ACCESSORIES
Measuring Cup
Travel Bag
13
14
12
3
4
12
13
5
7
611
8 9 10
UNIT FEATURES
Ironing Plate
Main Body
Heating Indicator Light
Power Cord Clip
Water Tank Cap
Water Tank Windows (2)
Steam Button
Temperature Control Dial
Hand Grip
Water Tank (internal)
Voltage Selector
Stands (2)
1
2
3
4
5
6
7
8
9
10
11
12
14

ENGLISH |5
• The Ironing Plate is the heated, non-stick surface that is used to press fabrics,
remove wrinkles and create creases.
• The Main Body contains the unit's internal heating components.
• The Heating Indicator Light illuminates when the Temperature Control Dial is set
to one of the three heat settings. Refer to Page 8 for details.
• The Power Cord Clip holds the power cord securely when wrapped around the
base of the Hand Grip for storage. Refer to Page 9 for details.
• The Water Tank Cap covers the Water Tank ll hole. The Water Tank Cap is
tethered to the unit, and cannot be completely removed. Refer to Page 7
for details.
• The Water Tank Windows let you monitor the level of water in the Water Tank.
The unit must be sitting upright to correctly read the water level.
• The Steam Button is pressed to activate the unit's steam function. Locking the
Steam Button down disables steam; pressing the Steam Button releases it into
the unlocked position, enabling steam. Refer to Page 8 for details.
• The Temperature Control Dial is turned to select one the three heat settings, and
to turn heating off. Refer to Page 8 for details.
• The Hand Grip is ergonomically designed for user comfort. The Hand Grip
contains the unit's Water Tank, and the base is specially designed for the power
cord to be wrapped around for storage.
• The Water Tank, located inside the Hand Grip, is designed to hold a maximum of
1.1 oz (32 ml.) water. Refer to Page 7 for details.
• The Voltage Selector is the recessed switch which is used to set the unit to
either 100-127V or 220-240V electrical voltage standards. By default the Voltage
Selector is set to 100-127V. Refer to Page 6 for details.
• The Stands are the two supports located at the rear of the Main Body. The
Stands are designed to support the unit in an upright position when the Ironing
Plate is hot, to help prevent damage to surfaces.
• The Measuring Cup is designed to help you easily and consistently ll the Water
Tank with the optimum amount of water.
• The Travel Bag is designed to hold the unit and Measuring Cup for more
convenient packing and travel.

6 |ENGLISH
SETTING VOLTAGE
The Home & Away Steam Iron features dual-voltage functionality, which allows it
to function correctly in regions with either 100-127V or 220-240V electrical voltage
standards. Voltage is set using the Voltage Selector.
For use in Canada or North America, the voltage selector switch should be placed
in the 120 volt position. For use in most foreign countries, the selector switch must
be placed in the 240 volt position. CONFIRM the voltage available at each location
before using the iron.
NOTE: For connection to a 240 volt supply an adaptor plug may be needed.
IMPORTANT: By default, the Voltage Selector is set to the 100-127V setting.
Be sure to select the correct voltage for your location before plugging power
cord into an electrical outlet.
To change the voltage setting:
NOTE: These steps assume that Voltage Selector is still set to 100-
127Vdefault.
1. Locate Voltage Selector, recessed inside slot at rear of Main Body. Note
the white open notch in middle of Voltage Selector (FIGURE 1-A).
2. Find a tool with a ne tip - a pen is ideal.
3. Carefully insert tip of pen into white notch. Slide Voltage Selector to the
right, towards 220-240V label (FIGURE 1-B).
IMPORTANT: Be sure that Voltage
Selector is moved as far to the right
as possible for voltage setting to
take effect correctly. Voltage Selector
should appear as shown (FIGURE 1-C).
4. Unit is now ready for use in a 220V
region. To set unit back to 100V,
reverse STEPS 2 & 3, this time sliding
Voltage Selector as far to the left
(towards 100-127V label) as possible.
Using the
Home & Away Steam Iron
100-127V 220-240V
100-127V 220-240V
100-127V 220-240V
A
B
C
NOTCH
FIGURE 1

ENGLISH |7
FIGURE 2
FILLING WATER TANK (FOR STEAM IRONING)
1. Turn off and unplug unit.
2. Place unit (Ironing Plate down) on a at, heat-resistant surface.
3. Fill Measuring Cup with water up to (1.1 oz. / 32 ml.).
NOTE: In order to extend the life of your unit and keep it functioning
at it’s maximum potential, it is highly recommended that distilled or
de-mineralized water be used in Water Tank.
4. Open Water Tank Cap. Pour water from Measuring Cup into Water Tank
(FIGURE 2). Close Water Tank Cap.
While steam-ironing, the Water Tank Windows let you monitor the water level in
the Water Tank. When the water level becomes low:
1. Turn off and unplug unit. Allow to cool for at least 5 minutes.
2. Follow STEPS 1-3 above.
3. Plug power cord back in and resume ironing as usual.

8 |ENGLISH
OPERATING UNIT
DRY IRONING
IMPORTANT: Make sure Steam Button is locked in lowered
position (FIGURE 4-B) before dry ironing. This will prevent any
water from accidentally dripping.
1. Plug power cord into a convenient electrical outlet.
2. Turn Temperature Control Dial clockwise so that small arrow ( )
on Hand Grip (FIGURE 3-A) points to one of three heat settings
on Dial (FIGURE 3-B). Heating Indicator Light will illuminate.
NOTE: It is recommended to start with lower temperatures
rst, as high settings designed for heavy materials can
damage delicate fabrics.
3. When Heating Indicator Light turns off, Ironing Plate is heated
and ready for use.
NOTE: During use, Heating Indicator Light will cycle on and
off as unit works to maintain a constant temperature. You may
continue to iron while Light cycles.
STEAM IRONING
1. Plug power cord into a convenient electrical outlet.
2. Turn Temperature Control Dial clockwise as far as possible to
set unit to high temperature (MAX •••). Heating Indicator Light
willilluminate.
3. When Heating Indicator Light turns off, press Steam Button.
Button will lock into raised position (FIGURE 4-A), and unit will
begin emitting steam from steam vents on Ironing Plate.
NOTE: Unit is designed to steam horizontally. Steam ow will
stop whenever unit is in vertical upright position.
4. To stop steam ow, press Steam Button again to lock it into
lowered position (FIGURE 4-B).
A
B
A
B
ARROW
Synthetics, Silks
(LOW TEMP)
Wool
(MEDIUM TEMP)
Cotton, Linen
(HIGH TEMP)
FIGURE 3
FIGURE 4
Once all ironing tasks are nished, immediately turn Temperature Control Dial counter-clockwise
until it is set to off (O) position. Be sure that Steam Button is locked in lowered position - this
will prevent water from accidentally dripping during next use. Prop unit upright on Stands to
cool, and refer to CARE & STORAGE GUIDELINES on Page 9 for proper cleaning and storage.

ENGLISH |9
CLEANING & STORAGE
1. Turn Temperature Control Dial to "off" (O) position. Unplug power cord.
2. Prop unit upright on Stands and allow Ironing Plate to cool for 30 minutes.
3. Open Water Tank Cap and drain any remaining water into a sink or tub. Close Cap
whennished.
4. Wipe Main Body and Ironing Plate with a soft cloth lightly
moistened with water.
• DO NOT clean Ironing Plate with detergents or descalers.
• DO NOT clean Ironing Plate with abrasive or
corrosiveproducts.
• DO NOT submerge unit or hold unit under running water.
5. Wrap power cord around base of Hand Grip and secure end
in Power Cord Clip as shown (FIGURE 5). Place unit and
Measuring Cup inside Travel bag and store in a cool, drylocation.
MINERAL BUILD-UP
1. Follow STEPS 1-3 under CLEANING & STORAGE section above; however,
leave Water Tank Cap open.
2. Make a mixture of 0.5 oz. distilled water and 0.5 oz. vinegar.
3. Using included Measuring Cup, pour water-vinegar solution into Water Tank.
Close Water Tank Cap.
4. Follow normal steam ironing procedure, as outlined on Page 8. Allow unit to
steam out full contents of Water Tank. When nished, lock Steam Button in
lowered position and unplug unit.
5. Allow to cool for 5 minutes, then rell Water Tank with fresh distilled water.
Repeat STEP 4 until vinegar odor dissipates.
6. Store unit as normal.
FIGURE 5
Storage & Care

10 |ENGLISH
Warranty Information
2-YEAR LIMITED WARRANTY
What is covered
Steamfast, a division of Vornado Air, LLC (“Steamfast”). Subject to the terms and conditions of
this 2-Year Limited Warranty (“Warranty”) as set forth below, Steamfast warrants to the original
consumer or purchaser (“Buyer”) that this Steamfast®-branded steam product, excluding
all accessories and attachments, (the “Product”) is to be free from defects in material and
workmanship for a period of two (2) years from the date of purchase when used and maintained in
accordance with the Owner’s Guide (the “Warranty Period”).
In the event Buyer noties Steamfast of a defect in the Product within the Warranty Period,
Steamfast will replace the Product and/or defective component parts, as applicable and necessary.
Any such replacement will be made at no charge to Buyer for parts or labor, provided that Buyer
shall be responsible for all shipping and transportation costs associated with returning the Product
to Steamfast for inspection and covered replacement.
What is not covered
This Warranty shall not be applicable to damage or loss caused in whole or in part by:
• Repairs, modications or alterations to the Product by anyone other than Steamfast.
• Use or operation of the Product outside the permitted or intended uses described by Steamfast
in the Owner’s Guide, or other careless operation, handling, misuse, or abuse of theProduct.
• Lack of proper maintenance or timely cleaning of the Product as specied in the Owner’sGuide.
• Use of the Product other than for normal household purposes.
• Normal wear and tear.
• Used consumable parts, accessories and attachments, including, but not limited to, brushes,
hangers, scrub pads and mop pads.
• Use of parts and accessories other than those produced or recommended by Steamfast.
• Cosmetic damage, such as scratches, nicks and dents.
• Damage caused by accident, water, ood, re or other acts of nature or external causes.
Warranty limitations and exclusions
• NO OTHER EXPRESS WARRANTY IS GIVEN BY STEAMFAST TO BUYER AND NO
REPRESENTATIVE HAS THE AUTHORITY TO MAKE REPRESENTATIONS OTHER THAN THOSE
PROVIDED HEREIN.
• THERE ARE NO WARRANTIES WHICH EXTEND BEYOND THE DESCRIPTION ON THE FACE
HEREOF AND ALL IMPLIED WARRANTIES, SPECIFICALLY THE IMPLIED WARRANTIES OF
MERCHANTABILITY AND FITNESS FOR A PARTICULAR PURPOSE, ARE HEREBY EXPRESSLY
LIMITED TO THE DURATION OF THE WARRANTY PERIOD, UNLESS A SHORTER PERIOD IS
PERMITTED BY LAW.
• STEAMFAST’S REPLACEMENT OF THE PRODUCT IS THE EXCLUSIVE REMEDY. UNDER NO
CIRCUMSTANCES SHALL STEAMFAST BE LIABLE TO BUYER OR ANY OTHER PERSON FOR
ANY INCIDENTAL, SPECIAL, CONSEQUENTIAL, OR OTHER DAMAGES, EVEN IF STEAMFAST
HAS BEEN ADVISED OF OR COULD REASONABLY FORESEE THE POSSIBILITY OF SUCH
DAMAGES, INCLUDING, BUT NOT LIMITED TO, LOSS OF PROFITS OR DAMAGE, WHETHER
RISING OUT OF BREACH OF WARRANTY, BREACH OF CONTRACT OR UNDER ANY OTHER
THEORY OFLAW.

Other manuals for SF-717
3
This manual suits for next models
1
Table of contents
Other Steamfast Iron manuals

Steamfast
Steamfast SF-717 User manual

Steamfast
Steamfast SF-623 User manual

Steamfast
Steamfast SF-767 User manual

Steamfast
Steamfast SF-727 User manual

Steamfast
Steamfast SF-680 User manual

Steamfast
Steamfast SF-717 User manual

Steamfast
Steamfast SF-580 User manual

Steamfast
Steamfast SF-750 User manual

Steamfast
Steamfast SteamJet SF-777 Installation guide

Steamfast
Steamfast SF-707 User manual