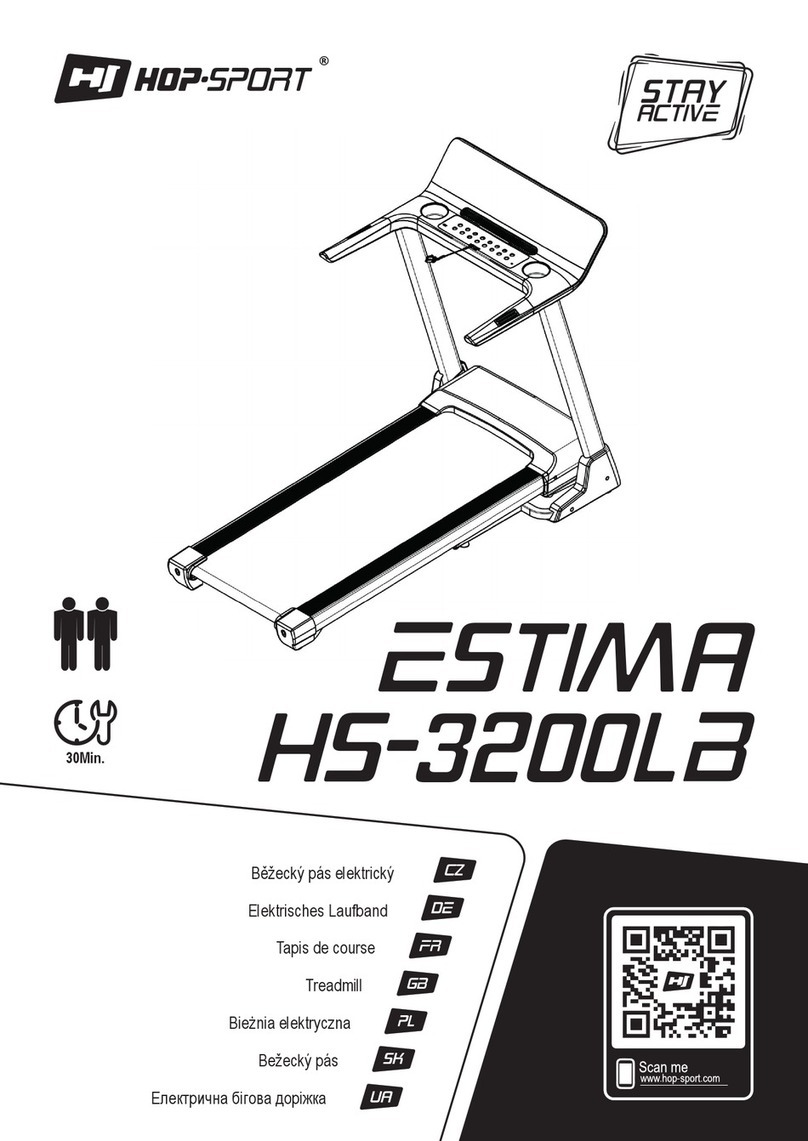
SOLE F80 User manual

PLEASE CAREFULLY READ THIS ENTIRE MANUAL BEFORE OPERATING YOUR NEW TREADMILL
F80 /F83 /F85 TREADMILL OWNER’S MANUAL

TABLE OF CONTENTS
Product Registration
Important Safety Instructions
Important Electrical Information
Important Operation Instructions
Assembly instructions
Folding Instructions
Transport Instructions
Operation of Your New Treadmill
Programmable Features
General Maintenance
Service Checklist - Diagnosis Guide
Manufacturer’s Limited Warranty
1
2
3
4
8
12
12
13
18
25
28
Sears Warranty Page 46
45
30EXPLODED VIEW DIAGRAM/PARTS LIST F80
35EXPLODED VIEW DIAGRAM/PARTS LIST F83
40EXPLODED VIEW DIAGRAM/PARTS LIST F85
F80/F83/F85- Ver.A

1
F80 /F83 /F85 TREADMILL
CONGRATULATIONS ON YOUR NEW TREADMILL AND WELCOME TO THE SOLE FAMILY!
Thank you for your purchase of the Sole treadmill from Maurice Pincos Canada. Your new
treadmill has been manufactured by one of the leading tness manufacturers in the world and is
backed by one of the most comprehensive warranties available. Maurice Pincos Canada will do all
we can to make your ownership experience as pleasant as possible for many years to come.
If you have any questions about your new Sole product or questions about the warranty contact
Mauricie Pincos Canada at 1-888-707-1880.
If you purchased this tness product from Sears, they will be your contact for all service needs.
To contact Sears for any service issues call 1-800-4-MY-HOME(1-800-469-4663).
Please take a moment at this time to record below the name of the dealer, their telephone number,
and the date of purchase for easy contact in the future. We appreciate your condence in SOLE
and we will always remember that you are the reason that we are in business. Please complete and
mail your registration card today and enjoy your new treadmill.
Yours in Health,
Maurice Pincos Canada
Name of Dealer
Telephone Number of Dealer
Purchase Date
PRODUCT REGISTRATION
RECORD YOUR SERIAL NUMBER
Please record the Serial Number of this tness product
in the space provided below.
Serial Number

2
WARNING - Read all instructions before using this appliance.
DANGER - To reduce the risk of electric shock disconnect your SOLE treadmill from the electrical
outlet prior to cleaning and/or service work.
WARNING
the treadmill plugged into the circuit.
DO NOT USE AN EXTENSION CORD UNLESS IT IS A 14AWG OR BETTER, WITH ONLY ONE
OUTLET ON THE END: DO NOT ATTEMPT TO DISABLE THE GROUNDED PLUG BY USING
IMPROPER ADAPTERS, OR IN ANY WAY MODIFY THE CORD SET.
3.
Do not operate treadmill on deeply padded, plush or shag carpet. Damage to both carpet
and treadmill may result.
Do not block the rear of the treadmill. Provide a minimum of 3 1/2 feet clearance between
Keep children away from the treadmill. There are obvious pinch points and other caution
areas that can cause harm.
Keep hands away from all moving parts.
Never operate the treadmill if it has a damaged cord or plug. If the treadmill is not working
properly, call your dealer.
Keep the cord away from heated surfaces.
Do not operate where aerosol spray products are being used or where oxygen is being
administered. Sparks from the motor may ignite a highly gaseous environment.
Never drop or insert any object into any openings.
Do not use outdoors.
from the outlet.
Do not attempt to use your treadmill for any purpose other than for the purpose it is
intended.
The pulse sensors are not medical devices. Various factors, including the user’s movement,
exercise aids in determining heart rate trends in general.
Use handrails provided; they are for your safety.
IMPORTANT SAFETY INSTRUCTIONS
F80/F83/F85 TREADMILL
Remove tether cord after use to prevent unauthorized treadmill operation.
SAVE THESE INSTRUCTIONS - THINK SAFETY!
Wear proper shoes. High heels, dress shoes, sandals or bare feet are not suitable for use on
your treadmill. Quality athletic shoes are recommended to avoid leg fatigue.
The pulse sensors are not intended to support the user's weight. For support when using the
treadmill and during dismounting use the side handrails.

3
WARNING!
NEVER use a ground fault circuit interrupt (GFCI) wall outlet with this treadmill. As with any ap-
pliance with a large motor, the GFCI will trip often. Route the power cord away from any moving
part of the treadmill including the elevation mechanism and transport wheels.
NEVER
If voltage varies by ten percent (10%) or more, the performance of your treadmill may be af-
fected. Such conditions are not covered under your warranty. If you suspect the voltage is low,
contact your local power company or a licensed electrician for proper testing.
NEVER expose this treadmill to rain or moisture. This product is NOT designed for use outdoors,
near a pool or spa, or in any other high humidity environment. The maximum operating
(no water drops forming on surfaces).
Circuit Breakers: Some circuit breakers used in homes are not rated for high inrush currents
the house circuit breaker (even though it is the proper current rating) but the circuit breaker on
the treadmill itself does not trip, you will need to replace the home breaker with a high inrush
type. This is not a warranty defect. This is a condition we as a manufacture have no ability to
control. This part is available through most electrical supply stores. Examples:
Grainger part # 1D237, or available online at www.squared.com part # QO120HM.
IMPORTANT ELECTRICAL INSTRUCTIONS
GROUNDING INSTRUCTIONS
This product must be grounded. If the treadmill should malfunction or breakdown, ground-
ing provides a path of least resistance for electric current, reducing the risk of electric shock.
This product is equipped with a cord having an equipment-grounding plug. The plug must be
plugged into an appropriate outlet that is properly installed and grounded in accordance with
all local codes and ordinances.
DANGER - Improper connection of the equipment-grounding conductor can result in a risk
whether the product is properly grounded. Do not modify the plug provided with the
This product is for use on a nominal 110-volt circuit, and has a grounding plug that looks like
the plug illustrated below. A temporary adapter that looks like the adapter illustrated below
may be used to connect this plug to a 2-pole receptacle as shown below if a properly grounded
outlet is not available. The temporary adapter should be used only until a properly grounded
lug, or the like, extending
from the adapter, must be
connected to a permanent
ground such as a properly
grounded outlet box cover.
Whenever the adapter is
used, it must be held in
place by a metal screw.
F80 /F83 /F85 TREADMILL

4
NEVER operate this treadmill without reading and completely understanding the results of
any operational change you request from the computer.
Understand that changes in speed and incline do not occur immediately. Set your desired
speed on the computer console and release the adjustment key. The computer will obey the
command gradually.
NEVER use your treadmill during an electrical storm. Surges may occur in your household
power supply that could damage treadmill components. Unplug the treadmill during an
electrical storm as a precaution.
Use caution while participating in other activities while walking on your treadmill; such as
watching television, reading, etc. These distractions may cause you to lose balance or stray
from walking in the center of the belt; which may result in serious injury.
NEVER mount or dismount the treadmill while the belt is moving. SOLE treadmills start at a
very low speed and it is unnecessary to straddle the belt during start up. Simply standing on
the belt during slow acceleration is proper after you have learned to operate the unit.
Always hold on to a handrail or hand bar while making control changes (incline, speed, etc.).
Do not use excessive pressure on console control keys. They are precision set to function
f you feel the buttons are not functioning properly with
normal pressure contact your SOLE dealer.
IMPORTANT OPERATION INSTRUCTIONS
IMPORTANT SAFETY INSTRUCTIONS
A safety tether cord is provided with this unit. It is a simple magnetic design that should be used
at all times. It is for your safety should you fall or move too far back on the tread-belt.
Pulling this safety tether cord will stop tread-belt movement.
To Use:
1. Place the magnet into position on the red portion of the console between start and stop.
Your treadmill will not start and operate without this. Removing the magnet also secures
the treadmill from unauthorized use.
2. Fasten the plastic clip onto your clothing securely to assure good holding power. Note:
The magnet has strong enough power to minimize accidental, unexpected stopping. The
function and limitations. The treadmill will stop, depending on speed, with a one to two
in normal operation.
F83 /F85 TREADMILL

5
READ BEFORE UNPACKING YOUR FOLDING TREADMILL
Serious injury could occur if this folding treadmill is not unpacked properly.
There is a Velcro strap installed around the treadmill base that prevents the treadmill from
unfolding accidentally during shipping. If this strap is not removed properly the treadmill could
spring open unexpectedly and cause injury if someone is standing near the treadmill when the
strap is removed.
To ensure your personal safety during removal of the shipping strap please make sure the
treadmill. Do not turn the treadmill up on its side while removing the shipping strap. This could
cause the treadmill’s folding mechanism to spring open. If the end of the Velcro strap (that you
need to grab to remove it) happens to be under the treadmill deck, reach under the deck to
grab it, but do not tilt the treadmill up to gain access to the strap end.
IMPORTANT SAFETY INSTRUCTIONS
F80 /F83 /F85 TREADMILL

6
F80 / F83 / F85 ASSEMBLY PACK CHECKLIST
HARDWARE STEP 2
2
#128. Speed Nut Clips (6 pcs)
HARDWARE STEP 3
3
#130. 5/16” x 1/2”
Button Head Socket Bolt (8 pcs)
HARDWARE STEP 5
5
#113. Ø 10 mm
Split Washer (4 pcs)
#133. 3/8” x 1-3/4”
Button Head Socket Bolt (4 pcs)
HARDWARE STEP 6
6
#134. M5 x 10mm
Phillips Head Screw (8 pcs)
#122. 3.5 x 12 mm
Sheet Metal Screws (4 pcs)
F83 /F85 TREADMILL

7
HARDWARE STEP 8
8
#120. 5 x 16mm
Tapping Screw (6 pcs)
HARDWARE STEP 7
7
#151. 5/16” x 3/4”
Button Head Bolt (4 pcs) #75. Safety Key
ASSEMBLY TOOLS
#131. Combination M5 Allen Wrench
& Phillips Head Screw Driver
#132. M6 Allen Wrench
#30. Lubricant
F80 /F83 /F85 TREADMILL

8
1. Remove the treadmill from the carton and position it on a smooth, level
belt until you have removed the plastic wrap and Styrofoam from beneath
the unit. Turning the unit on its side after removing the belt may cause
the unit fold up and cause serious injury!
ASSEMBLY STEP 1
1
1. Install the six Speed Nut
Clips (128) on the Frame
Base left and right side.
2. Slide the Frame Base Caps
(61 & 62) over the Upright
tubes (4& 5). Connect the
Lower Computer Cable (49)
to the Middle Computer
Cable (50) on the right side
of the unit.
ASSEMBLY STEP 2
2HARDWARE STEP 2
#128. Speed Nuts
Clip (6 pcs)
F80 / F83 / F85 ASSEMBLY INSTRUCTIONS
Before attaching the hardware to Step 3, make sure the cables you just connected don’t
get pinched in between the steel tubing. If they do, this may cause issues that prevent
the treadmill from operating properly.
128
128
128
128
128
128
61
62
5
49
50
4
F83 /F85 TREADMILL
Other manuals for F80
4
This manual suits for next models
2
Table of contents
Other SOLE Treadmill manuals
Popular Treadmill manuals by other brands

Smooth Fitness
Smooth Fitness EVO 3i user manual

NordicTrack
NordicTrack NETL81810.0 user manual

Schwinn
Schwinn 830/Journey 8.0 Assembly manual / owner's manual

Keys Fitness
Keys Fitness HealthTrainer HT-740T owner's manual

Spirit
Spirit XT8 Service manual

NordicTrack
NordicTrack T 14.0 Treadmill Manuel de l'utilisateur