5
OIL TYPES
EXTRA VIRGIN OLIVE OIL
The flash point of Extra Virgin Olive Oil is
considerably lower than the more refined Olive
oils and should not be used for high
temperature frying.
TALLOW-BASED (BEEF) FATS
The most commonly used fat due to its cheaper
cost and relatively longer fry life. This medium is
not recommended due to its association with
increased risk of heart disease.
LIQUID VEGETABLE OILS
While most vegetable oils are recommended for
cooking, many of them are not suitable for
deep-frying. Higher temperatures break down
the oil faster and by-products often have an
unpleasant flavour and may also have an
association with increased risk of heart disease.
HARDENED/CREAMED VEGETABLE OILS
These products may have a longer fry life than
their liquid oil equivalents, but the components
added during the hardening process increase
the risk of heart disease.
The Heart Foundation recommends frying oils
that have a nutrient profile taking all these
factors into account. These include:
1. Oils from specially bred seeds e.g. Sunola,
Liquid Gold
2. Industry blends of fats and oils
OPERATION
OIL LEVEL
A high & low oil level limit has been etched into
the side of the tank. The upper and lower lines
of the etched marking indicate the upper and
lower oil level limits.
The danger of fire exists if the oil level is below
the minimum indicated level.
The danger of surge boiling exists if the oil is
above the maximum indicated level.
The danger of surge boiling also exists if over-
wet or too large a load is used
Refer to the specifications page for the volume
of oil required for your particular model.
FILLING WITH LIQUID OIL
Fill the tank with the required volume of oil
using the following procedure.
•Ensure all controls are OFF, the drain valve
is closed and the elements are cold.
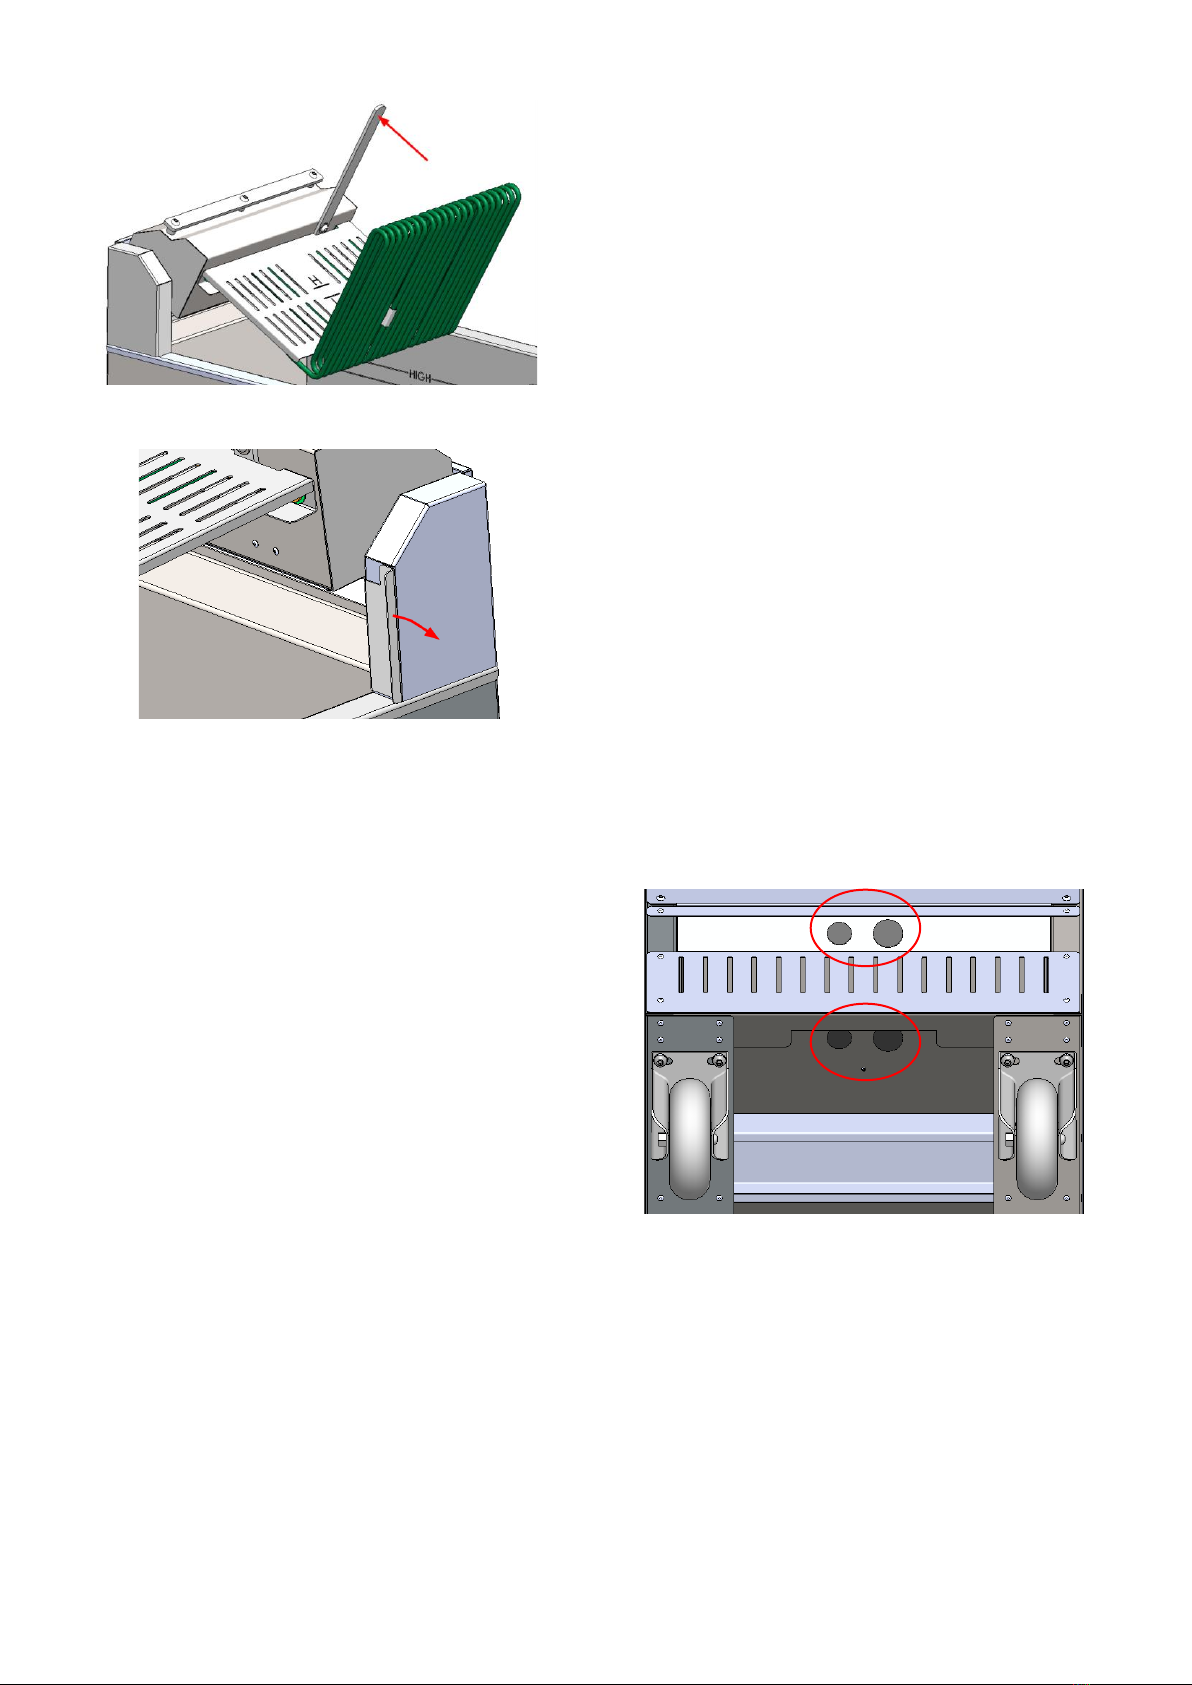
•Place the strainer in position, lower the
elements and place the fish plate in
position.
•Fill the tank with the required volume of oil.
•The fryer is now ready for cooking.
THE MELT CYCLE - SOLID OIL
If solid oil or shortening is preferred this may be
melted after filling by using the melt switch and
the following procedure.
•Ensure all controls are OFF, the drain valve
is closed and the elements are cold.
•Place the strainer in position and lower the
elements. Do not place the fish plate into
the tank at this time.
•Fill the tank with solid oil/shortening to
sufficiently cover the elements.
•Switch the fryer ON at the main isolating
switch.
•With the thermostat selector switch set to
the PRIMARY position, set the primary
thermostat to 120°.
•Switch the melt switch to ON.
•Melt time approx. 40mins
•While melting, additional solid oil will need
to be added to achieve the correct oil level
•On completion, turn off melt switch and
install fish plate using the supplied fish plate
hook.
•The fryer is now ready for cooking.
MACHINE CONTROL
The controls are accessed via the front door,
located below the front display panel.