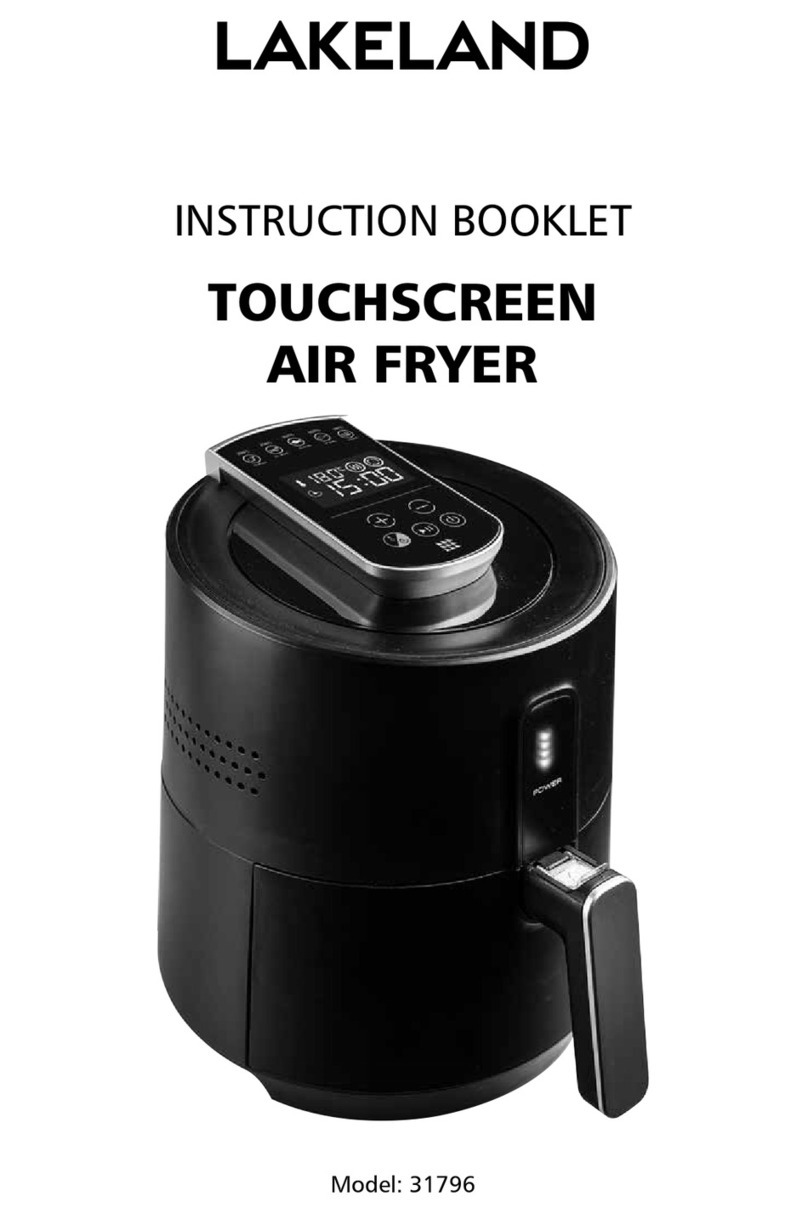
Farberware FBW FT 43721 B User manual

Deep Fryer with Oil Filtration
Model Number: FBW FT 43721 B
UPC: 848052006539
Customer Assistance
1-855-451-2897 (US)
Please consider the option to recycle the packaging material.

2
IMPORTANT SAFEGUARDS
When using electrical appliances, basic safety precautions should always
be followed, including the following:
• Read all instructions before use.
• Do not touch hot surfaces. Use handles or knobs.
• WARNING - to protect against electric shock, fire and personal injury:
- do not immerse cord, plug or motor unit in water or other liquids;
- do not immerse the appliance or any electrical components in water or
any other liquids;
- always switch off and unplug the appliance before cleaning.
• Close supervision is necessary when any appliance is used by or near
children.
• Unplug from wall outlet when not in use and before cleaning. Allow to
cool before handling, putting on or taking o parts, and before cleaning
the appliance.
• Do not operate any appliance with a damaged cord or plug, or after the
appliance malfunctions or has been damaged in any manner. Call our
toll-free customer assistance number for information on examination,
repair, or adjustment.
• The use of accessory attachments not recommended by the appliance
manufacturer may result in re, electric shock or injuries to persons.
• Do not use outdoors or in a damp area.
• Do not let power cord hang over edge of table or counter, or touch hot
surfaces.
• Do not place on or near a hot gas or electric burner or in a heated oven.
• Extreme caution must be used when moving a fryer containing hot oil or
other hot liquids.
• Always attach plug to appliance rst, then plug cord in the wall outlet. To
disconnect, turn the Temperature Control Knob to 0, then remove plug
from wall outlet.
• Do not use appliance for other than intended use.
• Be sure handles are properly assembled to basket and locked in place.
• Remove excess surface moisture from foods prior to cooking to prevent
heated oil from foaming out when food is added.
• Ensure both the lid and Oil Reservoir are completely dry after washing
and before use.
• Never leave the appliance unattended during operation.
• A re may occur if the appliance is covered or touches ammable
material, including curtains, draperies, walls, and the like, when in
operation. Do not store any item on top of the appliance when in
operation.
SAVE THESE INSTRUCTIONS!

3
IMPORTANT SAFEGUARDS
• In the event of re, never try to extinguish the ames with water.
Unplug the appliance from the wall outlet. Place the lid on the appliance,
if it can be done safely. Smother the ames with a damp cloth, or use a
re extinguisher.
• Use only heat resistant tools. Do not use metal tools as they may become
hot.
• Never pull on the power cord to disconnect the appliance from the wall
outlet; instead, grasp the plug and pull on the plug.
• Do not clean with metal scouring pads. Pieces can break o the pad and
touch electrical parts involving a risk of electric shock.
• Do not attempt to defeat the Safety Switch or remove the Silicon Rubber
Sealing Plate.
• WARNING! Always wait 4 hours until the oil has cooled down completely,
before draining or ltering. Failure to do so may damage the deep fryer.
ADDITIONAL SAFEGUARDS
This appliance is for HOUSEHOLD USE ONLY.
WARNING:
- Over tightening can result in stripping of screws or nuts or cracking of
handle, lid or Control Panel Assembly.
Periodically check for looseness and retighten screws or nuts in accordance
with manufacturer’s instructions.
WARNING:
-SERIOUS HOT OIL BURNS MAY RESULT FROM A DEEP FRYER BEING
PULLED OFF A COUNTERTOP. DO NOT ALLOW THE CORD TO HANG
OVER THE EDGE OF THE COUNTER WHERE IT MAY BE GRABBED BY
CHILDREN OR BECOME ENTANGLED WITH THE USER.
-DO NOT USE WITH AN EXTENSION CORD.
-DO NOT OPERATE THIS APPLIANCE, IF THE POWER CORD SHOWS
DAMAGE OR IF APPLIANCE WORKS INTERMITTENTLY OR STOPS
WORKING ENTIRELY.
SAVE THESE INSTRUCTIONS!

4
ADDITIONAL SAFEGUARDS
• A short detachable power-supply cord is provided to reduce the risk
resulting from it being grabbed by children, becoming entangled in, or
tripping over a longer cord.
Polarized plug
- This appliance has a polarized plug (one blade is wider than the
other). To reduce the risk of electric shock, this plug is intended to fit
into a polarized outlet only one way. If the plug does not fit fully into
the outlet, reverse the plug. If it still does not fit, contact a qualified
electrician. Do not attempt to modify the plug in any way.
- Do not let children handle or put the electrical cord into their mouths.
SAVE THESE INSTRUCTIONS!

5
PARTS
Lid Handle
View Window
Lid
Reset Button
Safety Switch
Frying Basket
Oil Reservoir
Oil Level Marking
MIN MAX
Housing
Oil Filtration
Control Knob
Oil Container
Cap
Power Cord
With Plug
Magnetic
Plug
Anti-slip
Feet
Side
Handles
Immersion
Heater
Control Panel
Assembly
Silicon Rubber
Sealing Plate
White Grease Filter
Charcoal Odor Filter
Filter Cover
Oil Filter Cover
Oil Valve
Basket Handle
Basket Hook

6
BEFORE FIRST USE
• Remove all packaging materials and/or other transportation means.
• Check package content to verify it is complete and undamaged. Do not operate
the appliance if the content is incomplete or appears damaged. Return it
immediately to Walmart.
Danger of suocation!
- Packaging materials are not toys. Always keep plastic bags, foils and foam parts
away from babies and children. Packaging material could block airways and
prevent breathing.
NOTE:
- The appliance may produce an odor and/or emit smoke when switched on for
the first time, as residues from the production process are eliminated. This is
normal and does not indicate a defect or hazard. Ensure ample ventilation.
• Clean the appliance thoroughly before using for the first time ( Cleaning and
Maintenance).
ASSEMBLY
• Place the appliance on a clean, flat and heat resistant surface.
• Before using your appliance make sure:
- the Basket Handle is locked in place in the Frying Basket. To lock the Basket
Handle in place, press the bars together and slide them between the slots.
Inserting the ends of the bars into the bracket on the Frying Basket and push
the Basket Handle backwards (ill. a and b ). Do not assemble any other way
(ill. c ).

7
ASSEMBLY
a
1.
2.
3.
b
c d
Oil Filter Cover
- the Oil Reservoir is secured in the
correct position with the Oil Filter
Cover and Oil Valve on the same side
than the Oil Filtration Control Knob
(ill. d). Ensure the oil Filter Cover is
in place inside the Oil Reservoir.
- the Control Panel Assembly is
placed on the connecting plate on
the back of the Housing. Ensure the
grooves of the connecting plate are
in the guides of the Control Panel
Assembly (ill. e).
e

88
USING THE APPLIANCE
NOTE:
- YOUR APPLIANCE
IS EQUIPPED WITH
A SAFETY SWITCH
LOCATED ON THE
CONTROL PANEL
ASSEMBLY. IF THE
CONTROL PANEL
ASSEMBLY IS NOT
PLACED PROPERLY
IN ITS POSITION, THE
APPLIANCE WILL NOT
OPERATE.
Silicon Rubber
Sealing Plate
Safety Switch
- Incorrect assembly may lead to an unstable setup and might cause injuries.
- The Silicon Rubber Sealing Plate prevents hot steam escaping from under the
lid. Do not attempt to remove.
This appliance can be used for frying food such as French fries, chicken or sh
pieces ( Recommended frying times and temperatures).
NOTE:
- The appliance has a rated power of 1700W. Before plugging it into the wall
outlet, ensure that the electrical circuit is not overloaded with other appliances.
This appliance should always be operated on a separate 120V ~ 60Hz wall
outlet.
- Make sure the appliance is switched off before connecting it to a wall outlet.
• Place the appliance on a clean, flat and
heat-resistant surface. When using the
appliance on wooden surfaces, use a
heat resistant mat to protect the wood
from damages. Ensure a minimum
distance around the appliance of
at least 4 inches to other objects,
cupboards and walls.
• Ensure the Oil Container is assembled,
empty and in place inside the
appliance, the Oil Filtration Control
Knob is on the LOCK ( ) position and
the oil Filter Cover is in place inside
the Oil Reservoir. Then, pour suitable
cooking oil into the Oil Reservoir (ill.
f).
f

9
USING THE APPLIANCE
Danger of burns!
- Never refill the Oil Reservoir during use or while hot. Always allow the
appliance to cool down completely. Do not mix new oil with old oil.
WARNING:
- DO NOT OVER OR UNDER FILL (ill. f). The minimum oil capacity is 1.9L (MIN),
the maximum oil capacity is 3L (MAX). Ensure the oil level always remains
between the MIN and MAX marking.
• Spread a little oil on the inside of the View Window to prevent condensation.
• Place the Lid onto the Housing.
• Ensure the Temperature Control Knob is on the 0position before attaching the
Magnetic Plug to the socket on the back side of the Control Panel Assembly (ill.
g).
NOTE:
- The Magnetic Plug is designed to only fit one way. Ensure the side stating THIS
SIDE UP is facing up and the Magnetic Plug is properly attached.
• Insert the Power Cord With Plug into a wall outlet (ill. g).
WARNING:
- Only use accessories recommended by the manufacturer. Do not place any
other materials in the appliance.
- Never let the Power Cord With Plug come in contact with the Lid or appliance
Housing during use (ill. h).
g
1.
2.
h

10
USING THE APPLIANCE
Danger of burns!
- Do not touch the Lid or appliance
Housing during or after use (ill. i).
Only use the Handles provided.
- Always pay special attention when
adding or removing accessories
and food from the appliance. Never
touch the Lid or appliance Housing
when the appliance is plugged in
and switched on or immediately
after use. It is recommended to
always use oven mitts.
- Escaping steam can burn.
i
• Turn the Temperature Control Knob to the required temperature
(Recommended frying times and temperatures) (ill. j). POWER Indicator
(Blue) will turn on to indicate the appliance is heating. Once the set temperature
has been reached, the READY Indicator (Green) will turn on.
Temperature
Control Knob
READY Indicator
(Green)
POWER Indicator (Blue) j
Approximate time durations until set temperature is reached:
Temperature setting (°F / °C) Time (minutes)
265 / 130 about 7
300 / 150 about 8
340 / 170 about 10
375 / 190 about 13
• After the oil has been preheated, remove the Lid.
• Place the Frying Basket on a clean, flat and heat resistant surface.
• Fill the Frying Basket with food (ill. k). Do not overfill the Frying Basket (ill. l).
This manual suits for next models
1
Table of contents
Other Farberware Fryer manuals

Farberware
Farberware 554023059 User manual

Farberware
Farberware FT 43479 W User manual

Farberware
Farberware FW-AF-GRY User manual

Farberware
Farberware 103737 User manual

Farberware
Farberware 201797 User manual

Farberware
Farberware CCXM22 User manual

Farberware
Farberware WM-16116 User manual

Farberware
Farberware 563865679 User manual

Farberware
Farberware FT 43479 W User manual

Farberware
Farberware 103736 User manual