WOT 4 - Instructions
STEP 26
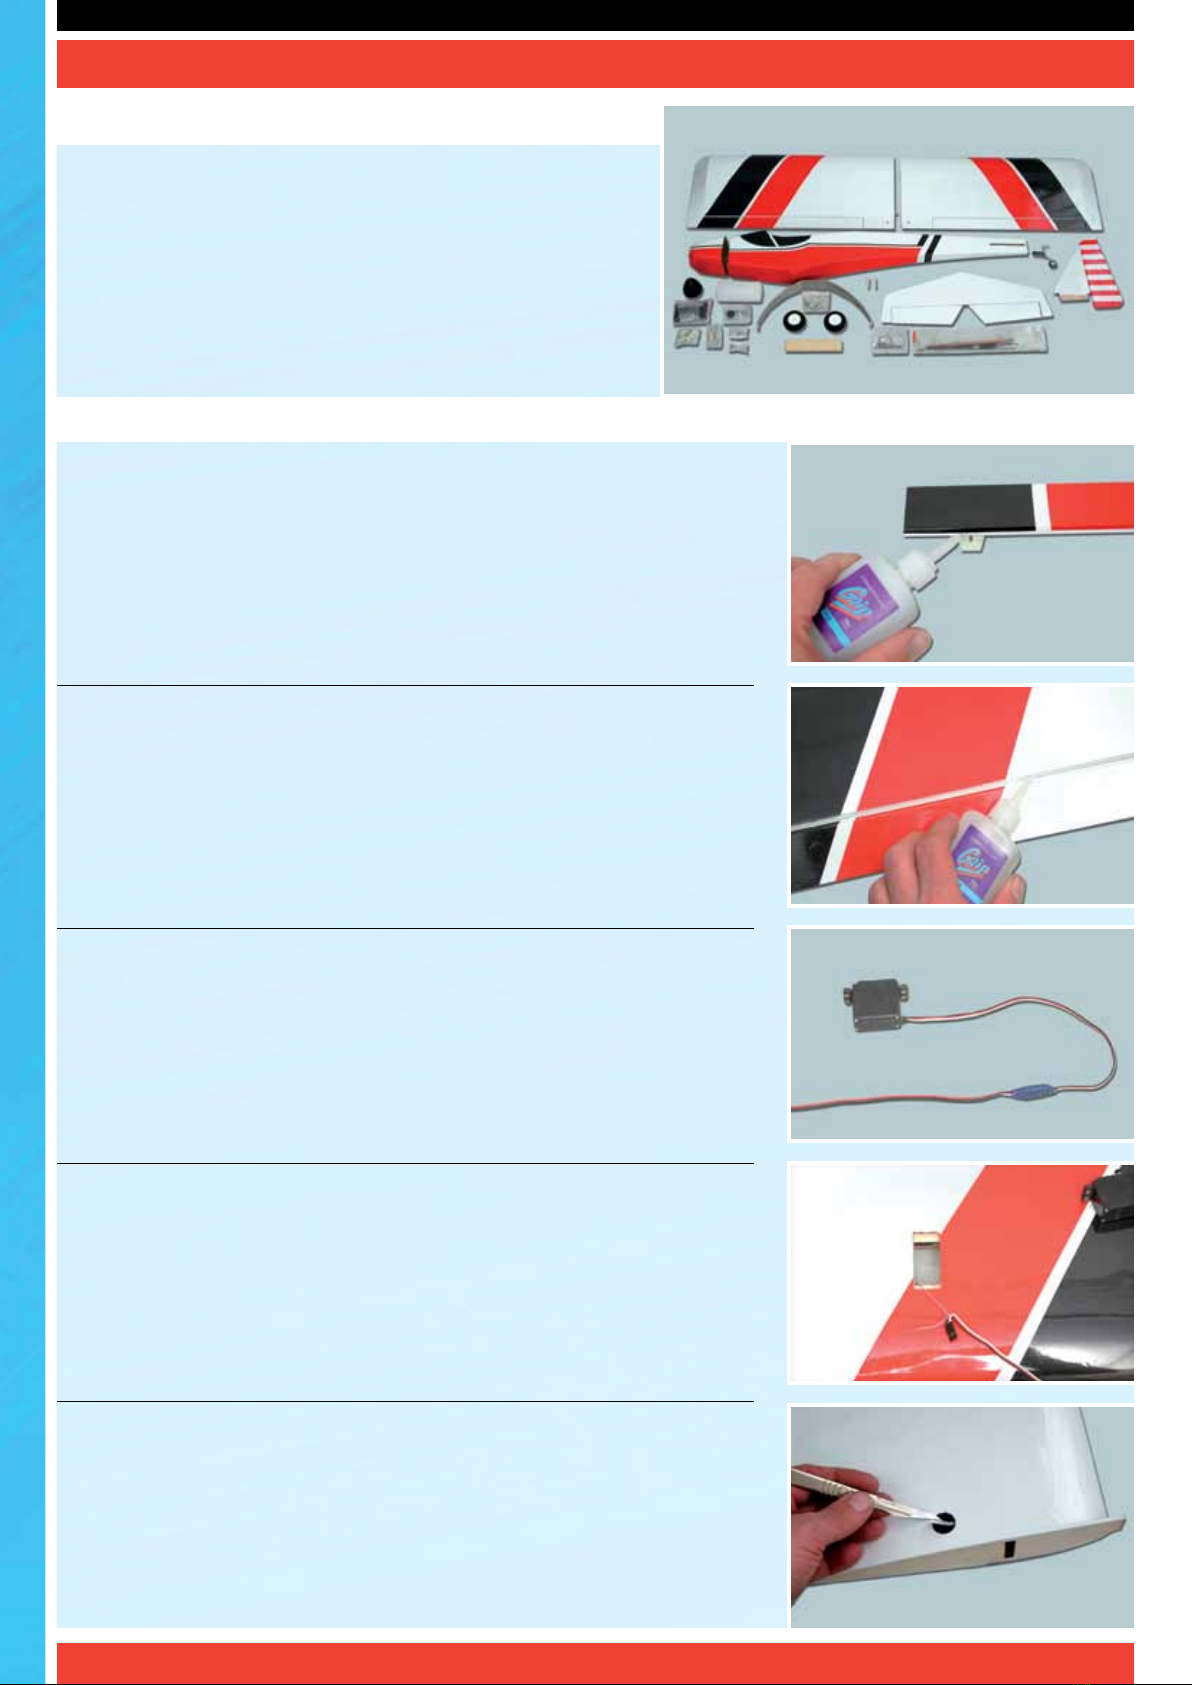
Insert two hinges in each elevator half, ensuring they are located mid-way in
their slots. Using thin cyano, pour a couple of drops onto each hinge - above and
below - ensuring the glue soaks into the hinge and the surrounding wood.
STEP 24
Slide the tailplane into its pre-cut slot in the
rear of the fuselage. Ensure that it is square
to the fuselage and centred in its slot using a
long ruler or string as shown in the diagram
on the right. Mark the tailplane on the top
and bottom where it enters the fuselage
using a soft, water-soluble pen.
STEP 25
Remove the tailplane and cut away the covering from just inside the marked
lines to give a film-free surface for the glue to bond. IMPORTANT: Ensure that
only the film is cut - not the tailplane - as this will seriously weaken the structure.
Roughen the wire elevator joiner to increase the bond strength in the next step.
Now loosely position the joiner at the rear of the tailplane slot. Using epoxy
applied to the exposed wood, glue the tailplane into its slot. Check that the
tailplane is correctly aligned and square to the fuselage. Use masking tape to
protect the covering whilst you do this (removing it as soon as you are satisfied
with the alignment and before the epoxy cures). Any excess epoxy can be
wiped from the model before it cures using methylated spirit or methanol.
STEP 27
Protecting the rear of the tailplane with a strip of masking tape, apply epoxy
to one half of the wire elevator joiner and force it into the corresponding slot
and hole in the elevator half. Now slide the first elevator into position ensuring
that the joiner and both hinges enter their pre-cut slots/hole in the tailplane/
elevator. Ensuring a gap-free hinge line and a 1mm gap between the elevator
and tip, add a couple of drops of thin cyano to the top and bottom of each
hinge. Make sure that the glue does not run through the hinge line onto the
bottom of the tail.
STEP 28
Turn the model over and drop more cyano onto each hinge from the other side.
Repeat for the second elevator half.
STEP 29
Slide the fin into its pre-cut slot in the top of the fuselage. Ensure that it is
pushed down far enough to touch the top of the tailplane. Mark the fin on both
sides where it enters the fuselage using a soft, water-soluble pen.
Tailplane and Fin
7