Quik n’ Crispy GF - II User manual
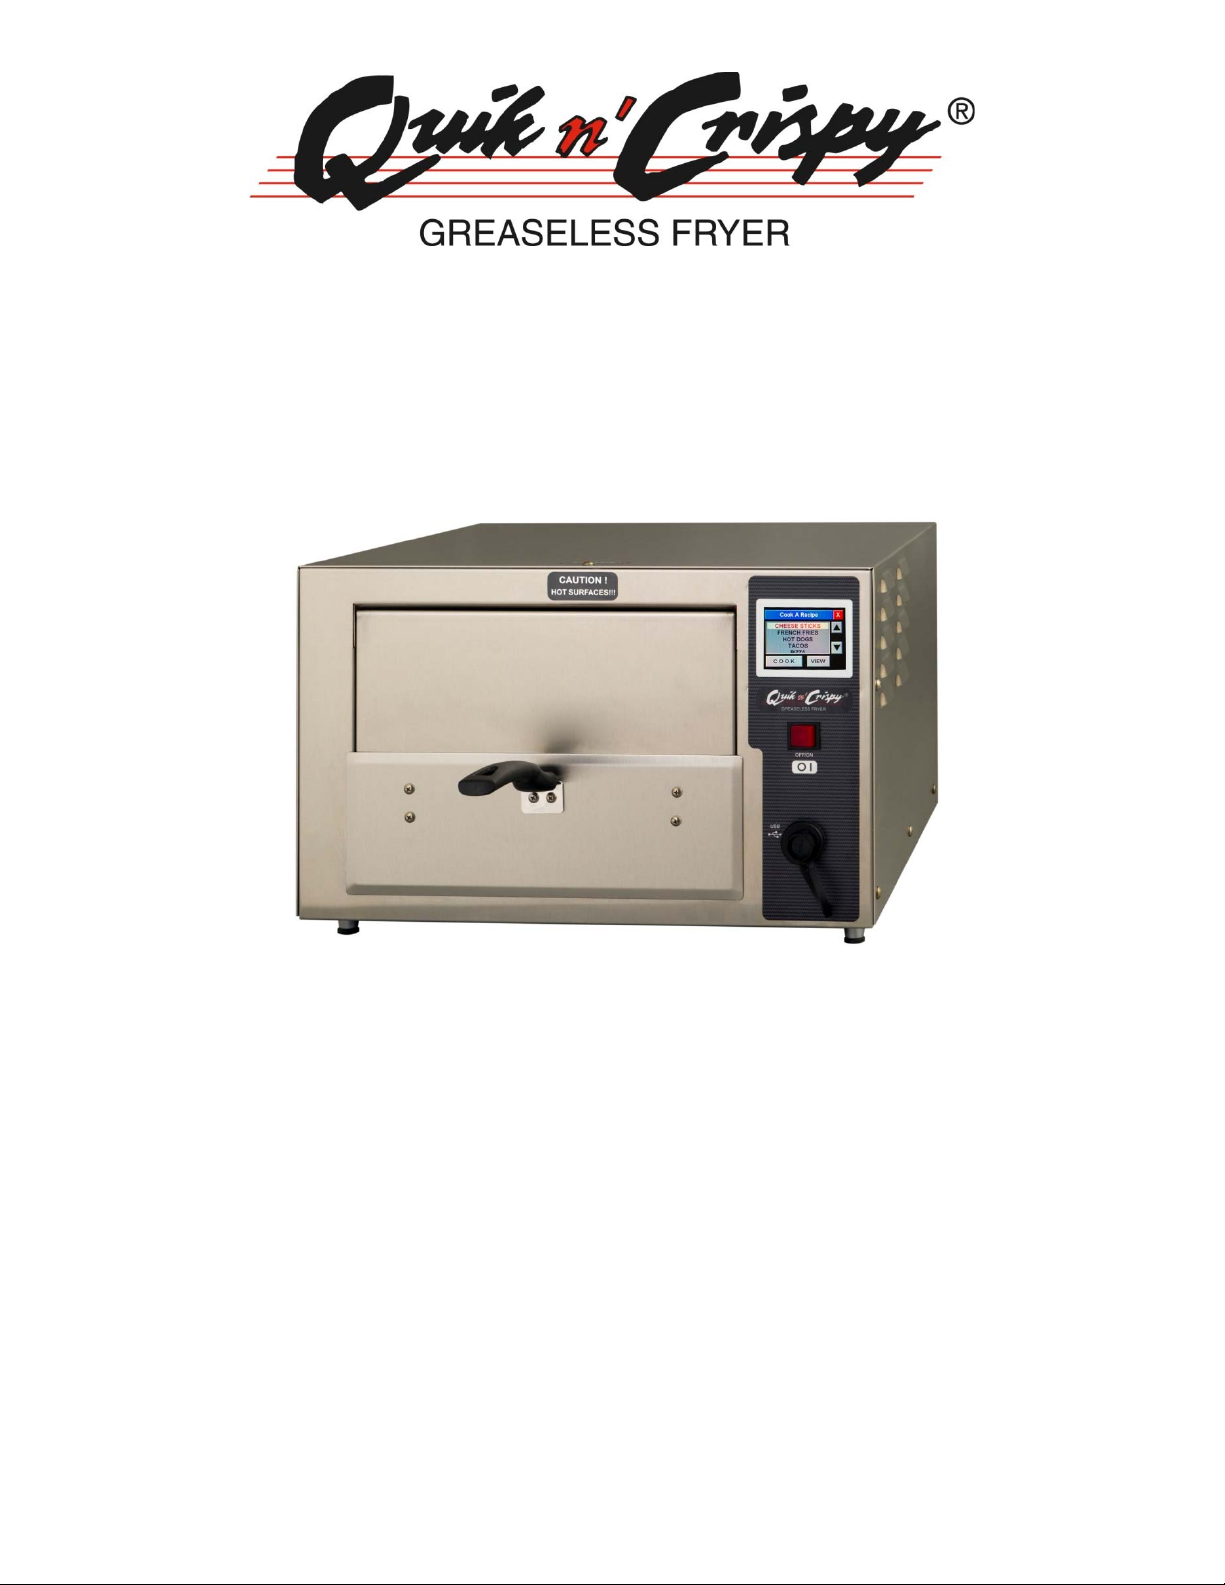
MODELGF–II
OPERATOR’SMANUAL
CoveringQuikn’Crispy
PartNumbers:
600015
600020
600025
600035

©2020 QNC, Inc. 0720 GF II OM 2

©2020 QNC, Inc. 0720 GF II OM 3
TableofContents
INTRODUCTION.....................................................................................................................4
PACKINGLIST.........................................................................................................................5
INSTALLATIONINSTRUCTIONS...............................................................................................6
INSTALLATIONPROCEDURES.................................................................................................7
POSITIONINGTHESEPARATIONWALLANDSPLASHGUARD...................................................9
THEINITIALOPERATIONOFYOURQUIKN'CRISPY®............................................................11
RECIPETIMEANDTEMPERATURESETTINGS........................................................................12
CONFIGURATION.................................................................................................................13
RECIPEEDITING...................................................................................................................14
NAME&COOKSEGMENTEDITING......................................................................................16
COOKINGARECIPE..............................................................................................................18
QUICKCOOKWINDOW........................................................................................................20
SETBACKCONFIGURATION..................................................................................................21
COOKINGPROCEDURES.......................................................................................................22
CLEANINGPROCEDURES......................................................................................................26
PRODUCTREGISTRATION....................................................................................................29
SERVICE...............................................................................................................................29
WIRINGDIAGRAMS.............................................................................................................30

©2020 QNC, Inc. 0720 GF II OM 4
INTRODUCTION
Marketedsince1990,theQuikn'Crispy®FatFreeFryeristheresultofyearsofresearch,
development,andrefinement.Byusingtheprinciplesofforcedhotairandradiantheat,the
Quikn'Crispycanquicklycookandbrownanumberof"ovenready"conveniencefoods.This
easy‐to‐usecountertopgreaselessfryersafelyandefficientlyeliminatesthehealthconcerns,
expense,andoperatingdifficultiesinherentwithhotoilcookingprocesses.
WearepleasedtoannouncethatstartinginJuly2020,wearemanufacturingallofour
GreaselessFryerswithanupgradedcontrollerplatform.Thisupgradedplatformincludesa
morepowerfulmicrocontroller,increasedcodestorage,andamoresophisticatedgraphics
system.Someotherkeybenefitsforourcustomersinclude:
USBFirmwareUpdates:OwnerscaneasilyperformfirmwareupdatesusingonlytheUSB
port.
OperationLogging:Storestotalhoursofoperation,heatinghours,heatercycles,
cookinghours,recipescooked,idlehour,andreadytocookhours(idlingatsetpoint)
QuikCookfeature.Thisprovidestheoperatorwithaneasywaytoevaluatenewmenu
itemsbyeasilysettingthepreheatandcookingtemperatures,andthecookingtime
withouthavingtocreateanewrecipe.
SetbackConfigurationprovidestheusewiththreenewfeatures.
o Thefirstfeatureisthe“HOLDSTAGE”option.Withthisfeature,theQuikn’Crispy
willholdthecookingtemperaturethatwasusedduringthepreviousrecipes.
o ThesecondfeatureistheSETBACKfeature.Whenthisfeatureisturnedon,your
Quikn’Crispywillmaintainthisminimumtemperatureforthetimethatyou
enteredintothisscreen.
Moreinformationontheenhancementstotheupgradedcontrollerareexplainedfurtherin
thefollowingpages.

©2020 QNC, Inc. 0720 GF II OM 5
PACKINGLIST
IncludedintheQuikn'Crispy®GreaselessFryerpackingcartonarethefollowingitems:
1Quikn'Crispy®GreaselessFryer
1CookingBasketAssembly
1CookingBasketHandle&MountingScrews
1DripTray
1SeparationWallPanel
1RemovableFrontPanel
1SplashGuardforCookingChamberCeiling
4AdjustableLegs
1Operator'sManual
1ProductRegistrationForm

©2020 QNC, Inc. 0720 GF II OM 6
INSTALLATIONINSTRUCTIONS
BeforetheinstallationofyourQuikn'Crispy®,asuitablepositioninyourretaillocationshould
beselected.Pointstoconsiderwhenselectingalocationare:
1. Accessibilitybystoreemployees
2. Proximitytocustomers
3. Proximitytorefrigeratorandfreezerequipment
4. Proximity to other retail points of sale to take advantage of cross merchandising
opportunities
5. Sight‐lineofcustomer(toenhancecustomerperceptionof"fresh"preparation).
TheQuikn'Crispy®shouldbemountedonasturdyfoodserviceappropriatetable.Stainless
steel would be the preferable material. Allow for a certain amountofworkspacenearthe
Quikn'Crispy®GreaselessFryersothatoperatorswillnothavetoworkinaconfinedlocation.
Werecommendaminimumof1”or2.54cm.ofspacebetweentherear,sidesandtopofthe
Quikn'Crispy,andthewalls,ceilingorotherstructuralsurfacesofyourfacility.
In addition to suitable locations, accommodation must be made for the necessary electrical
hookups.Pleasenotethefollowingelectricalspecifications.
ElectricalSpecifications
Singlephaseonly•50/60Hz.
USAdomesticunitplugsandpowercords(6’)areshownonPage2ontheSpecificationSheet.
InternationalunitInformationisbelow.
Cord: 2m.length
HO7RN‐F3G1.5mm2
Plug: BritishStandard 240volt,50Hz.;13ampmax.
OrContinentalEuropean"Schuko"
220volt‐230volt,50Hz.;16ampmax.

©2020 QNC, Inc. 0720 GF II OM 7
INSTALLATIONPROCEDURES
1. TheweightoftheQuikn’Crispyisapproximately70lb./25kg.Theuseofasecond
personisadvisedforportionsofthisinstallation.
2. Open the shipping carton and fold back the shipping carton flaps. With the flaps
foldedback,rotatethecartonupsidedownonthefloor.
3. LiftthecartonleavingtheQuikn'Crispy®andthecorrugatedpackingsetinplaceon
thefloor.
4. RemovethecorrugatedpackingsetfromaroundtheQuikn'Crispy®.
5. Removethecookingbaskethandle,mounting screws,andadjustablelegs fromthe
OperatorsManualziplockbag.
6. Screwthe4adjustablelegsintothebottomofthefryer.
7. Lift the fryer into position on the designated counter. Again, we recommend
minimumof1”/2.54cm.clearancefromanyadjacentwallsorequipment.
8. Adjustthelegstobalancethefryeronthedesignatedcounter.
9. Attach the cooking basket handle to the cooking basket. A #2 Phillips head
screwdriveranda5/16"wrencharerecommended.
10. Inspect the separation wall panel and look to see that it is mounted properly.
Because this is a five‐step process, we have included a separate installation
procedureonpages5to7.Pleaseturntopage5atthistimeand install the
separationwallpanel.
11. Once the separation wall panel is installed, place the drip tray onto the bottom
drawerguides,angleitupwardstoa45°angletoclearthestopandslideitin.This
trayshouldslideinfreely.
12. Placethecookingbasketontothedriptray.Thetwopartsshouldnowslideinand
outofthehot‐airfryerinunison.

©2020 QNC, Inc. 0720 GF II OM 8
13. Atthispoint,besurethattheelectricalbreakerforthe Quik n' Crispy® Greaseless
Fryerisinthe"OFF"position.PluginyourQuikn'Crispy®GreaselessFryer,thenturn
thecircuitbreakertothe"ON"position.

©2020 QNC, Inc. 0720 GF II OM 9
POSITIONINGTHESEPARATIONWALLANDSPLASHGUARD
WARNING!
Beforeproceeding,makesuretheQuikn'Crispypowerswitchisinthe“OFF”position(thisis
theleftpositionoftheOn/OffSwitch)andthatthefanblowerisstationaryandthatthe
cookingchamberandheatingelementarenothot!
1. LifttheRemovableFrontPanel(RFP)thatislocateddirectlyabovetheCookingBasket
byapplyingslightupwardpressure.Itshouldslideoutatanupwardangle.
2. PulltheSplashguardoutofthetopofthecookingchamber.Thisisaformedpieceof
stainlesssteelthatislocatedbetweentheheatingelementandtheceilingoftheinner
chamber.Wheninsertedintothecookingchamber,thesurfaceofthesplashguard
shouldbeincontactwiththeceilingofthechamber.Thesplashguardshouldbe
removeddailyforcleaningwiththeotherremovableitemslocatedintheinner
chamber.
SeparationWallCutawayView
3. TheSeparationWallwaspositionedproperlyintherearoftheinnerchamberofyour
Quikn’Crispypriortoshipping.Itisheldinplacebygravitywithtwoinverted“U”
channelsthatareformedonthebackoftheSeparationWall,matingwithtwo“U”
channeltabsthatarelocatedoneithersideofthefan(Seepictureabove)ontherear
wallofthecookingchamber.TheSeparationWallcanoftencomeoffthetabsthathold
itinplaceduringshipping.Pleasecheckandconfirmthatitisinstalledproperlyby

©2020 QNC, Inc. 0720 GF II OM 10
removingandreplacingtheSeparationWallatthistime.Thephotoaboveillustrates
howtheseparationwallisinstalled.ItwastakenwiththetopoffoftheQuikn’Crispyin
ordertoclearlyshowtheinstallation.Itisnotnecessarytoremovethetopto
accomplishthisprocedure.
4. PlaceyourhandsoneachsideoftheSeparationWallandliftitstraightuptotheceiling
ofthechambertoclearthemountingtabs.PulltheSeparationWalltowardsyouuntilit
makescontactwiththeHeatingElement.NowpullthebottomoftheSeparationWall
outfirstandangleitoutoftheinnerchamberwiththebottomoftheSeparationWall
comingoutoftheinnerchamberfirst.
5. ReversetheprocessandreinstalltheSeparationWallbygraspingitbythesideswith
bothhandsandinsertitintothefrontopeningoftheQuikn'Crispy,enteringthefront
openingjustabovethetopsetofDripTrayguides.Insertthewallstraightbackintothe
Quikn'Crispyuntilyoutouchtherearwallofthecookingchamberkeepingthe
SeparationWallparalleltotheflooroftheQuikn'Crispy.
6. AnglethetopportionoftheSeparationWallupwardtowardstheceilingoftheinner
chamberuntilitcomesincontactwiththeceiling.SlidetheSeparationWallfurther
backintotheinnerchambersothatitcomesincontactwiththerearwalloftheinner
chamber.NowlowertheSeparationWallsothatthetwotabsoftheSeparationWall
catchontothetabsonthetoprightandleftsidesoftherearwallofthecooking
chamber.TheSeparationWallshouldnowbehangingupright,withthebottomofthe
SeparationWallapproximately.25"/.635cmupoffthefloorofthecookingchamber.
7. SlidetheSplashguardbackintothetopoftheinnerchamber.Pleasenotethatthe
surfaceofthesplashguardshouldbeclosesttotheceilingoftheinnerchamber.
8. PlacetheRemovableFrontPanelbackontothefrontoftheQuikn’Crispy.Itwillslide
downatanangleontothefourpinsthatarelocatedonthefrontoftheunit.
9. PleasenotethatontheINTERNATIONALUNITSONLY,thereisasafetyswitchinstalled
ontherightrearwallofthecookingchamber.Thisswitchwillbedepressedwhenthe
SeparationWallisproperlyinstalled.IftheSeparationisnotinstalledproperly,the
safetyswitchwillremainintheOpenPosition,andthecookingblowerwillnotoperate.
EnsurethatwhentheSeparationWallisinstalledthattheflatpartismakingsolid
contactwiththerearwalloftheovenchamberanddepressingthesafetyswitch.
Other manuals for GF - II
2
This manual suits for next models
4
Table of contents
Other Quik n’ Crispy Fryer manuals


