Getting Started
For best results you will need a flat surface to work on.
It’s preferable to have a flat piece of corkboard or
sheet of Depron foam so you will be able to pin parts
down if needed. You may need to use an iron to flatten
the plan sheet supplied with the kit. Tape it down to
the work surface on the corners and edges to keep it
flat. This plan will be used as a guide for placement of
the ribs during the build process.
It’s a good idea to put a layer of cling wrap over the
plan sheet. It’s easier to get your wing frame parts
unstuck from the cling wrap than from paper. Tape the
cling wrap sheet to the work surface ensuring it is
completely flat and free from wrinkles.
Tailplane Construction
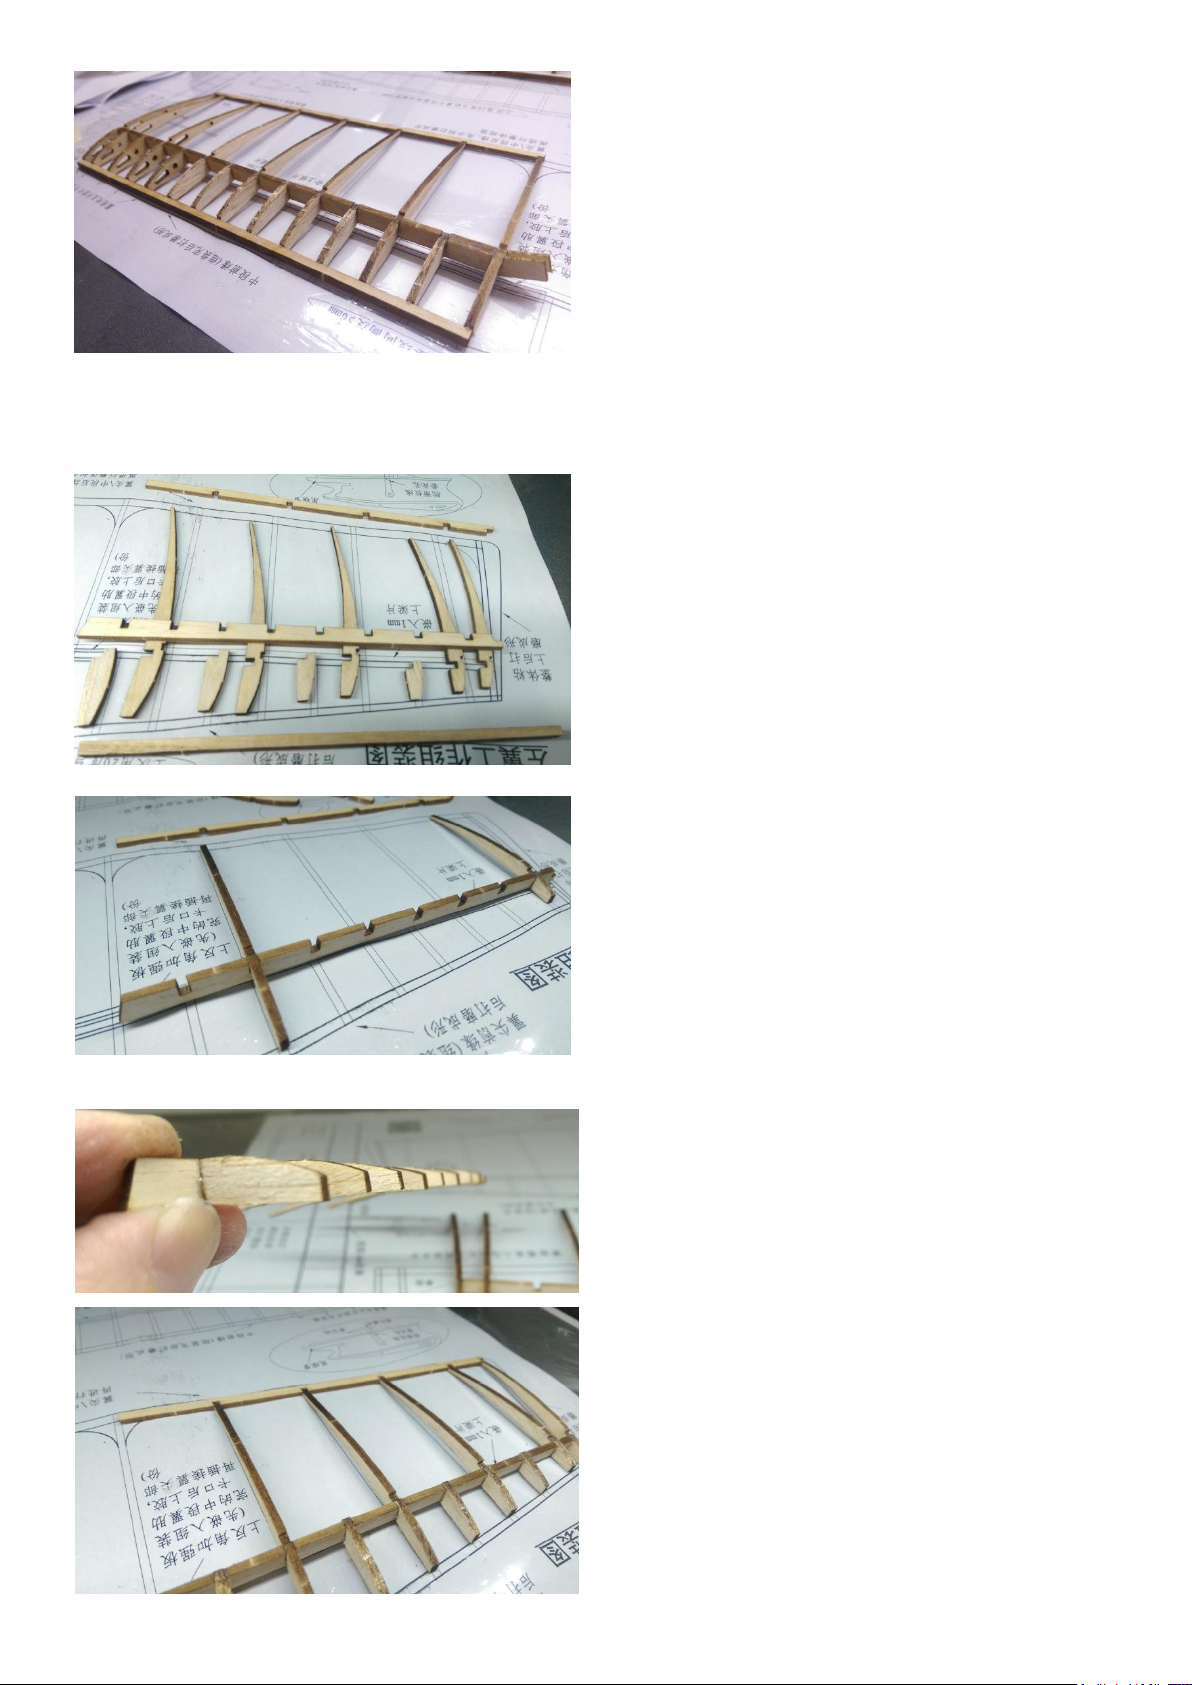
Lay the tailplane parts out on the plan and check you
have all the correct parts. The Tailplane Main Spar
Capping Strip is the thinnest of all the flat carbon
strips (just 2mm wide). Also, the Tailplane Leading
Edge is a carbon rod 1mm in diameter. Lay all the
pieces out and check they align with the supplied plan.
First glue all the Tailplane Main Ribs and Taliplane
Half Ribs to the Tailplane Main Spar and then glue
in place the Tailplane Tailing Edge Spar.
Start at one end and press it downward to slide each
rib tail into the slots. Don’t press it in from the back.
With these fine wooden parts,use cross pinning to hold
fine pieces of wood to the surface, instead of pushing
the pin through the wood itself.