Hot
Cold
Max
30mm
35mm min
38mm max
1. Cut a 35mm diameter hole through the bench top.
Maximum bench thickness is 42mm.
2. From the fixing pack, fit the O-ring into the base of
the base ring and fit assembly to the threaded tube
until the base ring contacts the underside of the
body.
3. Fit mixer to bench top starting by threading the hoses
through the hole first.
4. Once mixer is positioned correctly, from the
underside of the bench, fit the rubber seal followed
by the metal washer until they contact the underside
of the deck. Screw the clamp ring onto the threaded
tube until it contacts the flat washer. Equally tighten
the three clamp screws until the mixer is firmly
clamped to the deck. DO NOT OVERTIGHTEN. Note: If
mounting to thin deck materials such as a
stainless-steel sink, then the plastic reinforcing
spacer should be used between the rubber seal and
the flat washer for added rigidity.
5. Apply lubrication (silicon grease or approved
equivalent) to O-rings of hot (red) and cold (blue)
water flexible hoses. Screw hot water inlet hose (red)
into the port on the underside of the mixer body
indicated with a red dot. Screw cold water supply
hose into the remaining port.
6. Screw the valve connector onto the outlet tail and
hand tighten. Insert pull down hose spigot, with
O-ring fitted, into the valve connector until it “clicks”
into place. Fit the lead weight onto the lowest part of
the spray hose loop by separating the two halves of
the weight, positioning them over the hose and
screwing them together to secure the weight in place.
7. Connect the hot and cold hoses to the pre-flushed
supply connections. Turn on water supplies and
check installation for leaks.
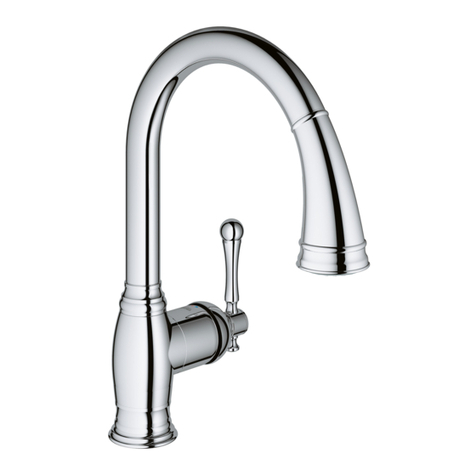
Installation:
Bench
Aerator
O-ring
Base Ring
Pull-down Hose
Lead weight
assembly
Hot & Cold Water
Supply Hoses
Valve Connector
Rubber Seal
Plastic Reinforcing Spacer
Flat Metal Washer
Clamp Ring
Clamping Screws
Mixer
Assembly
Correct
Incorrect
Do not stretch or twist hose
DO NOT crush
hose or swaged
ends
R35mm Min
20mm
•
•
•
•
•
•
•
•
IMPORTANT: Please read all of the
instructions before installation.
General:
Methven recommends this product is
installed by a licensed plumber in
compliance with all relevant regional
regulations.
Do not hydrostatic test the installation
with this mixer installed. Damage to
the ceramic cartridge may occur.
All pipe work must be thoroughly
flushed prior to the installation of the
mixer.
In-line filters must be fitted on both
hot and cold supplies to prevent
foreign particles damaging the
ceramic cartridge.
Do not remove the ceramic cartridge
from the mixer when installing.
After installation all connections must
be checked for leaks.
All outlets used primarily for personal
hygiene shall deliver water at a safe
temperature as per regional
regulations.
This mixer is not recommended for
use in uncontrolled heating systems
such as wet-backs or solar heating
units unless a suitable tempering
valve is fitted.
If limited water flow is experienced,
locate aerator and filter washers and
clean away foreign material as
required.
It is the responsibility of the installer
to ensure a waterproof seal is
achieved between the product and
mounting surface. If in doubt about
the quality of the seal, remove the
product and reinstall using silicone to
ensure a seal is achieved.
•
•