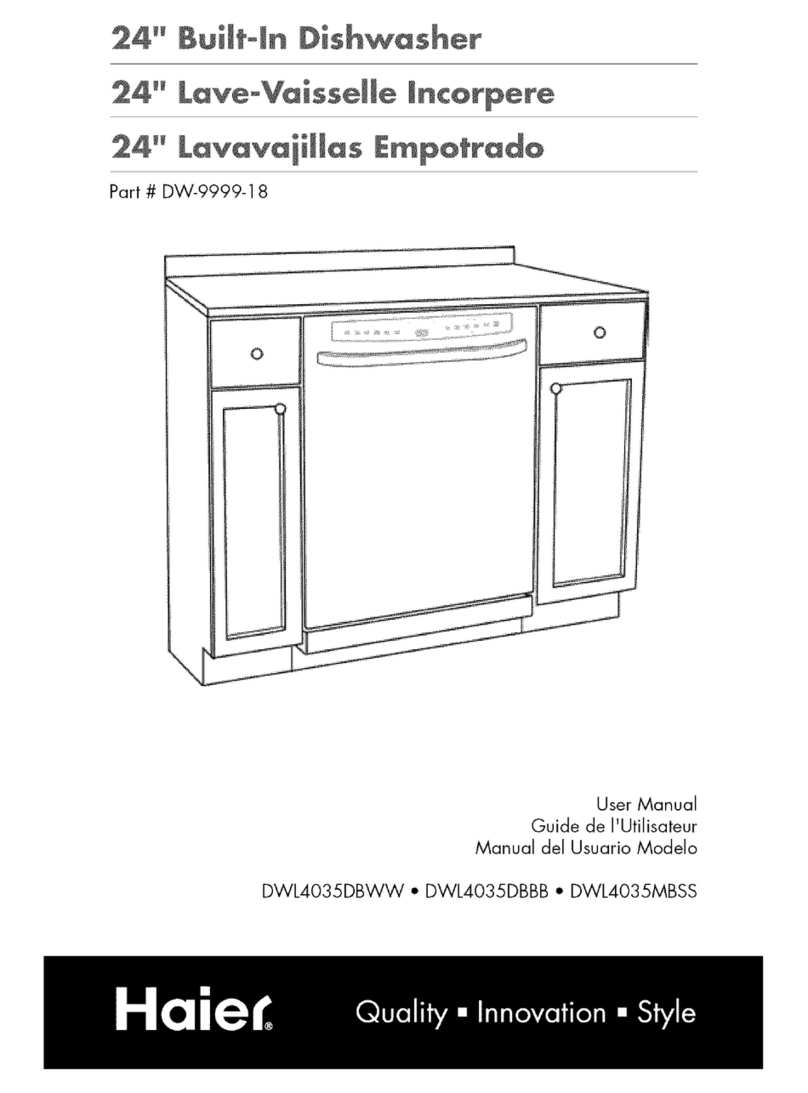
Haier DWL3025 User manual

Dishwasher Installation Manual
Quality • Innovation • Style
Model DWL3025

1
PAGE
Before Using Your Dishwasher . . . . . . . . . . . . . . . . . . . . . . . . . . . . . . . . . . . . . . . . . . . . . . . . . . . . . . . . . 2-3
BUILT-IN DISHWASHER INSTALLATION INSTRUCTIONS . . . . . . . . . . . . . . . . . . . . . . . . . . . . . . . . . . 4-10
WHAT DO I NEED TO HAVE TO INSTALL THE DISHWASHER? . . . . . . . . . . . . . . . . . . . . . . . . . . . . . 4-10
Tools, parts & materials. . . . . . . . . . . . . . . . . . . . . . . . . . . . . . . . . . . . . . . . . . . . . . . . . . . . . . . . . . . . . . . . 4-5
Requirements. . . . . . . . . . . . . . . . . . . . . . . . . . . . . . . . . . . . . . . . . . . . . . . . . . . . . . . . . . . . . . . . . . . . . . . . 6-10
Cabinet Dimensions . . . . . . . . . . . . . . . . . . . . . . . . . . . . . . . . . . . . . . . . . . . . . . . . . . . . . . . . . . . . . . . . . . . . . 9
WHAT DO I NEED TO DO BEFORE I INSTALL THE DISHWASHER? . . . . . . . . . . . . . . . . . . . . . . . . 10-20
Prepare cabinet. . . . . . . . . . . . . . . . . . . . . . . . . . . . . . . . . . . . . . . . . . . . . . . . . . . . . . . . . . . . . . . . . . . . . 10-14
Prepare dishwasher. . . . . . . . . . . . . . . . . . . . . . . . . . . . . . . . . . . . . . . . . . . . . . . . . . . . . . . . . . . . . . . . . 14-20
HOW DO I INSTALL THE DISHWASHER?. . . . . . . . . . . . . . . . . . . . . . . . . . . . . . . . . . . . . . . . . . . . . . . 20-25
Connect dishwasher . . . . . . . . . . . . . . . . . . . . . . . . . . . . . . . . . . . . . . . . . . . . . . . . . . . . . . . . . . . . . . . . 20-23
Secure dishwasher . . . . . . . . . . . . . . . . . . . . . . . . . . . . . . . . . . . . . . . . . . . . . . . . . . . . . . . . . . . . . . . . . . . . . 24
Check operation . . . . . . . . . . . . . . . . . . . . . . . . . . . . . . . . . . . . . . . . . . . . . . . . . . . . . . . . . . . . . . . . . . . . . . . 25
TABLE OF CONTENTS

2
IMPORTANT: READ AND SAVE THESE INSTRUCTIONS
Doing so will:
make installation easier.
help you in the future if you have questions.
help if you have an electrical inspection.
BEFORE USING THE DISHWASHER
This is the safety alert symbol.
This symbol alerts you to potential hazards that may seriously
injure you and others.
All safety messages follow the safety alert symbol and either the
word “DANGER” or “WARNING”.
DANGER
WARNING
YOU CAN BE SERIOUSLY INJURED IF YOU DO NOT FOLLOW INSTRUCTIONS
IMMEDIATELY.
YOU CAN BE SERIOUSLY INJURED IF YOU DO NOT FOLLOW INSTRUCTIONS.
All safety messages will tell you what the potential hazard is, how to reduce
the chance of injury and what can happen if the instructions are not followed.

3
YOU NEED TO
• Carefully open dishwasher door while someone grasps the rear of the dishwasher. Remove
shipping materials and lower rack. Close dishwasher door. Latch the dishwasher door shut.
• Install this dishwasher as specified in these instructions.
• Have everything you need (tools, materials, parts) to properly install the dishwasher.
IMPORTANT
• Observe all governing codes and ordinances.
•Note to installer – Be sure to leave these instructions for the consumer’s and
inspector’s use.
•Note to consumer – Keep these instructions with your owner’s manual for future
reference.
•Skill level – Installation of this dishwasher requires basic mechanical, electrical, and
plumbing skills.
Proper installation is the responsability of the installer. Product failure
due to improper installation is not covered under warranty.
See warranty information.
• Completion time – 1 to 3 hours. New installations require more time than replacement
installations.

4
TOOLS AND MATERIALS NEEDED
ALL INSTALLATIONS
A Pliers
B. Phillips screwdriver
C. 5/8” open end wrench
D. Measuring tape or ruler
E. 10” adjustable wrench that opens to 11/8” (2.9 cm)
F. Flat-blade screwdriver
G. Gloves
H. Utility knife
I. 2 twist-on wire connetors which are the proper size to connect your house hold wiring to
16-gauge wiring in dishwasher
J. Small level
K. Safety glasses
L. 90° elbow with 3/8” (0.9 cm) N.P.T external threads on one end. (The other end must fit your
water supply line.)
M.Flashlight
N. Teflon®tape or pipe joint compound
O. Shallow pan
P. Shim stock (if instlled with built-up floor)

5
In addition for new installations
Q. Electric drill
R. ½”, ¾”and 1½” hole saw bits
S. Small tubing cutter
T. Wire stripper
U. 1½”-2” screw-type clamp if connecting to waste-tee
V. Copper tubing (3/8” recommended) or flexible strainless steel braided fill line
W. Clamp connector or conduit connector to fit a 7/8” (2.2 cm) diametre hole
® Teflon is a registered trademark of E.I. Du Pont de Nemours and Company.
Parts supplied
A. 2 drain hose clamps
1-large
1-small
B. 2 No. ST4.2 X 18 Phillips head screws
C. Drain hose
Make sure all these parts are included.

6
REQUIREMENTS
Do not run water drain lines or electrical wiring where they can interfere with or contact
dishwasher motor or legs.
The location where the dishwasher will be installed must provide clearance between motor
and flooring.
Do not install dishwasher over carpeted flooring.
Protect dishwasher and water lines leading to dishwasher against freezing.
Damage from freezing is not covered by the warranty.
Check location where dishwasher will be installed. The location must provide:
- Easy access to water, electricity and drain.
- Convenient loading. Corner locations require a 2” (5.1 cm) minimum clearance between the
side of the dishwasher door and wall or cabinet.
- Square opening for proper operation and appearance.
- Cabinet front perpendicular to floor.
- Level floor. If floor at front of opening is not level with floor at rear of opening, shims may
be needed to level dishwasher.
NOTE:
Shims must be securely attached to floor to
prevent their movement when dishwasher is being
operated.
If dishwasher will be left unused for a period of time or
in a location where it may be subject to freezing, have
it winterized by authorized service personnel.Make sure
pipes, wires and drain hose are within the shaded area.
See page 9 for dimensions.
Cabinet Requirements
HELPFUL TIP:
If the floor in the dishwasher opening in uneven (example: tile flooring only part way
into opening) you will needed to take special care in measuring dimensions and in
leveling dishwasher.

7
ELECTRICAL
It is the customer’s responsibility:
To assure that the electrical installation is adequate and in conformance will all national and
local codes and ordinances.
You must have:
- 120-volt, 60Hz, AC-only, 15- or 20-amp., fused electrical supply, and connected to an
individual, properly grounded branch circuit.
- Wiring must be 2-wire with ground and rated for 176°F (75°C).
We recommend:
- a time-delay fuse or circuit breaker.
- a separate circuit.
If direct wiring dishwasher:
- Use flexible, armored or non-metallic sheathed, copper wire
with grounding wire that meets the wiring requirements for
your home and local codes and ordinances.
- Use strain relief method provided with house wiring
junction box or install a cUL-listed/CSA-certified clamp
connector to the house wiring junction box. If using
conduit, use a cUL-listed/CSA-certified conduit connector.
If connecting dishwasher with a power supply cord:
- Use a cUL-listed, 16-gauge, three-conductor power supply
cord that meets all local codes and ordinaces. Maximum
length of the power supply cord is 6 feet (1.8 m).
- A clamp connector to fit a 7/8” (2.2 cm) diameter hole is
required to secure power supply cord to dishwasher
terminal box.
- Power supply cord must plug into a mating three-prong,
grounded outlet,located in the cabinet next to the
dishwasher opening. Outlet must meet all local codes
and ordinances.
WARNING
Electrical Shock Hazard
The improper connection of the equipment grounding conductor can
result in a risk of electric shock. Check with a qualified electrician if you
are in doubt that the appliance is properly grounded.

8
WATER
You must have:
- A hot water line with 20-120 psi (138-862 kPa) water pressure.
- 120°F (49°C) water at dishwasher.
-3/8” (0.9 cm) O.D. tubing with compression fitting or flexible stainless steel braided fill line
(½”/1.3 cm) minimum plastic tubing is optional but not recommended).
- A 90° elbow with 3/8” (0.9 cm) N.P.T. external pipe threads on one end.
Do not solder within 6” (15.2 cm) from water inlet valve.
DRAIN
You must:
- Use the new drain hose supplied with your dishwasher. If this is not suitable, use a new
drain hose with a maximum length of 12 feet(3.7 m) that meets all current AHAM/IAPMO
test standards, is resistant to heat and detergent, and fits the drain connector on your
dishwasher.
- Have a high drain loop 30 inches (76.2 cm) above the subfloor or floor.
- Connect drain hose to waste tee or disposer inlet
above drain trap in house plumbing and 20 inches
(50.8 cm) minimum above the floor.
- Use an air gap if the drain hose is connected to house
plumbing lower than 20 inches (50.8 cm) above
subfloor or floor.
- Use ½” (1.3 cm) minimum I.D. drain line fittings.

9
CABINET DIMENSIONS
Cut openings in shaded area of cabinet walls or floor as specified in chart:
24” (61 cm)**
3¼”
(8.3 cm)
2”
(5.1 cm)
6” ***
(15.2 cm)
2¾”
(7 cm)
3¼”
(8.3 cm)
9”
(22.9 cm)
5½”
(14 cm)
2”
(5.1 cm) 10”
(25.4 cm) 3¼”
(8.3 cm) 2¾”
(7 cm)
6” ***
(15.2 cm)
2”
(5.1 cm)
3¼”
(8.3 cm)
24”
(61 cm)
min. 34” (86.4 cm) min.*
All surfaces must be free
from intrusions
* Measured from the lowest point on the underside of countertop.
May be reduced to 337/8” (86 cm) by removing wheels from dishwasher.
** Minimum, measured from narrowest point of opening.
*** Maybe increased to 67/8” (17.5 cm) if height of opening is 34½” (87.6 cm) at lowest point.
OPENING FOR: DIAMETER
Water Line ½” (1.3 cm)
Drain Line 1½” (3.8 cm)
Direct Wire ¾” (1.9 cm)
Power Supply Cord 1½” (3.8 cm)
Other manuals for DWL3025
1
Table of contents
Other Haier Dishwasher manuals

Haier
Haier ESD 300 Series User manual

Haier
Haier DW45BI User manual

Haier
Haier DW12-PFE1S User manual

Haier
Haier DW9-TFE1 Series User manual

Haier
Haier QDP555 Series User manual

Haier
Haier DW12-CBE4 User manual

Haier
Haier WQP4-1A User manual

Haier
Haier DW9-CBE7 User manual

Haier
Haier DW-8888-08 User manual

Haier
Haier DW12-TFE3 series User manual

Haier
Haier DW12-HFE1 User manual

Haier
Haier WQP4-3N User manual

Haier
Haier HDW15F3S1 User manual

Haier
Haier DW-9999-18 User manual

Haier
Haier HDW101SST User manual

Haier
Haier ESD100 - 09-02 User manual

Haier
Haier DW12-KFE1 User manual

Haier
Haier DW9-AFES User manual

Haier
Haier DW12-BFE ME User manual

Haier
Haier DW12-BFE ME User manual