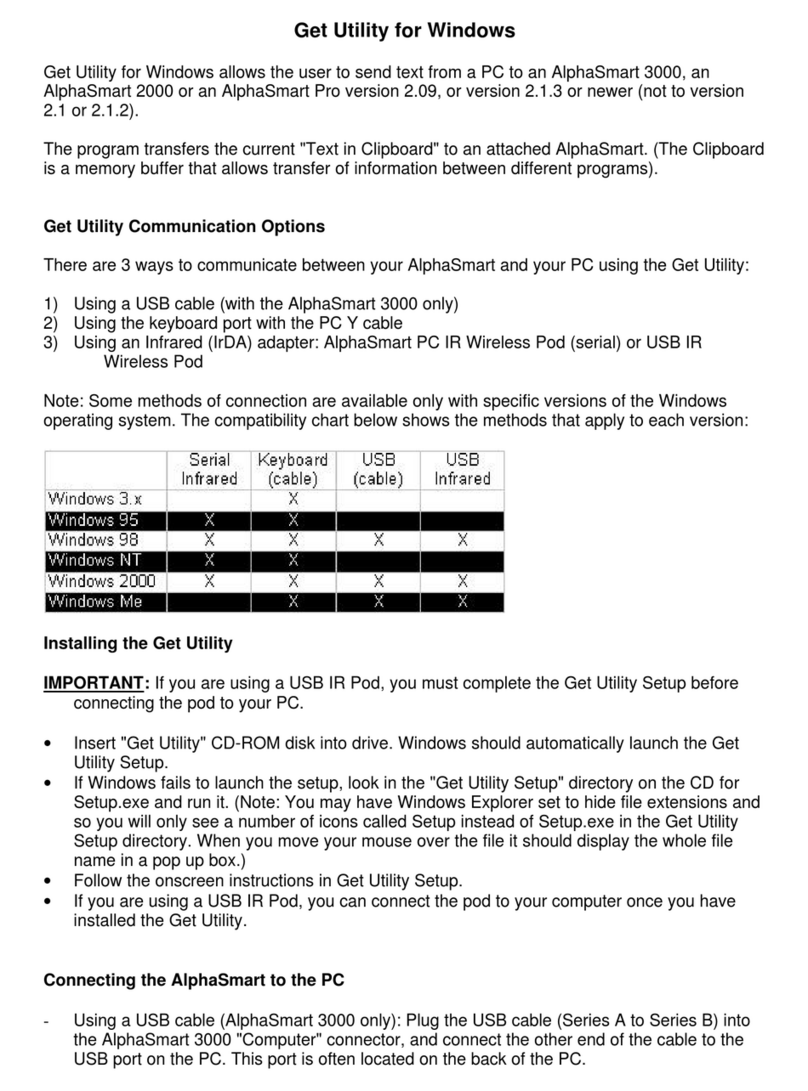
Alphasmart AS 2000 User manual

1
AlphaBeam
for PC
Description
AlphaBeam™ is a software application you install on your computer that lets you beam text from
your IR-capable AlphaSmart device to an IR-capable computer. AlphaBeam sends text using
industry-standard infrared (IrDA®) communications.
This document describes:
•Requirements needed to use AlphaBeam
•How to install AlphaBeam on your computer, plus any special setup steps needed for your
particular operating system or IR connection method
•How to beam text from your AlphaSmart device to your computer
•Infrared support for other devices
•Troubleshooting
Requirements
•PC computer running Windows 95, Windows 98, Windows NT, Windows Me, Windows 2000, or
Windows XP
•One of the following IR connection methods for your computer:
•Built-in IrDA transceiver on your computer
•PC serial IR pod, purchased from AlphaSmart, Inc. (note that the serial IR pod is not
compatible with Windows Me)
•USB IR Pod, purchased from AlphaSmart, Inc. (note that the USB IR pod is not
compatible with Windows 95 or Windows NT)
•One of the following AlphaSmart devices:
•Dana or Dana Wireless
•Neo
•AlphaSmart 3000 IR (infrared model)
•AlphaSmart 2000 IR (infrared model)

2
Installing AlphaBeam
AlphaBeam is available as a download from the AlphaSmart web site, as an application on its
own CD, or as a supplemental application on various other AlphaSmart product CDs.
For serial IR pod users
To install AlphaBeam with a serial IR pod from AlphaSmart:
1. On your computer, locate the serial port and using the illustration shown here, determine
whether it requires a 9-pin or 25-pin connector.
2. If you have a 25-pin serial port, connect the adapter that came with the serial IR pod, so that
the end of the cable can plug into your 25-pin serial port. If you have a 9-pin serial port on
your computer, you can skip this step.
3. Plug the serial IR pod into the serial port on your computer.
4. Do one of the following:
•Insert the AlphaBeam CD into the CD drive on your computer. The AlphaBeam setup
program should launch automatically. If it doesn’t, start Windows Explorer and display
the contents of the CD.
•Insert the AlphaSmart Manager 2 CD into the CD drive on your computer and navigate to
the Extras\AlphaBeam folder.
•If you downloaded AlphaBeam from the AlphaSmart web site, navigate to the directory
where you saved the download file.
5. Double-click the setup.exe file. (If the CD automatically launched the installation, you can
skip this step.)
6. Step through the installation screens to complete the installation.
Note: If you’re running Windows 95 or 98, you’ll be asked to which COM port the serial IR pod
is connected. You’ll also be asked to set up a simulated COM port. When the installer
suggests a simulated COM port, press Next.
7. When prompted, restart your computer.
9-pin serial port 25-pin serial port

3
For USB IR pod users
Warning! Do not plug the USB IR pod into your computer before you install AlphaBeam on your
computer. Wait until the installation finishes and you restart your computer before plugging the
USB IR pod into a USB port on your computer.
To install AlphaBeam with a USB IR pod from AlphaSmart:
1. Do one of the following:
•Insert the AlphaBeam CD into the CD drive on your computer. The AlphaBeam setup
program should launch automatically. If it doesn’t, start Windows Explorer and display
the contents of the CD.
•Insert the AlphaSmart Manager 2 CD into the CD drive on your computer and navigate to
the Extras\AlphaBeam folder.
•If you downloaded AlphaBeam from the AlphaSmart web site, navigate to the directory
where you saved the downloaded file.
2. Double-click the setup.exe file. (If the CD automatically launched the installation, you can
skip this step.)
3. Step through the installation screens to complete the installation.
4. When prompted, restart your computer.
5. Connect the USB IR pod to an available USB port on your computer.
For built-in IR users
To install AlphaBeam with built-in IR:
1. Do one of the following:
•Insert the AlphaBeam CD into the CD drive on your computer. The AlphaBeam setup
program should launch automatically. If it doesn’t, start Windows Explorer and display
the contents of the CD.
•Insert the AlphaSmart Manager 2 CD into the CD drive on your computer and navigate to
the Extras\AlphaBeam folder.
•If you downloaded AlphaBeam from the AlphaSmart web site, navigate to the directory
where you saved the downloaded file.
2. Double-click the setup.exe file. (If the CD automatically launched the installation, you can
skip this step.)
3. Step through the installation screens to complete the installation.
4. When prompted, restart your computer.
Beaming text to your computer
To beam text to a computer:
1. Start the AlphaBeam application on your computer.
2. Turn on your AlphaSmart device and make sure you’re in the file you want to send.
3. Point the infrared lens of the AlphaSmart device toward the IR transceiver in your computer
or toward the IR pod.

4
4. On your computer, open the file to which you want to send the text (it can be a new file or a
file that already has content), and place your cursor where you want the text to begin. This
should be the last thing you do before going to step 5. This ensures your application is the
active window and ready to receive text.
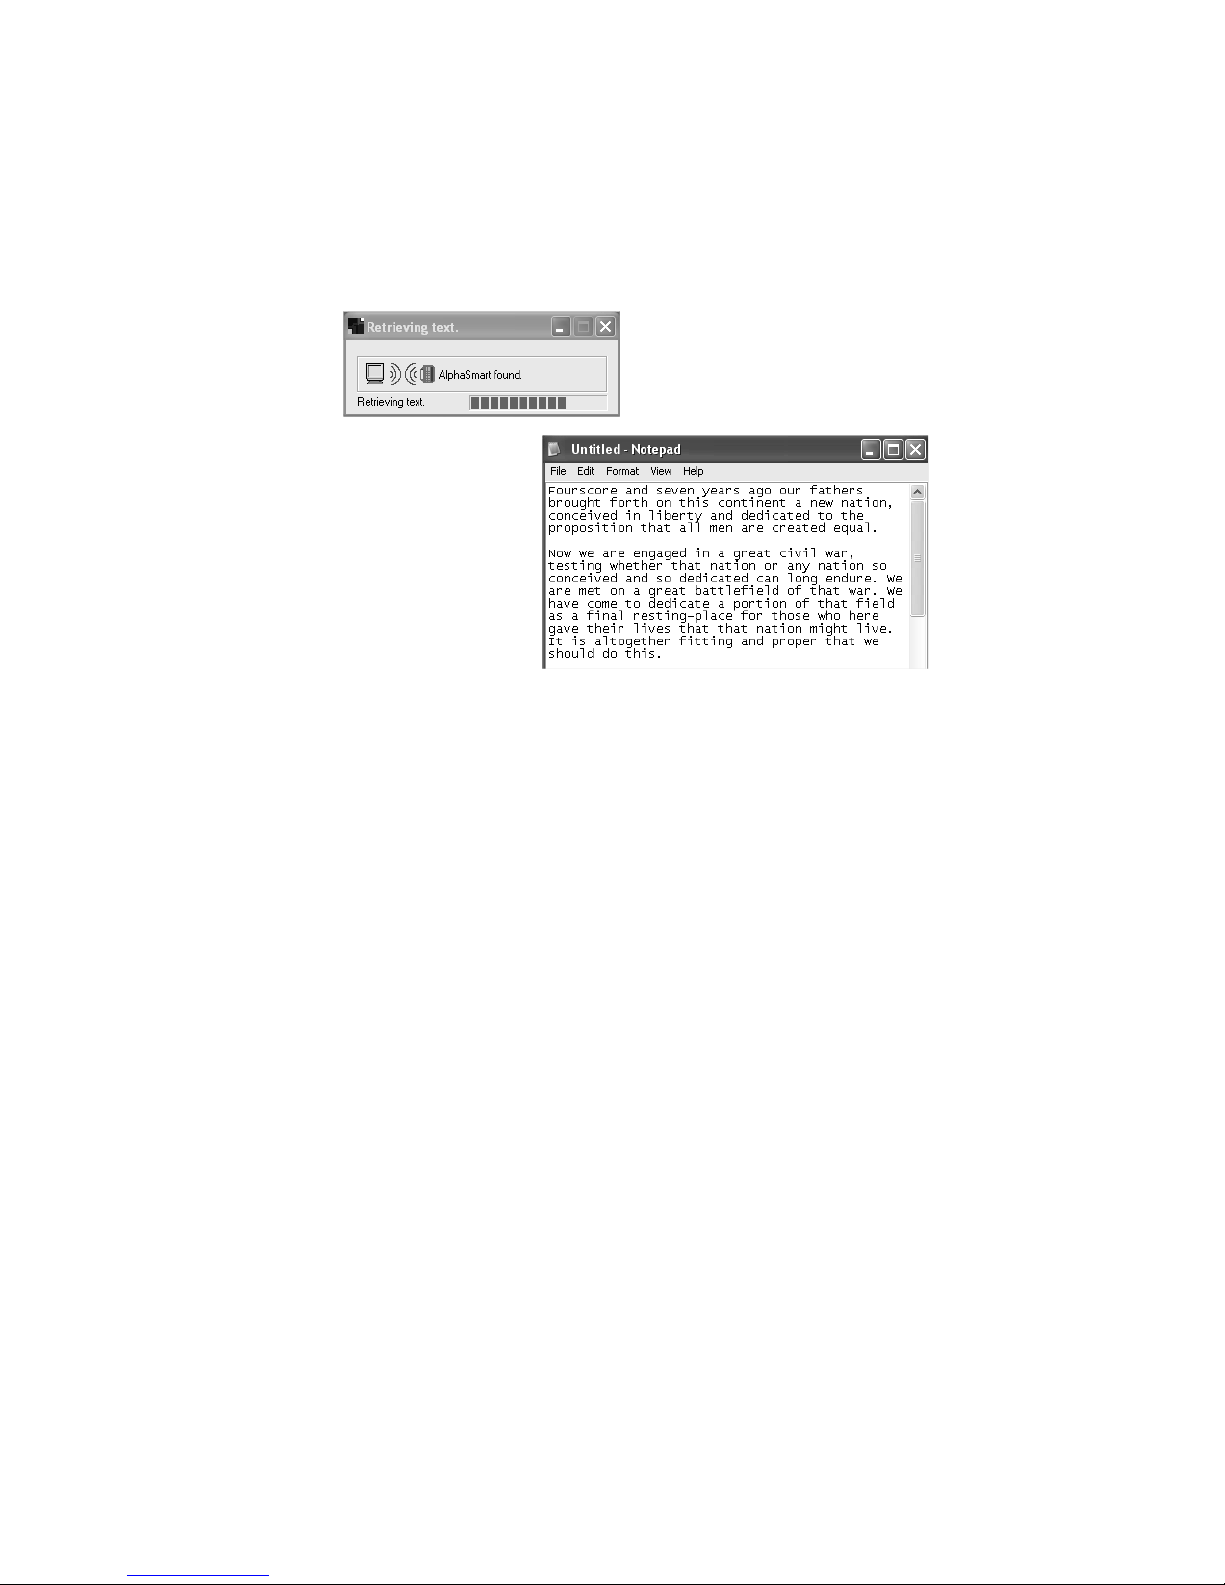
5. Press send on your AlphaSmart device. The AlphaBeam application shows that it’s retrieving
text, and text appears in your open file.
6. To beam another file, on your AlphaSmart device, switch to the file you want to beam, then
repeat steps 3 through 5.
Tips on using AlphaBeam
If it looks like nothing happened, it might be that AlphaBeam was the active window rather than
your application. Try one of these two solutions:
•The text you beamed should be on your computer’s clipboard, so all you might need to do is
paste it into your application. On your computer, from your application’s Edit menu, choose
Paste.
•On your computer, again make sure the application you want the text sent to is the active
application (the last one you clicked in). On your AlphaSmart device, send your text again.
If you notice missing characters or jumbled text in the file you transferred, you might need to
slow down the IrDA transfer speed on your AlphaSmart device. To do so, press ctrl-option-a-S,
then select the Compatibility speed option (2). This setting is compatible with all computers and
most applications.
Infrared support for other devices
If you have other IR-capable devices that you want to use with your computer, in addition to your
AlphaSmart device, you’ll need to complete the following steps once the AlphaBeam installation
is finished.
To install infrared support on Windows 2000:
1. Click the Start button, then choose Settings > Control Panel.
2. Double-click Add/Remove Hardware. An Add/Remove Hardware Wizard appears.
3. Step through the onscreen instructions until you see a list of devices in the Choose a
Hardware Device window.
AlphaBeam
Text transferred
by AlphaBeam
into an
application

5
4. Double-click Add a new device, then select Select hardware from a list and click Next.
5. Select Infrared Devices from the list of hardware types.
6. Select ACTiSYS from the list of Manufacturers, then select the ACTiSYS IR-220L Serial
Infrared Device.
7. Click Next to accept the default settings and install the software.
8. Select the appropriate serial (COM) port to which the IR pod is connected, then click Finish.
9. Return to Control Panel and double-click the Wireless Link icon.
10. Click the Image Transfer tab and uncheck Use Wireless Link to transfer images from a Digital
camera to your computer.
To install infrared support on Windows XP:
1. Click the Start button, then choose Control Panel.
2. Do one of the following:
•If you’re viewing icons in Category View, double-click Printers and Other Hardware, then
click Add Hardware (located in the top left corner of the window).
•If you’re viewing icons in Classic View, double-click Add Hardware.
3. Step through the onscreen instructions until you see a list of devices in the Add Hardware
Wizard window.
4. Double-click Add a new hardware device, then select the option Install the hardware that I
manually select from a list and click Next.
5. Select Infrared devices from the list of Hardware Types.
6. Select ACTiSYS from the list of Manufacturers and select the ACTiSYS IR-220L Serial Infrared
Device.
7. Click Next to accept the default settings and install the software.
8. Select the appropriate Serial (COM) port to which the IR pod is connected and then click
Finish.
9. Return to Control Panel, double-click Printers and Other Hardware, then double-click the
Wireless Link icon.
10. Click the Image Transfer tab and uncheck Use Wireless Link to transfer images from a Digital
camera to your computer.

6
Infrared troubleshooting for AlphaBeam
This section describes special steps for those using a serial IR pod on Windows 95, 98, NT, 2000,
or XP. (Windows Me is not compatible with the serial IR pod.)
Test circle testing my COM port doesn’t turn red.
If you chose a typical installation with the serial IR pod, the installer shows you a test screen for
testing your COM port. If, after following the steps on the test screen, you can’t get the test circle
to turn red, try these steps:
•Press print on the AlphaSmart device, rather than send.
•Test all the COM ports that are available in the list. If none of them work and you have more
than one physical COM port, try plugging the serial IR pod into another COM port connector
and testing all the ports in the list. (Usually, the pod will work with one of the first four COM
ports in the list.)
When you select a different COM port from the list, make sure you exit from Print mode on
the AlphaSmart device and then press print again.
If you chose a custom installation with the serial IR pod, the installer asks you to choose the
correct manufacturer and model of the infrared device. Make sure you choose ACTiSYS as the
manufacturer and ACT-IR220L as the model number.
After installing AlphaBeam, you need to restart the computer. Once the computer restarts,
choose Start > Programs > AlphaSmart > AlphaSmart IR Setup to select and test the correct COM
port before using AlphaBeam.
© 2004 AlphaSmart, Inc.
041014
Other manuals for AS 2000
1
This manual suits for next models
3
Table of contents
Other Alphasmart Software manuals

Alphasmart
Alphasmart NEO2 SmartApplet User manual

Alphasmart
Alphasmart AS Pro Operating manual

Alphasmart
Alphasmart AS 3000 User manual

Alphasmart
Alphasmart AS 3000 User manual

Alphasmart
Alphasmart AS 3000 User manual

Alphasmart
Alphasmart AS 3000 User manual

Alphasmart
Alphasmart AS Pro User manual

Alphasmart
Alphasmart Manager for Dana User manual

Alphasmart
Alphasmart AS 3000 User manual