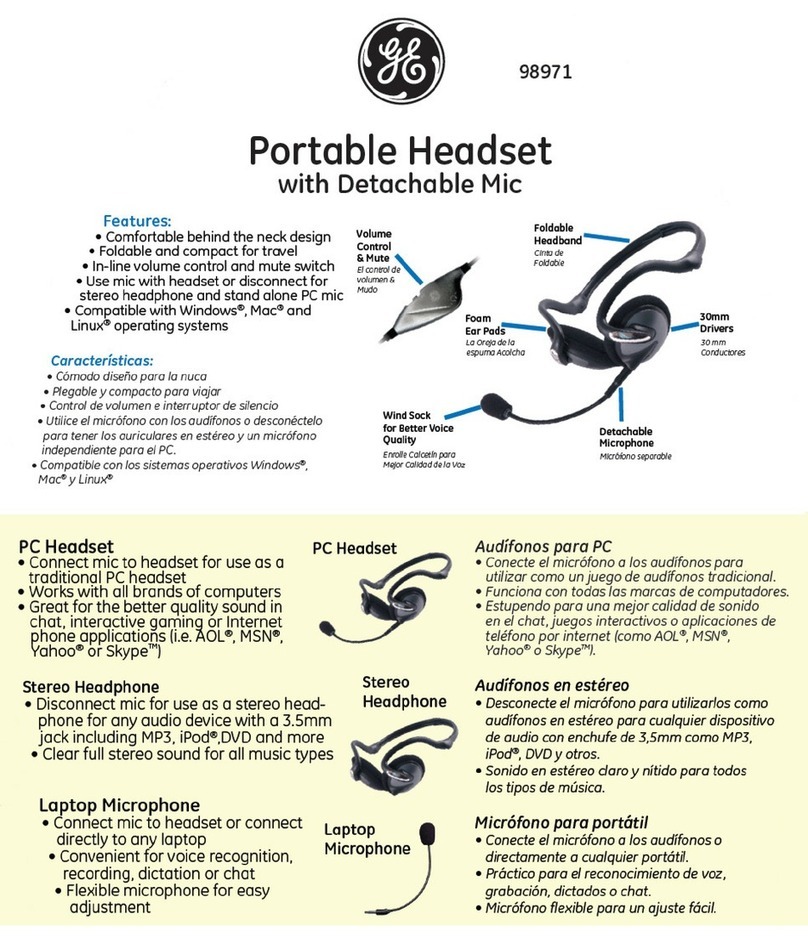
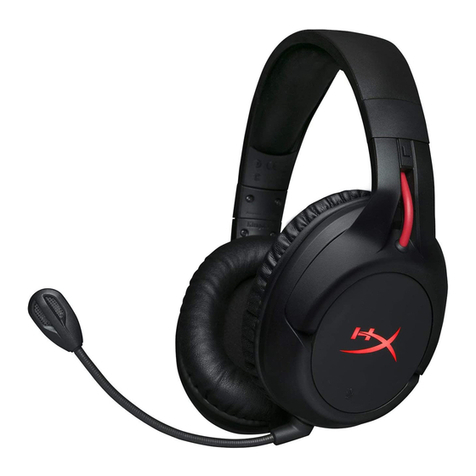
Vuescape 11011005B User manual

USB 2.0 Webcam & Microphone Headset
Item Number: 11011005B
User’s Manual
All brand names and trademarks are the property of their respective owners
* Important Notice: Please read this manual carefully

Introduction
Thank you for choosing our new generation WebCam and headphone combination. It has a high
resolution and fast transmission rate, and it is easy to transport with you for remote broadcasting.
It can be used as a Plug and Play (PnP) WebCam for real-time data transmission to PC via USB Port.
Specifications
¾350k pixels resolution (when used as Plug and Play)
¾5 Megapixel resolution (with the driver/software installed)
¾High resolution CMOS color sensor
¾Video mode: 24bit true color
¾Large video capture size: 640 x 480 (when used as Plug and Play)
¾Large video capture size: 2560 × 1920 (with the driver/software installed)
¾Interface: USB 2.0 high-speed
¾Transmission Rate: 640 × 480 up to 30fps
¾Noise-signal ratio: greater than 48db (30fps 220LUX)
¾Dynamic range: greater than 72db
¾Image focus: 5cm to infinity
¾Built-in image compression
¾Automatic brightness adjustment
¾Automatic color compensation
¾Manual focus override
Note: Under the Windows XP Service Pack 2 operation system, please make sure you have plugged
the camera’s USB cable into the initial USB port interface controlled by the driver software. Otherwise it
will perform as a Plug and Play USB Video Device with the lower resolution and video capture size.
System Requirement
•Desktop PC or Laptop PC with USB 2.0 interface
•Pentium 200 or higher CPU
•32MB or higher RAM memory
•Over 200MB free hard disc space
•CD ROM drive to load driver
•Compatible with Windows® XP Service Pack 1 (or higher), and Vista®.
Note: The Plug and Play feature works only with Windows® XP Service Pack 2+ and Vista®.
Package Contents
USB WebCam
Microphone Headset
Software CD
User’s Manual

Getting Started
Hardware Installation
1. Plug the audio connectors of the Microphone Headphone to the Audio and Microphone line out at
the rear of your PC.
2. Plug the USB WebCam to an available USB port on your computer.
3. Power on the computer and the monitor.
4. You may now adjust the Volume control of the Microphone Headphone to your desired setting.

Camera Installation (without driver software)
1. Verify the version of your operation system. Under Windows® XP click on Start -> click on
“Control Panel” -> double click on “System” and the System Properties will appear on the
screen.
2. If you have check out your OS is the version of Windows XP service pack 2 or above, than you
can plug the PC camera into the USB interface, on the computer will show as below picture
“Found New Hardware USB Video Device”, this is to say your PC camera hardware can be used
now.

3. Where you can preview the PC camera video capture?
Double click on “My Computer” on the desk, then you will find “USB Video Device #*” from the
following window:
4. Double click on “USB Video Device #*”, then you can preview the video capture as in the following
window, also you can take still captures here.

Camera Driver Software Installation
***Plug the PC camera USB cable into the computer interface first before you install the driver.
1. Insert the software CD to your CD-ROM drive, and locate the software Icon from the CD ROM as
shown below, double click on it to start the driver installation.
2. Software installing.

3. This window will appear to remind you to plug the PC camera USB cable into the computer interface
first before you install the driver. After you inserted the camera into the USB interface, please press
“Yes” to continue.
4. Then, click on the “Next” button….

5. Continue the installation.
6. Choose “Continue Anyway” to continue, when the window shown below appears.

7. Click on “Finish” to exit and finish the software installation.
8. From the “start” menu, find out “vmcap” under “Vimicro USB2.0 UVC Camera” from “All Programs”,
to start the video capture.

9. Start the video capture, and choose the “Video Capture Pin…” from the “Options” menu to adjust the
picture size that you want shown by the camera lens.
10. To adjust the picture size from 320 x 240 to 2560 x 1920 or 1024 x 768, the video frame rate will be
set to 30fps.
Note: If the picture sizes you choose is from 1280 x 960 to 2560 x 1920 the frame rate will be
15fps.
Table of contents