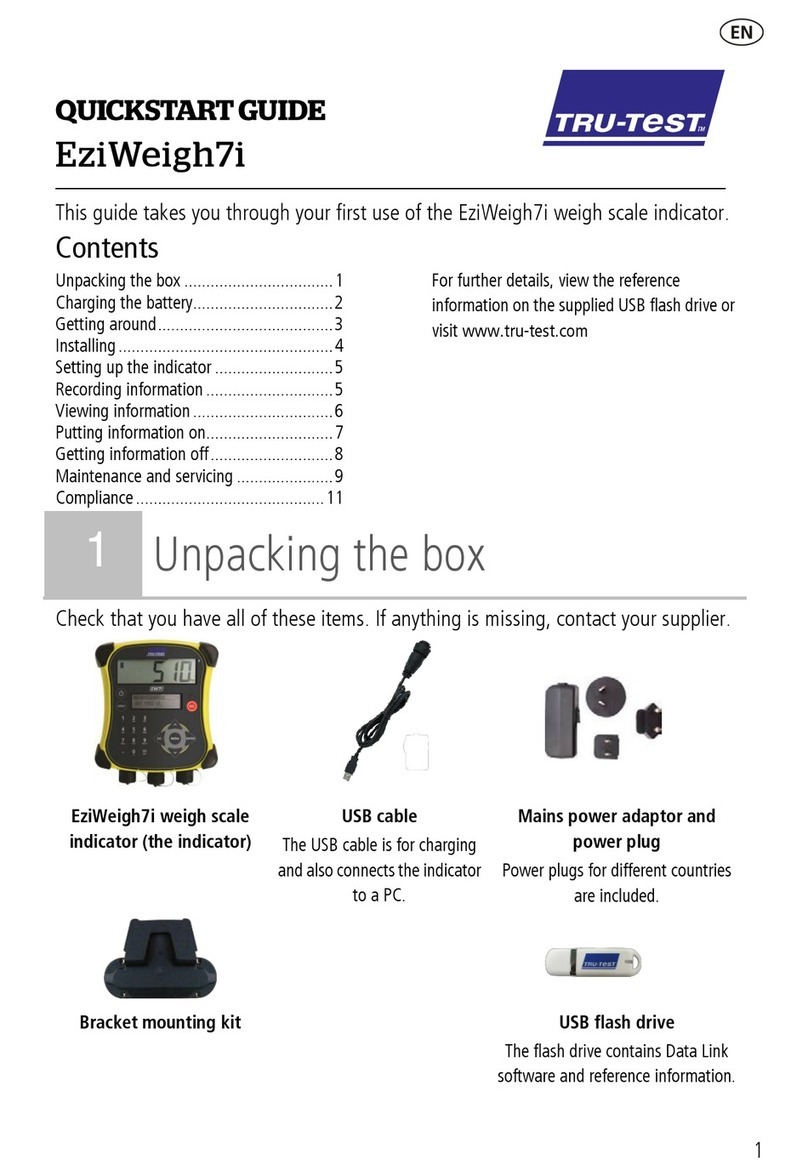
Tru-Test EziWeigh7 User manual

EziWeigh7 Quickstart Guide
1Unpack the box
EziWeigh7 indicator
Bracket mounting kit
Mains power adaptor with
regional plug options
USB cable for charging
and connecting to a PC
EziLink™ CD - EziLink is a computer software
application used to manage information
recorded on the indicator
7
2Charge the battery
To charge, connect the USB cable to both the power
adaptor and indicator, then plug into the mains socket.
A battery indicator on the Weight screen scrolls when
the battery is charging.
Note: When the indicator is unplugged from the power supply, the battery indicator displays the battery charge level.
QUICKSTART GUIDE
1

EziWeigh7 Quickstart Guide
3Getting around
Turn the indicator ON/OFF. Go deeper into a sub-menu or select
an option.
Record an animal’s weight and any other
information that has been entered. Scroll through a list of options.
Zero the scale manually. Escape out of a sub-menu back to the
next tier up.
Access the main menu.
The top level of menus includes:
Battery indicator
Weight screen
Data screen
Alpha numeric keypad
Load bar connector
Bluetooth®connection status
Stable light
Load bar connector
Power/Communication connector
> Statistics - View statistics for the current session, or for previously recorded sessions.
> Clear last record - Delete the last record in the current session.
> Sessions - Start a new session or delete sessions.
> Setups - Change indicator settings and enable extra features.
Note: To change the language, date and time for your region, scroll through the options in the Setups sub-menu.
2

EziWeigh7 Quickstart Guide
4Install the hardware
5 Connect to a Tru-Test EID Stick Reader (if applicable)
To establish a Bluetooth wireless connection between the indicator and a Tru-Test EID Stick Reader, you need to
‘pair’ the two devices.
a. Turn on the indicator with the stick reader well within range.
b. Press the Read button to turn on the stick reader.
After approximately one minute, the pairing is complete and a connection is
established. Once paired, the stick reader’s Blue LED will illuminate and an arrow ( )
will appear on the indicator’s Weight screen beside the Bluetooth symbol.
Now that pairing is complete, subsequent connections should be virtually instant.
c. Use the stick reader to scan an EID tag in order to test the connection.
Note: See the Tru-Test EID Stick Reader User Manual for more information and troubleshooting.
See section 5
Mount the indicator bracket onto a at surface
(timber rails, concrete) or pipe-work.
Connect the load bar cables to the indicator.
If using an XRP EID Panel Reader, install and connect
to the indicator (see the XRP Reader’s User Manual).
Install load bars under the platform on a rm,
level surface (see the Load Bar User Manual).
3

EziWeigh7 Quickstart Guide
6Weigh animals
a. Turn on the indicator and check that the scale is displaying a zero weight. By default, the scale automatically zeroes
itself when a load is removed from the weighing platform or when the indicator rst powers up.
b. Start a new recording session. Press , scroll down to sessions , and press twice.
The indicator will display “Started”. Press twice to navigate out of the menu.
c. Move the animal onto the platform and check that the weight is as expected.
d. If recording IDs, enter the animal’s VID using the alpha numeric keypad, or scan the animal’s EID
tag using an EID reader.
e. If desired, press to enter a comment about the animal, using the alpha numeric keypad.
f. Wait for the stable light to illuminate and press . This records the weight plus the ID and comment if entered.
g. Repeat steps c-f for all animals in the session.
h. After weighing, you can view statistics for the weighing session. Press to display the Statistics option.
Press and press to scroll through the statistics.
EID VID
Note: If there are problems with inaccurate weights or zeroing, check for binding or dirt build-up and ensure the
load bars are properly connected.
4

EziWeigh7 Quickstart Guide
8Using the EziLink™ software
a. Connect the indicator to the PC using the supplied USB cable.
b. Launch the EziLink application.
c. Wait for the indicator to connect to the PC (this may take up to a minute).
d. Click one of the menu options to upload IDs, download sessions or delete sessions.
Download Download selected session from the
indicator.
Download all Download all sessions from the indicator.
Upload Upload a Visual ID (VID) to Electronic ID
(EID) cross reference le.
Settings Change EziLink software settings.
Sessions Shows the sessions recorded on the
indicator.
Session records After a session has been downloaded,
the session records are displayed.
Status message Shows the indicator connection status.
EziLink menu options
Status message
Note: Do not connect the indicator to the computer until you have installed the EziLink software. EziLink software can only
be installed on computers with Microsoft Windows XP or later.
a. Turn on the computer, login if necessary, then wait for the desktop to appear.
b. Close any open programs.
c. Insert the EziLink CD.
d. Follow the on-screen instructions to install the EziLink software and device driver.
e. To launch EziLink, click on the desktop icon or go to the Start menu.
7Install the EziLink™ computer software application
Sessions Session records
5

EziWeigh7 Quickstart Guide
9Getting the most from your indicator
The EziWeigh7 has a number of features which enable you to get more out of the indicator and speed up data entry.
See the EziWeigh7 User Manual for more information.
ID cross reference The indicator can automatically display an animal’s VID when the EID is scanned. This requires a
cross reference le to be uploaded using EziLink.
Weight Gain During weighing, weight gain per day will be displayed if a weight has previously been recorded
for the same animal and the record is still on the indicator.
Drafting (sorting) The indicator aids two or three way drafting (sorting) by displaying the draft (sort) direction on
the Data screen.
Statistics The weight and draft (sort) statistics for the current or previous sessions can be displayed on the
indicator.
Auto Record Auto recording can be used in order to speed up weighing as there is no need to press record.
Prex You can set the indicator to automatically apply prexes to the VID as you enter them. This saves
time typing.
Auto Increment VID To save time when tagging and weighing animals, you can set the VID eld to automatically
increment for each new animal.
Repeat Automatically repeats a comment.
Caring for the indicator
Do not leave the indicator or load bars in water. Store the indicator in a cool, dry place.
Wipe the indicator using a damp cloth, warm water and soap. Other cleaners may damage the case.
Support
For support, service and warranty information, see www.tru-test.com
More information
For further details refer to the EziWeigh7 User Manual, available on the EziLink CD and at www.tru-test.com
6

EziWeigh7 Quickstart Guide
Tru-Test Limited hereby declares that the EziWeigh7 indicator is in compliance with the essential requirements and other relevant provisions
of Directive 1999/5/EC. The declaration of conformity may be consulted at http://www.tru-test.com/weighing/pdfs/EC_DoC_EW7.pdf
Compliance
FCC notice
This device complies with part 15 of the FCC Rules. Operation is subject to the following two conditions: (1) This device may not cause harmful interference, and (2)
this device must accept any interference received, including interference that may cause undesired operation.
This equipment has been tested and found to comply with the limits for a Class B digital device, pursuant to part 15 of the FCC Rules. These limits are designed to
provide reasonable protection against harmful interference in a residential installation.
This equipment generates, uses and can radiate radio frequency energy and, if not installed and used in accordance with the instructions, may cause harmful inter-
ference to radio communications. However, there is no guarantee that interference will not occur in a particular installation. If this equipment does cause harmful
interference to radio or television reception, which can be determined by turning the equipment off and on, the user is encouraged to try to correct the interference
by one or more of the following measures:
· Reorient or relocate the receiving antenna.
· Increase the separation between the equipment and receiver.
· Connect the equipment into an outlet on a circuit different from that to which the receiver is connected.
· Consult the dealer or an experienced radio/ TV technician for help
FCC warning
Note: Users are cautioned that changes or modications not expressly approved by the party responsible for compliance could void the user’s authority to operate the
equipment.
Industry Canada notice
This Class B digital apparatus complies with Canadian ICES-003 (Cet appareil numérique de la classe B est conforme à la norme NMB-003 du Canada).
This device complies with Industry Canada licence-exempt RSS standard(s). Operation is subject to the following two conditions:
(1) this device may not cause interference, and
(2) this device must accept any interference, including interference that may cause undesired operation of the device.
Windows is a registered trademark of Microsoft Corporation in the United States and other countries.
The Bluetooth® word mark and logos are registered trademarks owned by Bluetooth SIG, Inc.
Any use by Tru-Test Limited is under licence.
7

Manual Básico Do EziWeigh7
8
1Desembalar a caixa
Indicador Eziweigh7
Conjunto de grampo
de montagem
Adaptador de energia de
rede com chas regionais
opcionais
Cabo USB para o
carregamento e a
conexão a um PC
EziLink™ CD - EziLink é uma aplicação
de software de computador usada para
administrar as informações registradas no
indicador
7
2Carregar a bateria
Para carregar conecte o cabo USB ao adaptador de
energia e ao indicador e insira a cha na tomada de
rede. Um indicador da bateria no visor de pesagem se
movimentará quando a bateria estiver sendo carregada.
Observação: Quando o indicador da bateria for desconectado da fonte de alimentação, o indicador da bateria mostrará o
nível de carga da bateria.
MANUAL BÁSICO DO

Manual Básico Do EziWeigh7
9
3Conhecer o aparelho
Ligar e desligar o indicador. Entrar em sub-menus ou selecionar
uma opção.
Registrar o peso de um animal e todas as outras
informações introduzidas. Rolar em uma lista de opções.
Zerar a balança manualmente. Sair de um sub-menu e voltar ao nível
superior.
Acessar o menu principal.
O nível superior dos menus inclui o seguinte:
Indicador da bateria
Indicador do peso
Indicador de dados
Teclado alfanumérico
Conector de barras de carga
Status de conexão Bluetooth®
Luz estável
Conector de barras de carga
Conector de energia/comunicação
> Estatística - Consultar a estatística para a sessão atual ou para sessões registradas previamente.
> Apagar o último registro - Deletar o último registro na sessão atual.
> Sessões - Iniciar uma sessão nova ou deletar sessões.
> Ajustes - Modicar os ajustes do indicador e ativar características suplementares.
Observação: Para alterar o idioma, a data e a hora para a sua região role através das opções no sub-menu Settings (Ajustes).

Manual Básico Do EziWeigh7
4Instalar o hardware
Veja a seção 5
Monte o grampo do indicador em uma superfície plana
(trilhos de madeira, betão) ou em uma tubulação.
Conecte os cabos da barra de carga ao indicador.
Se estiver usando um leitor de IDE XRP, conecte-o
aparelho ao indicador (veja o manual do usuário do
leitor XRP).
Instale as barras de carga em baixo da
plataforma em uma superfície sólida e plana
(veja o manual do usuário da barra de carga).
5 Estabeleça a ligação a um leitor de mão de IDE da Tru-Test (caso aplicável)
Para estabelecer uma ligação Bluetooth sem o entre o indicador e o leitor de mão de IDE será necessário “parear”
os dois dispositivos.
a. Ligue o indicador quando o leitor de mão estiver dentro do alcance.
b. Pressione o botão Ler para ligar o leitor de mão.
Após cerca de um minuto, o pareamento estará terminado e a conexão estará
estabelecida. Depois do pareamento, o LED azul do leitor de mão se acenderá e uma
seta ( ) aparecerá no visor de pesagem do indicador ao lado do símbolo Bluetooth.
Depois de terminar o pareamento, as ligações seguintes se estabelecerão
rapidamente.
c. Use o leitor de mão para escanear um brinco IDE para testar a conexão.
Observação: Veja o manual do usuário do leitor de mão IDE para informações mais detalhadas e para resolver falhas.
10
Other manuals for EziWeigh7
2
Table of contents
Languages:
Other Tru-Test Scale manuals