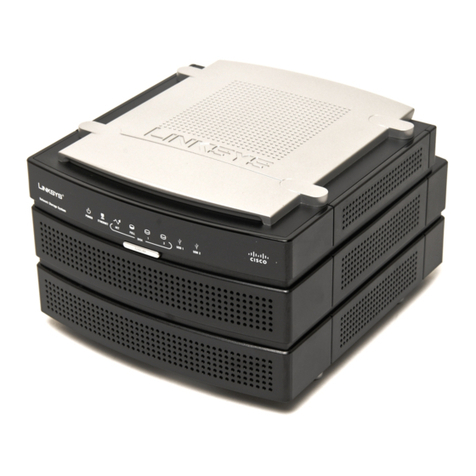
Synology DiskStation DS213j User manual

Synology DiskStation DS213j
Quick Installation Guide
Synology_QIG_2B
ay_20130218

2
Table of Contents
Chapter 1: Before You Start
Package Contents .............................................................................................................................................................. 3
Synology DiskStation at a Glance.................................................................................................................................... 4
Safety Instructions .............................................................................................................................................................. 5
Chapter 2: Hardware Setup
Tools and Parts for Hard Disk Installation....................................................................................................................... 6
Install Hard Disks................................................................................................................................................................ 6
Start up your DiskStation................................................................................................................................................... 8
Chapter 3: Install DiskStation Manager
Install DSM with Web Assistant........................................................................................................................................ 9
Install DSM with Synology Assistant.............................................................................................................................. 10
For Windows...................................................................................................................................................................... 10
For Mac OS X.................................................................................................................................................................... 12
For Linux ............................................................................................................................................................................ 12
Learn More ........................................................................................................................................................................ 14
Appendix A: Specifications
Appendix B: LED Indication Table

3
Chapter
1
Chapter 1: Before You Start
Before you start setting up DiskStation, please check the package contents to verify that you have received the
items below. Please also read the safety instructions carefully before use to prevent your DiskStation from any
damages.
Package Contents
Main Unit x 1 AC power cord x 1
AC power adapter x 1
RJ-45 LAN cable x 1
Screws for hard drives x 10 Screws for fixing the Synology case x 3 Installation disc x 1

4 Chapter 1: Before You Start
Synology DiskStation at a Glance
No. Name Location Description
1) LED Indicators Front Panel
The LED indicator is used to display the status of the internal disks and the
system. For more information, see "Appendix B: LED Indication Table" on Page
16.
2) Power Button Front Panel
The power button is used to turn Synology DiskStation on or off.
To turn off Synology DiskStation, press the power button and hold it until you
hear a beep sound and the Power LED starts blinking.
3) Fan Back Panel The fan is built to exhaust waste heat out of Synology DiskStation. If the fan is
malfunctioning, the system will beep every 2~4 seconds.
4) USB Ports Back Panel The Synology DiskStation offers USB ports for adding additional external hard
drives, USB printers, or other USB devices.
5) RESET Button Back Panel 1.To restore IP, DNS, passwords for the admin account to default value.
2.To reinstall the Synology DiskStation.
6) LAN Port Back Panel The LAN port is where you connect RJ-45 cable to Synology DiskStation.
7) Power Port Back Panel The power port is where you connect the AC power adapter to
Synology DiskStation.

5 Chapter 1: Before You Start
Safety Instructions
Keep away from direct sunlight and away from chemicals. Make sure the environment does not
experience abrupt changes in temperature or humidity.
Do not place the Synology product close to any liquid.
Before cleaning, unplug the power cord first. Wipe Synology product with damp paper towels. Do
not use chemical or aerosol cleaners to clean it.
Do not place the Synology product on a cart, table, or desk, which is not stable to avoid the
product from falling over.
The power cord must plug in to the right supply voltage. Make sure that the supplied AC voltage
is correct and stable.
To remove all electrical current from the device, ensure that all power cords are disconnected
from the power source.
Risk of explosion if battery
is replaced with an incorrect type. Dispose of used batteries
appropriately.

6
Chapter
2
Chapter 2: Hardware Setup
Tools and Parts for Hard Disk Installation
A screwdriver
At least one 3.5” or 2.5” SATA hard disk
(Please visit www.synology.com for compatible hard disk models.)
Warning: If you install a hard disk that contains data, the system will format the hard disk and erase all data. If you
need the data in the future, please back it up before installation.
Install Hard Disks
1 Push the upper case in the direction as shown below. Lift the upper case and set it aside.
2 Install the hard disk:
For 3.5" Hard Disk: Slide the hard disk into the hard drive bay, and push it all the way until it is connected
to the SATA connector. Secure the hard disk with the provided screws.
For 2.5" Hard Disk:
a Place the hard disk in the 2.5" Disk Holder (Type C, sold separately), and then tighten the 2.5" screws to
secure the hard disk.