5| 49er Mast Users Manual
Attaching Stays
Please note: e T bars on rigging need to be “long
neck”T Bar hooks, otherwise you will not fit these in
the mast correctly.
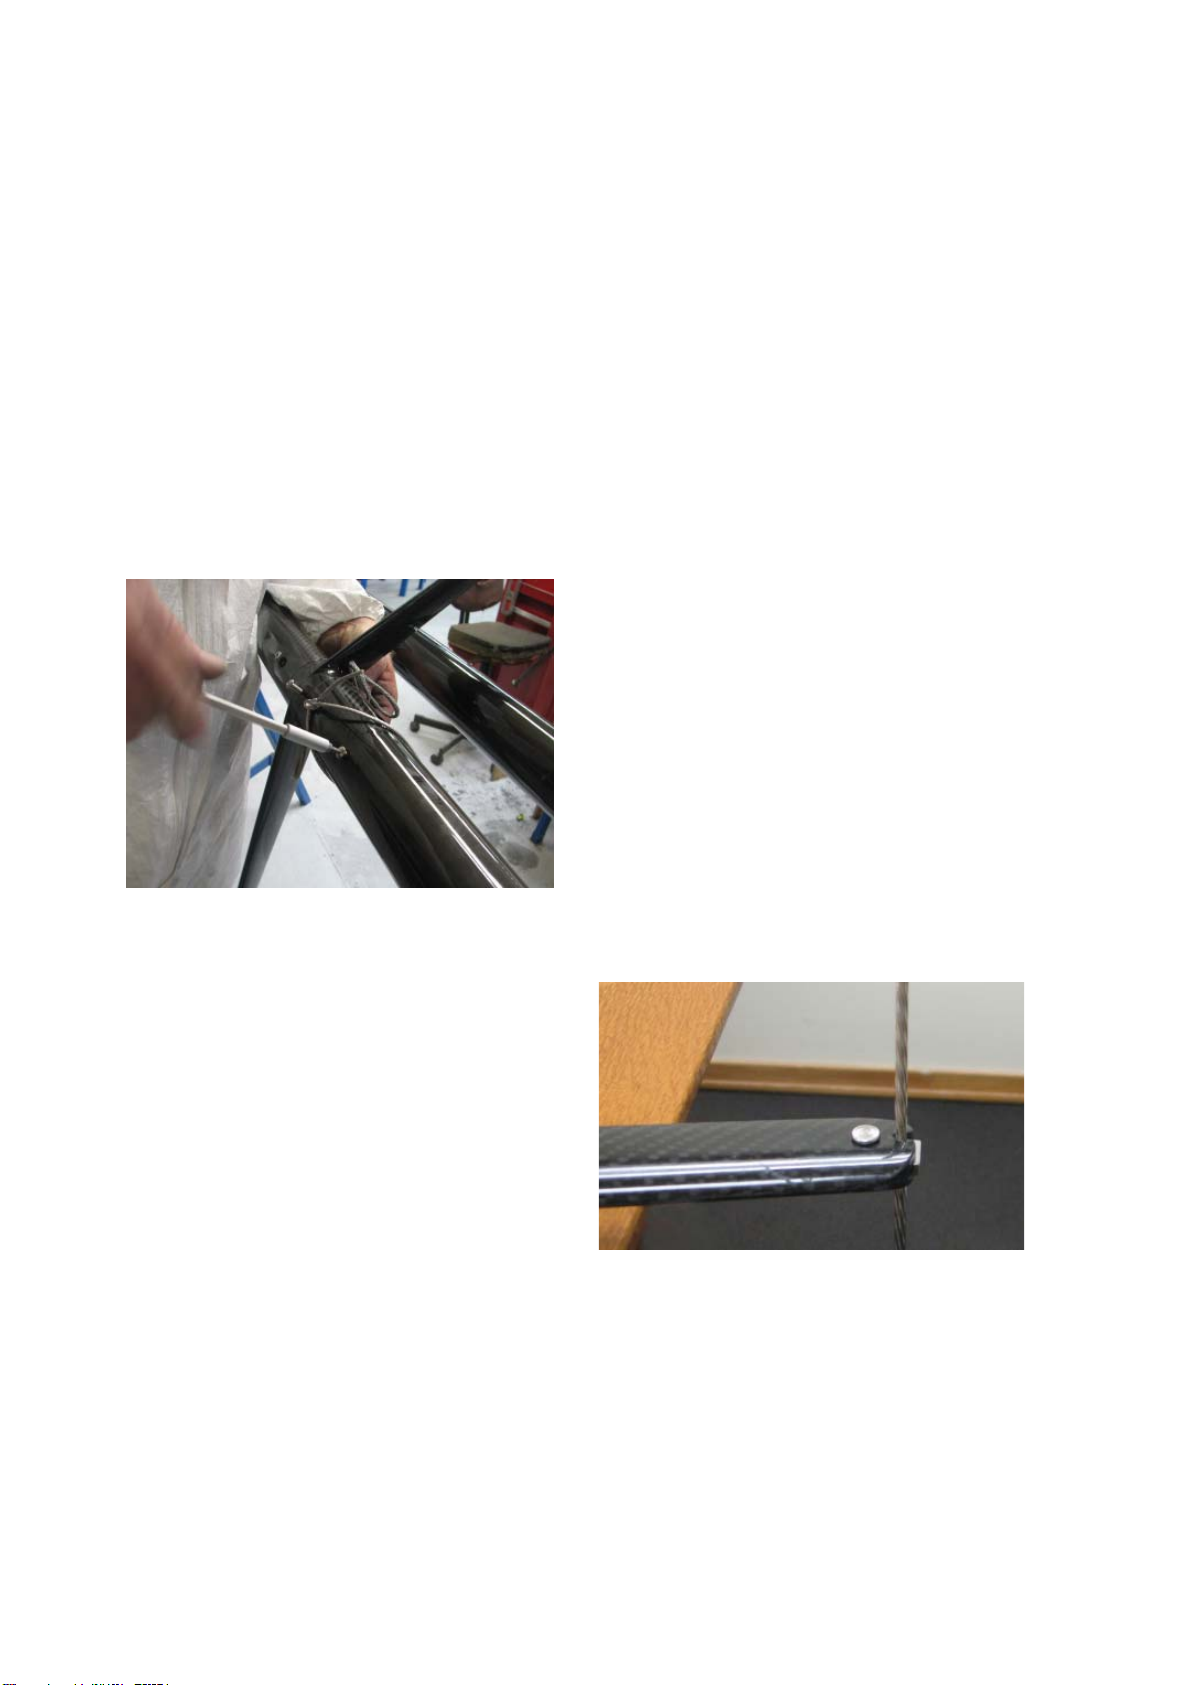
Fit one end of one of the uppers (stays with eyes on
both ends) onto the uppers bolt making sure there is
a washer on each side between the mast and upper
stays. en bolt through mast, ensuring the gennaker
halyard is in front of the pin and the main halyard is
behind the pin. Fit the second upper stay and tighten
uppers bolt. Remove the clevis pins and retainer
stay plates from the outer ends of the top spreaders.
Place stay into hook, then refit stay retainer back into
spreader with the hook opening facing forwards.
Next fit the shrouds by inserting the T-bar end of
the stay in the mast. is should be inserted just
beneath the top spreader. Remove the clevis pins and
retainer stay plates from the outer ends of the bottom
spreaders. Place stay into hook, then refit stay retainer
back into spreader with the hook opening facing
forwards.
Fit the forestay to the mast by inserting the forestay
on the front of the mast just above the top spreader.
Fit the lowers in the bottom section.
Before putting the rig up, perform a final check,
confirm that all fittings are attached correctly, nuts are
tightened, and that all clevis pins and sharp pieces are
taped.
NOTE: Under Class rules, the mast sections and
spreaders must be able to come apart for measurement
purposes.
Attaching Trapeze Lines
When attaching the trapeze lines to the Dynex loops
at the top spreader, make sure both trapeze lines go
through both loops.
Do not attach one trapeze line to one loop, then the
other trapeze line to the other loop – both trapeze
lines need to be through both loops.
To join the mast together, slide the top spreader
(spreader with Dynex loop on) over the join at the
top of the midsection. Fit locating screw. Slide bottom
spreader over join at the bottom of the midsection. Fit
locating screws.
Now align the spreaders with the mastbase, making
sure that the sail track is aligned. Once aligned, tightly
fasten locating screws.
When attaching the spreaders and joining the mast
sections make sure that the joins butt up against each
other. e angled cuts are done at exactly 22.5%.
If you are to fit a replacement to your rig and it doesn’t
accurately align, lightly sand the join of the mast and
use a small rats tail file in the fastening hole so the
screw doesn’t pull the mast out of alignment.
Joining the Mast
e top join has two locating screws and the bottom
join has three screws. ese screws should be done up
tightly with the curved washers underneath, located
correctly on the mast.