Signature SIG100-97 User manual
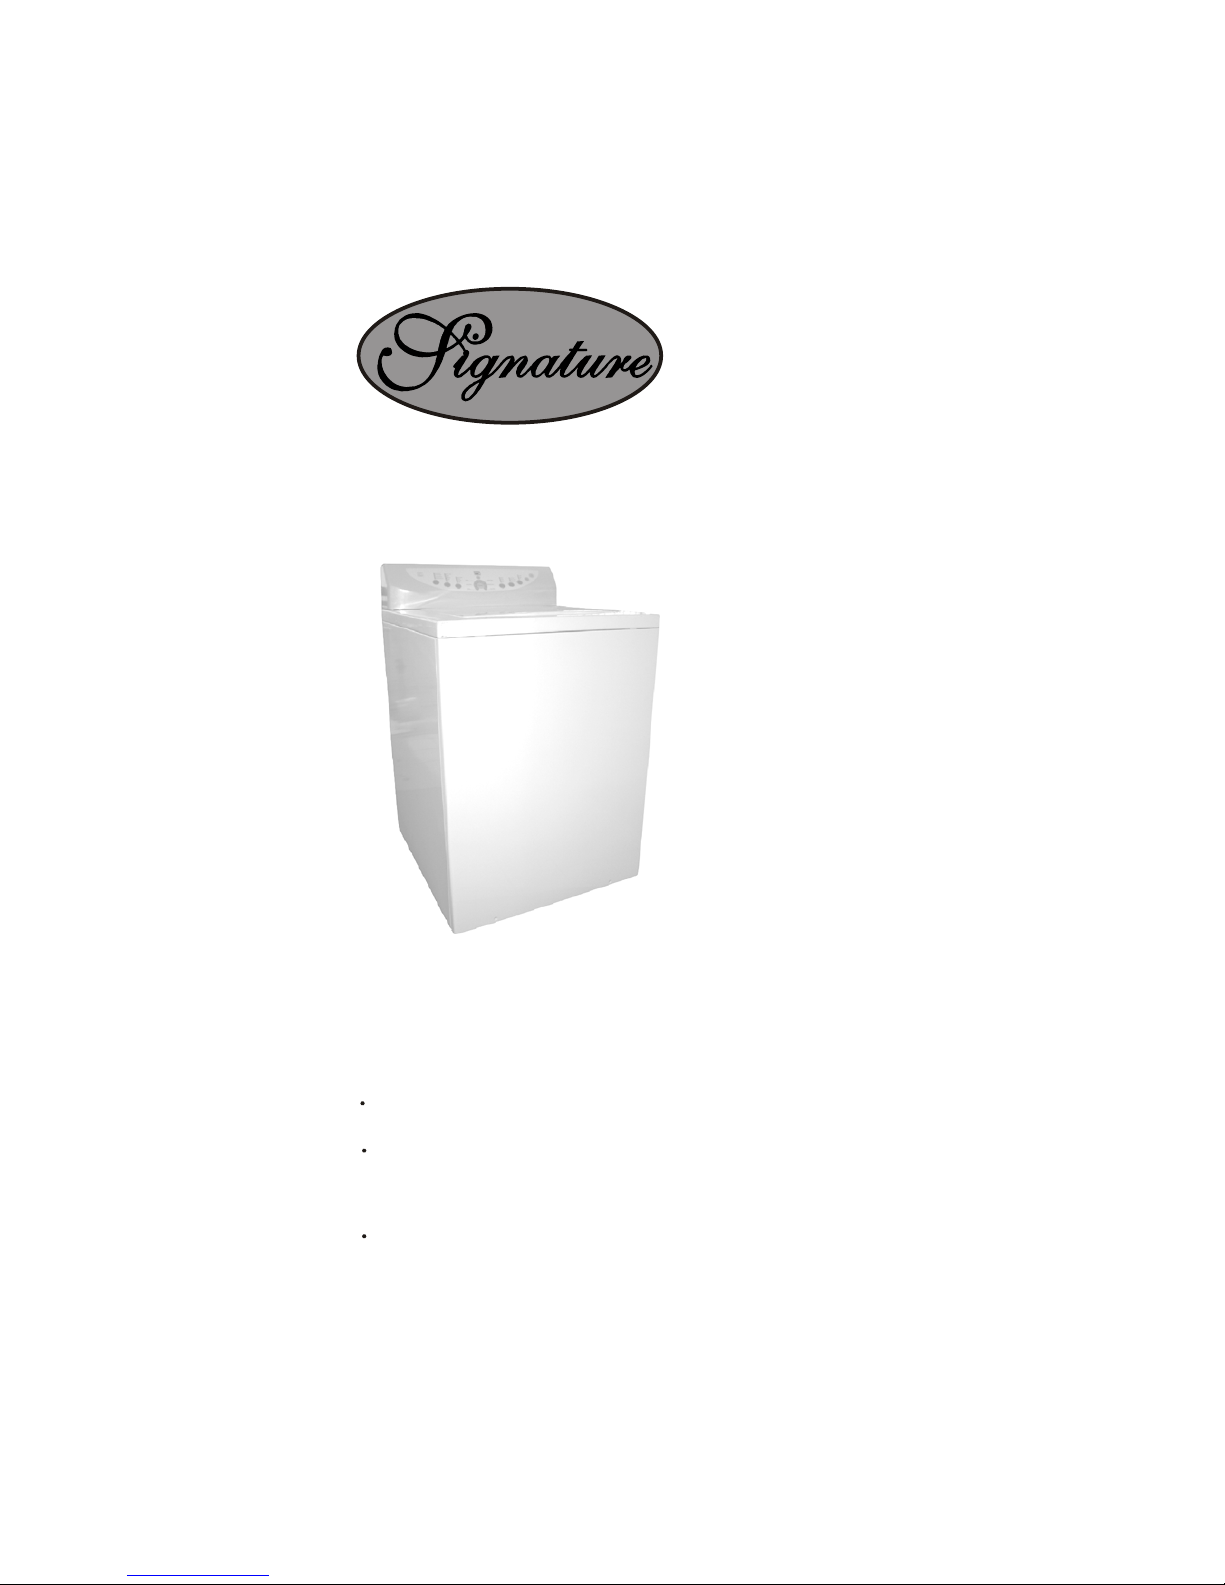
SIG100-97
Automatic Washing Machine
Please read this manual carefully before use.
Please retain it attentively for future reference.
Please check if the power receptacle is earthed
reliably before usage to guarantee your safety.
The manufacturer is not responsible for any
risks occurred owing to disobey these
stipulations.

Contents
Names of parts 1
Safety precautions 2
Installation and adjustment 4
Preparation before washing 6
Put in the laundries 7
Usage of the detergent 7
Usage of the operation buttons 8
Close the top lid 14
Finish washing 14
After the washing 15
Trouble shooting answer to question 16
Packing list 17
Specification the back cover
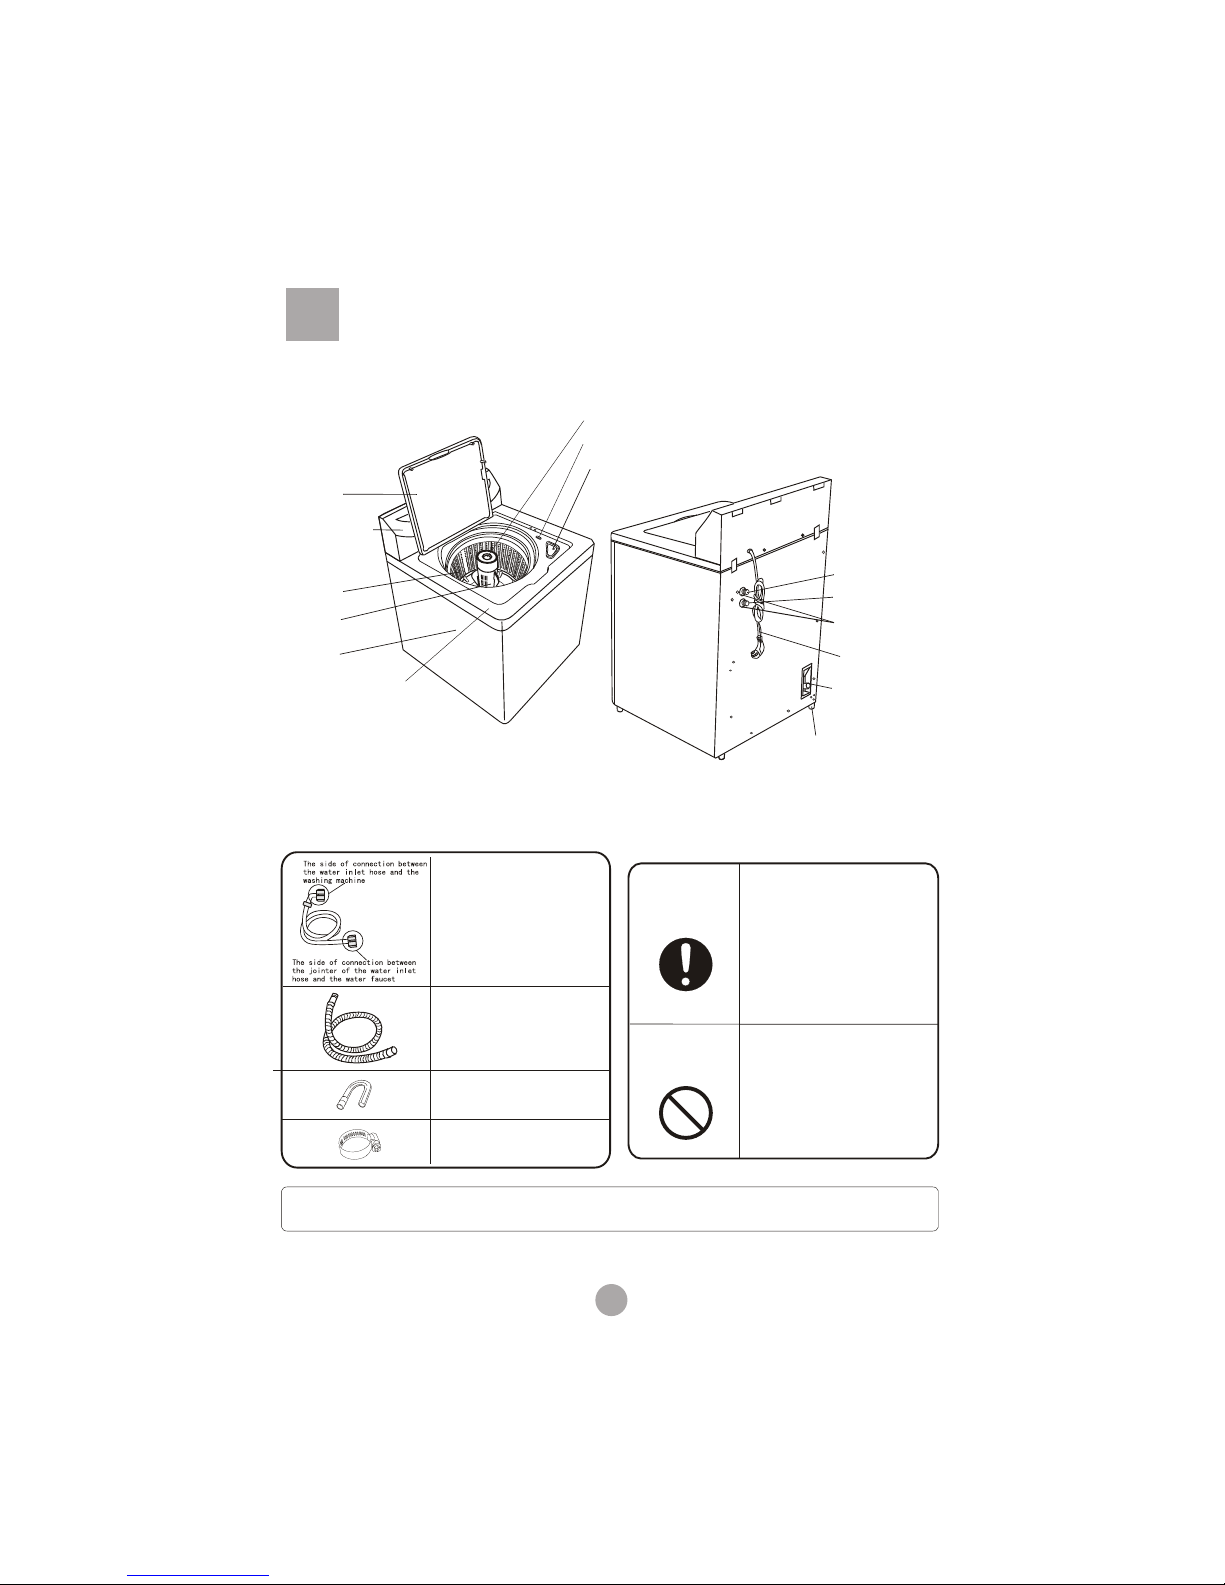
Names of the parts
1
Softener injection inlet
Bleach injection inlet
Adjustable feet
(4)
Cabinet
Control panel
Control panel seat
Inner tub
Top lid
Power line
Cold water inlet valve
Water absorption cushion
Door switch
Agitator
Drain hose joint
Hot water inlet valve
Meaning and description of the symbols
Water inlet hose
(2)
Outer drain hose component
(1)
Drain hose clamp
(1)
Drain hose hook
(1)
Warning sign
Forbidding sign
Contents marked with that symbol
are related to the safety of the
product and the personal safety
of the users. Please operate in
strict conformity to the contents,
otherwise it may cause damage
of the machine or injure the
personal safety of the user.
Contents marked with that symbol
are actions forbidden to perform.
Performing of those actions may
result in damage of the machine
or injure the personal safety of
the user.
Accessories
Please understand theshapes of thewashing machine andaccessories may be different
from the sketchfigures in this manual due to product improvement.

Safety precautions
2
Do not put the machine at damp place like the bath
room. Never wash it with water.Not put wet laundries
on the control panel.
Do not let the machine share one receptacle
with other electric appliances. If the power
plug is damaged, or the plugging into the
receptacle is loose, do not use the plug any
more.
Do not wash water-proof laundries like
the raincoat, bike covers etc. to avoid
abnormal vibrations in spinning.
Please insert the power cord into special three
-phase receptacle.The earthing terminal of the
receptacle must be earthed reliably.If possible ,
please adopt electric leakage protector.
Do not bend ,extend,twist,bind by force.Do not press or nip it with weight.
Keep the pin of the power plug clean,if the power plug is polluted with dust,please wipe
with dry cloth carefully.
If the power cord or the power plug is bad, to avoid risk it is required to have it replaced
by the technicians of our special shop or the after-sale service department.
The power cord plug should be convenient
to be pluged in or pluged out with hand
while the washing machine runs normally.
Be sure to pull the plug out and close the
water tap when the machine is idle,when
moving the machine,or when cleaning
the machine.Do not use wet hand to ins-
ert or pull out the power plug.
Do not use water hotter than 60
In case the washing machine is installed on ground
with carpet, be careful not to block the ventilation hole
with carpet.
Earth

Safety precautions
3
Do not decompose, repair or alter the
machine by yourself.
Do not stretch hands into the working
machine. It is dangerous even if the
rotation is slow. Take special care of
the children.
Do not put any hot or heavy items (such
as the kettle with hot water ) on the
washing machine.
The handicapped or children without
care shall not use the machine.
Keep the machine away from direct
sunlight and heat source like the heater.
Petrol
Thinner
Do not wash laundries with volatile
materials (such as thinner, petrol etc.)
To prevent your laundries and washing
machine from damage,be sure to take
out all of the foreign materials from your
pocket,such as coins,buttons,sand or
hair pins etc.
Before washing,please check if the water
tap is open ,and if the water inlet pipe is
connected properly.
It is suggested to use low-foaming was-
hing powder

Installation and adjustment
4
Adjust the installation position
The largest allowed slope of the base of the machine is 2 . The slanting or rough
ground will result in unstable running or stoppage of the machine. Please adjust
it with following methods:
Confirm it's horizontal:
Hang the lead line to confirm
if it is horizontal.
Adjust the adjustable foot:
To twist the adjustable foot, please first lift up
the side of the foot slightly, and twist the foot.
.
High Low
Adjustable foot
Install the drain hose
Drain hose joint
Drain hose clamp
Drain hose
Put the drain hose clamp on the outer
drain hose, insert the outer drain hose
into the joint, and then clutch tightly
with drain hose clamp.
Usage of the drain hose
The drainage shall be smooth with the drain hose.
1.put the drain hose up to suitable position.
2.Do not step on or press the drain hose.
1.0m-1.5m

5
Install the water inlet hose
2. Connect the hot and cold water inlet hoses to the hot and cold
water faucet.
3. Connect the other ends to their respective cold and hot water inlet valve
located at the rear of the washer
Hot water needs to be at a temperature of at least 120 F- 140 F.
(49 C-60 C)for the soap to dissolve and to avoid soap residue
remaining on clothes.
Note:
C
H
Water absorption cushion
Jointer of the water inlet hose
Jointer of the
water inlet valve
C
H
Check the connection between the water inlet
hose and the water tap
1.Swaying the hose gently to confirm if it is fastened
stable.
2.After installation, open the tap to check if it leaks.
3.Do not bend the hose with overstrain.
4.Before each usage please check if the connection
between the water inlet hose and the water tap, is firm,
so as to prevent dropping from improve Installation
position.
1.Close the water tap.
2. Pull off the water inlet hose from the water tap and washer
Take down the water inlet hose
Figure 1
Figure 2
1. ttach the water inlet hoses to the hot water faucet and the cold
water faucet. Using pliers, tighten the coupling. ( As figure 1)
NOTE: Do not over tighten. Damage to the
valves can result.
Respectively a
6
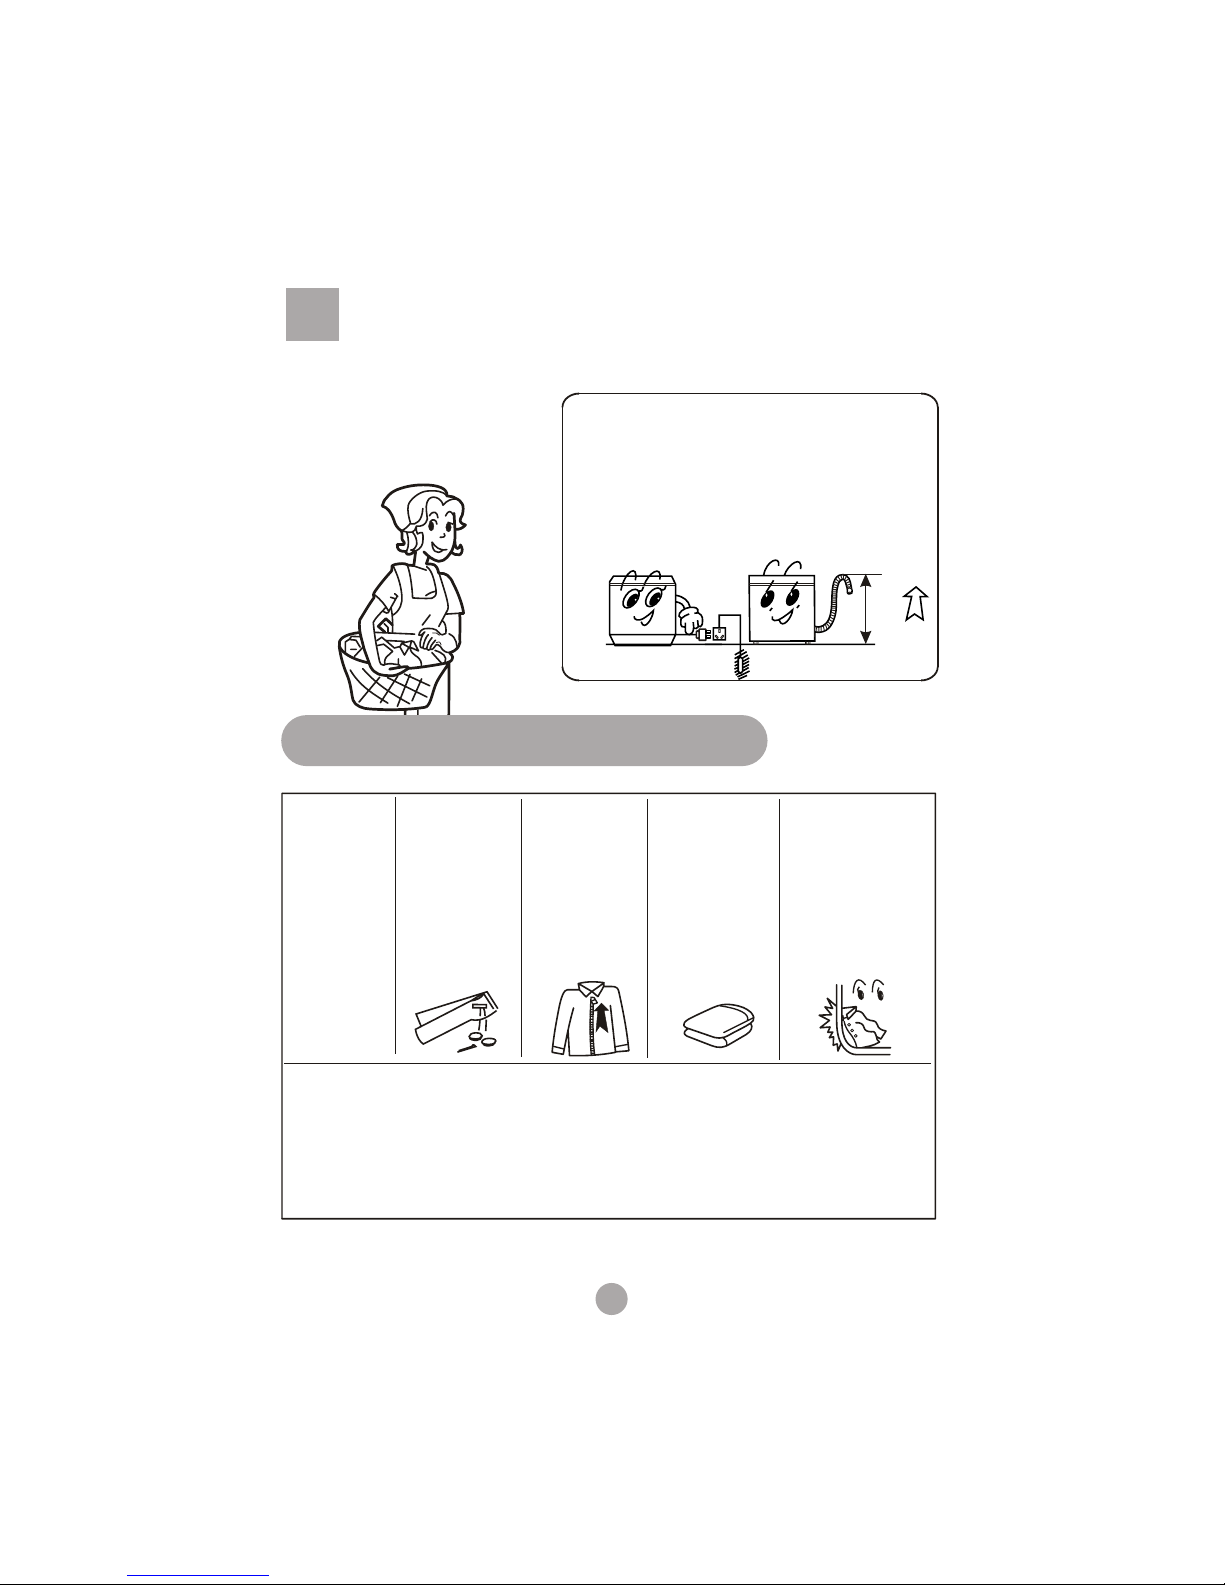
Preparation before washing
1.Connect the water inlet hose. Open the water
faucet.
2.Confirm that the washing machine is earthed
reliably. Then insert the power plug into the
receptacle. The earth terminal shall not link to
gas pipeline and faucet water pipeline.
3.Put the drain hose up.
Pay attention to followings before washing the laundries
1.0m~1.5m
Confirm if
there's special
requirment for
the laundries.
Clear the pocket.
Take out the
coins , sand,
hairpins etc.
Fasten the
buttons and
zippers.
When the pulsator
is running , the
buttons of the
laundries may
cause noise. For
the sake of
carefulness,please
put the laundries
with buttons into
other laundries.
The big laundries
like the jeans
shall be put in
loosely.
a.Please check if the laundries are applicable for washing.
b.Separate those not colorfast from other laundries.
c.For laundries not water absorbing,please put them into water with hands.
d.For laundries with much soil,please remove the soil first.You can add detergent on the
part with serious soil directly.It is much easier to remove the soil by that mean.
e.For laundries likely to get lint ball or with long fiber,please first turn the inside out before
putting them into the water.
f.Do not put the laundries polluted with chemicals directly into the washing machine.
Preparation before washing
7
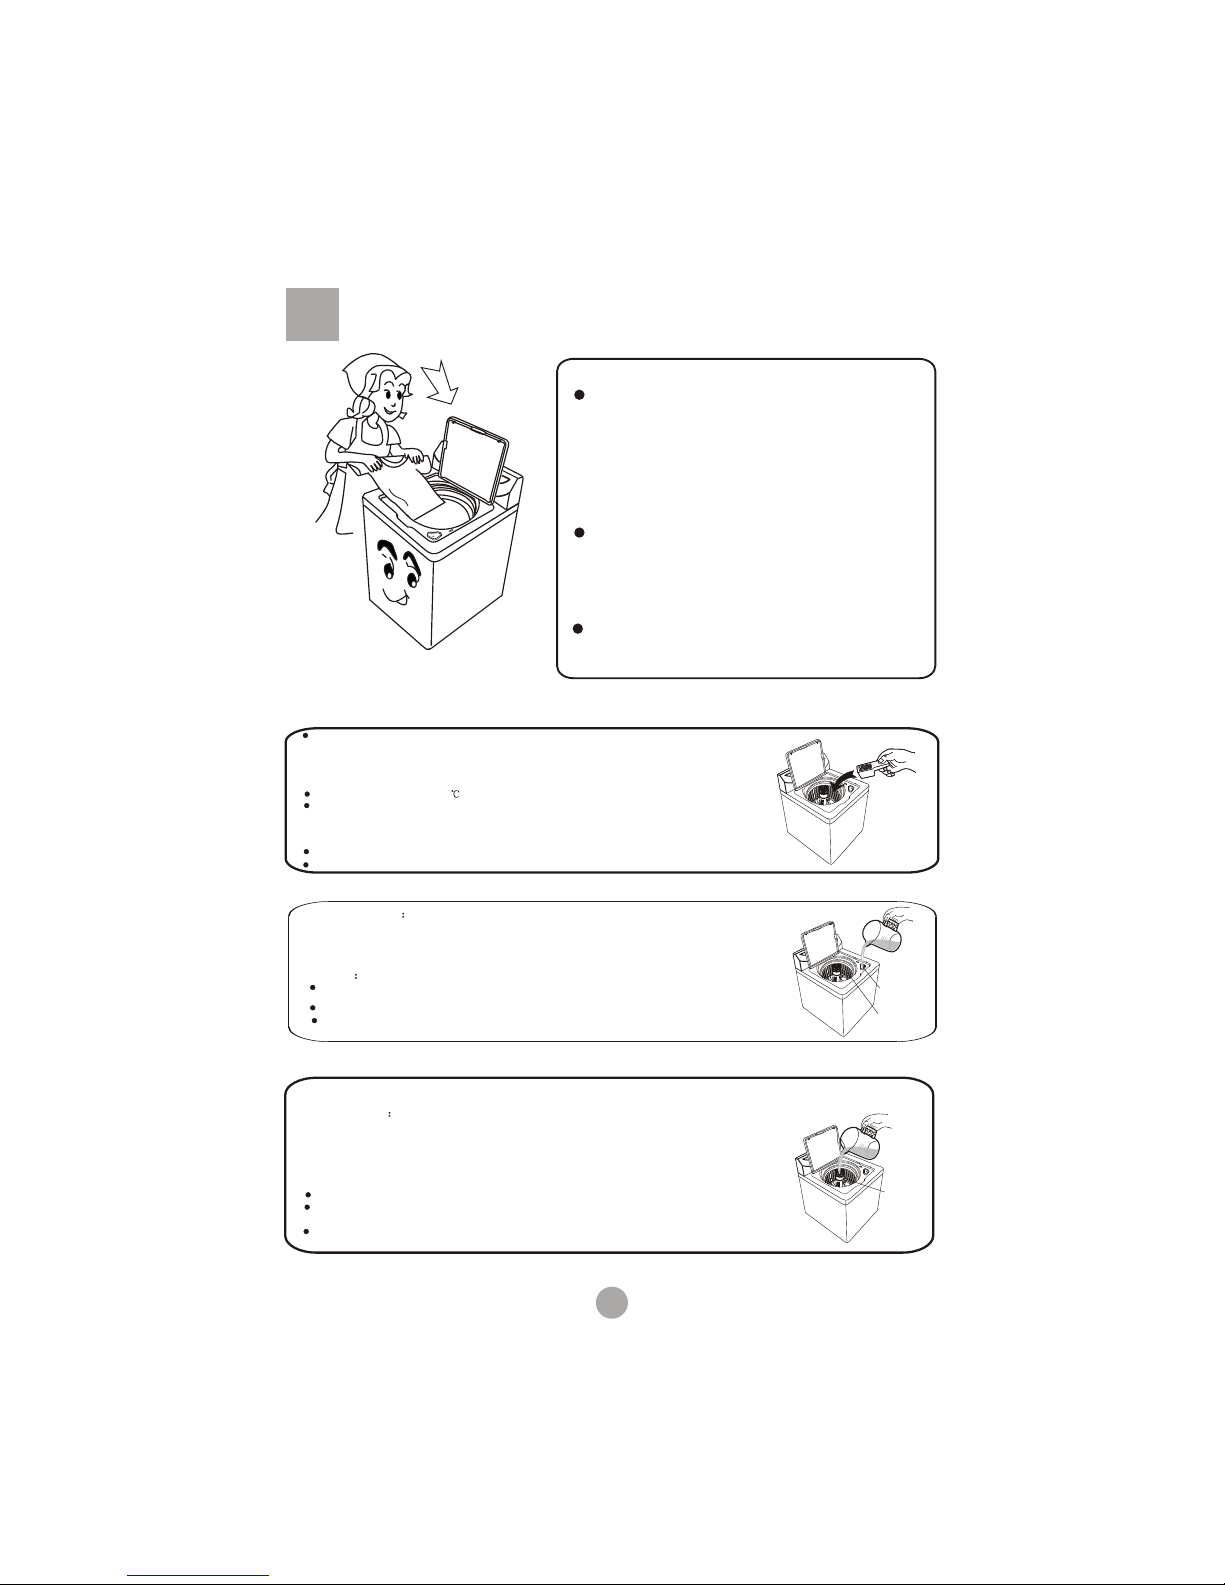
Put in the laundries
The capacity of washing and spinning of the
machine refer to the largest weight of the
standard laundries under dry condition that
can be washed or spined in one time. Lau-
ndries quantity in one washing cycle shall
be lower than the rated capacity. The larg-
est capacity of this machines is 8.5kg.
The thickness, size, type of the cloth will
influence the actual washing capacity. It
is suitable to put in reasonable amount of
laundries and the laundries can be turned
round in washing for one time washing.
Do not select high water level for laundries
less than 4.0kg, so as to avoid splashing
of water.
Usage of detergent
Do not pour powdered bleacher into bleacher dispenser.
Never pour undiluted liquid chorine bleacher directly onto clothes or int
the inner tub.
Procedures
1.Check clothing care labels for special instructions
2. Measure liquid bleacher carefully, following instructions on the bottle.
How to use the washing powder
Direct dissolved in the machine
1.Fill water to "1" water level.
2.Add the power. Run for 30 seconds to dissolve it completely.
3.Put in the laundries. Select suitable water level.
The instant dissolving of the washing powder:
1. Prepare warm water of 30 and a container.
2. Add the powder while stirring to fully dissolve it.
The powder is more prone to pollute the laundries than the detergent.
Therefore please use it with proper quantity.
It is suggested not to use high sudsing detergent.
Different washing powders have different dosage. Please refer to the usage
manual of the washing powder for the details.
How to use the liquid bleacher
Washing powder
3. Before starting the washer, pour measured amount of bleach directly int
bleach dispenser. Avoid splashing or over-filling dispenser.
Note
Bleacher
Bleacher
dispenser
Inner tub
Do not mix chlorine bleacher with ammonia or acids such as vinegar and/or
rust remover. Mixing can produce a toxic gas which may cause death.
How use the fabric conditioner
Fabric conditioners help make clothes softer and fluffier and reduce static so that
clothes do not cling to you when you are wearing them.
Fabric
conditioner
Agitator
Procedure
1. Carefully follow the instructions on the fabric conditioner bottle or packet.
2. Mix conditioner with an equal amount of warm water but only mix enough to
fill to the line marked inside the cup.
4. Pour the mixed conditioner into the cup in the top of the agitator. The
conditioner will automatically be dispensed before the deep rinse cycle
Note:
Do not spill the conditioner onto the clothes because it may stain them.
Do not overfill the cup in the top of the agitator because the conditioner
may mix with the detergent and stain your clothes.
Do not stop the washing machine during the spray rinse cycle when using
a fabric conditioner.

8
Fabric
conditioner
Explanation of Buttons
Indicator mode and meaning
The indicator is off, indicating that the
program or mode is not selected
The indicator is on, indicating the program
or mode selected and about to run
Heavy
Duty
For setting, changingwater level and manually
replenishing water.Water levels may be set at
beginning or pause.
Speed wash/spin button
Soil level button
Cycles button
Select following six automatic programs
with the button
Delay/Start button
During no delay, the Delay/ Start indicator is
off, the remainingtime indicator is on, and
the nixie indicatordisplays the non-delayed
cycle remaining time.
Whites
Normal/Fast
Normal/Slow
Delicate/Fast
Delicate/Slow
Speed
Stain Wash
Heavy
Normal
Light
Load Size
Soil Level
Time Remaining
Cycles
Normal
Heavy Duty
Whites
Program
Washing the bigger, thicker or
heavier dirty laundries
Normal Common washing
Quick
wash Quick washing of the light dirt
laundries
Delicate
Casual Washing the woollen textile
or underwear
Hand
Wash Toimitate hand scrub
washing effect
Washing the cotton textile
Pushing the button to select the reserve washing
time from 2 hour to 24 hour.
During Soak, Wash or Rinse, press this button
to manually replenishwater and release it to
stop. But thisfunction is disabled when water
reaches overflow protectionlevel.
Wash/spin
For selecting clothessoiled degree.
Wash cycle increases 2 minutes for a
next higher soileddegree and decreases
2 minutes fora next lower soiled degree.
Push the button to select the spinning speed
S when program is
normal or delicate casual.
elect the spinning speed
Usage of the Operation Buttons
Time On
Delay
Start
Flashing Normal running mode
This manual suits for next models
1
Table of contents
Other Signature Washer manuals


Popular Washer manuals by other brands

Tricity Bendix
Tricity Bendix AW 1000 W Operating & installation instructions

Panasonic
Panasonic NA-F60L5WRB operating instructions

GE
GE WSLP1500 Dimensions and installation information

Electrolux
Electrolux EWF1284EDW Service manual

Bosch
Bosch WAN2829BSN User manual and installation instructions

LG
LG TV2516DV3B owner's manual


