SEM 266 Series User manual

SECURITYENGINEEREDMACHINERY
~-~~~..,.~. -.~. .
Pleaseread this manual carefully. It will answer all your questions
regarding installation, operation and trouble-shooting.
IMPORTANT:
Be sure to adhere to all safety suggestions listed
Order on-line GSA Customers www.fedshred.com
Commercial Customers www.semshred.com
THE WORLD LEADER IN DOCUMENT AND SENSITIVE WASTE DESTRUCTION
SOLUTIONS
_SHREDDERS. DISINTEGRATORS. SECURITY WASTE
~ CONTAINERS. DEGAUSSERS
- z - 5 Wa~ Drive .Westboro,MA01581

READ CAREFULLY BEFORE USING
Proper care of your new paper shredder will ensure many years
of trouble free operation, with a minimum of maintenance or repair.
CAUTION: Before operating the shredder, remove the red shipping tabs and screws. These
should be retained in case of re-shipping needed, to avoid damages. These are located in
two areas: Front panel inside door (2 screws, 2 washers and 2 red tabs) Cutting head open-
ing, above waste basket (2 screws, 2 washers and 4 red tabs)
Content. . . . . . . . . . . . . . . . . . . . . . . . . . . . . . . . . . .Page No.
Installation and Operation 3
Feeding and Overloading. . . . . . . . . . . . . . . . . . . . . . . . . . . . . . . . . . . . .3
Maintenance. . . . . . . . . . . . . . . . . . . . . . . . . . .. . . . . . . . . . . . . . . . . . . .4
Specifications. . . . . . . . . . . . . . . . . . . . . . . . . . . . . . . . . . . . . . . . . . . . . .5
Ordering and Optional Spare Parts 5
Micrographics Tip 5
Machine Frame Diagram and Parts Breakdown. . . . . . . . . . . . . . . . . . .6-7
Cabinet Diagram and Parts Breakdown. . . . . . . . . . . . . . . . . . . . . . . . .8-9
Cutting Head Diagram and Parts Breakdown. . . . . . . . . . . . . . . . . . .10-11
Electrical Diagram and Parts Breakdown. . . . . . . . . . . . . . .. . . . . . . .12-17
Covers Diagram and Parts Breakdown. . . . . . . . . . . . . . . . . . . . . . . .18-19
AdditionalSEMProducts 20
CUSTOMER SERVICE
Fax:508-366-6814
Email: [email protected]
Security Engineered Machinery
P. O. Box 1045
Westboro, MA 01581
Tel: 800-225-9293
Website: www.semshred.com
Order On-line:
GSA Customers
Commercial Customer www.fedshred.com
www.semshred.com
,
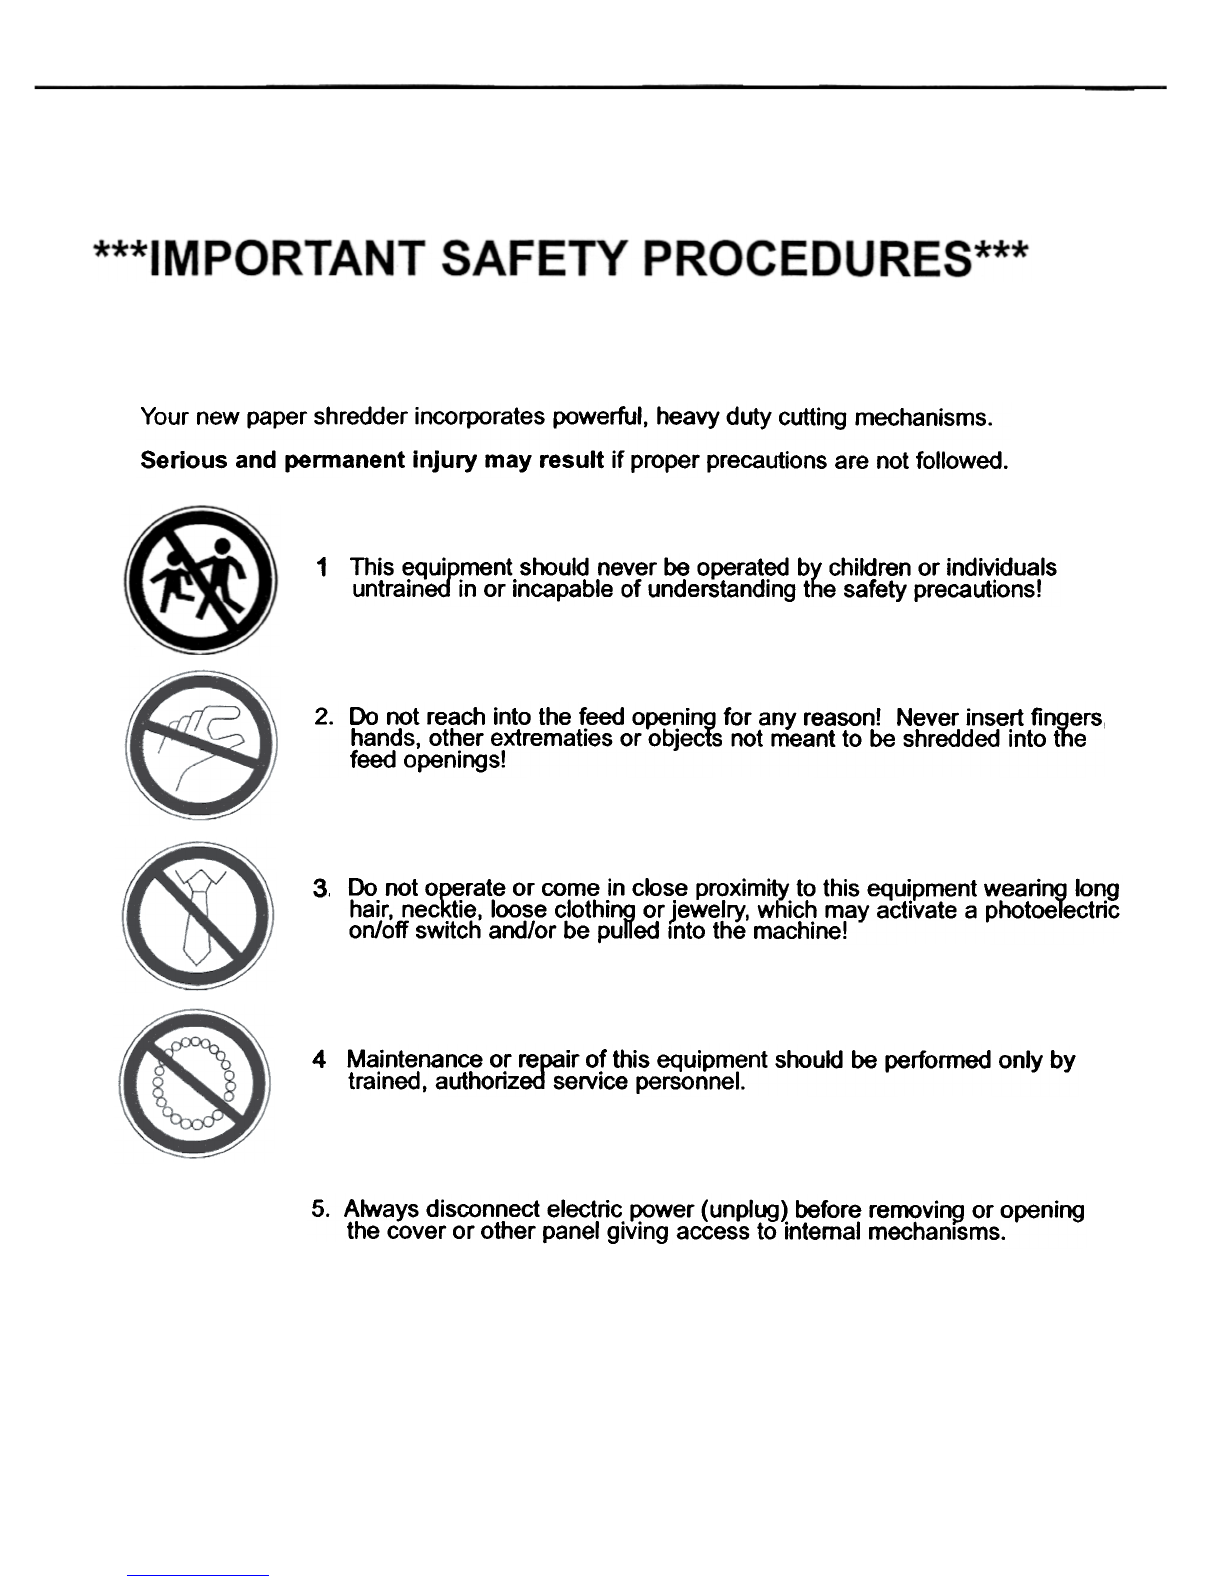
Yournew paper shredder incorporates powerful, heavy duty cutting mechanisms.
Serious and permanentinjury may result if proper precautions are not followed.
This equipment should never be operated by children or individuals
untrained in or incapable of understanding the safety precautions!
1
2. Do not reach into the feed o~ning for any reason! Never insert fingers,
hands, other extrematies or objects not meant to be shredded into the
feed openings!
3. Do not operate or come in close proximity to this equipment wearing long
hair, necktie, loose clothing or jewelry, wf1ich may activate a photoelectric
on/off switch and/or be puned Into the machine!
4Maintenance or repair of this equipment should be performed only by
trained, authorized service personnel.
5. Always disconnect electric power (unplug) before removing or opening
the cover or other panel giving access to internal mechanisms.

The Model 266 must be installed in a room equipped with 120V/1/60HZ,dedicated electrical service.
The shredder is equipped with a (3) three prong plug on the power cord. The shredder must be
operated on a dedicated 20 Amp circuit to assure adequate power for the shredder controls.
Openthe cabinet door by pulling the handle on the upper right comer. Pull the waste container
forward and out of the cabinet. Place a plastic waste bag inside the container,folding the excess
over the sides. Remove shipping tabs as described in this manual. Slide the container back into
the cabinet. Lubricate the cutters as described in the lubrication section of this manual.You are
now ready to start shredding.
The Model 266 Shredder features automatic on/off for simple and convenient operation. Simply insert
paper into feed opening, the electronic sensor turns shredder on. Once paper has passed through the
cutting head, there will be a 3-4 second waiting period, the machine will then shut itself off.
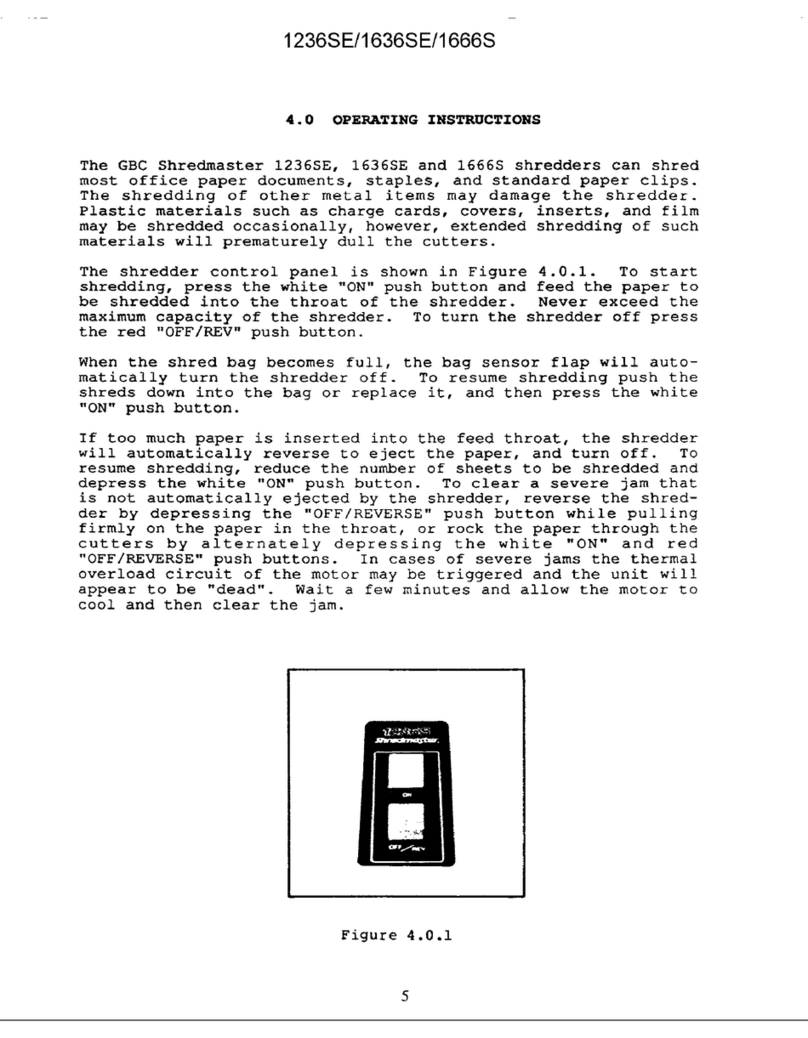
The shredder can also be operated manually usingthe 'start', 'stop' and 'reverse' pushbutton controls.
1. Green 'start' pushbutton -when this is pressed, the shredder is turned on and ready to
shred. A green light will come on to indicatethat the shredder is running in the forward mode.
2.Red'stop'pushbutton-whenthis is pressed,the shreddingunitstops.
3. Yellow 'reverse' pushbutton - when this is pressed and held down, the cutting head will run
in reverse. The reverse is used when cleaning the cutting unit, and also to clear jammed
material should the machine be over fed.
FEEDING
Tostartshredding,simplyinsertpaperintothefeedslotor pressthe 'start'pushbutton.Beginbyfeed-
ingoneor two sheetsof paperintothecuttingunit.Graduallyincreaseamountof paperupto a maxi-
mumof 11sheetsatatime.Thisprocedureallowstheoperatorto becomefamiliarwithbasicopera-
tiontechniques,andwill insureuninterrupted,efficientshredding.Besureto removestaplesand
paperclipsfromthe materialsto bedestroyed.
Should too much material be fed into the shredder, it will switch off automatically. Following a brief
pause, it will automatically run in reverse for a short time after which the material can be easily
removed. Thin out the quantity of material that caused the jam, proceed shredding with smaller
amounts.
3

If the red 'bag full' indicator on the control panel is illuminated, the waste container is full. The shredder
will automatically shut off. To resume shredding, the plastic waste bag must be changed.
If the red 'door open' indicator on the control panel is illuminated, the cabinet door is open and the
shredder will not operate. This is for safety reasons.To resume shredding, simply push the cabinet door
closed.
The shredder is protected against excessive current draw with a built-in circuit breaker. Should the
shredding unit overheat, the thermal overload device will automatically de-energize the machine.
Should this occur, allow a brief cool down period, then press the red reset button on the back of the
machine. When this button stays in without popping out, you are again ready to start shredding.
LUBRICATION
Important: Topreventjammingand/orcloggingtheshredder,it is necessaryto periodicallylubricatethe
cuttingunit.Thefollowingprocedureis simpleandonlytakesabout30seconds.
Foreveryten minutes of continuous shredding, stop shredding and alternately run the machine folWard
and then reverse several times to clear the cutting unit. Using 5EM shredder oil, we recommend squirt-
ing oil onto a piece of paper, using an '5' shaped motion. Too much oil is better than not enough. Feed
the paper into the shredder. Once paper has fed through, run machine in reverse and then in folWard
again. This will allow the oil to distribute over all the cutters. You are again ready to start shredding.
Twotothreepreventative maintenance calls per year are recommended.
Only authorized service personnel should be allowed to service the shredder.
Important:Alwaysunplugthe shredder before performing any maintenance.
If shredding capacity drops or the machine jams easily, clean and lubricate
the cutting system as outlined in the "Lubrication" section of this manual.
Note: If the shredder will not power up. check 80MA 250VAC fuse on the
control circuit board.
For ease of maintenance and repair, the top cover can be easily opened by removing the two screws
on the back of the shredder and lifting the rear of the cover forward. You should now have access to
the control circuit board, where the 80MA fuse is located.
Maintenance Contracts: Check with your SEM sales representative for the maintenance to fit your
needs at 1-800-225-9293.
4

SPECIFICATIONS
Shred
No. of
Speed
Throat
Power
Voltage: 115V/1/60Hz
Controls: Manual or automatic start, stop and
reverse by electronic sensors
Dimensions: 35-1/2- H x 27-1/2-W x 19-1/2- D
Weight: 300 Ibs.
.7mm x 4.2mm
Up to 16 Sheets
40 FPM
13-3/4-
1-1/2 H.P.,@ 20Amps
OnlyuseoriginalSEMsparepartreplacements
Weguaranteetheirqualityandfunctionalreliability
Warrantyclaimson partsand/orservicemustbeapprovedbySEM'sCustomerServiceManager
HINTS FOR ORDERING SPARE PARTS
The spare parts shown on the following pages have part numbers. This spare parts list shows
the following information with respect to the spare parts to be ordered.
. PartNo . Dimensions . Item No.Quantity . Designation
In order to avoid errors and the delivery of wrong parts, each parts order should contain the
following information.
. Machine No. (See nameplate) . Machine Type
. Part No. and designation of desired spare parts . Quantity of desired spare parts
. Desired mode of shipment (e.g. post, freight) . Full address of purchaser
RECOMMENDED SPAREs/OPTIONAL ITEMS AVAILABLE
Replacement Plastic Waste Bags Part No. 640SB130
Shredder Lubricating Oil, Case of 8 pints, Part No. 6490IL8 (manual oiling)
Shredder Lubricating Oil, Case of 16 pints, Part No. 6490IL 16 (manual oiling)
Shredder Lubricating Oil, Case of4 gallons, Part No. 64701L 16 (automatic oiling)
MICROGRAPHICS"TIP"
YourSEM Model 266 Shredder is capable of destroying Micrographic material as well as paper
documents. When shredding Micrographics, follow these tips for best results:
1. Shred Micrographics ONLYwhen machine is cool, such as early in the day.
2. Always oil cutters well before shredding micrographics.Always reverse cutters after shredding
, is completeto cleanthe cuttingunit.Shreddingpaperwith micrographicswill helpto keep
machine clean and also prevent sticking of the micrographics to the cutting unit.
3. After 10 minutes of continuous shredding, stop and allow the machine to cool before
continuing. Avoid shredding for more than 10 continuous minutes at a time. If they are fed into a
hot cutting unit, the micrographics will melt to the cutting head causing severe damage.
4. Feed Rates: Microfiche 1-10 Sheets per Feed
View-Graphs 1-4 Sheets per Feed
Microfilm on Reels 1-12 Film Strips per Feed
Paper Documents 1-12 Sheets Per Feed
5. Useof SafetyGlassesis recommendedwhenshreddingmicrographics.
A
Size:
Sheets
Width:

PARTS
(DIAGRAMS & PART NUMBERS)

1.1'31010
~ 14J 1 011 ._~-~
-"'-"'::::::::::~ ~~ ..~~-~~-"-~ ~
--
01. 247 2101
3 143 1 004 -..'
~
0I. I.13 00 11 ~~II~
~1
04. 11J 13 SJ
01. 113 1351
.

QuantityPart Number
SE31431004
SE41431010
SE41431012
SE41454008
SE041131351
SE042080127
SE042472107
SE044130023
SE041131353
Designation
Frame
Bag Full Flap
Shaft
Motor Shim
Bolt M8x16
Nut M10
CClip
Rubber Mount
Bolt M8x24
1
1
1
2
4
4
2
4
4

,
LPG-! -1832727
.if 1-130003
C- ""---- 04 f~ 00 11 04~' {51'.'
-- 4146 1043
--."04 113135G 1 ~ t~ 1319
O-t-1832:727
04189 00 18
Other SEM Paper Shredder manuals


SEM
SEM 344 Series Quick start guide

SEM
SEM 7050P Quick start guide

SEM
SEM 391 Series User manual

SEM
SEM EMP1000 User manual

SEM
SEM 135/2 Installation and operation manual

SEM
SEM 0201 OMD Quick start guide

SEM
SEM 1324C/3 Quick start guide

SEM
SEM 0300 User manual

SEM
SEM 4140CLK User manual

SEM
SEM 1201CC Quick start guide


Popular Paper Shredder manuals by other brands

Swingline
Swingline STACK-AND-SHRED200X&200XL 60X Start here

GBC
GBC ShredMaster CC055 instruction manual

UNITED OFFICE
UNITED OFFICE UAV 190 A1 operating instructions

UNITED OFFICE
UNITED OFFICE UAV 190 A1 operating instructions

Rexel
Rexel Optimum AutoFeed+ 45X instruction manual

Martin Yale
Martin Yale 227284S1 instruction manual