
Rollei CarDVR-210 User manual
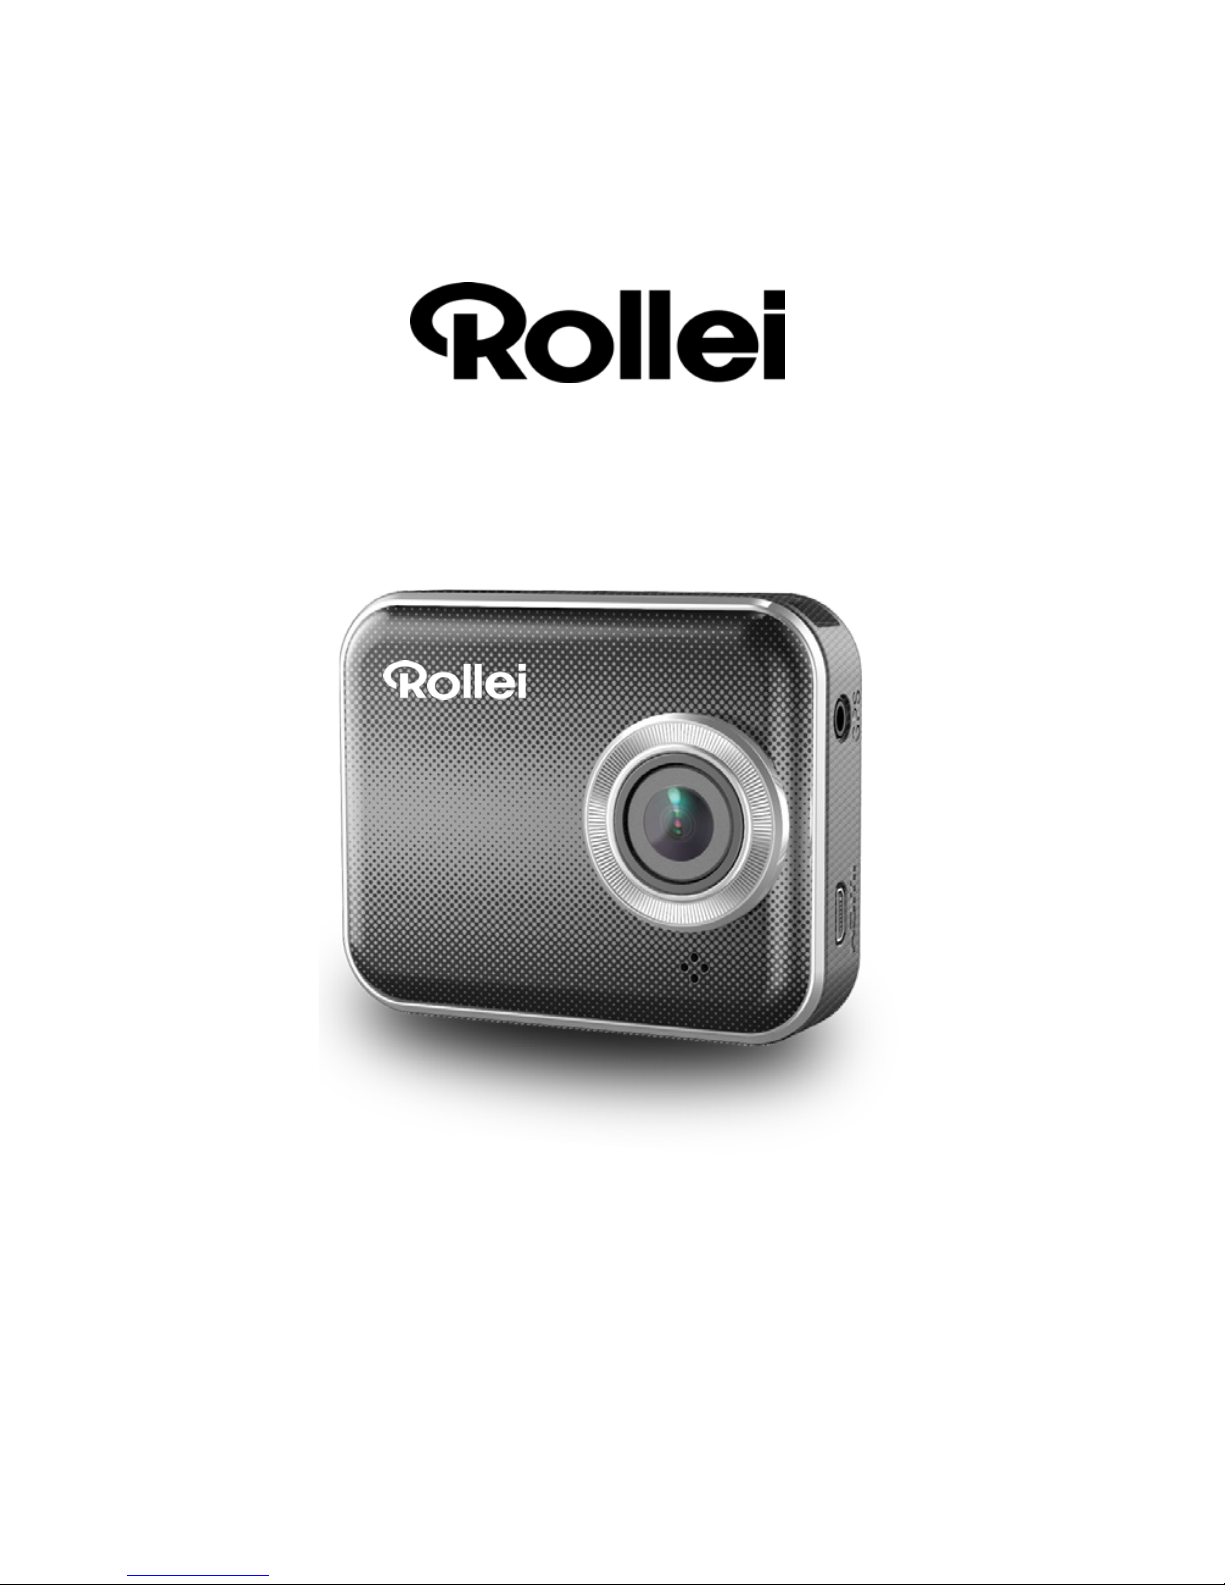
CarDVR-210 WiFi GPS
User Manual

| 1
English
Names of Parts
LCD Panel
Status Indicator
Tripod
Mount
Lens
Emergency Button
Power/Menu Button
Record Button
Micro USB Port
Micro HDMI Port
Speaker
microSD Card Slot
Mic
GPS Receiver Slot

2 |
English
Shooting a Video
1. Power on:
Press to turn on Rollei Car-DVR.
2. Record:
Press to start recording.
Press again to stop.
3. Playback:
Press to enter menu settings.
Press
to select [Playback ].
Press [Play ] to play the video and press [ ] to stop.
Inserting a microSD Card
Before initial use, insert a microSD card.
(suggested at least 4GB, up to 64GB)
Getting Started
microSD card
Charging the Unit
Fully charge Rollei Car-DVR for initial use by:
• Car charger
• PC USB port
• USB adapter
(not included)
During charging, screen shows battery icon or status indicator ashes in
orange
. When Rollei Car-DVR is fully charged, the indicator turns off.
4. Return to preview:
Press [ ] to return.
5. Power off:
Press and hold for 2 seconds.

| 3
English
Rollei Car-DVR Operation
In preview, press to enter menu settings
.
Menu Settings Descriptions
Play recorded videos
Switch between Action Cam and Dash Cam
Enable/Disable WiFi for wireless connection
Enable/Disable internet cloud connection
Enable/Disable voice recording (Dash cam
mode only)
Auto REC
Enable/Disable
auto recording when car
engine starts (Dash cam mode only)
60 SEC
OFF
Screen turns off after 60 seconds of non-
operation
(Dash cam mode only)
Reset to factory default settings or format SD
card.
Screen Auto Off
Settings
Voice Record
WiFi - Local
Auto Record
Dash Cam
Playback
Action Cam
WiFi - Cloud
Menu Settings
Rollei Car-DVR has eight menu settings. Advanced settings can be set
up via mobile APP.
Button functions indicated by
.
Use
to navigate menu settings and to back to preview .
Note: After 10 seconds of non-operation in menu settings, screen
returns to preview.

4 |
English
Transfer Files to PC:
1. Connect Rollei Car-DVR to PC via Micro USB cable.
2. Find video at "My computer\Removable Disk\".
3. Copy, move, delete, and playback videos on PC.
View Rollei Car-DVR Screen on TV:
1. Connect Rollei Car-DVR to TV
via
Micro HDMI cable (not included).
2. Turn on Rollei Car-DVR.
3. Rollei Car-DVR screen displays on TV simultaneously.
Rollei Car-DVR has two recording modes for different applications:
Action Cam: Shoot normal videos.
Dash Cam: Shoot loop and emergency videos.
Record Modes
Mode Action Cam Dash Cam
Record type Normal Loop Emergency
Record trigger
Record duration
Display info.
• Car impact
• Press during
loop recording
P
ress in preview
Three min. sections
Unlimited
One min. section
(30 seconds before
and after the event)
SD card remaining time Current date & time
2014/01/01 21:06:36
Comparison between modes:
00:06:36
Note:
1. During loop recording, oldest les are overwritten if microSD card is full.
2. During loop recording, press to enable/disable mute fuction.

| 5
English
Mobile Rollei Car-DV
R
Local
Mobile connects to Rollei Car-DVR directly via WiFi for remote
control, live view, album management and
Rollei Car-DVR
setup.
Mobile connects to cloud server to view live videos uploaded
from internet remote Rollei Car-DVR.
Wireless & APP Operation
Before inital using wirless connections, download and install APP
[Rollei Car-DVR] from Google Play Store and Apple Store.
[Rollei Car-DVR] has two functions:
(1) Local - Direct control (2) Internet - Internet live view
Rollei Car-DVR
【Local】
(1)
Local
Internet
【Internet】
(2)
Local
Internet
AP
Unieye
Server
AP
3G/4G Mobile Hotspot
3G/4G Mobile
Wireless Router
Wireless Router
Rollei Car-DV
R
AP
Mobile
Internet

6 |
English
Mobile Connects to Rollei Car-DVR
1. F
or Android: Turn on [Wi-Fi].
For iOS: Go to [Settings] [Wi-Fi].
Turn on [Wi-Fi] and select the Rollei Car-DVR name.
2. Run [Rollei Car-DVR].
3. Tap【Local】and select the Rollei Car-DVR to enter【Local】View
Page. Tap [ ] to scan again if Rollei Car-DVR is not found.
Note:
• Mobile cannot connect to Rollei Car-DVR while Rollei Car-DVR is
recording.
• For rst use, password is not required. User can set Rollei Car-DVR
password in Setup Page.
【Local】Function
iOS Settings
Local
Internet
Before using mobile APP's【Local】function, ensure Rollei Car-
DVR WiFi is on and Rollei Car-DVR Cloud setting is off. Once WiFi
is ready, preview shows Rollei Car-DVR name (R2-xxxxxxxx) for few
seconds.
Local View PageLocal Main Page

| 7
English
Items Descriptions
Shoot videos and les are saved into Rollei Car-DVR
microSD card
Shoot videos or Take photos and les are saved into
mobile "Album\RolleiCar-DVR
\"
For multiple Rollei Car-DVRs user :
• Enable Quad-View for multiple live view on mobile
• In Quad-View, select
a window for single view.
Upside down image
Talk to Rollei Car-DVR from mobile
View Page
Album Page
Setup Page
4.【Local】function has three function pages: View, Album and Setup.
Folders Descriptions
View or delete video les recorded in action cam mode
View or delete video les recorded in dash cam mode
Groups Descriptions
Camcorder
Settings
Edit name, password, format SD card, resolution
etc.
Internet Settings Edit Email and AP and save in Rollei Car-DVR.
(For internet cloud server connection)
Car DVR Settings Set motion detector, impact sensor, etc.
Note: 1. In Setup Page, tap [Save] to complete settings to Rollei Car-DVR.
2. Mobile media player may not support SuperHD video.

8 |
English
1. Go to [Setup] [ Internet Settings]
Edit Email and AP
2. Tap [Save] to complete Email & AP
settings.
Rollei Car-DVR Internet Setup
Before using internet cloud service, Email and AP must be properly
set up.
Rollei Car-DVR SD Card Setup
Go to [Setup] [ Rollei Car-DVR Settings]
Adjust slide bar and press [Format]
button to complete SD card setup.
When SD card is rst-time use or reformatted in Rollei Car-DVR, user
should allocate memory for Portable Mode and Car Mode.
Note: AP(Access Point) can be
• Wireless Router or
• 3G/4G Mobile Wireless Router or
• 3G/4G Mobile Hotspot
AP
AP
AP
Wireless Router
AP
AP
AP
3G/4G Mobile
Wireless Router
AP
AP
AP
3G/4G
Mobile Hotspot

| 9
English
Motion Detector Setup
G-Sensor Setup
When car's engine stops and motion is detected,
Rollei Car-DVR will automatically records videos
till no motion is detected.
When Rollei Car-DVR is recording and any impacts happen, Rollei
Car-DVR automatically records emergency events if G-Sensor is set.
1. Go to APP [Setup] [Car DVR Settings]
Turn on [Motion Detector] Tap [Save].
Go to APP [Setup] [Car DVR Settings]
Select [G-Sensor], [H]/[L] Tap [Save].
Note : [H] High sensitivity. [L] Low sensitivity.
2.
Press [Home] to disconnect from Rollei Car-DVR.
3. Change Rollei Car-DVR to dash cam mode,
will show on screen.
4. When car engine stops
[Motion Detector?] will pop up
Press
to manually activate [Motion Detector] ,
otherwise [Motion Detector] will automatically
activate after 10 seconds
Choose to cancel [Motion Detector] for this time
Table of contents
Other Rollei Dashcam manuals

Rollei
Rollei cardvr 100 User manual

Rollei
Rollei CarDVR-70 User manual

Rollei
Rollei DashCam-408 User manual

Rollei
Rollei CARDVR-318 User manual

Rollei
Rollei CARDVR-308 User manual

Rollei
Rollei CarDVR-70 User manual

Rollei
Rollei CarDVR-200 WiFi User manual

Rollei
Rollei M1 Motorrad Louis User manual

Rollei
Rollei CarDVR-310 User manual

Rollei
Rollei Dashcam-402 User manual


