MaxStream XBee-PRO PKG-U User manual


Other manuals for XBee-PRO PKG-U
1
Table of contents
Other MaxStream Modem manuals

MaxStream
MaxStream 9XCite XC09-009PKC-UA User manual

MaxStream
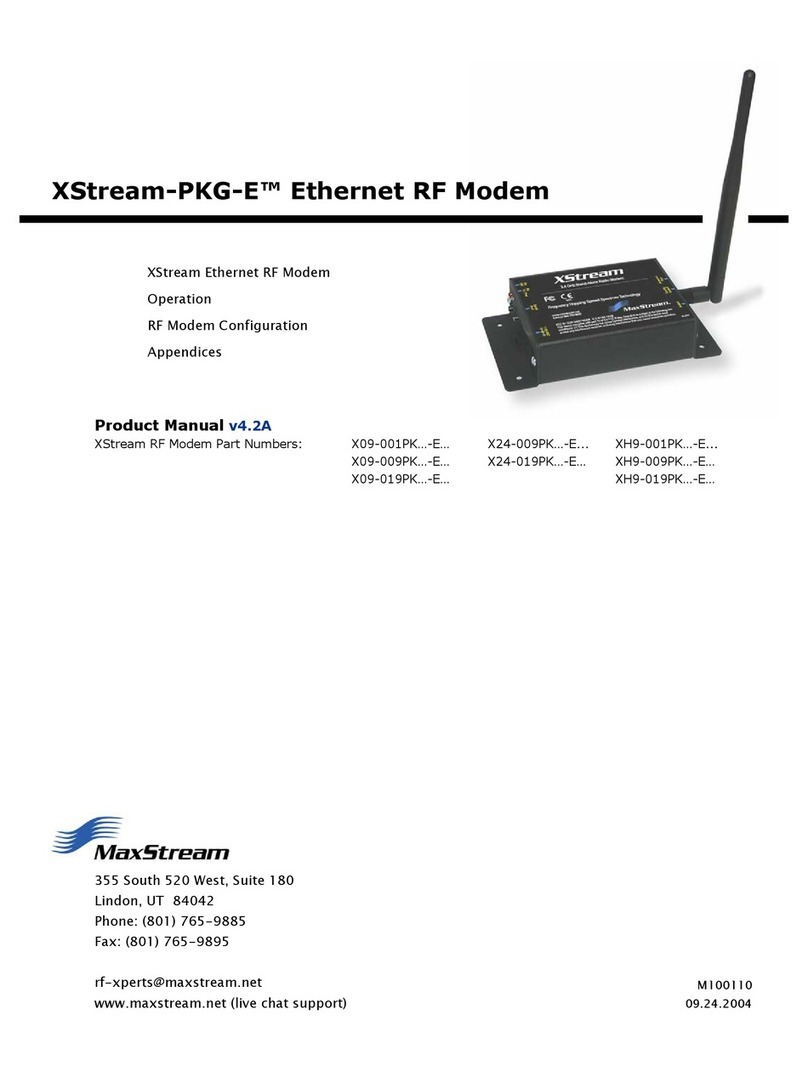
MaxStream XStream-PKG-E User manual

MaxStream
MaxStream 9XCite-PKG-R User manual

MaxStream
MaxStream XBee-PRO PKG-R RS-232 RF User manual

MaxStream
MaxStream Xstream-PKG-U User manual

MaxStream
MaxStream XTend-PKG-R RS-232 RF User manual

MaxStream
MaxStream 9XStream-PKG-T User manual

MaxStream
MaxStream XBP24-PKC-...-U... User manual

MaxStream
MaxStream XBee-PRO PKG-U User manual

MaxStream
MaxStream XTend-PKG-U User manual
MaxStream
MaxStream XStream-PKG-E Series User manual

MaxStream
MaxStream 9 XCite-PKG-U XC09-009PK-U Series User manual

MaxStream
MaxStream XT09-SI-MESH User manual

MaxStream
MaxStream 9 XCite- PKG- R XC09-009PKC-R Series User manual

MaxStream
MaxStream XBee-PRO PKG-R RS-232 RF User manual

MaxStream
MaxStream XStream-PKG-E User manual

MaxStream
MaxStream XStream-PKG-R RS-232 User manual

MaxStream
MaxStream XTH9-PKI-R-128 User manual

MaxStream
MaxStream 9XTend-NEMA 485 RF User manual

MaxStream
MaxStream 9XCite-PKG-U User manual