JOBO GIGA ONE User manual

GIGA one
Instruction manual
2

3
GB
Content
1. Introduction 4
1.1. The GIGA ONE Portable hard disk / USB2.0 card reader 4
1.2. Package contents 5
1.3. System requirements 6
2. Using the GIGA ONE 7
2.1. Connecting to the PC 7
2.2. Disconnecting GIGA ONE 8
2.3. Turning Power On and Off 9
2.4. Resetting the GIGA ONE 9
2.5. Charging the Battery 9
2.6. Copying to GIGA ONE Hard Disk 10
2.7. Using the GIGA ONE as an External Hard Disk 11
2.8. GIGA ONE re-format for hard disks 12
3. Warranty and service 13
3.1. Warranty Conditions 13
3.2. Contact 14
A. Specification: 15
B. Important notice
4
1. Introduction
1.1. The GIGA ONE Portable hard disk / USB2.0 card
reader
Congratulations and thank you for purchasing JOBO GIGA ONE. We are certain you
will enjoy the variety of features and quality our product offers you. GIGA ONE
supports the following flash cards.
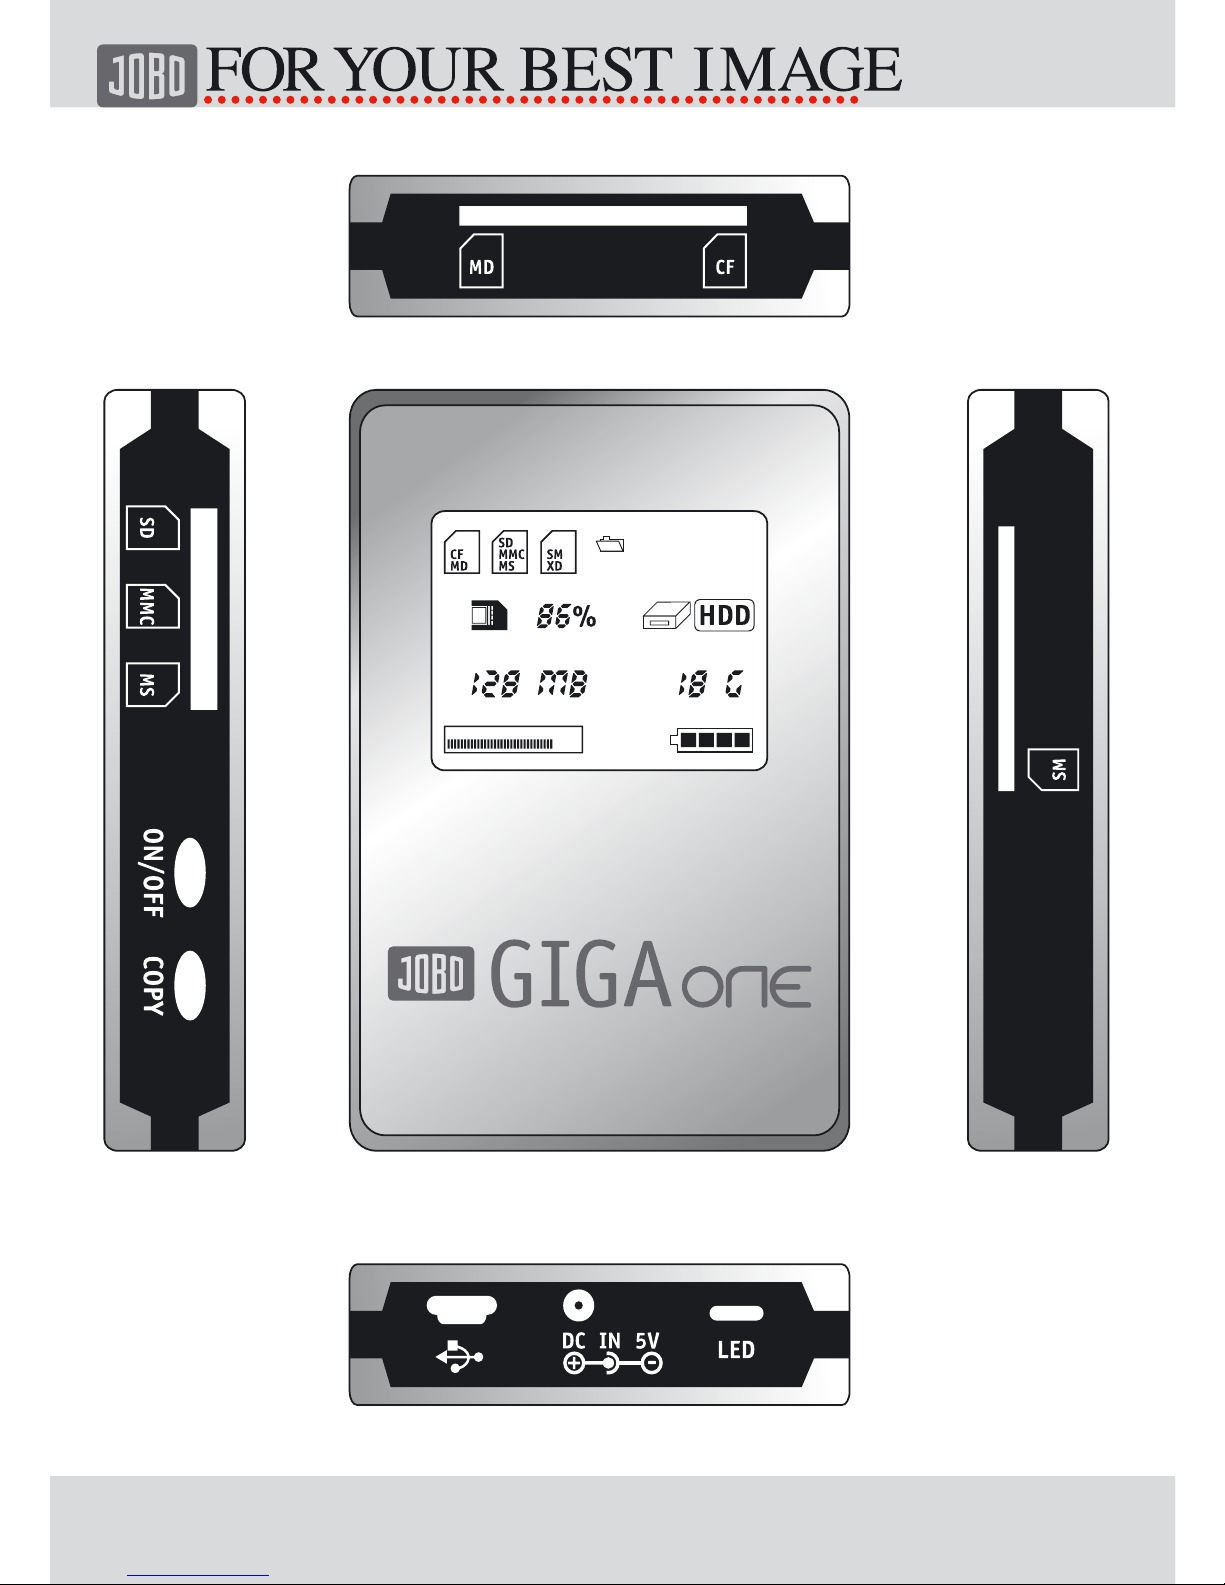
- Compact Flash Card Type I / II and Micro Drive ( CF / MD )
- SmartMedia card ( SM )
- Memory Stick ( MS )
- Memory Stick Pro (MS Pro)
- Memory Stick Duo (MS Duo)
- Secure Digital Card ( SD )
- Multimedia Card ( MMC )
FAT12/ 16/ 32 support for memory cards formatted.
GIGA ONE is a photo storage system for beginners in the digital photography,
however, it is also the perfect backup accessory for the JOBO GIGA Vu PRO evolu-
tion. You get further information of the outstanding photo viewer and multimedia
player at www.jobo.com.
GIGA ONE is delivered with a formatted hard disk. A formatting of the internal
hard disk is necessary only with malfunctions!

5
GB
1.1.1. What is the GIGA ONE
The GIGA ONE is an excellent digital storage solution in your travel. The GIGA ONE has
a huge capacity for thousands of digital image, digital video, audio and data files. The
GIGA ONE is the smart solution to backup the data files into a portable hard disk. You
do not need to worry about a full memory card stopping your photography anymore!
- Slim and light
- Easy operation
- Aluminium shell
- Compatible with all popular memory cards
- Huge capacity
- USB2.0 interface
- Rechargeable internal battery
- The GIGA ONE is a USB2.0 portable hard disk
- Supports 2.5``HDD with 20GB
- Compatible with USB1.1
- FAT32 support for hard disk formatted.
- The GIGA ONE is also a 8 in 1 USB2.0 memory card reader for nearly all popular
memory cards when connected to your computer.
- GIGA ONE is designed to be easy to operate.
- Fast copy of flash memory cards to GIGA ONE built- in hard disk, no computer
needed. With just one touch, photos on the memory card can be easily stored
on the Giga One. No hassle of carrying computer notebooks to backup memory
cards. This also provides savings on buying larger capacity memory cards.
- No software driver installation required for Windows2000/ ME / XP.
- Simple two- button design to select and copy.
- LCD screen gives status of copy and battery level.
1.2. Package contents
The packing box contains:
1. GIGA ONE
2. USB cable
3. AC power adapter
4. Driver CD
5. User manual

6
1.3. System requirements
- Microsoft Windows 98/ ME/ 2000/ XP, MacOS 10.2 or higher,
Linux 2.4.x or higher
- CD- ROM drive
- Pentium 2, 400 MHz
- RAM 32MB ( Windows ME, 2000 ) – 64 MB ( Windows XP )
- 20MB HDD
- USB port
7
GB
2. Using the GIGA ONE
2.1. Connecting to the PC
2.1.1. Installing the driver software
Windows 98/98SE
The driver provided on the CD is required only for Microsoft Windows 98.
After software installation is completed, turn on GIGA ONE and connect it to the
computer using the USB cable provided. (It is recommended that you connect the
AC power adapter.)
Your computer will automatically search for the device driver and install it
Your GIGA ONE model is supplied with a pre- formatted hard disk and it is now
ready for use.
Important: You must first complete the installation of GIGA ONE software from CD-
ROM disk provided before you connect the Giga One to your Win98 computer.
Windows ME/ 2000/ XP/ 2003, Linux 2.4.x, MacOS 10.2.x
No software setup is needed. Windows 2000 must have at least Service pack 3
installed, and Windows XP must have at least Service Pack 1 installed.

8
2.2. Disconnecting GIGA ONE
2.2.1. For Windows 2000 and XP
1. Left click on the `Unplug or Eject Hardware` or `Safely Remove Hardware` icon
in the Windows system tray ( green arrow icon on right of your task bar ).
2. Select `stop USB Mass Storage Device`( for Windows 2000 ) or `Safely Remove
USB Mass Storage Device` ( for Windows XP ) and confirm.
2.2.2. For Windows ME
1. Left click on the `Unplug or Eject Hardware` icon in the Windows system tray (
green arrow icon on right of your task bar ).
2. Select `stop USB Disk- Drive ( F: ) ` ( or the appropriate drive letter ) and con-
firm.
The GIGA ONE appears as three separate drivers in this Windows ME system tray
icon, so go through steps 1 and 2 two more times until all three drives are discon-
nected.
2.2.3. For Windows 98/ 98SE
1. Open `My computer Control Panel System Device Manager`, right click on the
GIGA ONE and select `remove`, then disconnect your GIGA ONE.
Note: Unplug the USB cable only when prompted or there is no data transfer
evident. If not, you may damage your data in GIGA ONE. Should this happen, you
may use the Windows scandisk utility and attempt to repair any damaged data on
the hard disk.
9
GB
2.3. Turning Power On and Off
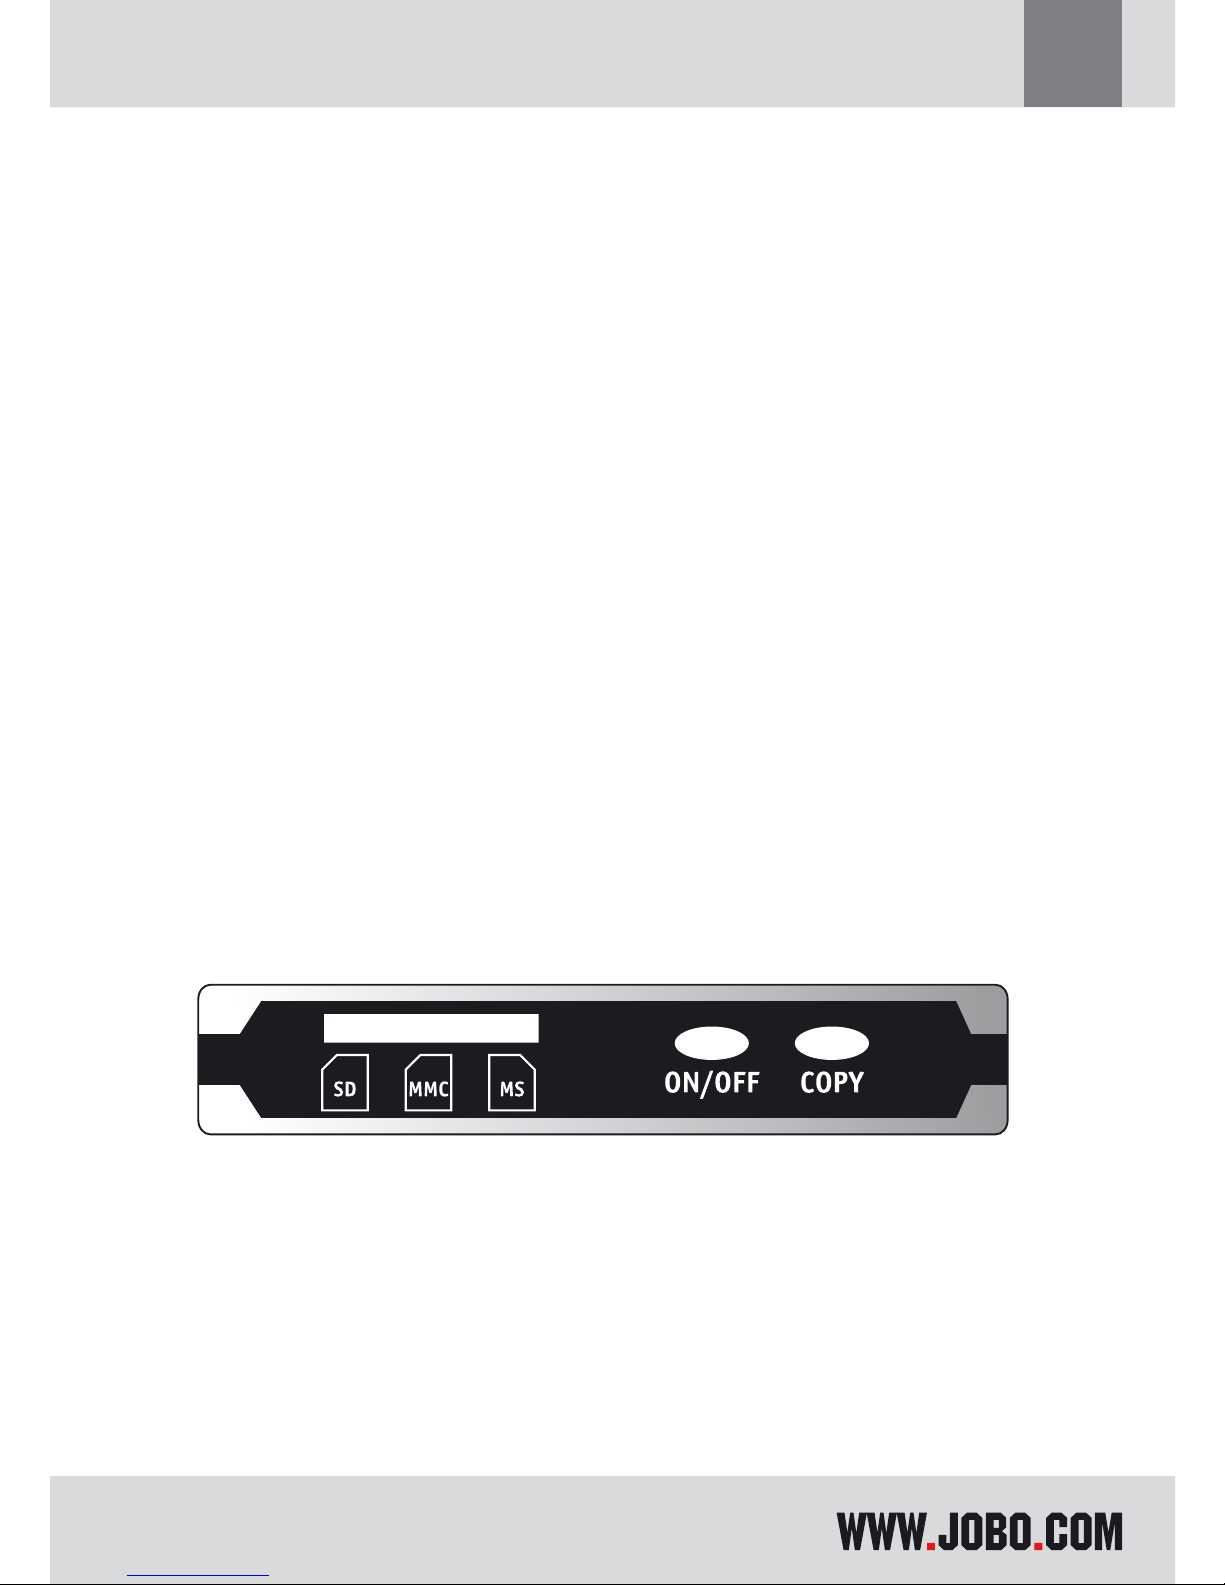
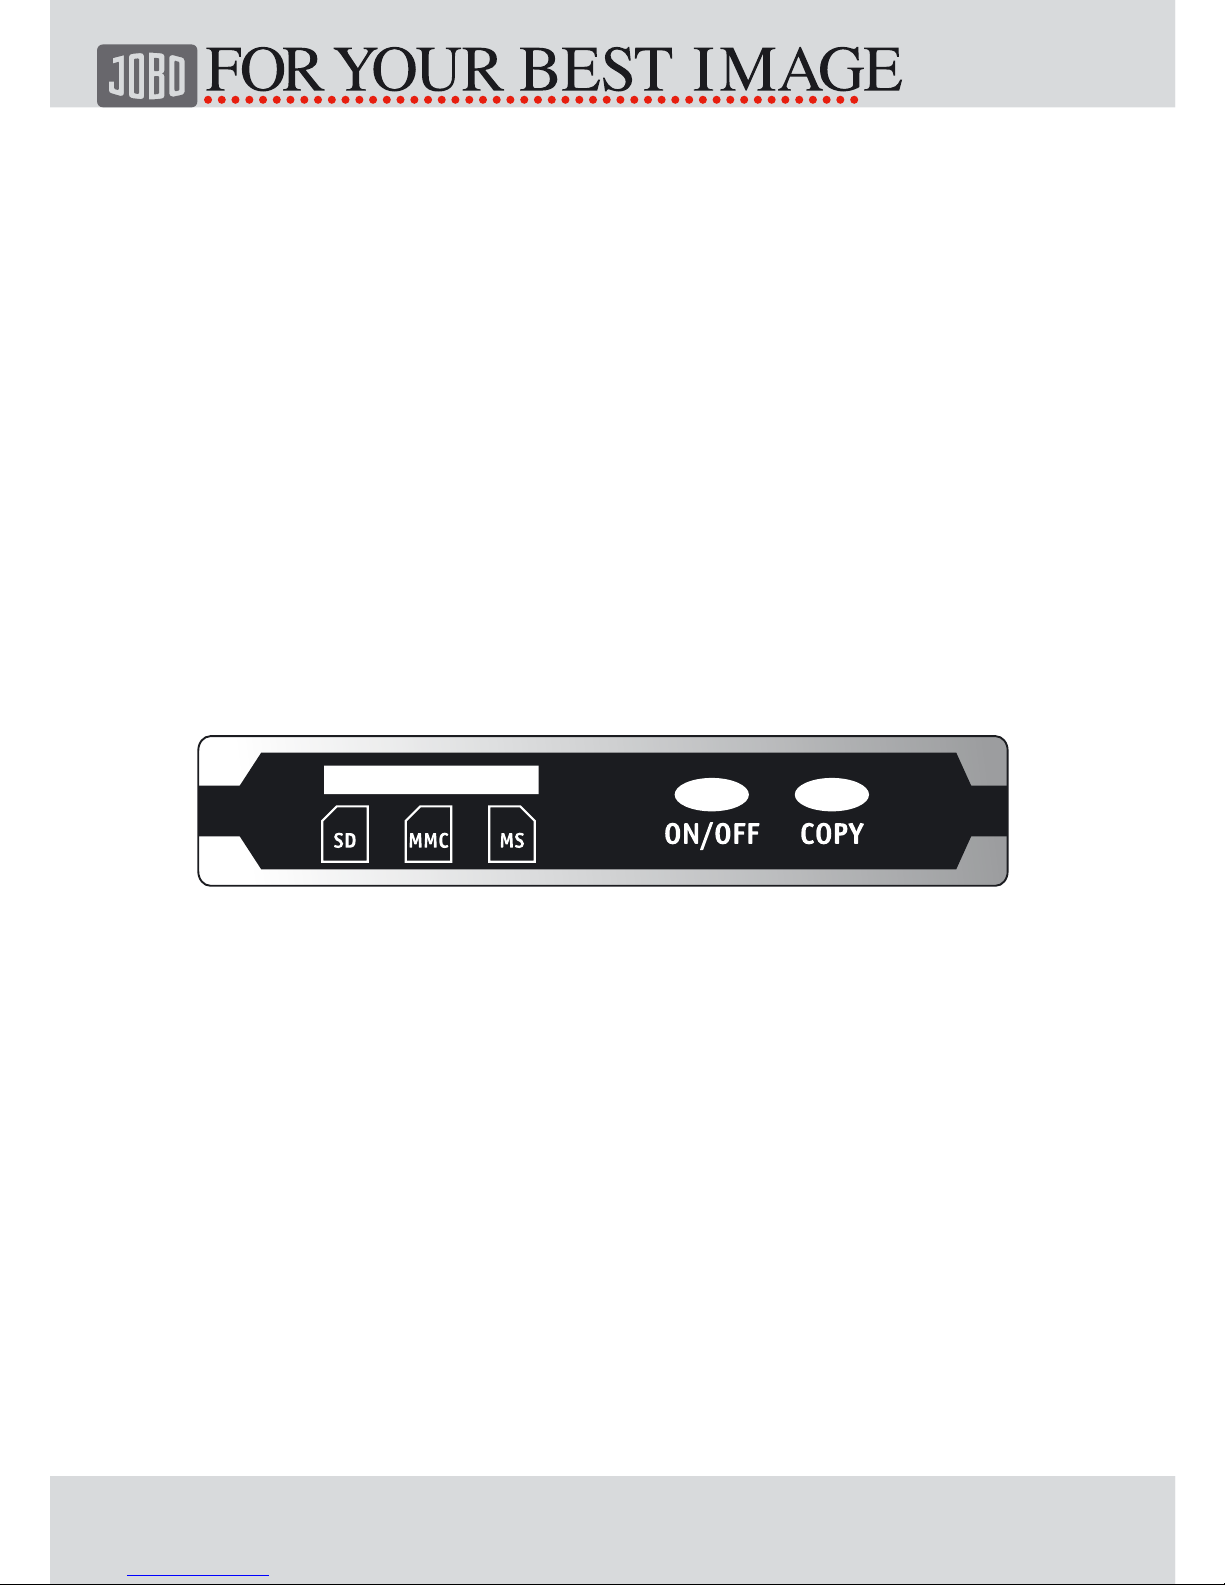
Press the ON/ OFF button to turn on the GIGA ONE. To turn the power off, press
the ON/ OFF button until the LCD screen goes blank. If not connected to power
adapter, the GIGA ONE will turn off after 30 seconds of inactivity,. This is to
conserve the internal battery power. The device contains a formatted hard disk and
can be used immediately without being formatted.
2.4. Resetting the GIGA ONE
In the unlikely event that the GIGA ONE stops responding to button presses, reset
it by keeping the `ON/ OFF` and `COPY` buttons pressed at the same time for at
least 3 seconds.
2.5. Charging the Battery
When you use the GIGA ONE for the first time or when it indicates that the battery
is low, you need to charge the internal battery:
1. Connect the AC power adapter to the electrical outlet
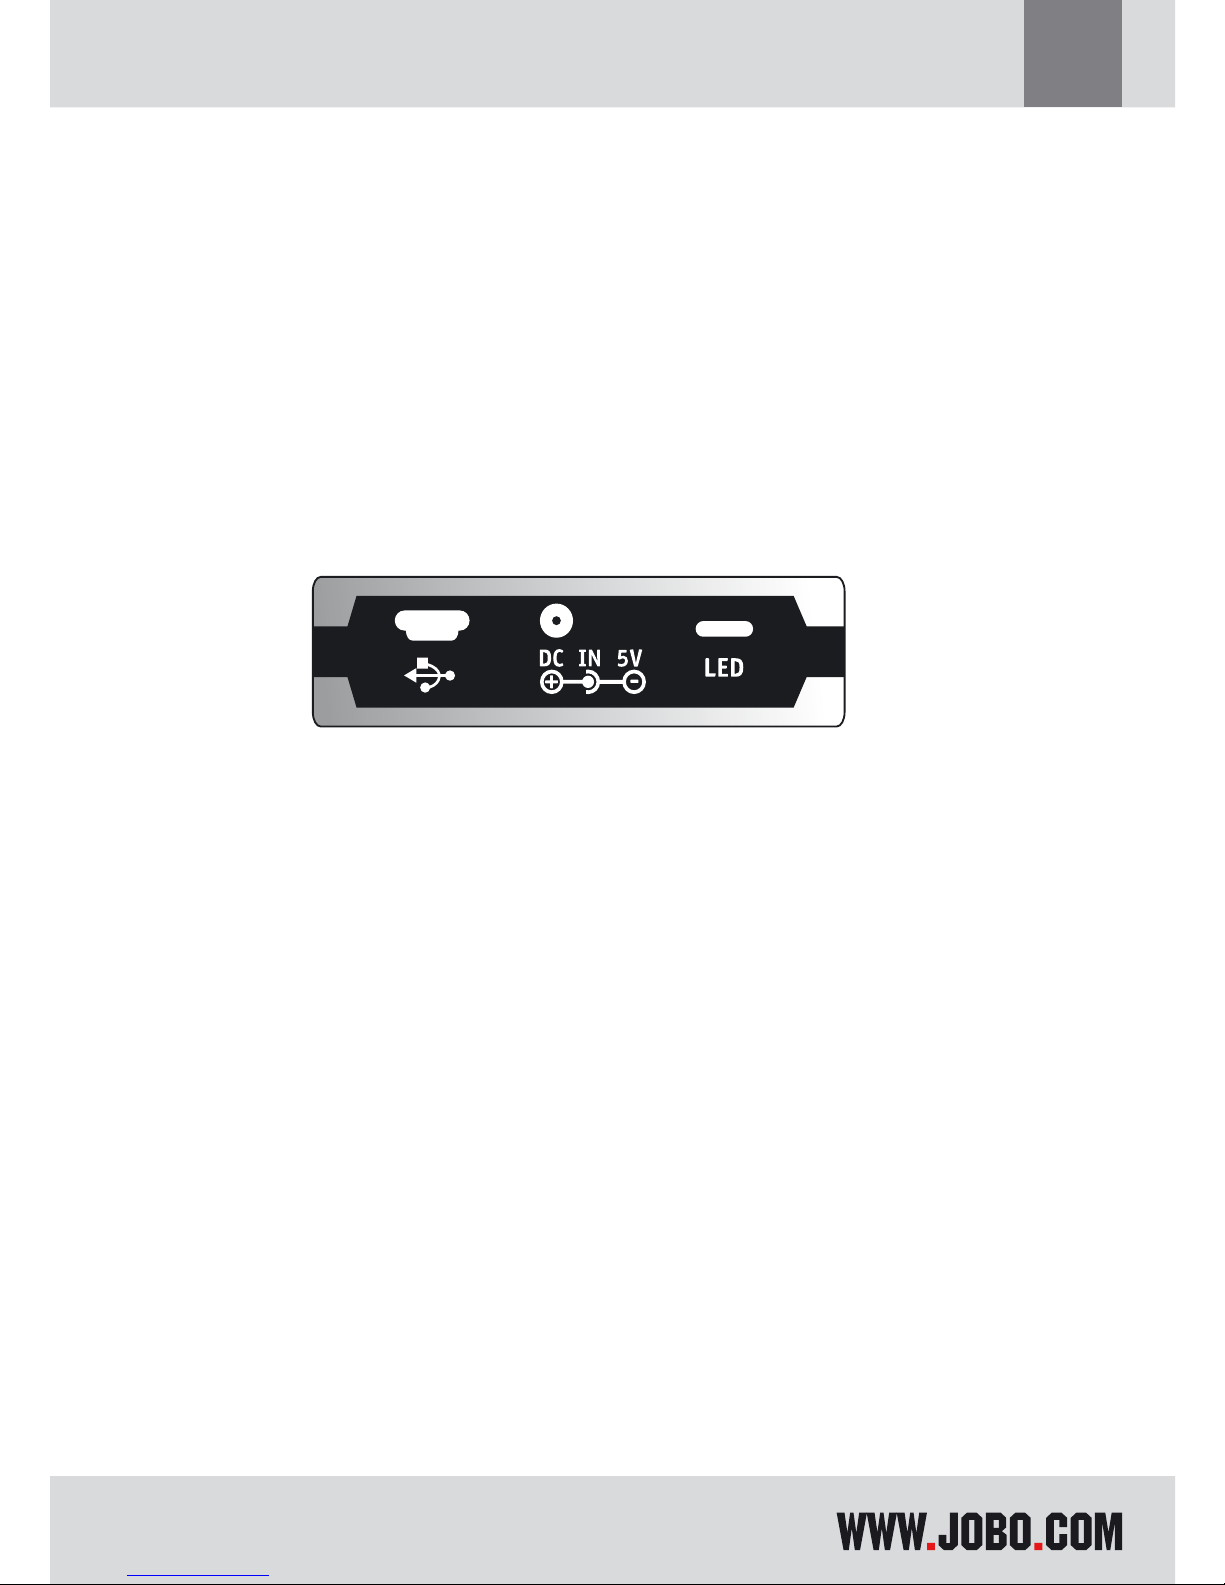
2. Plug the adapter mini jack into the GIGA ONE socket labelled DC in 5V.
Note: Charging occurs when the unit is either turned on or off. There is no char-
ging indicator when the GIGA ONE is power on. While powered off, charging is
indicated by red LED. The LED is turning green when the device is fully charged.
GIGA ONE also indicates to be loaded when connected to a powered on PC via USB.
The LED turns also green, when fully charged.
It takes about three hours for an empty battery to be fully charged.
2.5.1. Power supply
The GIGA ONE runs on its internal battery. When connected to the computer, the
GIGA ONE runs on internal battery and USB power. ( It is recommended that you
connect the AC power adapter whenever it is available. This is to ensure that inter-
nal battery is always maintained at sufficient level for outdoor use). Re-charge the
10
battery as described above when it stops all current processes. Jobo recommends
using AC power when the Giga One is connected to the computer.
2.6. Copying to GIGA ONE Hard Disk
This refers to the `stand alone` copy feature, i.e. copying from a flash card into
the Giga One. Insert a CF or SD/ MMC/ MS/ MS Pro/ MS Duo/ SM card into the ap-
propriate card slot, (if both slots contain cards, press the select button to select
the card you want to copy). The LCD will display the flash media card inserted.
Press the `COPY´ button to start copying. The LCD will display the progress in
terms of estimated percentage completed and remaining battery power. When
completed successfully, the LCD will display 100 %. If it fails to copy properly, the
LCD will display the error message. Please try the copy function again. Continued
copy errors could indicate corrupted data on the card.
To conserve the internal battery power, the GIGA ONE will power off automatically
after the copy is completed. Turn on GIGA ONE again and the LCD will display the
flash media card inserted.
All copied files will be stored in the respective folders in the GIGA ONE hard disk,
namely `SDD`( SD/ MMC ), `MSD`( MS/ MS Pro), `CFD`( CF/ MD ) and `SMD` ( Smart-
Media ) and followed by xxxx ( 4 digits ) in which xxxx is the sequence number.
Table of contents
Other JOBO Storage manuals