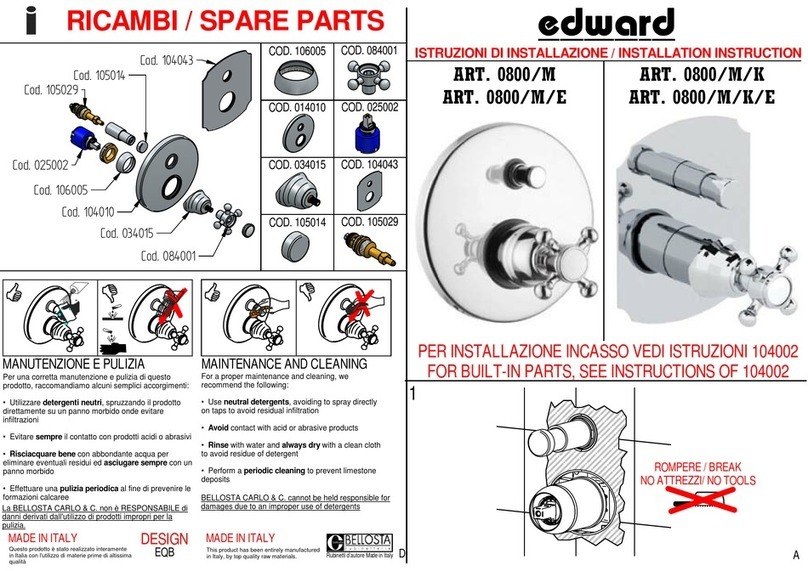
Elisa Emilie User manual

Emilie™and Rosa™
Installation, User and Care Guide
Emilie™und Rosa™
Installations-, Gebrauchs- und Pflegeanleitung
Emilie™et Rosa™
Guide d’installation, d’utilisation et d’entretien
Emilie™i Rosa™
Instrukcja instalacji, obsługi i pielęgnacji
Emilie™& Rosa™
Handleiding voor installatie, gebruik enonderhoud
UK
DE
FR
PL
NL

2 | ElisaTM EmilieTM and RosaTM Installation Guide
UK Installation Stages
Thank you for choosing an ElisaTM product to enhance your bathroom design.
This booklet provides information for Stages 2 and 3, please refer to the separate
installation guides for Stage 1 and outlet accessories.
The outlet accessories guides will provide helpful information so you can plan the
pipe runs and terminate in the required fittings/connectors.
Installation and user guides are packed with all of our products and for your
convenience they are also available by visiting www.aqualisainternational.co.uk
The installation of this product is a 3 stage process:
Stage 2
Fitting the valve
assembly
Stage 3
Fitting the compression
plate and fascia
Stage 1
Fitting the AquahubTM
and preparation for
outlet accessories
This guide covers the installation
of Stages 2 and 3

ElisaTM EmilieTM and RosaTM Installation Guide | 3
UK
Contents
Important Information
This product must be installed by a competent person in
accordance with the relevant Water Supply Regulations. Prior
to installation, ensure all literature supplied with this product is
read and understood. We have taken great care to ensure that
this product reaches you in perfect condition, however, should
any parts be damaged or missing please contact your point of
purchase. If you require assistance, please contact the Customer
Helpline. The AquahubTM is supplied with universal fixings intended
to secure it to a suitable surface.
4
5
6
6
7
8
9
10
11
12
13
13
14
15
16
17
18
21
22
23
Water supply requirements
Installation requirements
Tools required
Components RosaTM
Components EmileTM
Preparation
Fitting the thermostatic valve assembly
Fitting the headworks (Push button)
Commissioning the headworks and fitting the cover plate (Push button models)
Fitting the control dial (Push button models)
Changing cover buttons (Dual outlet (push button) models only)
Fitting the headworks (Dial models)
Commissioning and fitting the cover plate (Dial models)
Fitting the control dials (Dial models)
Commissioning – in service testing
Cartridge temperature adjustment
Troubleshooting
Caring for your shower
Maintenance
User instructions

4 | ElisaTM EmilieTM and RosaTM Installation Guide
UK Water supply requirements
This product has been designed and tested to comply with BS EN1287:1999 (LP-S)
and BS EN 1111:1999 (HP-S) Thermostatic Mixing Valves Standards.
Valves operating outside of the below conditions of use cannot be guaranteed as
type 2 valves.
Hot Water Maximum: 65˚C Cold Water Minimum: 10˚C
Recommended 60-65˚C Recommended 10-15˚C
Always maintain a 10˚C difference between hot system temperature and maximum
hot setting of valve.
Operating Pressure Range: Min. 1.0 bar, Max. 5 bar
When water pressure is higher than 5 bar a pressure reducing valve (not supplied)
must be fitted before the mixer. A setting of 3 bar is recommended.
This valve is suitable for gravity boosted, balanced high pressure and combination
boiler systems.
For gravity pumped systems use 22mm supply pipes and reduce to 15mm to
protrude through the finished wall.
Pump Installation:
PUMPS MUST NOT BE FITTED DIRECTLY TO A WATER MAIN.
REFER TO PUMP MANUFACTURERS INSTALLATION GUIDELINES.
Ensure there is adequate flow through the pump to activate the flow switches.
Combination boiler:
MUST have a minimum rating of 24kW (80,000 Btu) and be of the type fitted with
a fully modulating gas valve.
Boiler performance may affect outlet temperature.
Operating pressures:
Hot and cold supplies should be kept as even as possible in order to ensure the
maximum efficiency of the mixer.

ElisaTM EmilieTM and RosaTM Installation Guide | 5
UK
Installation requirements
Conditions of use for Type 2 (Thermostatic mixer) valves
High Pressure Low Pressure
Maximum Static
Pressure – Bar
10 10
Flow Pressure, Hot &
Cold - Bar
0.5 to 5 0.1 to 1
Hot Supply
Temperature - °C
55 to 65 55 to 65
Cold Supply
Temperature - °C
Equal to or
Less than 25
Equal to or
less than 25
Note: Valves operating outside these conditions cannot be guaranteed by the
Scheme to operate as Type 2 valves.
If a water supply is fed by gravity, then the supply pressure should be verified to
ensure the conditions of use are appropriate for the valve.
Recommended Outlet temperatures
The BuildCert TMV scheme recommends the following set maximum mixed water
outlet temperatures for use in all premises is 41°C for showers.
The mixed water temperatures must never exceed 46°C.
The maximum mixed water temperature can be 2°C above the recommended
maximum set outlet temperatures.
Note: 46ºC is the maximum mixed water temperature from the bath tap. The
maximum temperature takes account of the allowable temperature tolerances
inherent in thermostatic mixing valves and temperature losses in metal baths.
Warning: It is not a safe bathing temperature for adults or children.
The British Burns Association recommends 37 to 37.5ºC as a comfortable bathing
temperature for children. In premises covered by the Care Standards Act 2000, the
maximum mixed water outlet temperature is 43ºC.

6 | ElisaTM EmilieTM and RosaTM Installation Guide
UK
Tools required
Components - RosaTM
Installation requirements
The thermostatic mixing valve (TMV) will be installed in such a position that
maintenance of the TMV and its valves and the commissioning and testing of the
TMV can be undertaken.
The fitting of isolation valves is required as close as is practical to the water supply
inlets of the thermostatic mixing valve. Filtered inlet washers are supplied with
the product, if not used then the fitting of strainers is recommended as close as is
practicable to the water supply inlets of the thermostatic mixing valve.

ElisaTM EmilieTM and RosaTM Installation Guide | 7
UK
Components - EmilieTM Dual Outlet
Components - EmilieTM Triple Outlet

8 | ElisaTM EmilieTM and RosaTM Installation Guide
UK
Blank headworks
70-80mm depth
60-70mm depth
Preparation
1. Once all stage 1 leak and pressure
tests have been carried out; before
proceeding with the following
instructions, ensure that the built-in
servicing valves are in the closed
position (screwed down).
2. Remove the pressure testing plates
by unscrewing the bolts with the
long allen key provided.
Ensure all O’rings are installed
and within the grooves of the
valve assembly.
For push button models. Screw
the black extension caps onto the
headworks. (Use the shorter ones
for 60-70mm installation depths
OR the longer ones for 70-80mm
installation depths.)

ElisaTM EmilieTM and RosaTM Installation Guide | 9
UK
Fitting the thermostatic valve assembly
Offer the thermostatic assembly up to
the AquahubTM body and secure into
place using the long allen key provided
and the bolts.
Tighten all bolts incrementally in a
clockwise manner until tight.
(All models)
This can be easily corrected by
installing the assembly upside-down
(so the ‘H’ and ‘C’ is on the bottom)
- as shown.
Ensure ‘H’ (as circled)
is on the hot water inlet
side (normally left-hand
side as viewed from
the front).
If the water supplies
are reversed or have
been plumbed incorrectly,
the shower will not blend
the water correctly as
the supplies do not
correspond with
the inlets of the
thermostatic assembly.

10 | ElisaTM EmilieTM and RosaTM Installation Guide
UK Fitting the headworks (Push button)
1. Offer the headworks up to the
AquahubTM body and secure into
place using the long allen key
provided and the bolts.
Tighten all bolts incrementally in
a clockwise manner until tight.
2. Install the dial shroud by rotating it
onto the threaded headwork.
3. Install the compression plate using
the screws provided.
This manual suits for next models
1
Table of contents
Languages:
Other Elisa Bathroom Fixture manuals