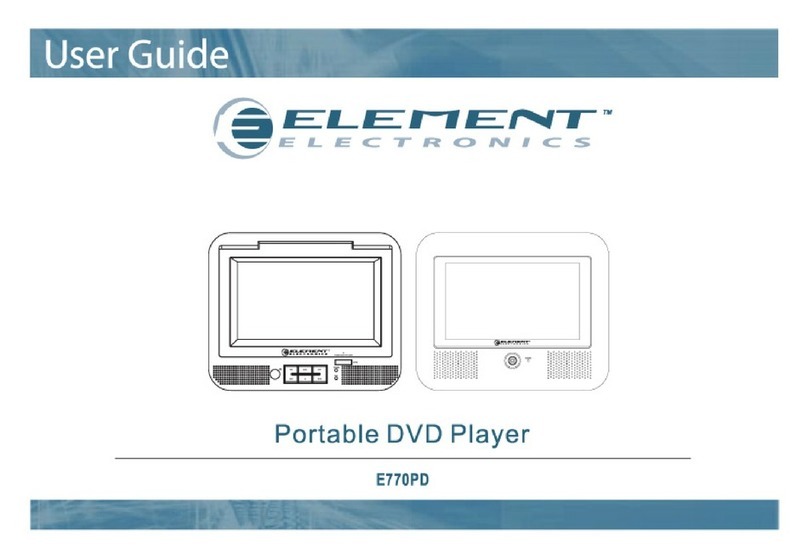
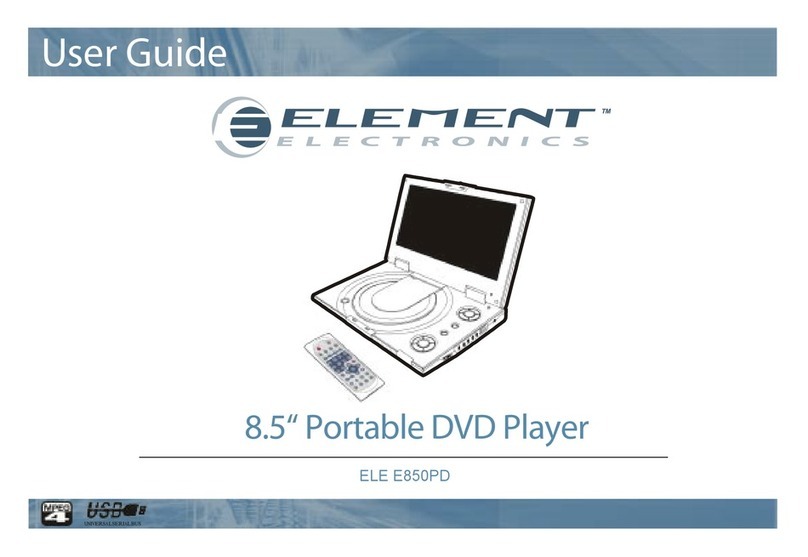
Element E900PD User manual

PORTABLE DVD PLAYER
E900PD

CONTENTS
IMPORTANT SAFETY INSTRUCTIONS
REMOTE INTRODUCTION
SYSTEM SETUP
BATTERY ATTACHMENT ANDUSE
THE DVD PLAYER
FUNCTION BUTTONS
PLAYINGMP3 FILES
BATTERY PARAMETERS
ACCESSORIES
SPECIFICATION
ABOUT THE FCC
01
03
05
06
11
17
19
20
21
22
23

Welcome to the user manual for the Portable DVD Player. Please read the manual carefully before using this DVD player, and keep the manual
safe for future reference.
Important safety instructions :
RISK OF ELECTRIC SHOCK
DO NOT OPEN
CAUTION
~01~
CAUTION:TO REDUCETHE RISKOF ELECTRIC SHOCK,DO NOT REMOVECOVER (OR BACK). NOUSE-SERVICEABLE PARTSINSIDE. REFER
SERVICING TOQUALIFIED SERVICE PERSONNEL.
WARNING: TO REDUCETHE RISKOF FIRE ORELECTRIC SHOCK,DO NOT EXPOSETHIS APPLIANCETO RAINOR MOISTURE.
Caution: Laser radiation whenopen. Donot stare intobeam.
CAUTION: USE OF ANYCONTROLS,ADJUSTMENTS, ORPROCEDURES OTHERTHAN THOSESPECIFIED HEREIN MAY RESULT IN HAZARDOUS
RADIATION EXPOSURE.
Power Supply:Connect the suppliedpower adapter tothe side ofthe DVD playerin the slotmarked "Power In".Plug the two-prong end ofthe
power cord toan AC outlet.If you havedifficulty inserting the plug,turn it overand reinsert it;if the playerwill not beused for a
long time,disconnect the powerfrom the outlet.
Note: Before plugging inthe power cordto an ACoutlet, makesure that allthe connections havebeen made.
The lightening flashwith arrowhead symbol,within an equilateral
triangle,is intended toalert the user tothe presence of
uninsulated "dangerous voltage"withinthe product's enclosure
that may beof sufficient magnitudeto constitute arisk of electrical
shock.
The exclamation pointwithin an equilateraltriangle is
intended to alert theuser to thepresence of important
operating and maintenance(servicing) instructions in the
literature accompanying theappliance.
CLASS 1
LASER PRODUCT
IMPORTANTSAFETY INSTRUCTIONS

~02~
IMPORTANTSAFETY INSTRUCTIONS
1) Read theseinstructions.
2) Keep theseinstructions.
3) Heed allwarnings.
4) Followall instructions.
5) Do not usethis apparatus nearwater.
6)Clean only withdry cloth.
7) Do not blockany ventilation openings.Install in accordancewith the manufacturer's instructions.
8) Do notinstall near anyheat sources suchas radiators.heat registers.Stoves.or other apparatus(including amplifiers) thatproduce heat.
9) Do not defeat the safetypurpose of thepolarized or grounding-typeplug.A polarized plughas two bladeswith one widerthan the other. A
grounding type plughas two bladesand a thirdgrounding prong.The wideblade or thethird prong areprovided for yoursafety.If the
provided plug doesnot fit intoyour outlet.consult an electrician for replacement ofthe obsolete outlet.
10) Protect the Dower cordfrom being walkedon or pinchedparticularly at plugs. Convenience receptacles.and the pointwhere they exit
from the apparatus.
11) Only useattachments / accessoriesspecified by themanufacturer.
12) Use onlywith the cart.stand.tripod.bracket. ortable specified bythe manufacturer.or sold withthe apparatus.When a cartis used.use
caution when movingthe cart / apparatuscombination to avoidinjury from tip-over.
13) Unplug thisapparatus during lightningstorms or whenunused for longperiods of time.
14) Refer allservicing to qualified servicepersonnel. Servicingis required whenthe apparatus hasbeen damaged inany wav.such as power-
supply cord orplug is damaged,liquid has beenspilled or objects have fallen intothe apparatus,the apparatus hasbeen exposed torain or
moisture,does not operatenormally,or has beendropped.
15) WARNING To reduce therisk of fireor electric shock,do not exposethis apparatus torain or moisture.The mainsplug or anappliance
coupler is usedas the disconnect device,the disconnect deviceshall remain readilyoperable.
Note: Do not touchthe colorTFT LCDscreen by handdirectly.

~03~
THE DVD PLAYER
THE FUNCTION OF THEKEYS:
1. TFT Screen
2. TFT Switch
3. MENU key
4. AUDIO key
5. SETUP key
6. STOP ( ) key
7. PLAY/ PAUSE ( ) key
8.VOLUME+ / NEXT ( )/ UP ( ) key:It's VOL+ when pressing for a
long time,It's Next ( ) key when
pressing fora short time.
9. ENTER key
10.FASTFORWARD ( ) / RIGHT( ) key
11.VOLUME-/ LAST ( ) / DOWN( ) key:It's VOL- when pressing for a
long time,It's Last ( ) key
when pressing for a short
time.
12.FASTBACKWARD ( ) /LEFT ( )key
13.OPEN / CLOSE (PUSH)
14.DISC TRAY
1
3
4
5
6
7
8
2
Main Device:
9
10
11
12
14
13

~04~
THE DVD PLAYER
Side view:
1234567
1. MMC/ SD /MS CARD
2. USBjack
3. EARPHONEOUTPUT jack
4. AV OUT jack
5. COAXIAL jack
6. Power ON /OFF Switch
7. DC+9V IN jack
•Powering thePlayer: The Player can be operated in two ways:
a. Ifyou are near a convenient power source it is best topower the unit directly from the supplied adaptorby connecting the DC output of the
adaptor to (6) the DCInput.
b.If you have no source of power then the battery canbe used.Attach the battery to the case as shown in BATTERY ATTACHMENT andthen
connect the output lead of the battery to (6) the DC Input on theplayer.
2. Loading / Removing a Disc:
a. Loading a Disc: Press the button marked "PUSH" on the Player. Place the disc in theplayer taking care to not touch the active surface of the
disc.Using two fingers either side of thecenter spindle press the disc down until it clicksinto place.
b.Removing a Disc; Stop the Player.Press the button marker "PUSH" Using your third finger to support the spindle lift the edge of the discup
wards with your thumb.Avoid touching the active surface of the disc.
REMARKS:
• This playerutilizes a 9" TFT, LCD Display with multi audio/video outputs presented as a 2 channelaudio output.Please make sure the power is
off on boththe player and TV before connecting the leads.
• Connecting to a TV:The Player can be connected to aTV to displaythe sound and video ofthe DVD orother disc being played.
• Both units should be switched off when the connections are made.
• Ensure theTV and Player are set tothe correct (same) systems (PAL/ NTSC /AUTO) and screen format (4:3 /16:9)
To achieve this
use the leads provided.
•The BLACKjack plug connect to (11)the AV OUT Jack on the Player.
NOTE:
Battery life willbe reduced ifthe display isoperated at highlevels of brightnessand contrast.A low battery symbolwill appear onthe screen
when your batteriespower is runninglow.

~05~
Remote Control Layout and Functions:
REMOTE INTRODUCTION
1
2
3
4
5
6
7
8
9
1. STANDBY button
2. TITLEbutton
3.TFT POWER button
4. NUMERICbutton
5. PROGRAMbutton
6. PAL / NTSCbutton
7. SOURCEbutton
8. ZOOM button
9. DIRECTIONbutton ( / / / )
10. ENTERbutton
11. SLOW button
12. STEPbutton
13. STOP button
14. FAST BACKWARDbutton
15. FAST FORWARD button
16.VOLUME- button
10
11
12
13
14
15
16
17
18
20
21
22
23
24
25
26
27
28
29
30
31
32
33
19
REMARKS:
Battery Fitment:Should the battery inthe Remote
Control need tobe replaced thenproceed as follows:
Squeeze the clipon the Battery Carrierinwards and
pull the carrierout of theunit.
Replace the battery witha type Cr2025 orequivalent
ensuring the negativepole of the
battery faces towardsthe button sideof the remote
Control.See diagram right:
+
17. VOLUME+ button
18. DISPLAY button
19. MENUbutton
20. SEARCHbutton
21. REPEAT button
22. SETUPbutton
23. A-BREPEATbutton
24. SUBTITLE button
25. AUDIO button
26. ANGLEbutton
27. PLAY/PAUSEbutton
28. NEXTbutton
29. PREVIOUSbutton
30. PBCbutton
31. MUTEbutton

~06~
FUNCTION BUTTONS
• [
• [
Press [PROGRAM] buttonon the remotecontroller to
program a disc play in adesired sequence.
In PBC off mode, pressthis button toenter the program
menu.
When the program menuappears, inputthe Title number
by pressing the numericbutton, thenpress [ENTER]
button. Andthen input title Chapternumber,press
[ENTER] button to confirm.
Then the programming is completed.
* Press PLAY button tostart program play.
* Press STOPbutton to quitthe program play.
In CD mode
When the programmenu appears,input the track number
TFT POWER]:
Press the [TFT POWER] toturn off / onthe Display.
PROGRAM]:
In DVD mode:
TFT POWER
PROGRAM
Prog ram : T T ( 02 ) / C H ( - - )
0 1 T T : C H: 0 6 T T : C H:
0 2 T T : C H: 0 7 T T : C H:
0 3 T T : C H: 0 8 T T : C H:
0 4 T T : C H: 0 9 T T : C H:
0 5 T T : C H: 10 T T : C H:
Exit NEXT
by pressing thenumeric button,then press [ENTER]
button confirm.Then theprogramming is completed.
* Press PLAY button tostart program play.
* Press STOP button toquit the programplay.
•
•
Repeatedly playback yourchoice of Title,Chapter orTrack
by repeatedly pressingthe [REPEAT] button.
[SOURCE]:
Press [SOURCE] buttonto switch amongdisc playback,
USB and SD/ MMC /MS.
[REPEAT]:
Program : T rack(0 1 - 18)
0 1 _ _ 0 6 _ _
0 2 _ _ 0 7 _ _
0 3 _ _ 0 8 _ _
0 4 _ _ 0 9 _ _
0 5 _ _ 1 0 _ _
Exit NEXT
Track 02/18 01:43Track 02/18 01:43
NOTE:
Some DVD discsdo not allowprogram setting.Single track
discs cannot beprogrammed.
SOURCE
REPEAT

~07~
FUNCTION BUTTONS
Repeat chapter
Repeat title
Repeat disc
Repeat off
Repeat chapter
Repeat disc
Repeat off
Repeat track
Repeat disc
Repeat off
Repeat track
Repeat folder
Repeat disc
Repeat off
In DVD mode
In VCD mode
In MP3 mode
REP.CHAPTER
REP.TITLE
REP.ALL
REP.OFF
REP.1
REP.ALL
REP.OFF
REP.1
REP.ALL
REP.OFF
REP.1
REP.DIR
REP.ALL
REP.OFF
In CD mode
NOTE:
Some DVD discsdo not allowREPEAT.
•
To repeatedlyplayback a specificsection of a disc:
* Press the[REPEAT] button athe desired start point.
REPEATA appears onthe screen.
* Press thebutton again atthe end ofthe desired section
REPEATB appears onthe screen.
* Theselected section will nowplayback repeatedly until
thews function is cancelledby pressing the[REPEAT]
button for athird time.
[A-B REPEAT]:
A-B REPEAT
NOTE:
Some DVD discsdo not allow the A-B REPEAT function.Does
not apply toMP3.
• [
Press the [ZOOM] button onthe remote controlto enlarge
the picture on thescreen.
*
Press the [ZOOM] button repeatedly, thescreen picture
will be enlargedas the followingscale:
*
Press the [ZOOM] button repeatedly, thescreen picture
will be changeas above.When zoomis off,press
direction button torotate the picture.
When zoomis 2,3 or4 press directionbutton to move
picture.
•
Todirectly access aDVD or aCD track,input the desired
DVD chapter orCD track numberusing the numericKey
Pad.
ZOOM]:
Play VCD /DVD:
ZOOM x 2,ZOOM
x 3,ZOOM x 4,ZOOM x1/2,ZOOM x 1/3,ZOOM x1/4,
ZOOM OFF.
Play JPEG:
[NUMERIC KEY PAD]:
ZOOM
NOTE:
Zooming degrades picturequality.
NOTE:
Some DVD discsdo not allowdirect access.

~08~
FUNCTION BUTTONS
• [
Press the [ ] button onthe remote controlto
display the playtime and statusinformation.
• [
Press the [SETUP]button to enterthe menu.
Setup menu isa facility forthe owner toadjust the detail
setting of theplayer.For the details, pleasesee the Setup
Menu.
• [
Press the buttons to selectthe desired feature
in the menuand then press[ENTER] button toconfirm.
• [
While playinga DVD disc,press the [TITLE] button to
return to thebeginning title ofthe DVD disc.Then youcan
select the playmode as youwant.
• [
While playinga DVD disc,press the [MENU]button to
return to thestart menu of theDVD disc.
• [
Press the [PBC]button repeatedly,the screen willdisplay
PBC ON orPBC OFF. Onlyfor VCD, for other discs,the
function is invalid.
DISPLAY]:
DISPLAY
SETUP]:
DIRECTION and ENTER]:
DIRECTION
TITLE]:
MENU]:
PBC]:
DISPLAY
SETUP
TITLE
NOTE:
Some DVD discsdo not support theTITLE function.
MENU
PBC
VOL+
VOL-
MUTE
SUBTITLE
AUDIO
VOL 20
•
While playing backa disc,press the [VOL+] or [VOL-]
button to adjustthe volume output,volume level will
display on thescreen.
Volume levelcontrol does notapply to digitalaudio
output level whileDVD disc isplaying.
• [
While playback adisc,if you needto Mute thevolume of
the Player, pressthe [MUTE] buttonone time tomute,
press again tocancel mute.
• [
While playing backa DVD disc.Press the [SUBTITLE]
button repeatedly toselect the desired subtitle. aDVD
disc may containup to 32selectable subtitles.It depends
on the individualdisc.
• [
While playing backa DVD disc.Press the [AUDIO] button
repeatedly to selectthe desired audiosound track.a DVD
disc may containsup to 8selectable audio soundtracks.
[VOL+] / [VOL-]:
MUTE]:
SUBTITLE]:
AUDIO]:
NOTE:
The DVD discsstart menu may contain setup forAngle,Subtitle
and Audio soundtrackselection.You may do theselection in
the disc start menu.

Table of contents
Other Element Portable DVD Player manuals