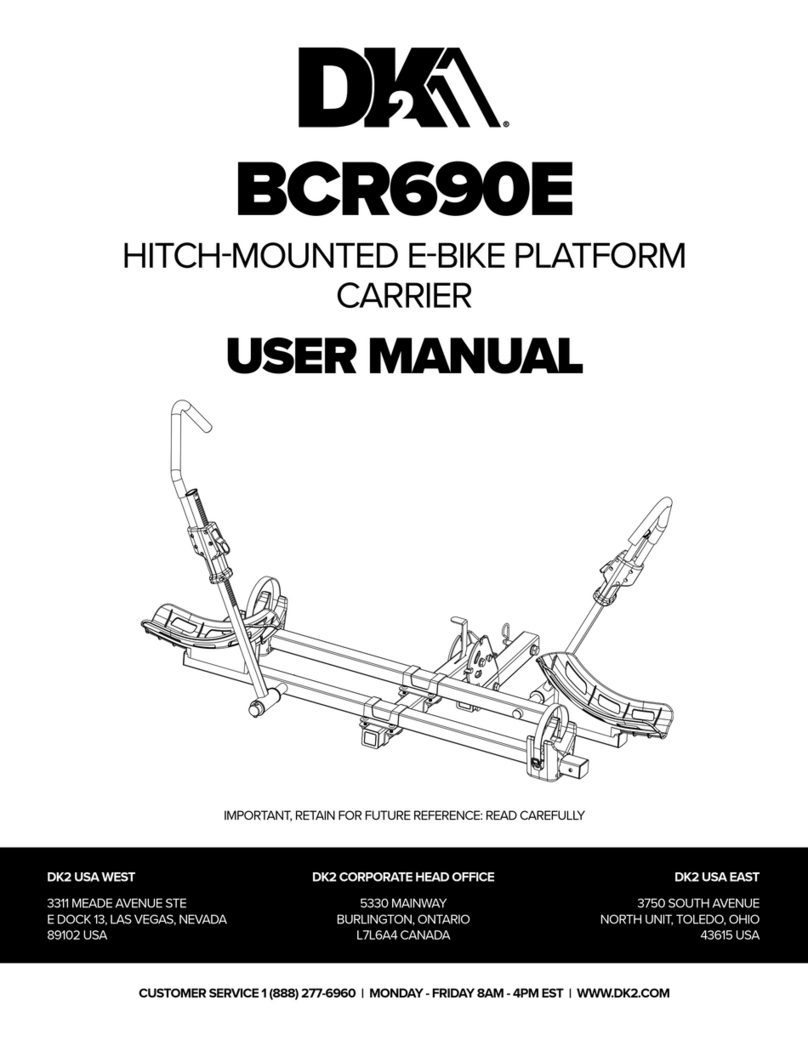
DK2 HCC602 User manual

HCC602
HITCH MOUNTED CARGO CARRIER
500 LB CAPACITY HITCH MOUNTED FOLDING CAPABILITY
USER MANUAL
1 888 2776960 ENGLISH / FRENCH | MONDAY FRIDAY 8AM 4PM EST | WWW.DETAILK2.COM
MADE IN CHINA
IMPORTANT, RETAIN FOR FUTURE REFERENCE: READ CAREFULLY
DK2 USA WEST
4301 S VALLEY VIEW BLVD.
SUITE 10-11 LAS VEGAS, NEVADA
89103 USA
DK2 USA EAST
3750 SOUTH AVENUE,
NORTH UNIT TOLEDO, OHIO
43615 USA
DK2 CORPORATE HEAD OFFICE
5330 MAINWAY
BURLINGTON, ONTARIO
L7L6A4 CANADA

2 | HCC602 man. v.210520
SECTION I: WARNINGS
SAFE AND PROPER USE ..............................................................5
SECTION II: ASSEMBLY, INSTALLATION & USE
ASSEMBLY & INSTALLATION...........................................................8
USE.................................................................................9
SECTION III: PARTS & WARRANTY
PARTS LIST ..........................................................................11
PARTS DIAGRAM ....................................................................12
LIMITED 1 YEAR WARRANTY ..........................................................13
TABLE OF CONTENTS
ENGLISH

HCC602 man. v.210520 | 3
SPECIFICATIONS
ITEM NUMBER HCC602
CONSTRUCTION Corrosion Resistant Black Powder Coated Steel
MOUNT STYLE Hitch-Mounted
MAX CAPACITY 500 lb *With a Class III or IV Hitch Receiver
DIMENSIONS 60” x 20” x 6.5”
WEIGHT 47 lb
SHIPPING DIMENSIONS 32” x 22” x 10”
SHIPPING WEIGHT 51 lb
ENGLISH

SECTION I
WARNINGS

HCC602 man. v.210520 | 5
IMPORTANT
Read safety rules and instructions carefully before using this equipment. Read and follow
instructions carefully. Save owner’s manual for future reference or parts information. Be certain
any future user of this carrier is aware of correct attachment and use.
CAUTION
Safety First - Read this manual carefully before attaching and using your cargo carrier. We
recommend that you read this manual completely so that you are fully aware of all important
safety recommendations. Record your serial number.
DANGER
This equipment was built to be operated according to the rules for safe operation in this manual.
As with any type of equipment, carelessness or error on the part of the operator can result in
serious injury or property damage.
• To use this equipment properly, you must observe the safety regulations, the assembly
instructions and the operating instructions to be found in this manual.
• All persons who use and service the carrier must be informed about potential hazards and
must be well acquainted with this manual.
IMPORTANT WARNING
It is critical that your DK2 Cargo Carrier is properly secured to the vehicle.
• Attaching it improperly could result in a vehicular accident, causing serious bodily harm,
injuries, or death to you or to others.
• Securing racks and accessories to your vehicle is your legal responsibility. Check the carrier
prior to use, and inspect the components for adjustment, wear, and damage periodically.
• You must read and understand all of the instructions and cautions before you install or use
the cargo carrier.
• If you do not understand all of the instructions and cautions, or if your mechanical
experience precludes following them, have the rack installed by a professional.
WARNINGS
IMPORTANT SAFE OPERATING PRACTICES
ENGLISH

6 | HCC602 man. v.210520
WARNINGS
IMPORTANT SAFE OPERATING PRACTICES
WARNING
Though this rack is designed to fasten securely to most 2 inch automotive hitch receivers,
variations in vehicle design and specifications make it impossible to guarantee that it will in all
cases. This assumes the vehicle is in good condition in the area supporting the hitch. YOU ARE
RESPONSIBLE to ensure the rack attaches safely and securely to the vehicle and that it holds
the cargo in a safe manner.
• This rack is designed for use on passenger cars, trucks, and SUVs that have the correct hitch
receiver and hitch receiver weight capacity
• Inappropriate use and fastening of the rack to the vehicle may lead to damage to cargo,
the rack, and/or your vehicle. It may also inflict damage on other vehicles behind and
somewhere on the road with you.
WARNING
• Do not exceed the rated capacity of this cargo carrier.
• Do not load cargo weighing more than 500 lb / 226.8 kg.
CAUTION
• Ensure that the use of this rack is not in contravention of local trac regulations with regard
to protrusion from vehicle, or the obscuration of license plates or tail lights resulting from its
use.
• Always use the bungee straps or otherwise tie the cargo to secure it to the carrier. To
increase the stability and security of the load, you may use rope, shock cord, or cable locks.
• Worn or frayed straps should be replaced immediately at the first sign of wear. Check them
frequently.
1. READ YOUR OWNER’S MANUAL CAREFULLY. Get to know your cargo rack and familiarize
yourself with its applications and limitations.
2. USE THE RACK ACCORDING TO THE GUIDELINES IN THIS MANUAL. Do not abuse it or
force it to do a job for which it was not designed.
3. USE ONLY ORIGINAL EQUIPMENT PARTS AND ACCESSORIES. Consult this owner’s
manual. The use of incorrect accessories may produce unforeseen hazards.
ENGLISH

SECTION II
ASSEMBLY, INSTALLATION & USE

8 | HCC602 man. v.210520
ASSEMBLY
STEP BY STEP INSTRUCTIONS
Remove everything from the carton and check the components against the parts list,
familiarizing yourself with them as you go. Retain packing materials until you are sure all parts
are present and in good condition.
1. Please refer to the schematic drawings on Page 12.
2. Install two M12 Bolts (11) through one Frame (1), the 2 Inch Square Body Assembly Frame
Tube (2), and the second Frame (1).
3. Install M12 Flat Washers (10), and M12 Lock Nuts (9) on the bolts.
REMARK: Do not tighten them until connecting plate (3) installation is finished.
4. Place the two Connecting Plates (3) onto Frames (1).
5. Install M10 Bolts (14) through the plates at the front and back of the joined Frames (1), add
M10 Flat Washers (13), and tighten them together with the M10 Lock Nuts (12).
6. Connect the 2 Inch Folding Tube (4) to 2 Inch Body Assembly Tube (2), passing the M16 Bolt
(8) through hole B, as shown on the schematic drawing and fig. 2, and fastening it with the
M16 Lock Nut (7).
7. Insert the Connecting Pin (6) through hole C to hold the folding tube in the forward-
extended position shown in the schematic drawing and fig. 2.
8. Secure the connecting pin with the R-Spring Cotter Pin (5).
9. Your cargo carrier assembly is now complete as shown in fig. 3.
10. Attach the cargo carrier assembly by inserting the 2 Inch Folding Tube into the 2 Inch hitch
receiver of your vehicle and sliding it to the point that the holes in the two align.
11. Secure the assembly in place using the hitch pin and retainer clip that are supplied with your
vehicle’s hitch receiver.
WARNING
Use the cargo carrier only with a properly installed 2 inch hitch receiver, capable of supporting
the cargo carrier and its load. Refer to the hitch receiver manufacturer’s specifications and load
capacities before using.
ENGLISH

HCC602 man. v.210520 | 9
LOADING YOUR CARGO
WARNING
Maximum weight of cargo is not to exceed 500 lb. / 226.8 kg.
1. Slide cargo across the frame to find the center of gravity, where the cargo will resit without
excessive rocking.
2. The cargo must be bungee-corded or otherwise tied to prevent swaying.
NOTE: Before each use, be sure all the components of the rack are in good working order.
Verify that all hardware is tight and secure before placing anything on the HCC602.
FOLDING THE FRAME BODY WHEN NOT IN USE
1. Pull out the R-Spring Cotter Pin (5) and then the Connecting Pin (6).
2. Lift the rear edge of the frame body assembly up until the frame body is vertical as show in
fig. 5.
3. Insert the Connecting Pin (6) through the 2” Body Assembly Tube (2) and the lower hole
(Hole A) in the 2” Foldable Tube (4) and insert the Clip (5) into the Connecting Pin (6) to hold
the frame body assembly perpendicular to the hitch receiver tube and close to the rear of
the vehicle (fig 6.)
USE
HOW TO PROPERLY USE YOUR HITCH MOUNTED CARGO CARRIER
ENGLISH

SECTION III
PARTS & WARRANTY
Table of contents
Languages:
Other DK2 Automobile Accessories manuals