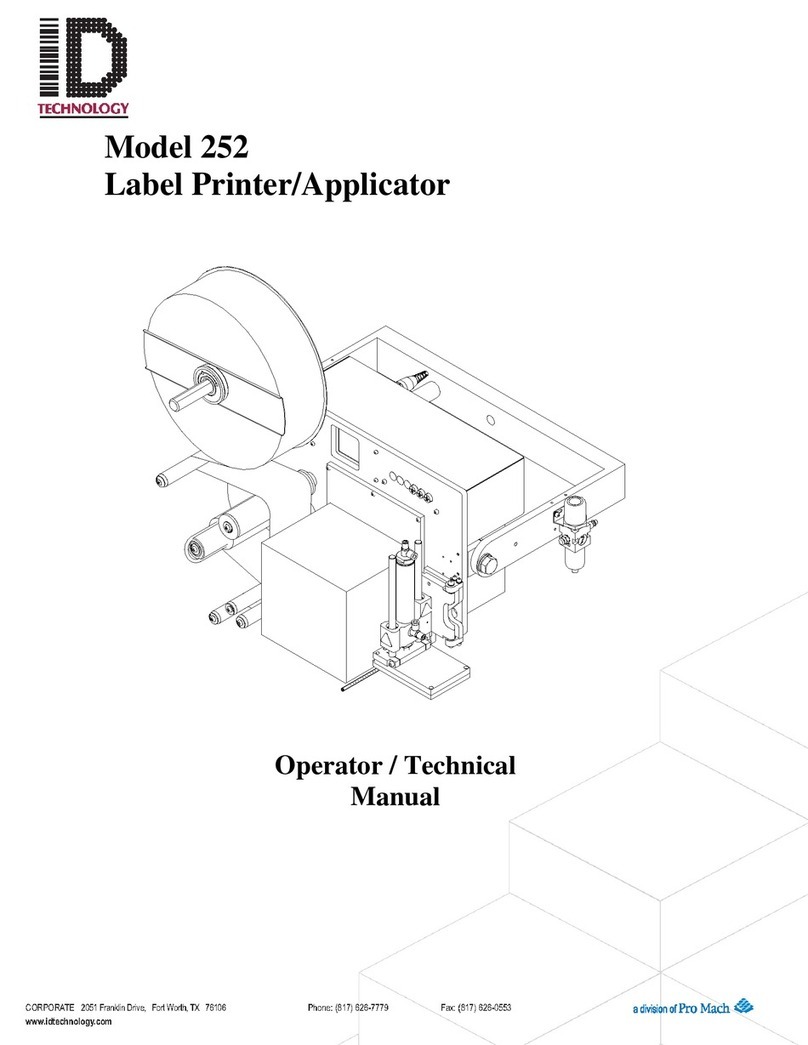
CAB Hermes C Series User manual

Made in Germany
Operator's Manual
Hermes C
Label Printer

2 2
Family Type
Hermes C Hermes C6
Edition: 03/2018 - Part No. 9009754
Copyright
This documentation as well as translation hereof are property of cab Produkttechnik GmbH & Co. KG.
The replication, conversion, duplication or divulgement of the whole manual or parts of it for other intentions than its original
intended purpose demand the previous written authorization by cab.
Trademark
Windows is a registered trademarks of the Microsoft Corporation.
Editor
Regarding questions or comments please contact cab Produkttechnik GmbH & Co. KG.
Topicality
Due to the constant further development of our products discrepancies between documentation and product can occur.
Please check www.cab.de for the latest update.
Terms and conditions
Deliveries and performances are effected under the General conditions of sale of cab.
Operator's Manual - Translation of the Original Version
for the following products
Germany
cab Produkttechnik GmbH & Co KG
Karlsruhe
Phone +49 721 6626 0
www.cab.de
USA
cab Technology, Inc.
Chelmsford, MA
Phone +1 978 250 8321
www.cab.de/us
Taiwan
cab Technology Co., Ltd.
Taipei
Phone +886 (02) 8227 3966
www.cab.de/tw
China
cab (Shanghai) Trading Co., Ltd.
Guangzhou
Phone +86 (020) 2831 7358
www.cab.de/cn
France
cab Technologies S.à.r.l.
Niedermodern
Phone +33 388 722501
www.cab.de/fr
Mexico
cab Technology, Inc.
Juárez
Phone +52 656 682 4301
www.cab.de/es
China
cab (Shanghai) Trading Co., Ltd.
Shanghai
Phone +86 (021) 6236 3161
www.cab.de/cn
South Africa
cab Technology (Pty) Ltd.
Randburg
Phone +27 11 886 3580
www.cab.de/za

3
Table of Contents
1 Introduction............................................................................................................................................4
1.1 Instructions...............................................................................................................................................4
1.2 Intended Use............................................................................................................................................4
1.3 Safety Instructions....................................................................................................................................5
1.4 Safety Marking.........................................................................................................................................6
1.5 Environment.............................................................................................................................................6
2 Installation..............................................................................................................................................7
2.1 Device Overview......................................................................................................................................7
2.2 Unpacking and Setting-up the Printer......................................................................................................9
2.3 Connecting the Device...........................................................................................................................10
2.4 Switching on the Device.........................................................................................................................10
3 Control Panel........................................................................................................................................ 11
3.1 Structure of the Control Panel.................................................................................................................11
3.2 Symbol Displays......................................................................................................................................11
3.3 Printer States .........................................................................................................................................12
3.4 Key Functions ........................................................................................................................................13
4 Loading Material...................................................................................................................................14
4.1 Loading Labels.......................................................................................................................................14
4.2 Setting the Head Locking Systems........................................................................................................18
4.3 Loading Transfer Ribbon........................................................................................................................19
4.4 Setting the Feed Path of the Transfer Ribbon........................................................................................20
5 Printing Operation................................................................................................................................21
5.1 Printhead Protection...............................................................................................................................21
5.2 Designing the Print Image with Direct Programming .............................................................................21
5.3 Synchronization of the Paper Feed........................................................................................................21
5.4 Peel-off Mode.........................................................................................................................................21
5.5 Ribbon Saving........................................................................................................................................21
5.6 Avoiding Loss of Data............................................................................................................................22
5.7 Optimization of the Data Transfer ..........................................................................................................22
6 Cleaning................................................................................................................................................23
6.1 Cleaning Information..............................................................................................................................23
6.2 Cleaning the Print Rollers ......................................................................................................................23
6.3 Cleaning the Printheads.........................................................................................................................23
7 Fault Correction ...................................................................................................................................24
7.1 Types of Errors.......................................................................................................................................24
7.2 Problem Solution....................................................................................................................................25
7.3 Error Messages and Fault Correction....................................................................................................26
8 Labels....................................................................................................................................................28
8.1 Label Dimensions...................................................................................................................................28
8.2 Device Dimensions ...............................................................................................................................29
9 Licences................................................................................................................................................30
9.1 Declaration of Incorporation...................................................................................................................30
9.2 EU Declaration of Conformity.................................................................................................................31
9.3 FCC........................................................................................................................................................31
10 Index......................................................................................................................................................32

4 4
1 Introduction
1.1 Instructions
Important information and instructions are designated as follows:
Danger!
Draws attention to an exceptionally great, imminent danger to your health or life due to hazardous
voltages.
!
Danger!
Draws attention to a danger with high risk which, if not avoided, may result in death or serious injury.
!
Warning!
Draws attention to a danger with medium risk which, if not avoided, may result in death or serious injury.
!
Caution!
Draws attention to a danger with low risk which, if not avoided, may result in minor or moderate injury.
!
Attention!
Draws attention to potential risks of property damage or loss of quality.
i
Note!
Advices to make work routine easier or on important steps to be carried out.
Environment!
Advices on protecting the environment.
Handling instructions
Reference to chapter, position, picture number or document.
Option (accessories, peripherals, extras).
Time Viewed in the display / monitor.
1.2 Intended Use
• The device is manufactured in accordance with the current technological status and the recognized safety rules.
However, danger to the life and limb of the user or third parties and/or damage to the device and other tangible
assets can arise during use.
• The device may only be used for its intended purpose and if it is in perfect working order, and it must be used with
regard to safety and dangers as stated in the operating manual.
• The printer is designed for the integration into a production line. It is intended exclusively for printing suitable
materials that have been approved by the manufacturer and for coupling a cab or non-cab applicator which
transfers labels from the printer to a product. Any other use or use going beyond this shall be regarded as
improper use. The manufacturer/supplier shall not be liable for damage resulting from unauthorized use; the user
shall bear the risk alone.
• Usage for the intended purpose also includes complying with the operating manual, including the manufacturer‘s
maintenance recommendations and specications.
i
Note!
The complete documentation is included in the scope of delivery on DVD, and can also currently be found in
the Internet.

5
1 Introduction
1.3 Safety Instructions
• The device is congured for voltages of 100 to 240 V AC. It only has to be plugged into a grounded socket.
• Only connect the device to other devices which have a protective low voltage.
• Switch off all affected devices (computer, printer, accessories) before connecting or disconnecting.
• The device may only be used in a dry environment, do not expose it to moisture (sprays of water, mists, etc.).
• Do not use the device in an explosive atmosphere.
• Do not use the device close to high-voltage power lines.
• If the device is operated with the cover open or without cover, ensure that people‘s clothing, hair, jewelry etc. do
not come into contact with the exposed rotating parts.
• The device or parts of it, especially the printhead can become hot while printing. Do not touch during operation,
and allow to cool down before changing material and before disassembly.
• Risk of crushing when closing the cover. Touch the cover at the outside only. Do not reach into the swivel range of
the cover.
• Perform only those actions described in this operating manual.
Work going beyond this may only be performed by trained personnel or service technicians.
• Unauthorized interference with electronic modules or their software can cause malfunctions.
• Other unauthorized work on or modications to the device can also endanger operational safety.
• Always have service work done in a qualied workshop, where the personnel have the technical knowledge and
tools required to do the necessary work.
• There are various warning stickers on the device. They draw your attention to dangers.
Warning stickers must therefore not be removed, as then you and other people cannot be aware of dangers and
may be injured.
• The maximum sound pressure level LpA is less than 70 dB(A).
Danger!
Danger to life and limb from power supply.
Do not open the device casing.
!
Attention!
This is a class A product. In a domestic environment this product may cause radio interference in which
case the user may be required to take adequate measures.

6 6
1.4 Safety Marking
1
22
1
Figure 1 Safety marking
Danger spot !
• Risk of burning on the hot printhead assembly (1).
Do not touch the printhead during operation, and allow to cool down before
changing material and before disassembly.
• Entanglement hazard by turning roller (2).
Ensure that people‘s clothing, hair, jewelry etc. do not come into contact with the
exposed rotating parts.
1.5 Environment
Obsolete devices contain valuable recyclable materials that should be sent for recycling.
Send to suitable collection points, separately from residual waste.
The modular construction of the printer enables it to be easily disassembled into its component parts.
Send the parts for recycling.
The electronic circuit board of the device is equipped with a lithium battery.
Take old batteries to collection boxes in shops or public waste disposal centers.
1 Introduction

7
2 Installation
2.1 Device Overview
2
1
5
6
3
8
10
11
14
4
7
9
12
13
15
1 Cover (Option)
2 Control panel
3 Ribbon take-up hub AC
4 Ribbon take-up hub MC
5 Interface for cab-applicators
6 Ribbon supply hub AC
7 Ribbon supply hub MC
8 Print mechanism
9 Cover (Option)
10 Roll retainer
11 Pivot arm with guide roller
12 Guide roller
13 Internal rewinder
14 Transport system
15 Backfeed system
MC...Main color
AC...Additional color
Figure 2 Overview
17 2118 2219 2016
24 25 2726 29 30 3123 28
16 Antistatic brush MC
17 Ribbon deection MC
18 Printhead locking lever MC
19 Allen key
20 Antistatic brush AC
21 Ribbon deection AC
22 Printhead locking lever AC
23 Printhead retainer with printhead MC
24 Peel-off edge
25 Print roller MC
26 Media guide
27 Spindle for media guide adjustment
28 Printhead retainer with printhead AC
29 Print roller AC
30 Spindle for label sensor adjustment
31 Label sensor
MC...Main color
AC...Additional color
Figure 3 Print mechanism

8 8
2 Installation
32
33
34
35
36
37
38
39
40
41
42
43
32 Power switch
33 Power connection jack
34 Slot for PC Card Type II or WLAN card
35 Slot for CompactFlash memory card
36 Ethernet 10/100 Base-T
37 2 USB master ports for keyboard,
scanner or service key
38 USB high-speed slave port
39 Serial RS-232 C port
40 Connector central compressed air valve
41 I/O interface
42 Connector warning light
43 Connector emergency stop
Figure 4 Connections

9
2 Installation
2.2 Unpacking and Setting-up the Printer
Lift the printer out of the box.
Check printer for damage which may have occurred during transport.
Remove foam transportation safeguards near the printhead.
Check delivery for completeness.
Contents of delivery:
• Printer
• Power cable
• USB cable
• Operator's Manual
• DVD with label software, Windows driver and documentation
i
Note!
Please keep the original packaging in case the printer must be returned.
!
Attention!
The device and printing materials will be damaged by moisture and wetness.
Set up printers only in dry locations protected from splash water.
• Fixing at four M6 drillings on the bottom side of the chassis
Orientation upright standing only
• Fixing via bracket at each four M6 drillings on both sides of the
chassis
Orientation vertically, turnable by 360 degrees
• Fixing via bracket at each four M6 drillings on both sides of the
chassis
Orientation horizontally, with operator's side up
Table 1 Permitted mounting orientations

10 10
2 Installation
2.3 Connecting the Device
The standard available interfaces and connectors are shown in Figure 4 on page 8.
2.3.1 Connecting to the Power Supply
The printer is equipped with a wide area power unit. The device can be operated with a supply voltage of
230 V~/50 Hz or 115 V~/60 Hz without adjustment.
1. Check that the device is switched off.
2. Plug the power cable into the power connection socket (33 / Figure 4).
3. Plug the power cable into a grounded socket.
2.3.2 Connecting to a Computer or Computer Network
!
Attention!
Inadequate or no grounding can cause malfunctions during operations.
Ensure that all computers and cables connected to the printer are grounded.
Connect the printer to a computer or network by a suitable cable.
For details of the I/O interface, the connector emergency stop and the connector central valve Interface
Description.
For details of the conguration of the other interfaces Conguration Manual.
2.4 Switching on the Device
When all connections have been made:
Switch the printer on at the power switch (32 / Figure 4).
The printer performs a system test, and then shows the system status Ready in the display.
If an error occurs during the system test, the symbol and type of error are displayed.
Other manuals for Hermes C Series
1
This manual suits for next models
1
Table of contents
Other CAB Label Maker manuals