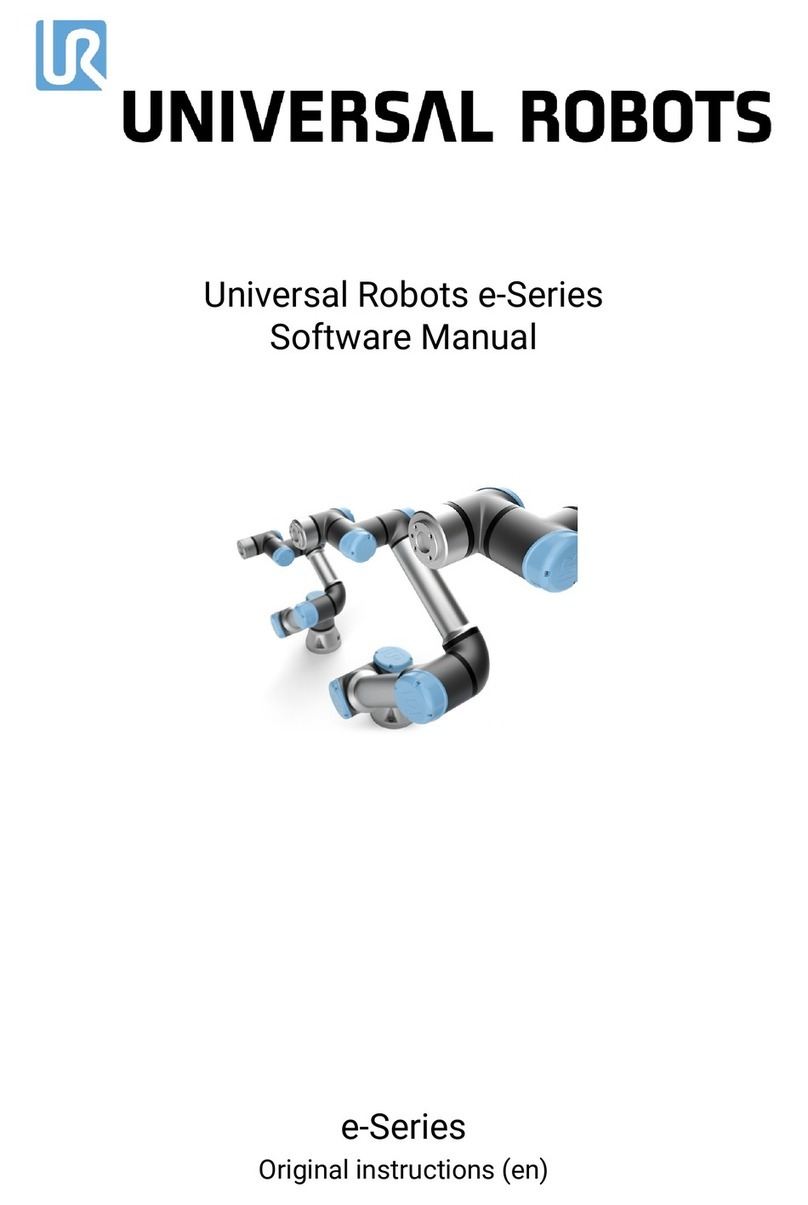
Boston Acoustics SPOT Instruction Manual

SPOT SYSTEM ADMINISTRATION
SPOT 2.0.1

© Boston Dynamics 2020
All rights reserved
D-0023-2.0.1
Boston Dynamics
78 4th Ave.
Waltham, MA 02451
USA
(617) 868-5600
BOSTON DYNAMICS PROPRIETARY AND CONFIDENTIAL 2

CONTENTS
INTRODUCTION
NETWORK SETUP
SETTING UP MULTICAST DNS
USERS AND ACCOUNTS
MANAGING LICENSES
SPECIFYING FIDUCIAL SIZE
SOFTWARE UPDATES
ROBOT MAINTENANCE
RECALIBRATION WITH SPOTCHECK
ROBOT LOGGING
DIAGNOSTIC DATA LOGGING WITH SPOTMETRICS
CONTACTING SUPPORT
INTRODUCTION
Spot system administrators carry out software updates, configure network settings, and perform
routine maintenance for Spot robots. Tools for recalibrating aspects of the robot's mobility and
perception systems are available for administrators to use to help keep the robot operating as
designed.
The primary tools available to the robot administrator include:
●The robot's web-based admin console
●SpotCheck diagnostic and calibration tools using the tablet controller
BOSTON DYNAMICS PROPRIETARY AND CONFIDENTIAL 3

ADMIN CONSOLE
Spot robots are equipped with a web server that provides access to an administrative console
that can be accessed by robot operators and administrators.
Robot admins use the console to perform software updates, manage users and accounts,
configure network settings, and configure payloads.
The admin console provides access to a range of configuration options, including:
●Payload configurations
●Network settings
●User & account management
●Logs
●Software updates
Operators have access to a subset of these functions.
Robot administrators have access to additional features in the the admin console:
●User management
●Software update
BOSTON DYNAMICS PROPRIETARY AND CONFIDENTIAL 4

ADMIN CONSOLE SECTIONS
User management*
Create and manage operator and admin accounts.
Network setup
Configure robot wifi and ethernet settings.
Software update*
Review current software version information. Upload and
install new robot software and monitor update progress.
Logs
Review and download log data. Review time stamped
operational comments.
About
Rename the robot, review software version, check
cumulative runtime data. Legal information.
Payloads
Add and configure new payloads and review payload
settings.
General settings
Enable/disable privacy mode to stop data capture by the
robot.
Configure fiducial image size and applicable ranges.
*Admin users only
BOSTON DYNAMICS PROPRIETARY AND CONFIDENTIAL 5

Default user and admin credentials are printed on a label in the robot's battery compartment.
Note: Boston Dynamics recommends changing the robot’s default passwords.
ACCESSING THE ADMIN CONSOLE
Use the admin console to configure Spot’s network:
●Wired: Spot can connect to a wired network through ethernet. Change default settings as
needed to allow Spot to operate on an existing wired network.
●Hosted WiFi (default): Spot broadcasts its own wireless network. Best for short distances
between the controller (or control computer) and robot.
●Shared WiFi: Spot can join an existing wireless network such as the company network.
NOTE: Operators are responsible for Spot’s network security. Place Spot behind a firewall,
preferably on a private network.
The Spot robot’s default usernames and passwords are printed on a label in the battery
compartment.
Note: These instructions only apply if the robot’s default network settings have not been
changed.
1. Power on the robot.
2. Connect the Spot robot to your network using wifi or an ethernet cable from Spot to your
computer.
3. Configure a static IP address for your computer to use an address within the range 10.0.0.*
4. By default, the Spot robot IP address is 10.0.0.3. If you have more than one Spot robot, use
the admin console to change the default IP of additional robots to avoid address conflicts.
5. Open the admin console page referencing the robot IP address. For example:
https://10.0.0.3
6. Enter a valid admin or operator username and password.
BOSTON DYNAMICS PROPRIETARY AND CONFIDENTIAL 6

NETWORK SETUP
The Spot Robot is designed to operate in a variety of environments and conditions. As a result,
communications requirements will differ as well. Matching communications with environmental
other requirements is essential to successful robot operations.
The Spot robot is designed to be comms agnostic. We've performed testing with the following:
●Ethernet
●Wfi
●LTE (additional hardware required)
●Mesh radio (additional hardware required)
Whatever communications technology is chosen, the following minimum networking
conditions must be met for the robot to function.
< 300ms latency -
teleoperation only
The robot is designed to accept and execute control commands within
a 300ms time span.
If there are multiple nodes covering an operating environment (any
wireless network where the robot roams between more than one
access point) and the radio takes more than 300ms to swap from one
node to the next, the robot performance will be noticeably affected.
Capable of at least
5Mbps bandwidth
The robot automatically throttles data transmission when bandwidth
drops below 5Mbps.
It is possible to lose connection with the robot’s emergency stop
function under these conditions, which will cause the robot to
immediately stop, sit, and shut down its motors.
ETHERNET
A wired connection should be used for updating robot software, accessing logs, and modifying
network settings.
When uploading audio files to a Spot robot equipped with a Spot CAM payload, a wired
connection is also recommended.
BOSTON DYNAMICS PROPRIETARY AND CONFIDENTIAL 7

NOTE: These instructions only apply if the robot’s default wired network settings have not been
changed
1. Connect an ethernet cable from Spot to a computer.
2. Manually set the computer IP address. Spot’s default requirements for a computer’s IP
address is in the range of 10.0.0.* (For example, 10.0.0.100).
3. Apply settings.
4. Use a web browser to navigate to Spot’s static IP address. The factory default address is:
https://10.0.0.3
5. The login page for the console should appear. If it does not, check the laptop’s network
settings before contacting support.
6. Log in with default username and password.
CONNECTING SPOT TO A SHARED WIFI NETWORK
NOTE: Settings in advanced sections should be modified by users with experience in networking
and system administration.
Spot wifi operates only at 2.4GHz.
This is useful for joining company or site-specific WiFi networks, for example, when operating
Spot around a large office building. If using a controller to operate a robot on a shared WiFi
network, be sure to also configure the controller to join that network.
On a computer:
1. Connect to the admin console over ethernet.
2. Go to the Network page.
3. Switch robot to “client” mode.
4. Enter network name and password for the desired network.
5. Enter desired static IP address for robot. IP address must be valid on the network.
6. Apply settings.
7. A green confirmation box at the top of the page should appear indicating that settings
have applied.
8. Spot’s WiFi access point will no longer be available.
BOSTON DYNAMICS PROPRIETARY AND CONFIDENTIAL 8

On the controller:
1. On the Select Network page, join the desired WiFi network.
2. Click Add robot by IP address and enter robot’s static IP address.
SWITCHING TO HOSTED WIFI
This is necessary if you have modified the robot’s settings to join a shared WiFi network and now
want to change it back to broadcasting an access point. This is useful if operating a robot away
from the company network.
On a computer:
1. Connect to the admin console.
2. Go to the Network page.
3. Switch the robot to Access Point mode.
4. Apply settings.
On the controller Select network page, join Spot’s hosted WiFi network.
CONNECTING TO SPOT DIRECTLY
A computer can be connected directly to the robot’s WiFi access point. To connect to a robot
that has default factory settings:
1. Join Spot’s hosted WiFi network.
2. The robot WiFi network will automatically assign the computer an IP address. Make sure
the computer is configured to use DHCP for this WiFi network.
3. Use a web browser to navigate to Spot’s IP address: https://192.168.80.3
4. The login page for the console should appear. If it does not, check the computer’s
network settings before contacting support.
5. Log in with the default username and password.
BOSTON DYNAMICS PROPRIETARY AND CONFIDENTIAL 9

SETTING UP
MULTICAST DNS
Spot v2.0 includes support for multicast DNS (mDNS). This enables users to access a robot’s
admin console using the robot’s name in the browser URL instead of the robot’s IP number.
For example, to open the URL for a robot named “spot_1:"
https://spot_1.local
mDNS is supported natively on Windows 10 and macOS.
CONFIGURE THE ROBOT
Update the robot's network settings to use mDNS.
1. Access the robot's admin console.
2. Open the Network section in the admin console.
3. Configure a static IP address for the robot.
4. Click save and exit.
INSTALL MDNS ON LINUX
To install mDNS on Linux:
1. Get the packages.
sudo apt-get install avahi-daemon libnss-mdns
2. Edit the hosts line in: /etc/nsswitch.conf as follows:
hosts: files mdns4_minimal [NOTFOUND=return] dns
This tells the laptop to look first at the hosts file, then at mDNS.
CONNECTING TO THE SPOT API WITH MDNS
Developers creating client software for the Spot robot must set the GRPC_DNS_RESOLVER
environment variable to "native" to access robot services. For example:
GRPC_DNS_RESOLVER=native python3 -m bosdyn.client --verbose <nickname>.local id
BOSTON DYNAMICS PROPRIETARY AND CONFIDENTIAL 10
Other manuals for SPOT
6
Table of contents
Other Boston Acoustics Robotics manuals

Boston Acoustics
Boston Acoustics SPOT Specification sheet

Boston Acoustics
Boston Acoustics SPOT User manual

Boston Acoustics
Boston Acoustics SPOT Specification sheet

Boston Acoustics
Boston Acoustics SPOT User manual

Boston Acoustics
Boston Acoustics SPOT Specification sheet

Boston Acoustics
Boston Acoustics SPOT User manual

Boston Acoustics
Boston Acoustics SPOT 2.0.1 User manual