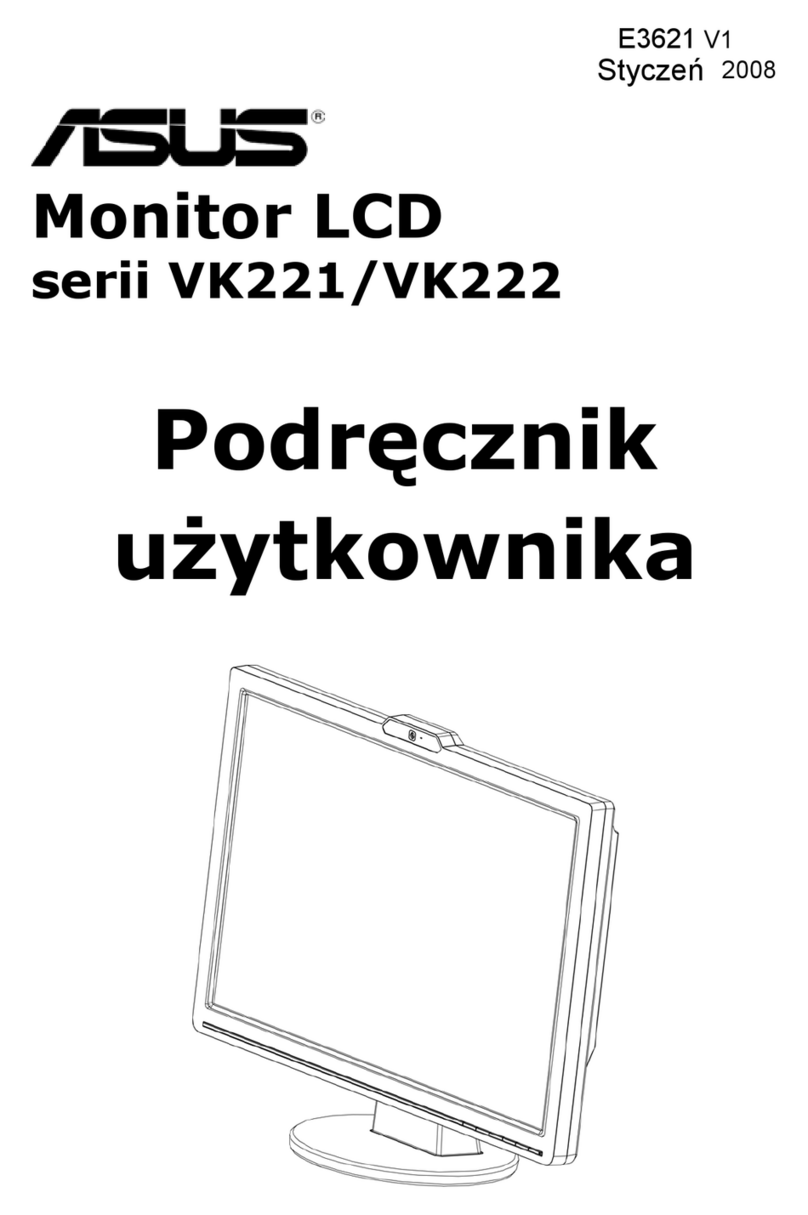
Asus PA238Q User manual

PA238Q Series
LED Monitor
User Guide

ii
Copyright © 2011 ASUSTeK COMPUTER INC. All Rights Reserved.
No part of this manual, including the products and software described in it, may be reproduced,
transmitted, transcribed, stored in a retrieval system, or translated into any language in any form or by any
means, except documentation kept by the purchaser for backup purposes, without the express written
permission of ASUSTeK COMPUTER INC. (“ASUS”).
Product warranty or service will not be extended if: (1) the product is repaired, modied or altered, unless
such repair, modication of alteration is authorized in writing by ASUS; or (2) the serial number of the
product is defaced or missing.
ASUS PROVIDES THIS MANUAL “AS IS” WITHOUT WARRANTY OF ANY KIND, EITHER EXPRESS
OR IMPLIED, INCLUDING BUT NOT LIMITED TO THE IMPLIED WARRANTIES OR CONDITIONS OF
MERCHANTABILITY OR FITNESS FOR A PARTICULAR PURPOSE. IN NO EVENT SHALL ASUS, ITS
DIRECTORS, OFFICERS, EMPLOYEES OR AGENTS BE LIABLE FOR ANY INDIRECT, SPECIAL,
INCIDENTAL, OR CONSEQUENTIAL DAMAGES (INCLUDING DAMAGES FOR LOSS OF PROFITS,
LOSS OF BUSINESS, LOSS OF USE OR DATA, INTERRUPTION OF BUSINESS AND THE LIKE),
EVEN IF ASUS HAS BEEN ADVISED OF THE POSSIBILITY OF SUCH DAMAGES ARISING FROM ANY
DEFECT OR ERROR IN THIS MANUAL OR PRODUCT.
SPECIFICATIONS AND INFORMATION CONTAINED IN THIS MANUAL ARE FURNISHED FOR
INFORMATIONAL USE ONLY, AND ARE SUBJECT TO CHANGE AT ANY TIME WITHOUT NOTICE,
AND SHOULD NOT BE CONSTRUED AS A COMMITMENT BY ASUS. ASUS ASSUMES NO
RESPONSIBILITY OR LIABILITY FOR ANY ERRORS OR INACCURACIES THAT MAY APPEAR IN THIS
MANUAL, INCLUDING THE PRODUCTS AND SOFTWARE DESCRIBED IN IT.
Products and corporate names appearing in this manual may or may not be registered trademarks or
copyrights of their respective companies, and are used only for identication or explanation and to the
owners’ benet, without intent to infringe.
Table of contents
1.3.1 Frontview....................................................................... 1-2
1.3.2 Backview........................................................................ 1-4
1.3.3 QuickFitFunction............................................................ 1-5
3.1.1 Howtorecongure.......................................................... 3-1
3.1.2 OSDFunctionIntroduction.............................................. 3-2

iii
Notices
ThisdevicecomplieswithPart15oftheFCCRules.Operationissubject
tothefollowingtwoconditions:
• Thisdevicemaynotcauseharmfulinterference,and
• Thisdevicemustacceptanyinterferencereceivedincluding
interferencethatmaycauseundesiredoperation.
Thisequipmenthasbeentestedandfoundtocomplywiththelimitsfora
ClassBdigitaldevice,pursuanttoPart15oftheFCCRules.Theselimits
aredesignedtoprovidereasonableprotectionagainstharmfulinterference
inaresidentialinstallation.Thisequipmentgenerates,usesandcan
radiateradiofrequencyenergyand,ifnotinstalledandusedinaccordance
withmanufacturer’sinstructions,maycauseharmfulinterferencetoradio
communications.However,thereisnoguaranteethatinterferencewill
notoccurinaparticularinstallation.Ifthisequipmentdoescauseharmful
interferencetoradioortelevisionreception,whichcanbedeterminedby
turningtheequipmentoffandon,theuserisencouragedtotrytocorrect
theinterferencebyoneormoreofthefollowingmeasures:
• Reorientorrelocatethereceivingantenna.
• Increasetheseparationbetweentheequipmentandreceiver.
• Connecttheequipmenttoanoutletonacircuitdifferentfromthatto
whichthereceiverisconnected.
• Consultthedealeroranexperiencedradio/TVtechnicianforhelp.
AsanEnergyStar®Partner,ourcompanyhasdetermined
thatthisproductmeetstheEnergyStar®guidelinesforenergy
efciency.
ThisdigitalapparatusdoesnotexceedtheClassBlimitsforradio
noiseemissionsfromdigitalapparatussetoutintheRadioInterference
RegulationsoftheCanadianDepartmentofCommunications.
ThisclassBdigitalapparatuscomplieswithCanadianICES-003.

iv
Safety information
• Beforesettingupthemonitor,carefullyreadallthedocumentationthat
camewiththepackage.
• Topreventfireorshockhazard,neverexposethemonitortorainor
moisture.
• Nevertrytoopenthemonitorcabinet.Thedangeroushighvoltages
insidethemonitormayresultinseriousphysicalinjury.
• Ifthepowersupplyisbroken,donottrytofixitbyyourself.Contacta
qualifiedservicetechnicianoryourretailer.
• Beforeusingtheproduct,makesureallcablesarecorrectlyconnected
andthepowercablesarenotdamaged.Ifyoudetectanydamage,
contactyourdealerimmediately.
• Slotsandopeningsonthebackortopofthecabinetareprovidedfor
ventilation.Donotblocktheseslots.Neverplacethisproductnearor
overaradiatororheatsourceunlessproperventilationisprovided.
• Themonitorshouldbeoperatedonlyfromthetypeofpowersource
indicatedonthelabel.Ifyouarenotsureofthetypeofpowersupplyto
yourhome,consultyourdealerorlocalpowercompany.
• Usetheappropriatepowerplugwhichcomplieswithyourlocalpower
standard.
• Donotoverloadpowerstripsandextensioncords.Overloadingcan
resultinfireorelectricshock.
• Avoiddust,humidity,andtemperatureextremes.Donotplacethe
monitorinanyareawhereitmaybecomewet.Placethemonitorona
stablesurface.
• Unplugtheunitduringalightningstormorifitwillnotbeusedfora
longperiodoftime.Thiswillprotectthemonitorfromdamagedueto
powersurges.
• Neverpushobjectsorspillliquidofanykindintotheslotsonthe
monitorcabinet.
• Toensuresatisfactoryoperation,usethemonitoronlywithULlisted
computerswhichhaveappropriateconfiguredreceptaclesmarked
between100~240VAC.
• Ifyouencountertechnicalproblemswiththemonitor,contacta
qualifiedservicetechnicianoryourretailer.

v
Care & Cleaning
• Beforeyouliftorrepositionyourmonitor,itisbettertodisconnectthe
cablesandpowercord.Followthecorrectliftingtechniqueswhen
positioningthemonitor.Whenliftingorcarryingthemonitor,graspthe
edgesofthemonitor.Donotliftthedisplaybythestandorthecord.
• Cleaning.Turnyourmonitoroffandunplugthepowercord.Cleanthe
monitorsurfacewithalint-free,non-abrasivecloth.Stubbornstains
mayberemovedwithaclothdampenedwithmildcleaner.
• Avoidusingacleanercontainingalcoholoracetone.Useacleaner
intendedforusewiththeLCD.Neverspraycleanerdirectlyonthe
screen,asitmaydripinsidethemonitorandcauseanelectricshock.
• Thescreenmayflickerduringtheinitialuseduetothenatureofthe
fluorescentlight.TurnoffthePowerSwitchandturnitonagainto
makesurethattheflickerdisappears.
• Youmayfindslightlyunevenbrightnessonthescreendependingon
thedesktoppatternyouuse.
• Whenthesameimageisdisplayedforhours,anafterimageofthe
previousscreenmayremainafterswitchingtheimage.Thescreenwill
recoverslowlyoryoucanturnoffthePowerSwitchforhours.
• Whenthescreenbecomesblackorflashes,orcannotworkanymore,
contactyourdealerorservicecentertofixit.Donotrepairthescreen
byyourself!
WARNING:Informationtopreventinjurytoyourselfwhentryingto
completeatask.
CAUTION:Informationtopreventdamagetothecomponents
whentryingtocompleteatask.
IMPORTANT:InformationthatyouMUSTfollowtocompletea
task.
NOTE:Tipsandadditionalinformationtoaidincompletingatask.

vi
Refertothefollowingsourcesforadditionalinformationandforproduct
andsoftwareupdates.
TheASUSwebsitesworldwideprovideupdatedinformationonASUS
hardwareandsoftwareproducts.Referto
Yourproductpackagemayincludeoptionaldocumentationthatmay
havebeenaddedbyyourdealer.Thesedocumentsarenotpartof
thestandardpackage.

1-1
ASUSPA238QSeriesLEDMonitor
1.1 Welcome!
ThankyouforpurchasingtheASUS®LEDmonitor!
ThelatestwidescreenLEDmonitorfromASUSprovidesacrisper,
broader,andbrighterdisplay,plusahostoffeaturesthatenhanceyour
viewingexperience.
Withthesefeatures,youcanenjoytheconvenienceanddelightfulvisual
experiencethatthemonitorbringsyou!
1.2 Package contents
Checkyourpackageforthefollowingitems:
LEDMonitor
PowerCord
VGACable
DVICable
DisplayPortCable
USBCable
CableTie
SupportCD
QuickStartGuide
WarrantyCard
ColorCalibrationTestReport
Ifanyoftheaboveitemsisdamagedormissing,contactyourretailerimmediately.

1-2 Chapter1:ProductIntroduction
1.3 Monitor introduction
2
1
3
4
5
6
7
1. PowerButton/PowerIndicator:
• Pressthisbuttontoturnthemonitoron/off.
• Thecolordefinitionofthepowerindicatorisshownbelow.
White ON
Amber Standbymode
OFF OFF
2. InputSelectButton:
• Pressthisbuttontoselectinputsource.
Press button(InputSelectbutton)todisplayHDMI/DisplayPortsignalsafter
youconnectHDMI/DisplayPortcablewiththemonitor.
3. Button:
• Pressthisbuttontodecreasevaluesortomoveyourselection
left/down.
• Contrasthotkey

1-3
ASUSPA238QSeriesLEDMonitor
4. MENUButton:
• PressthisbuttontoturnontheOSDmenu,ortoenactthe
selectedOSDmenuitem.
• PressthisbuttontoexitthehotkeyOSDmenu.
5. Button:
• Pressthisbuttontoincreasevaluesortomoveyourselection
right/up.
• Brightnesshotkey
6. Button:
• Pressthisbuttontoselectadesiredpresetmode.
• PressthisbuttontoexittheOSDmenuortogobacktothe
previousmenuwhentheOSDmenuisactive.
• Pressthisbuttonfor2~4secondstoautomaticallyadjustthe
imagetoitsoptimizedposition,clock,andphase(forVGAmode
only).
7. QuickFitbutton:
• PressthisbuttontoactivatetheQuickFitfunctiondesignedfor
alignment.
• TheQuickFitfunctioncontains7pagesofcommongridpatterns,
papersizes,andphotosizes.(Pleasereferto1.3.3QuickFit
Function)

1-4 Chapter1:ProductIntroduction
4321 5 6 8 9 107
11
1. AC-INport:Thisportconnectsthepowercord.
2. Powerswitch:Pressthisswitchtoturnon/offpower.
3. DisplayPort.ThisportisforconnectionwithaDisplayPortcompatible
device.
4. HDMIport:ThisportisforconnectionwithanHDMIcompatible
device.
5. DVIport:This24-pinportisforPC(PersonalComputer)DVI-Ddigital
signalconnection.
6. VGAport:This15-pinportisforPCVGAconnection.
7. Earphonejack.
8. USBupstreamport:ThisportisforconnectionwithaUSBupstream
cable.
Table of contents
Other Asus Monitor manuals

Asus
Asus REPUBLIC OF GAMERS ROG SWIFT PG32UQ User manual

Asus
Asus ROG STRIX XG258Q User manual

Asus
Asus ML239H User manual

Asus
Asus MS228H Series User manual

Asus
Asus VK222U User manual

Asus
Asus VC279 Series User manual

Asus
Asus VX228D User manual

Asus
Asus VG27VQ User manual

Asus
Asus VP32A Series User manual

Asus
Asus VA32UQ Series User manual

Asus
Asus VG248QE User manual

Asus
Asus VK221S User manual

Asus
Asus PQ321 Series User guide

Asus
Asus VG279Q3A Series User manual

Asus
Asus PB328Q User manual

Asus
Asus ROG Strix XG43UQ User manual

Asus
Asus VG34V Series User manual

Asus
Asus VS229NA series User manual

Asus
Asus BE239 Series User manual

Asus
Asus MX279 User manual