Zoom Gateway/Router V3 User manual

V3
You must read the Usage and Safety Precautions before use.
Operation Manual
© 2020 ZOOM CORPORATION
Copying or reprinting this manual in part or in whole without permission is prohibited.
Product names, registered trademarks and company names in this document are the property of their respective companies.
All trademarks and registered trademarks in this document are for identification purposes only and are not intended
to infringe on the copyrights of their respective owners.
You might need this manual in the future. Always keep it in a place where you can access it easily.
The contents of this manual and the specifications of the product could be changed without notice.
This Operation Manual can be downloaded from the ZOOM website (www.zoom.jp/docs/v3). This
page has les in PDF and ePub formats.
The PDF le format is suitable for printing on paper and reading on a computer.
The ePub format can be read with electronic document readers and is designed for reading on
smartphones and tablets.
Vocal Processor

2
Introduction
Thank you very much for purchasing a ZOOM V3 Vocal Processor.
The V3 has numerous functions for transforming vocals. Anyone can use it to achieve powerful
vocal sounds with simple operations.
This vocal processor is ideal for recording and live performance. After enhancing volume and
clarity, it can correct pitch or add harmony and reverb, for example.
We hope you will enjoy using it for many years.
■Main features of the V3
Compact form
We packed the functions that vocalists need most into a compact unit that is easy to carry
around. You can use it on a table top or attached to a mic stand.
Easy sound creation
Creating sounds is as easy as turning knobs and pressing switches.
Singing assistance
The compressor evens out volume and the enhance function adds clarity to make singing easier.
Delay, reverb and other effects
The selection of 16 effects optimized for vocalists include semitone pitch correction and a
harmonizer that can automatically generate 3rd and 5th harmonies in the set key, as well as a
robotic sound and aggressive distortion.
Delay and reverb can be used simultaneously with another effect.
USB audio interface
The V3 can be used as a 2-IN/2-OUT audio interface.
Contents
Introduction ………………………………… 2
V3 structure ………………………………… 3
Names and functions of parts …………… 4
Making connections………………………… 6
Loading batteries …………………………… 8
Turning the power on ……………………… 8
Adjusting the volume and tone …………… 9
Using effects ………………………………… 10
Using audio interface functions …………… 13
Making unit settings………………………… 14
Troubleshooting …………………………… 15
Specications ……………………………… 16

3
V3 structure
■Signal ow
USB Audio
AUX IN
INPUT
OUTPUT
PHONES
PA system
Headphone
Computer
Clipping LED
Effect Delay ReverbVolume
Compressor
Enhance
volume
PHONES
Adjust the volume and tone of the mic input.
( “Adjusting the volume and tone” on page 9)
Alter the voice or add harmony.
( “Using effects” on page 10)
Apply delay.
( “Adjusting the delay” on page 12)
Apply reverb.
( “Adjusting the reverb” on page 13)
Adjust the headphone volume.
( “Adjusting the volume and tone” on page 9)
Audio from smartphones, portable audio players and other devices can be input.
Audio data can be transferred to and from computers using the audio interface
function.
( “Using audio interface functions” on page 13)

4
Names and functions of parts
■To p
①
⑥
⑦
⑧
⑨
⑩
②
③
④
⑤
Harmony style buttons
Press to activate harmony types.
KEY selection knob
Select the key used for harmony and pitch
correction.
ENHANCE button
Turn the ENHANCE function on/off.
EFFECT OFF button
This turns the effect off.
Effect selection buttons
Select from these 16 effect types.
Clipping indicator
This shows the input sound status, whether
the power is on or off and the remaining
battery charge.
COMP knob
Use to adjust the amount of compression.
DELAY knob
Use to adjust the amount of delay.
REVERB knob
Use to adjust the amount of reverb.
EFFECT ADJUST knob
Use to adjust the effect amount.

5
■Back
① ② ③ ④ ⑤
⑥ ⑦ ⑧ ⑨ ⑩ ⑪ ⑫
PHANTOM switch
Turn +48 V phantom power ON/OFF.
Turn this ON when connecting a ZOOM SGV-
6 mic or a condenser mic that requires
phantom power, for example.
Mounting accessory attachment threads
Use this to attach a mounting accessory
(ZOOM HRM-7/HRM-11).
USB (Micro-B) port
A computer can be connected here. The V3
can be used as an audio interface, and its
firmware can be updated.
A mobile battery, for example, can also be
connected here to provide power.
POWER switch
This turns the power on/off.
DC 9V AC adapter connector
Connect the dedicated AC adapter (ZOOM
AD-16) here.
MIC IN jack
Connect a mic here.
2: HOT 1: GND
3: COLD
VOLUME knob
This adjusts the mic input volume.
AUX IN jack
A portable music player, for example, can be
connected here.
OUTPUT jacks
Connect these to a mixer, PA system,
recorder or other audio equipment that can
adjust sound balance.
For mono use, connect the OUTPUT L jack.
PHONES jack
Connect headphones here.
PHONES VOLUME knob
Use to adjust the headphone volume.
CONTROL IN connector
An expression pedal (ZOOM FP02M) can be
connected here to control the effect.
When a footswitch (ZOOM FS01) is
connected, it can be pushed to turn the
effect off.

6
Making connections
■Connection examples
Computer
AC adapter
(ZOOM AD-16)
Stereo mini plug
headphones
Mic (ZOOM SGV-6 or commercially-available mic)
Use a mic cable to connect it to the MIC IN jack.
Expression pedal
(ZOOM FP02M)
Connect it to the
CONTROL IN connector.
The pedal can be used to
control the effect.
Mixer, PA system, recorder, etc.
Use a cable with a connector that suits
the PA system or recorder input jacks.
When connecting
a ZOOM SGV-6,
condenser mic or
other device that
requires phantom
power, set the
PHANTOM switch
to ON.
or
Footswitch
(ZOOM FS01)
Connect it to the
CONTROL IN connector.
This turns the effect off.
Portable music player, etc.
Adjust the volume on the connected device.
Micro-B
NOTE
Always set the PHANTOM switch to OFF when connecting a device that does not support phantom
power. The device could be damaged if this is not done.

7
■Example of use with a main mic and an effect mic
This example shows the use of a main mic for regular vocals and an effect mic passed through
the V3 just for phrases when pitch correction or a vocoder sound is desired.
Main mic Effect mic
V3
Mixer
Boom mic stands
■Attachment to boom mic stands
The V3 can be attached to a boom mic stand by using a mounting accessory (ZOOM HRM-7/
HRM-11).
1. Attach the mounting accessory to
the mic stand boom.
Turn the handle to
secure it.
Mounting
accessory Turn the knob to
loosen joints in
three locations.
2. Attach the mounting accessory to the
V3.
Mounting accessory
attachment threads Turn the screw to
secure it.
3. Adjust the V3 to the desired angle
and secure the mounting accessory.
Turn the knob to
secure it.

8
Loading batteries
Open the battery compartment cover on the bottom of the product and insert 4 AA batteries.
Press up and open
NOTE
• Setthetypeofbatteryusedcorrectlysothattheamountofremainingbatterychargecanbe
shown accurately. ( “Making unit settings” on page 14)
• Whetherornotthereisinput,whentheremainingbatterychargebecomeslow, will light red
and then start blinking red. Replace the batteries with new ones.
HINT
Power for operation can also be supplied through the USB port.
Turning the power on
1. Minimize the volume of output devices.
2. Set to ON.
This turns the V3 power on, and lights green.
3. Raise the volume of output devices.
ECO mode overview
By default, the ECO mode setting is ON, so the power will automatically turn off if no use occurs for
10 hours. ( “Making unit settings” on page 14)

9
Adjusting the volume and tone
■Adjusting the mic input volume
Raise
Lower
While singing, adjust it so lights green.
NOTE
Adjust the mic input volume to a level that
enables the effect to function properly.
Lit red: Volume too high
Lit green: Volume just right
Unlit: Volume too low
■Reducing volume variation (compressor function)
Input sounds over a certain level can be
compressed to lower their volume and even out
the overall volume.
1. Turn .
Turn it right to increase the effect. Turn it
completely left to turn the compressor function
off.
Compressor function use
If a single song contains both shouting or other
loud singing and quiet whisper-like singing, for
example, matching the level to the loud singing
will cause the quiet singing to become inaudi-
ble. Compressing the volume of loud singing to
reduce overall volume differences makes quiet
singing easier to hear.
■Bringing out vocal character (enhance function)
1. Press so that it lights.
This turns the enhance function on.
■Adjusting headphone volume
Raise
Lower
The enhance function has two effects
• Clarifying the voice: By emphasizing high
frequencies, this can make singing clearer, so
that it is not lost in the sound of a band.
• Suppressing “s” and other sibilant sounds:
These are “s” sounds and other sounds
produced through gaps in the teeth when
singing. Suppressing sibilant sounds that
become distracting when the mic volume is
turned up can make voices sound pleasanter.

10
Using effects
The voice can be altered with pitch correction, pitch shifting or a vocoder effect, for example.
Harmony can also be generated automatically according to the key setting. Furthermore, the
altered voice and harmony can be further affected by delay and reverb, for example.
Use these to generate harmonies automatically according to
the key setting.
“Setting the HARMONY key and pitches” on page 12
Use these to add delay and
reverb to vocal sounds after the
selectable effect.
“Adding delay and reverb”
on page 12
Adjust the effect amount.
These can alter the sound of
the voice. For example, they
can correct pitch according to
the key or make the voice
sound childlike, vocoded or
distorted.
“Altering vocals” on page
10
Select the key used for harmony
and pitch correction.
This turns the effect off.
NOTE
After effects are adjusted, their states are saved individually.
■Altering vocals
1. Press an effect selection button.
The pressed button lights and its effect is selected.
2. Turn .
This adjusts the effect.
Button Explanation Adjustment
HARMONY**
This generates harmony automatically according
to the set key.* Set the harmony intervals
generated using the harmony style buttons.
Balances original and harmony
sounds
TALK BOX**
This creates a talk box sound effect.This corrects
the pitch to the set key.*
TALK BOX pitch correction follows a blue note
scale and adds a 3 to major scales and a 5 to
natural minor scales.
Pitch correction amount
Other manuals for Gateway/Router V3
1
Table of contents
Other Zoom Computer Hardware manuals






Popular Computer Hardware manuals by other brands

EMC2
EMC2 VNX Series Hardware Information Guide

Panasonic
Panasonic DV0PM20105 Operation manual

Mitsubishi Electric
Mitsubishi Electric Q81BD-J61BT11 user manual

Gigabyte
Gigabyte B660M DS3H AX DDR4 user manual
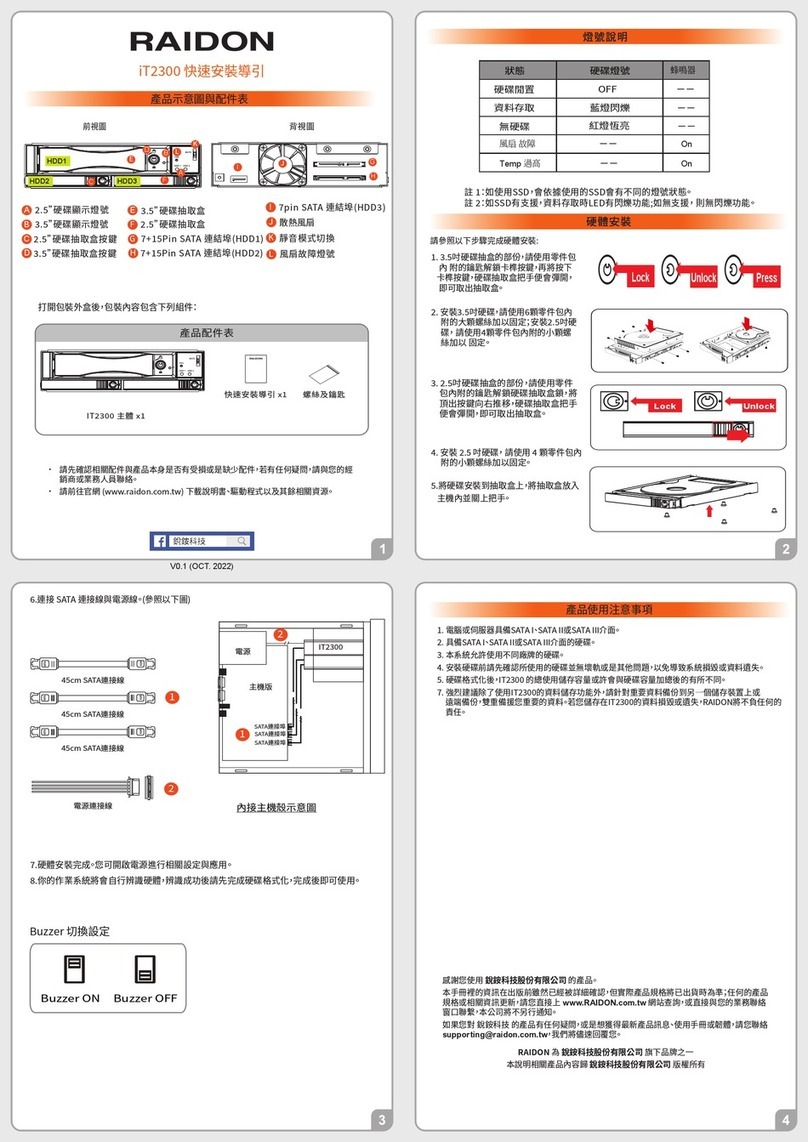
Raidon
Raidon iT2300 Quick installation guide

National Instruments
National Instruments PXI-8186 user manual