Yamaha A-S2000 - Amplifier User manual

BLACK
DIC 2181s*
UCAB
Stereo Amplifier
Amplificateur Stéréo
OWNER’S MANUAL
MODE D’EMPLOI

HiFi Began with Yamaha
Yamaha’s involvement with and passion for music goes back
more than a century, to when we built our first reed organ in
1887. Now we are the world’s leading producer of pianos and
other musical instruments, and are involved with music in many
other ways as well. We manufacture professional recording
equipment, we design concert halls and we assist artists at
concerts with set up and sound tuning.
This knowledge and experience benefits our production of
audio components in many ways. We introduced our first HiFi
(High Fidelity) turntable in 1954. Thereafter we were one of the first
to offer mass-produced, high quality audio equipment,
and introduced many legendary stereo components.
We hope you enjoy the genuine HiFi experience of
Yamaha Natural Sound.

Excellence in Audio Achievement
First HiFi System introduced in 1920
We introduced numerous HiFi components
(turntables, FM/AM tuners, integrated
amplifiers, preamplifiers, power amplifiers
and speakers) in 1955 - 1965.
Natural Sound Speaker Series introduced
in 1967
NS-20 Monitor Speaker
CA-1000 Integrated Amplifier
Featuring A-Class operation, the CA-1000 set
the standard for integrated amplifiers.
NS-690 Monitor Speaker
NS-1000M Monitor Speaker
A truly legendary speaker still revered by HiFi
enthusiasts.
B-1 Power Amplifier
An innovative power amp that used FETs in all
stages.
C-2 Control Amplifier
Received top prize at the Milan International Music
and HiFi Show.
NS-10M Studio Monitor Speaker
Became of the most popular studio monitors
in the world.
A-1 Integrated Amplifier
PX-2 Turntable
Yamaha’s first straight arm turntable.
B-6 Power Amplifier
Pyramid-shaped power amplifier.
GT-2000/L Turntable
First CD Player (CD-1) introduced in 1983
B-2x Power Amplifier
MX-10000 Power Amplifier and
CX-10000 Control Amplifier
Redefined the capabilities of separate components.
AX-1 Integrated Amplifier
GT-CD1 CD Player
MX-1 Power Amplifier and
CX-1 Preamplifier
Soavo-1 and Soavo-2 Natural Sound
Speaker Systems
A-S2000 Stereo Amplifier and
CD-S2000 Super Audio CD Player

4En
◆Full floating and balanced circuit design achieves for the first time the
full potential of analogue amplification
An entirely new floating and balanced power amp achieves complete symmetry and permits full balanced transmission
(amplification) from the input jack to just before the speaker jack
◆Full-stage balanced signal transmission
The world’s first integrated amp to offer full stage balanced transmission, combining high power output with good sound
texture and outstanding S/N performance
◆Floating and balanced power amp
◆Fully balanced control amp
◆Fully balanced digital volume and tone controls
◆Four large capacity power supplies
◆Symmetrical construction
◆Headphone amp for low impedance drive
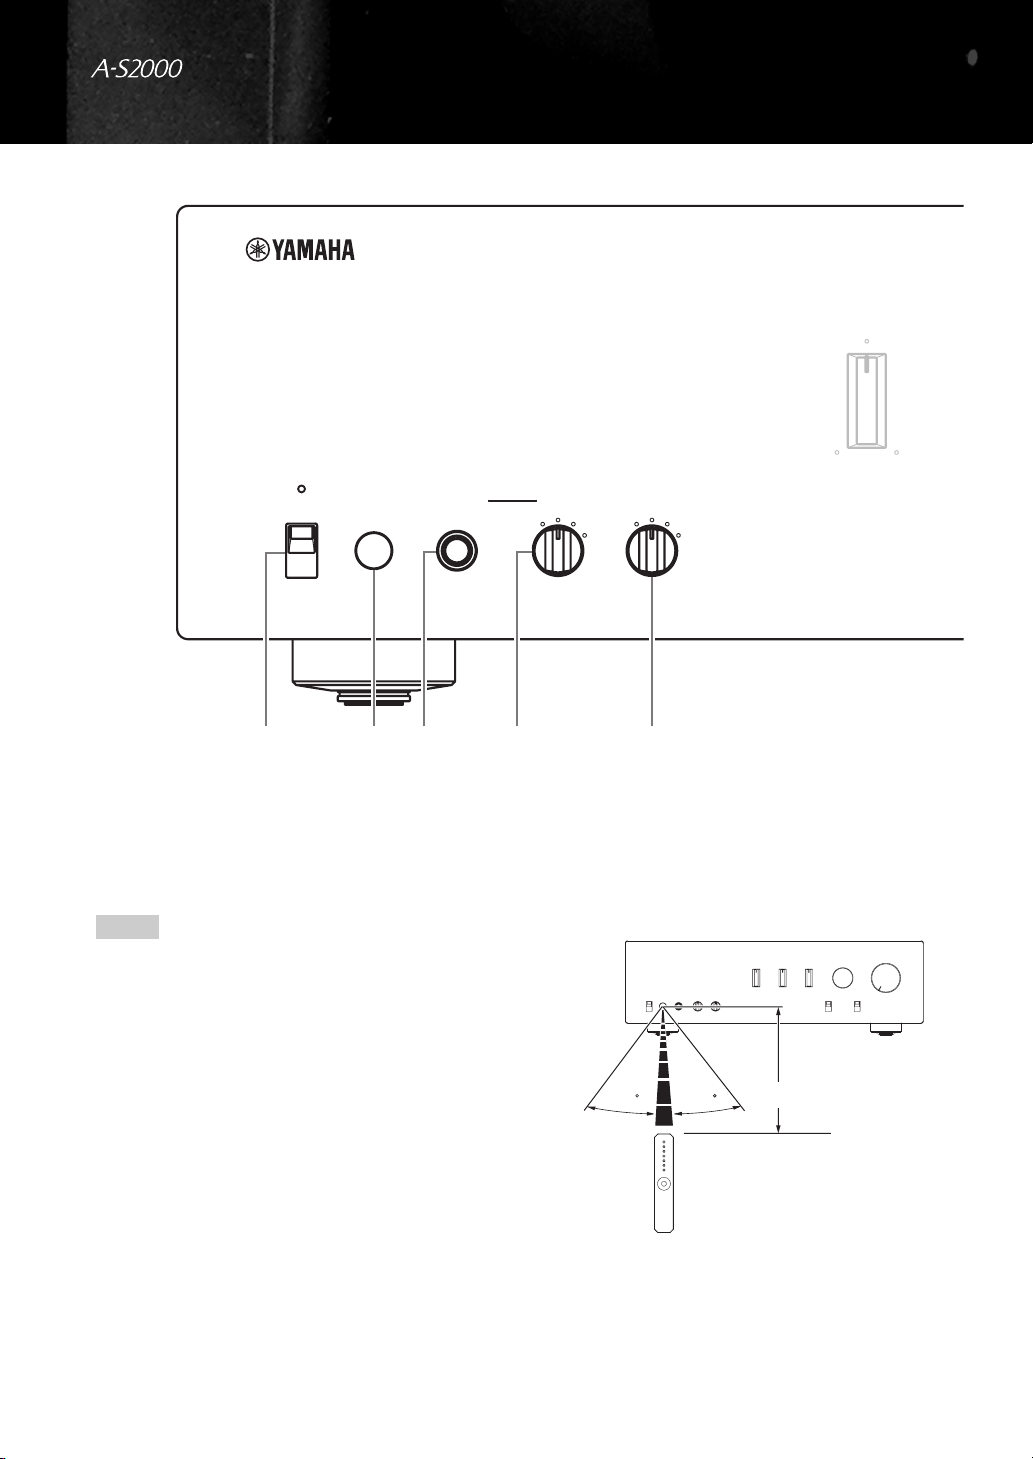
■Supplied accessories
Please check that you have received all of the following parts.
• Remote control
• Batteries (AA, R6, UM-3) (×2)
• Power cable
• Safety brochure
■About this manual
•yindicates a tip for your operation.
• This manual is printed prior to production. Design and specifications are subject to change in part as a result of improvements, etc. In
case of differences between the manual and the product, the product has priority.
• The color of images in this manual may vary from the original.
• Read the safety brochure before using this unit.
Contents
Controls and functions.......................................................................................................................................... 6
Connections.......................................................................................................................................................... 14
Specifications ....................................................................................................................................................... 20
Troubleshooting................................................................................................................................................... 24

5En
Controls and functions
In this chapter, you will learn the controls and functions of A-S2000.

6En
Controls and functions
■Front panel (left side)
1POWER
Press upward or downward to turn on or off this unit.
y
The POWER indicator above lights up when this unit is turned
on.
• If the POWER indicator flashes when you turn on this unit,
disconnect the AC power cable and contact the nearest
authorized Yamaha dealer or service center (see page 24).
• When you turn on this unit, there will be a few second delay
before this unit can reproduce sound.
2Remote control sensor
Receives signals from the remote control.
The remote control transmits a directional infrared beam.
Be sure to aim the remote control directly at the remote
control sensor on the front panel of this unit during
operation.
SPEAKERSTRIMPHONESPOWER
OFF
ON
dB
ABA+B
BI-WIRING
0
-6 +6
+12
OFF
BASS
+
-
41325
Notes
3030 Approximately 6 m (20 ft)

7En
3PHONES jack
Outputs audio for private listening with headphones.
When headphones are plugged in:
– Both speaker sets connected to the SPEAKERS L/R CH A
and B terminals are turned off.
– No signals are output at the PRE OUT jacks, while signals are
output at the REC jacks.
– You cannot select MAIN DIRECT as the input source.
– If headphones are plugged into the PHONES jack while
MAIN DIRECT is selected as the input source, no audio is
output at the PHONES jack.
4TRIM
Adjusts the volume level when headphones are plugged in
to avoid sudden changes in volume.
Choices: –6 dB, 0 dB, +6 dB, +12 dB
5SPEAKERS
Turns on or off the speaker set connected to the
SPEAKERS L/R CH A and/or B terminals on the rear
panel.
• Switch to the OFF position to turn off both speaker
sets.
• Switch to the A or B position to turn on the speaker set
connected to the SPEAKERS L/R CH A or B
terminals.
• Switch to the A+B BI-WIRING position to turn on
both speaker sets.
If you use two sets (A and B), the impedance of each speaker
must be 8 Ωor higher.
BALANCE
VOLUMEINPUT
TREBLE
MC
MM
MAIN DIRECT
LINE 2
LINE 1 CD BAL CD
TUNER
PHONO
AUDIO MUTEPHONO
RL+
-
Note
Caution
English

8En
Controls and functions
■Front panel (right side)
6BASS
Increases or decreases the low frequency response. The 0
position produces a flat response.
Control range: –10 dB to +10 dB
7TREBLE
Increases or decreases the high frequency response. The 0
position produces a flat response.
Control range: –10 dB to +10 dB
• When both the BASS and TREBLE controls are set to the 0
position, audio signal bypasses the tone control circuitry.
• The BASS and TREBLE controls do not affect the signals input
at the MAIN DIRECT jacks and signals output at the REC OUT
jacks.
8BALANCE
Adjusts the audio output balance of the left and right
speakers to compensate for sound imbalances caused by
speaker locations or listening room conditions.
The BALANCE control does not affect the signals input at the
MAIN DIRECT jacks and signals output at the REC OUT jacks.
9PHONO
Selects the type of magnetic cartridge of the turntable
connected to the PHONO jacks on the rear panel.
• Press upward to the MM position when the connected
turntable has a moving magnet (MM) cartridge.
• Press downward to the MC position when the
connected turntable has a moving coil (MC) cartridge.
• When you replace the cartridge, be sure to turn off this
unit.
SPEAKERSTRIMPHONESPOWER
OFF
ON
dB
ABA+B
BI-WIRING
0
-6 +6
+12
OFF
BASS
+
-
6
Notes
Note

9En
0INPUT selector
Selects the input source you want to listen to.
The audio signals of the selected input source are also
output at the REC jacks.
• Switch to the CD BAL position to select the CD player
connected to the CD BAL jacks (balanced XLR jacks).
• Switch to the CD position to select the CD player connected to
the CD jacks (unbalanced RCA jacks).
• Switch to the MAIN DIRECT position to select the component
connected to the MAIN IN jacks. When MAIN DIRECT is
selected as the input source, no signals are output at the PRE
OUT, REC, and PHONES jacks.
AAUDIO MUTE
Press downward to reduce the current volume level by
approximately 20 dB. Press again to restore the audio
output to the previous volume level.
y
• The AUDIO MUTE indicator lights up while the mute function
is on.
• You can also rotate VOLUME on the front panel or press
VOL +/– on the remote control to resume the audio output.
BVOLUME
Controls the volume level. This does not affect the REC
level.
The VOLUME control does not affect when you select MAIN
DIRECT as the input source. Adjust the volume level using the
volume control on the external amplifier connected to the MAIN
DIRECT jacks.
BALANCE
VOLUMEINPUT
TREBLE
MC
MM
MAIN DIRECT
LINE 2
LINE 1 CD BAL CD
TUNER
PHONO
AUDIO MUTEPHONO
RL+
-
BA9087
Notes
Note
English

10 En
Controls and functions
■Rear panel
1SPEAKERS L/R CH terminals
2INPUT jacks
3LINE2 jacks
4MAIN IN jacks
Adjust the volume level using the volume control on the external
amplifier connected to the MAIN DIRECT jacks when you select
MAIN DIRECT as the input source.
5PRE OUT jacks
• When you connect audio pin plugs to the PRE OUT jacks to
drive the speakers using an external amplifier, it is not
necessary to use the SPEAKERS L/R CH terminals.
• The signal output at the PRE OUT jacks are affected by the tone
control settings.
• The PRE OUT jacks output the same channel signal as the
SPEAKERS L/R CH terminals.
• When you use a subwoofer, connect it to the PRE OUT jacks
and speakers to the SPEAKERS L/R CH terminals.
LINE2
RECPBLINE 1TUNER
GND
L
R
LR
PHONO
CD
CD
BAL
INPUTSPEAKERS R CH
A
B
L
R
123
See page 14 for connection information.
Note
Notes
Other manuals for A-S2000 - Amplifier
4
Table of contents
Other Yamaha Amplifier manuals

Yamaha
Yamaha Electone C-60 User manual

Yamaha
Yamaha MLA7 User manual

Yamaha
Yamaha DSP-A2 User manual

Yamaha
Yamaha XP7000 User manual

Yamaha
Yamaha TX6n User manual

Yamaha
Yamaha XS250 User manual

Yamaha
Yamaha AX-390 User manual

Yamaha
Yamaha PC4800N User manual

Yamaha
Yamaha AX-890 User manual

Yamaha
Yamaha P2160 User manual

Yamaha
Yamaha AS1000 - Amplifier User manual

Yamaha
Yamaha AG-Stomp User manual

Yamaha
Yamaha PC1002 User manual

Yamaha
Yamaha H5000 User manual

Yamaha
Yamaha DSP-A492 User manual

Yamaha
Yamaha DSP-A2070 User manual

Yamaha
Yamaha MX-A5000 User manual

Yamaha
Yamaha AR-1500B User manual

Yamaha
Yamaha A-720 User manual

Yamaha
Yamaha AX-930 User manual


