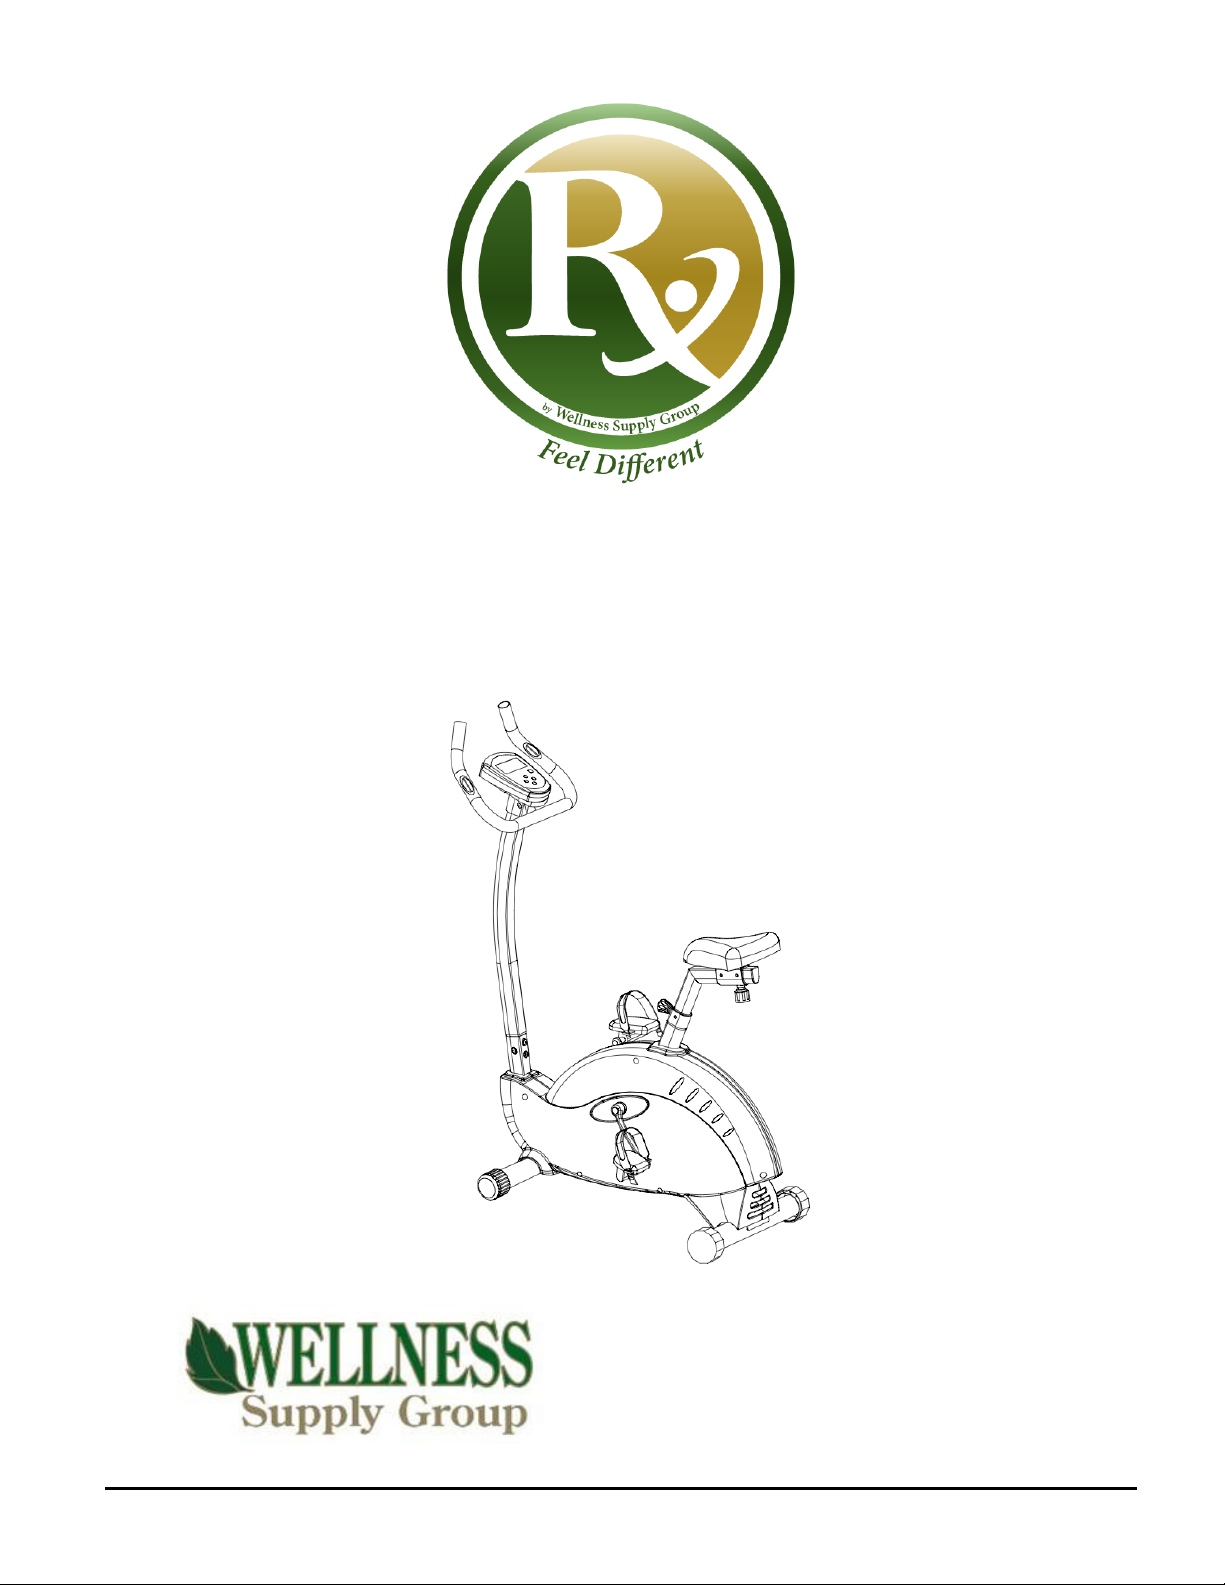
Wellness Supply Rx BD525U User manual
1of 13 Wellness Supply Group V002
Upright Bike
BD525U
!
!
!
!
!
!
!
!
Wellness Supply Group, LLC
1685 Woodland Avenue,
Columbus, OH 43219
Tel: 800-653-8037
Fax: 614-474-1483
E-mail: info@wellnessSG.com!
!

2of 13 Wellness Supply Group V002
Table of Contents
1. Important Safety Information …………………………………………………… 3
i. Before You Begin
ii. Warning
2. Assembly Parts List …………………………………………………… 4
3. Assembly Hardware List …………………………………………………… 5
4. Exploded Drawing …………………………………………………… 6
5. Assembly Instructions …………………………………………………… 7
6. Computer Console Instructions …………………………………………………… 10
i. Main Display
ii. Key Board
iii. Functions
iv. Profile Charts
v. Keys
vi. Additional Notes
7. Maintenance …………………………………………………… 13
8. Storage and Moving …………………………………………………… 13
9. Product Warranty …………………………………………………… 13
10. Product Specifications …………………………………………………… 13

3of 13 Wellness Supply Group V002
1. Important Safety Information
i) Before You Begin
Please read this manual carefully from beginning to end before using the equipment for the first
time.
This exercise equipment is designed and built for optimum safety. However, certain precautions
are applied whenever you operate a set of exercise equipment. Make sure to read the entire
manual before assembling and operating this machine. Also, please note the following safety
precautions:
1. Read the following instructions carefully before using the machine.
2. Consult your physician or other health care professional, before beginning this or any other
exercise program.
3. Always wear proper exercise apparel when using the machine.
4. If at any time you feel faint, light-headed or dizzy while operating the machine, stop
exercise immediately. You should also stop exercising if you are experiencing pain or
pressure.
5. Keep children and pets away from the machine while in use.
6. Only one person can use the machine at a time.
7. Make sure your machine is correctly assembled before you use it. Make sure all screws,
nuts, and bolts are tightened prior to using the machine.
8. Do not operate this or any exercise equipment if it is damaged.
9. Watch your body: come up slowly; dizziness after a session means you came up too fast.
10. Wait a while after eating before using this machine. If you get nauseous, stop exercising
immediately.
11. Keep hands and feet away from any moving parts. Do not insert any objects into any
openings.
12. Keep clothes, jewelry or loose items away from moving parts.
ii) Warning
Before beginning any exercise program, consult your physician. This is especially important for
individuals over the age of 35 or persons with pre-existing health problems. Read all instructions
before using any fitness equipment. We assume no responsibility for personal injury or property
damage sustained by or through the use of this product.

4of 13 Wellness Supply Group V002
2. Assembly Parts List

5of 13 Wellness Supply Group V002
3. Assembly Hardware List

6of 13 Wellness Supply Group V002
4. Exploded Drawing

7of 13 Wellness Supply Group V002
5. Assembly Instructions
Unpack the carton and check all parts. Verify that all components are present. Do not dispose of
carton or packing material until assembly has been completed and the equipment fully tested.
Allen Wrench is included for use during assembly.
!
Step 1
Attach the front stabilizer (16) and the
rear stabilizer (11) to the mainframe
(1) using the bolts (13).
Step 2
Insert the pedals (7) to the crank ('L'
for the left, and 'R' for the right).
Step 3
Assemble the seat (37) to the seat
moving post (66) using the attaching
nuts, washers and spring washers
(65, 64, and 63).

8of 13 Wellness Supply Group V002
!
Step 4
Take off the seat knob (33), and then
insert the seat post (34) into the
mainframe (1). Set at the desired
height.
Step 5
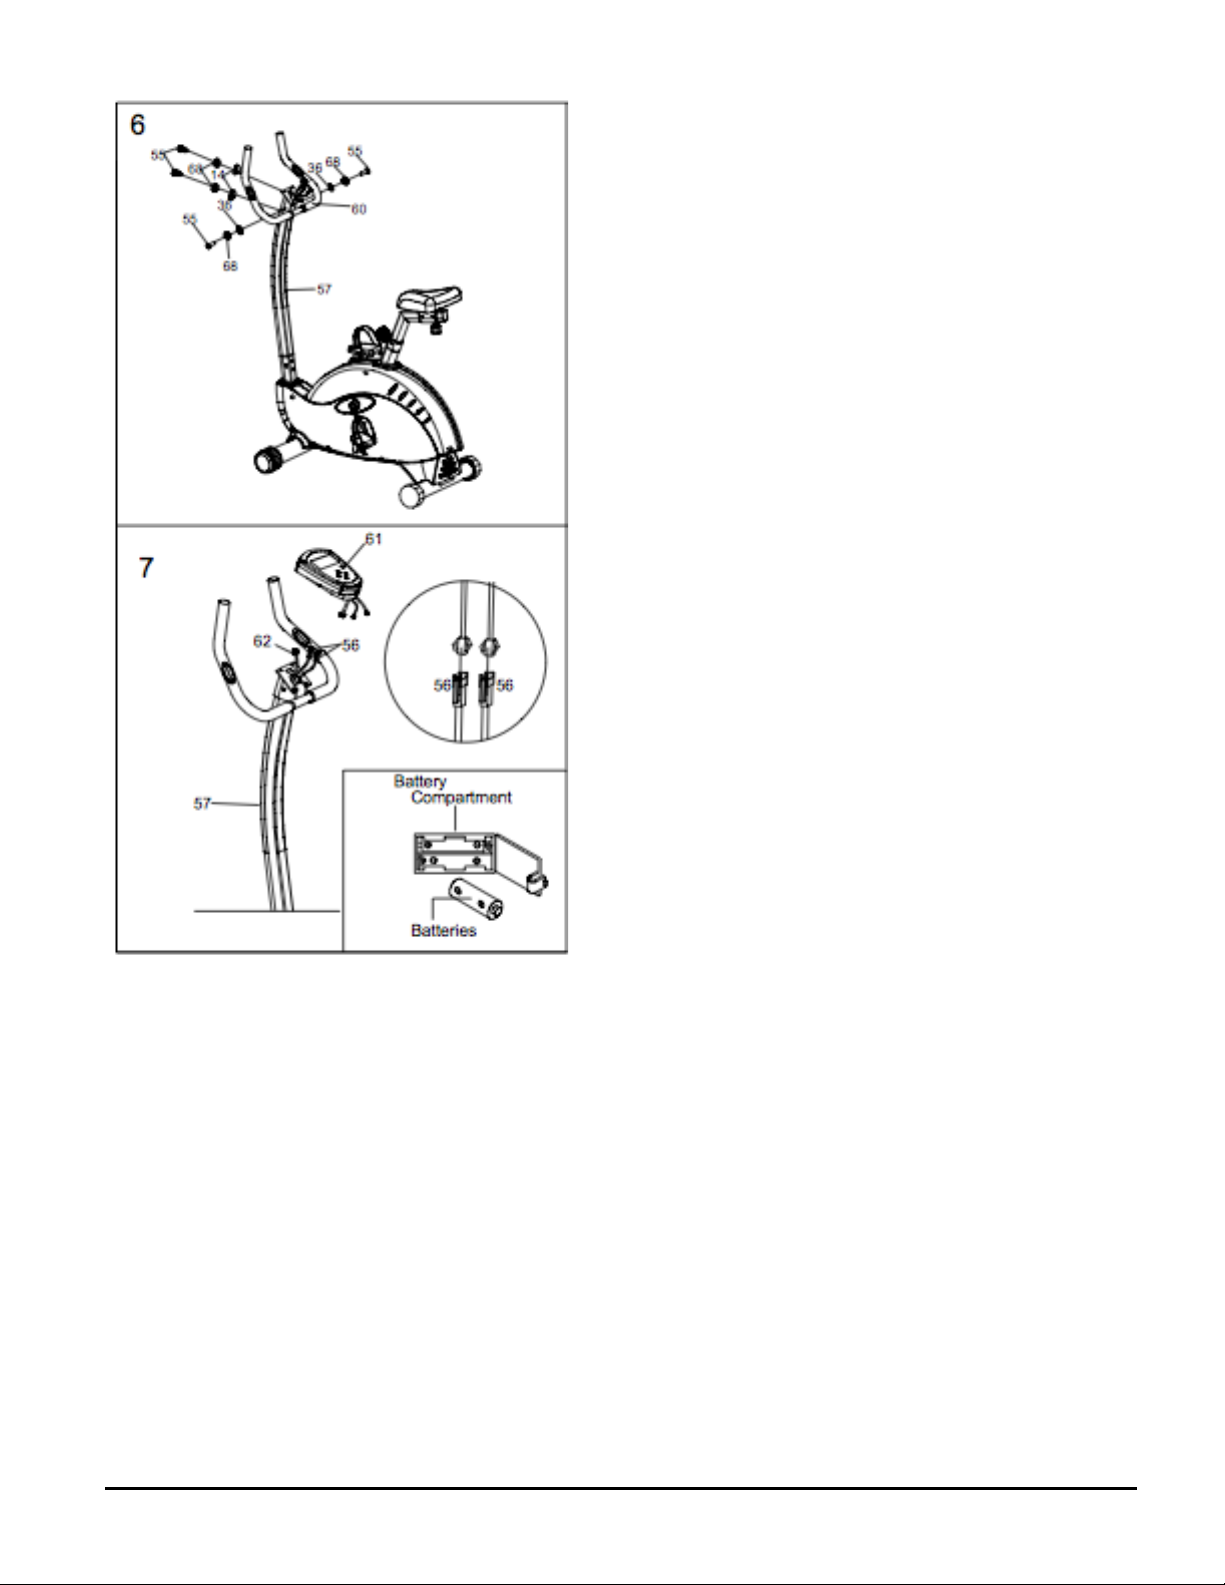
Connect the sensor lines (62) to the
end (70) on the mainframe (1). Insert
the upright tube (57) into the
mainframe (1) and fix the upright tube
(57) by screws, spring washers and
arc washers (55, 68, and 36).
9of 13 Wellness Supply Group V002
Step 6
Attach the handlebar (60) to the
upright tube (57) with screws (55),
spring washers (68) and arc washers
(14) and washers (36).
Step 7
Insert the male end of sensor wire
(62) into the computer (61). Connect
the pulse wires (56) with the wires on
the computer (61). Attach the
computer onto the handlebar post
(57). Open the battery covers on the
back of the computer, and install 2
AA batteries.

10 of 13 Wellness Supply Group V002
6. Computer Console Instructions
Please familiarize yourself with the workings of this computer console to maximize your
exercise/therapy session. It is a very powerful tool with a number of specific functions so please
read the following instructions carefully.
i) Main Display
ii) Key Board
SELECT key
“+” key
“-” / RESET key
PROGRAM key
Cal/Watt key
iii) Functions
a) Programming Exercise Time:
Set your exercise time from 0 to 99 minutes by pressing the “SELECT” key to advance to the
time function and then use the “+” key to increase or “-” key to decrease your desired time. Each
press of the “+” or “-” key will increase or decrease the time by one minute (hold the “+” or “-” key
for rapid, continuous increase or decrease).
b) Programming Target Trip:
Set your desired target trip distance from 0 to 99.5 kms or miles by pressing the “SELECT” key
to advance to the distance function and then use the “+” or “-” keys to enter your desired
distance. Each press of the “+” or “-” key will increase or decrease the distance by 0.5km or mile
(hold the “+” or “-” key for rapid, continuous increase or decrease). For instructions on how to
select your preferred distance measure (either kms and miles), please see below under
Additional Notes.
Table of contents