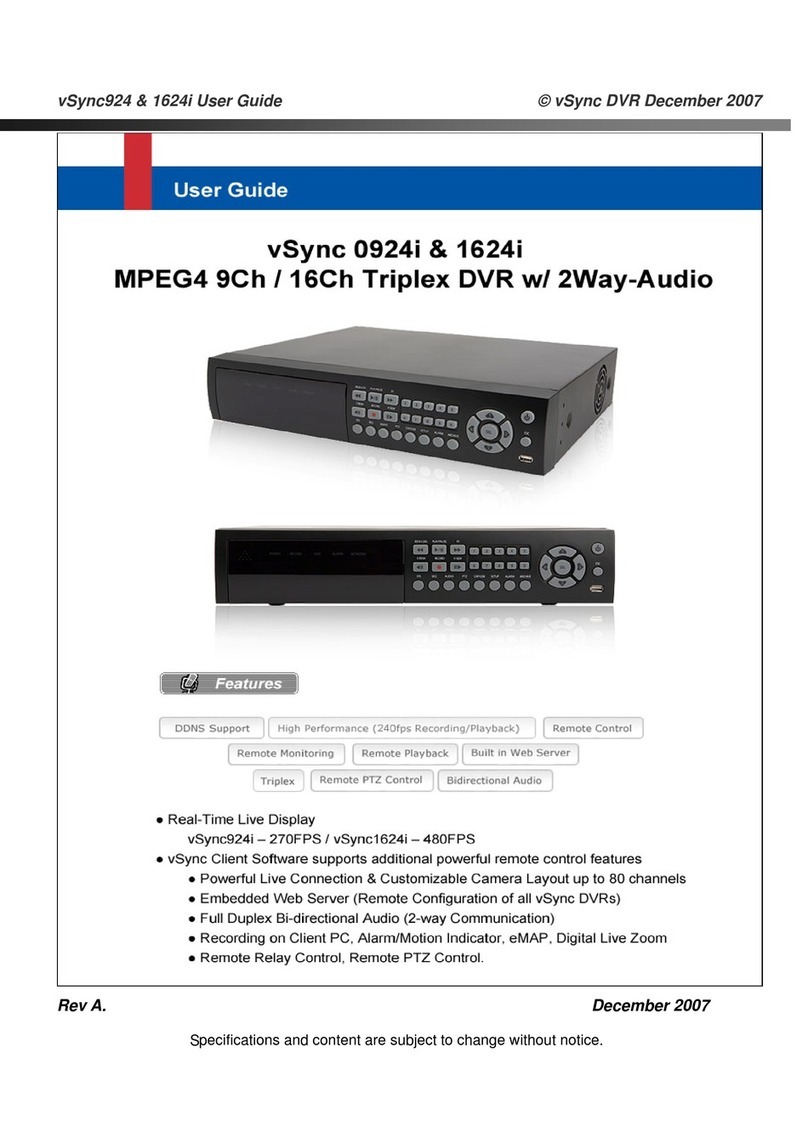
vSync 0412i User manual

vSync412i User Guide © vSync DVR December 2007
Rev A. December 2007
Specifications and content are subject to change without notice.

vSync412i User Guide © vSync DVR December 2007
Rev A. December 2007
Specifications and content are subject to change without notice.
2
TABLE OF CONTENTS
HDD JUMPER SETTING: HDD = MASTER1. INTRODUCTION .....................................................4
1. INTRODUCTION ..........................................................................................................................5
1.1. Overview.....................................................................................................................................................................5
1.2. Summary of the Specifications of VSync412i.........................................................................................................7
1.3. Packing List................................................................................................................................................................8
2. PRODUCT DESCRIPTION...........................................................................................................9
2.1. Operation Panel .........................................................................................................................................................9
2.2. Rear Panel ................................................................................................................................................................10
2-3. Remote Controller ...................................................................................................................................................12
3. GETTING STARTED – SETTING UP THE DVR ........................................................................13
3-1. Setup – Main Screen ...............................................................................................................................................13
3-2. Setup – Live..............................................................................................................................................................14
3-3. Setup – Recording Mode ........................................................................................................................................15
3-3-1. Motion Zone set up...........................................................................................................................................17
3-3-2. Record Schedule ..............................................................................................................................................17
3-5. Setup – System Mode .............................................................................................................................................19
3-6. PTZ Control..............................................................................................................................................................22
3-7. Setup – Network Mode............................................................................................................................................24
3-7-1. Ports...................................................................................................................................................................26
3-7-2. Network Types ..................................................................................................................................................26
3-8. Setup - Storage Mode..............................................................................................................................................28

vSync412i User Guide © vSync DVR December 2007
Rev A. December 2007
Specifications and content are subject to change without notice.
3
3-9. Saving Setup............................................................................................................................................................29
4. LOCAL VIEWING.......................................................................................................................30
4-1. Live Window.............................................................................................................................................................30
4-2. SEARCH Window.....................................................................................................................................................32
4-2-1. EVENT SEARCH Window.................................................................................................................................32
4-2-2. TIMELINE Window ............................................................................................................................................34
4-2-3. LOG Window .....................................................................................................................................................35
4-3. Play Mode.................................................................................................................................................................36
5. ARCHIVING VIDEO VIA USB STORAGE DEVICE....................................................................37
5-1. Capturing Images or Video Clip.............................................................................................................................37
5-2. Transferring Still Images or Video Clips onto USB Storage Device...................................................................38
6. FIRMWARE UPGRADE..............................................................................................................41
6-1. Preparing USB storage device with Upgraded Firmware..........................................................................................41
7. NETWORK CLIENT - REMOTE MONITORING AND PLAYBACK............................................42
8. REMOTE SETUP USING EMBEDDED WEB-SERVER OF VSYNC412I...................................43

vSync412i User Guide © vSync DVR December 2007
Rev A. December 2007
Specifications and content are subject to change without notice.
4
CAUTION
zTHIS PRODUCT HAS MULTIPLE-RATED VOLTAGES (110V AND 220V). MAKE SURE TO SET THE
VOLTAGE SELECTION SWITCH AT THE REAR PANEL TO THE PROPER VOLTAGE LEVEL OF YOUR
REGION.
zTHIS PRODUCT USES A LITHIUM BATTERY. THERE IS RISK OF EXPLOSION IF THE BATTERY ON THE
MAIN BOARD IS INSTALLED INCORRECTLY. DISPOSE OF USED BATTERIES ACCORDING TO
INSTRUCTIONS.
zTHIS EQUIPMENT AND ALL COMMUNICATION WIRING IS INTENDED FOR INDOOR USE.
zTO REDUCE THE RISK OF FIRE OR ELECTRIC SHOCK, DO NOT EXPOSE THE UNIT TO RAIN OR
MOISTURE.
Rack Mount Instructions
A) Elevated Operating Ambience - If installed in a closed or multi-unit rack assembly, the operating ambient
temperature of the rack environment may be greater than room ambient. Therefore, consideration should be
given to installing the equipment in an environment compatible with the maximum ambient temperature (Tma)
specified by the manufacturer.
B) Reduced Air Flow - Installation of the equipment in a rack should be such that the amount of air flow
required for safe operation of the equipment is not compromised.
C) Mechanical Loading - Mounting of the equipment in the rack should be such that a hazardous condition is
not achieved due to uneven mechanical loading.
D) Circuit Overloading - Consideration should be given to the connection of the equipment to the supply
circuit and the effect that overloading of the circuits might have on overcurrent protection and supply wiring.
Appropriate consideration of equipment nameplate ratings should be used when addressing this concern.
E) Reliable Earthing - Reliable grounding of rack-mounted equipment should be maintained. Particular
attention should be given to supply connections other than direct connections to the branch circuit (e.g. use
of power strips)."
HDD Installation Guide
HDD JUMPER SETTING: HDD = MASTER

vSync412i User Guide © vSync DVR December 2007
Rev A. December 2007
Specifications and content are subject to change without notice.
5
1. Introduction
1.1. Overview
●Triplex MPEG-4 4 Channel DVR with Real-Time Live Display, Record, and Simultaneous Play Back.
●vSync412i, (vSync412i Four channel model).
●vSync412i features powerful embedded RTOS (Real Time Operating System).
●MPEG-4 video codec (video encoder/decoder), delivers uncompromised performance providing high
compression plus high quality video images.
●vSync412i increases the days of recording between overwrite periods while improving the quality of video
images. Full triplex capability ensures uninterrupted recording.
●vSync DVR supports simultaneous:
1. Video Recording
2. Live Video Monitoring up to 80 cameras
•Locally via video outputs.
•Remotely via vSync network client software and viSync Central Monitoring Software.
3. Play Back or File archiving via USB 2.0 port
Or
1. Video Recording
2. Remote Playback via vSync network client software and viSync CMS.
●vSync software also allows the administrator to remotely connect to, monitor, and manage multiple
networked DVRs. The vSync software logs the operation, motion, and alarm statuses of sites throughout
the day for later analysis. The vSync software lets you search based on time or event, record on a
remote PC, and retrieve video clips from remote sites.
●vSync software supports additional powerful remote control features,
zPowerful Live Connection & Customizable Camera Layout up to 80 channels,
zEmbedded Web Server (Remote Configuration of all vSync DVRs)
zFull Duplex Bi-directional Audio (2-way Communication)
zRecording on Client PC, Alarm/Motion Indicator, eMAP, Digital Live Zoom
zRemote Relay Control, Remote PTZ Control.

vSync412i User Guide © vSync DVR December 2007
Rev A. December 2007
Specifications and content are subject to change without notice.
6
●NAFS (Network-Attached File Server) file systems provide a cluster-based network-attached file server
which offers a high level of performance, reliability, and availability.
- Ex. Prevention of data loss and corruption in the event of a power failure.
●Multiplexing operation.
●State-of-the-art live monitoring and playback both locally and remotely.
●Individual channel recording and playback with different frame rates.
●Hidden Channel Mode on selected channels provides extra privacy and uninterrupted recording.
●Embedded Web-Viewer provides direct access using IP address or DDNS address in Internet Explorer.
●Multi-site management via network: up to 80 cameras.
- Supported by vSync network client software and viSync CMS.
- Remote live monitoring & recording, playback, backup, PTZF control & Presets, relay sensor control,
eMAP, and 2-way communication.
- Remote DVR management via embedded Web-Browser for easy adjustments.
- Mobile phone & PDA viewing integration.
●Network via LAN, DDNS, DHCP, ADSL (Dynamic and Static IP addresses).
●Full duplex 4 Channel G.711 synchronized audio recording and Bi-directional Audio Communication.
●User-friendly setup menu with simplified G.U.I. (Graphic User Interface).
●Easy to schedule weekly recording plans.
●Motion detection – Use the 30x24 grid to define motion zones for each camera.
●Internal Pan/Tilt/Zoom/Focus/Preset controller.
●Easy operation via front panel and optional remote controller.
●Increased security by user name and password verification.
●Video loss detection.
●Backup - Still-images or AVI data onto USB storage device, or Network.
●USB port for JPEG/MPEG data backup and software upgrade using USB storage device.
●Still image capture and review as JPEG format.
●Variety of Hard Drive Sizes - up to 750GB internally (750GB HDD X 1) for long-term recording.
●Multi-Languages - User can easily select language from Setup menu.
●Various Video Outputs - VGA(800x600 24-Bit Color), TV-Out.

vSync412i User Guide © vSync DVR December 2007
Rev A. December 2007
Specifications and content are subject to change without notice.
7
1.2. Summary of the Specifications of VSync412i
Item Description Remarks
Operating System RTOS in firmware
Video/Audio
Compression
MPEG-4(video) / G.711-PCM (audio)
Triplex Function Record/Playback/Live Streaming or Record/USB archive/Live Streaming
Video Input Format NTSC/PAL Auto-Detection
Video Input 4 Ch In
Video Output 1Ch VGA , 1 Ch BNC(Composite)
NTSC 120 frames/sec Real-Time
(Hidden Display Function)
4Ch x 30 frames/sec
Display
Frame
Rate PAL 100 frames/sec 25 frames/sec/Ch
NTSC
120 frames/sec
(Hidden Record Function)
352x240 resolution
Recording
Frame
Rate
(Quad) PAL 100 frames/sec 352x288 resolution
NTSC
30 frame /sec (total)
704 x 480 resolution
Recording
Frame
Rate
(Full) PAL 25 frame /sec (total) 704 x 576 resolution
Record Modes Continuous/Motion/Schedule/Sensor/Manual
Record Quality Normal/High/Super
Resolution
NTSC : 704 x 480(1 CH), 352x 240(Quad)
PAL : 704 x 576(1 CH), 352 x 288(Quad)
Supports CIF and Full D1
Audio Input/Output
Channel
4 Ch Input/1 Ch Output
2-way communication(Bi-Directional) Audio via network
Alarm In/Alarm Output 4 Alarm Input (NC/NO selectable) / 1 Relay Output
HDD 3.5”, IDE type9 (IDE ATA133 Type), Min 80GB up to 1 IDE HDDs
Motion Detection Motion-Triggered Recording
Search Mode Date/Time/Event Search
Playback Speed 1x, 2x, 4x, 8x, 12x, 16x, 32x

vSync412i User Guide © vSync DVR December 2007
Rev A. December 2007
Specifications and content are subject to change without notice.
8
Serial Interface 1 RS-232C (POS text inserter connection)
1 RS-422/485 (for PTZ control)
USB Archiving (still images in JPEG format, video in AVI format), Firmware upgrade
Upgrade Method USB 2.0 Port or Web-Browser
PTZ Control Local & vSync Client Software
Network Interface LAN(10/100Base-T), Static, DHCP, PPPoE, and DDNS
Window2000/XP/Vista
Client PC S/W ( vSync )
Live Connection & Customizable Camera Layout up to 80 channels
Embedded Web Server (Remote Configuration of all vSync DVRs)
Full Duplex Bi-directional Audio (2-way Communication)
Recording on Client PC, Alarm/Motion Indicator, eMAP, Digital Live Zoom
Remote Relay Control, Remote PTZ Control
Remote Playback Via vSync Client Software
Power 110/220V, 50/60Hz, 12V/5A
1.3. Packing List
vSync412i
Support CD includes:
vSync Network Client,
Utility Programs, Manual(s). Vsync.exe
Infrared Remote Control
Batteries
Screws for mounting HDD.
(Preinstalled when unit is shipped with HDD)
HDD connection cables (1 ea).
(Preinstalled when unit is shipped with HDD(s))
HDD Mounting Brackets (1ea)
(Preinstalled when unit is shipped with HDD(s))

vSync412i User Guide © vSync DVR December 2007
Rev A. December 2007
Specifications and content are subject to change without notice.
9
2. Product Description
2.1. Operation Panel
Figure 2.1 Front Panel of vSync412i
Table 2.1.1. Indication LEDs
Name Description
HDD LED illuminates when system is accessing the hard disk drive.
REC LED illuminates when recording is enabled.
ALARM LED illuminates when alarm sensor(s) is/are triggered or detects video motion.
(Alarm sensor(s) and/or video motion detection must be configured first).
NETWORK LED illuminates when clients connect through vSync software via network port.
POWER LED illuminates when the DVR unit is on.
Table 2.1.2. Buttons on the Front panel
Name Description
ESC Press for temporary storage of the changed value or to return to the previous
menu screen.
SETUP Press to launch SETUP menu.
SEARCH Press to review the ARCHIVE LIST and LOG DATA in live display mode.
CAP/USB Press to take a snapshot, or capture still images (JPEG format), during live or
playback modes.
PTZ Press to initiate PTZ control
SEQ Press to start auto-sequencing in quad (4Ch) or full (1Ch) display modes.
REW (During Playback) Press to rewind video footage at 1x, 2x, 4x, and 8x speeds or
to see the LOG LIST in live display mode.

vSync412i User Guide © vSync DVR December 2007
Rev A. December 2007
Specifications and content are subject to change without notice.
10
F/REW Jump/Step backward.
In playback mode, the playback position reverses/jumps backwards 60 seconds.
F/ADV Jump/Step forward.
In playback mode, the playback position moves forward 60 seconds.
FF (From Playback Mode)
Pressing fast forward advances footage at 1x, 2x, 4x, and 8x speeds.
PLAY/PAUSE From Live Display Mode: Press to enter SEARCH menu.
From Playback Mode: Press to play or pause video.
REC Press to start or stop manual recording.
UP
Press to scroll up in the menu or to change values in setup mode.
(Also used as the number 1 when entering a password.)
RIGHT
Press to scroll right in the menu or to change values in setup mode.
(Also used as the number 2 when entering a password.)
DOWN
Press to scroll down in the menu or to change values in setup mode.
(Also used as the number 3 when entering a password.)
LEFT
Press to move left in the menu or to change values in setup mode.
(Also used as the number 4 when entering a password.)
SEL (Surrounded by the direction control keys)
Pressing selects desired menu item or saves setup values in menus.
USB Port The USB Port is located on front panel’s bottom left corner.
This USB port is used to archive recordings onto a USB storage device or upgrade
firmware with a USB storage device.
2.2. Rear Panel
vSync412i
Figure2. 2.1. Rear Panel
Table of contents
Other vSync DVR manuals