Preparing cheese:
Vacuum pack cheese after each use – making a custom-sized bag that is slightly longer than needed will
make it easier to reseal each time.
IMPORTANT: due to the risk of anaerobic bacteria, soft cheeses should never be vacuum packed.
Preparing vegetables:
For best results, blanch vegetables before vacuum packing. This process stops the enzyme action that
could lead to loss of flavour, colour and texture. To blanch vegetables, place them in simmering water or
in a microwave until fully cooked but still crisp, then plunge into cold water to stop the cooking process.
Simmering times can vary; we suggest:
•1 to 2 minutes for delicate vegetables like chopped leafy greens and peas.
•3 to 4 minutes for small vegetables, such as green beans, sliced zucchini or broccoli.
•5 minutes for thicker vegetables like carrots or turnips.
•7 to 11 minutes for larger vegetables, like corn on the cob.
Vacuum packing vegetables is a great way to keep an eye on portion control – pre-freeze them for 1 to 2
hours, then separate into meal portions within the vacuum bags. After they have been vacuum packed,
return to the freezer, and they’re ready for easy cooking when you next need them!
NOTICE: all vegetables naturally emit gases during storage, so after blanching it is
recommended they are stored in the freezer.
IMPORTANT: due to the risk of anaerobic bacteria, fresh mushrooms, onions & garlic should
never be vacuum packed.
Preparing powdered foods:
When vacuum packing powdery items like flour, it’s best to use their original packaging inside the
vacuum bags. Otherwise, the fine powder could get sucked into the machine and cause damage that
may shorten the life of the sealer.
Preparing liquids:
For best results, pre-freeze liquids such as soup or stock in a casserole dish, loaf pan or ice cube tray
until solid. This makes the process easier, as you can remove the frozen liquid from your chosen
container and simply place the solid mass into a vacuum bag to be sealed, also making them more
suitable for stacking in the freezer.
When ready to use, simply cut the corner of the bag and place in a microwaveable dish, or reheat in
simmering water (below 75°C). Ensure the dish is large enough to accommodate all the liquid.
Vacuum sealing process:
1. Place the food to be sealed into a pre-cut or a custom-sized bag, leaving at least 2 inches
between the contents and the top of the bag to allow for the bag to contract.
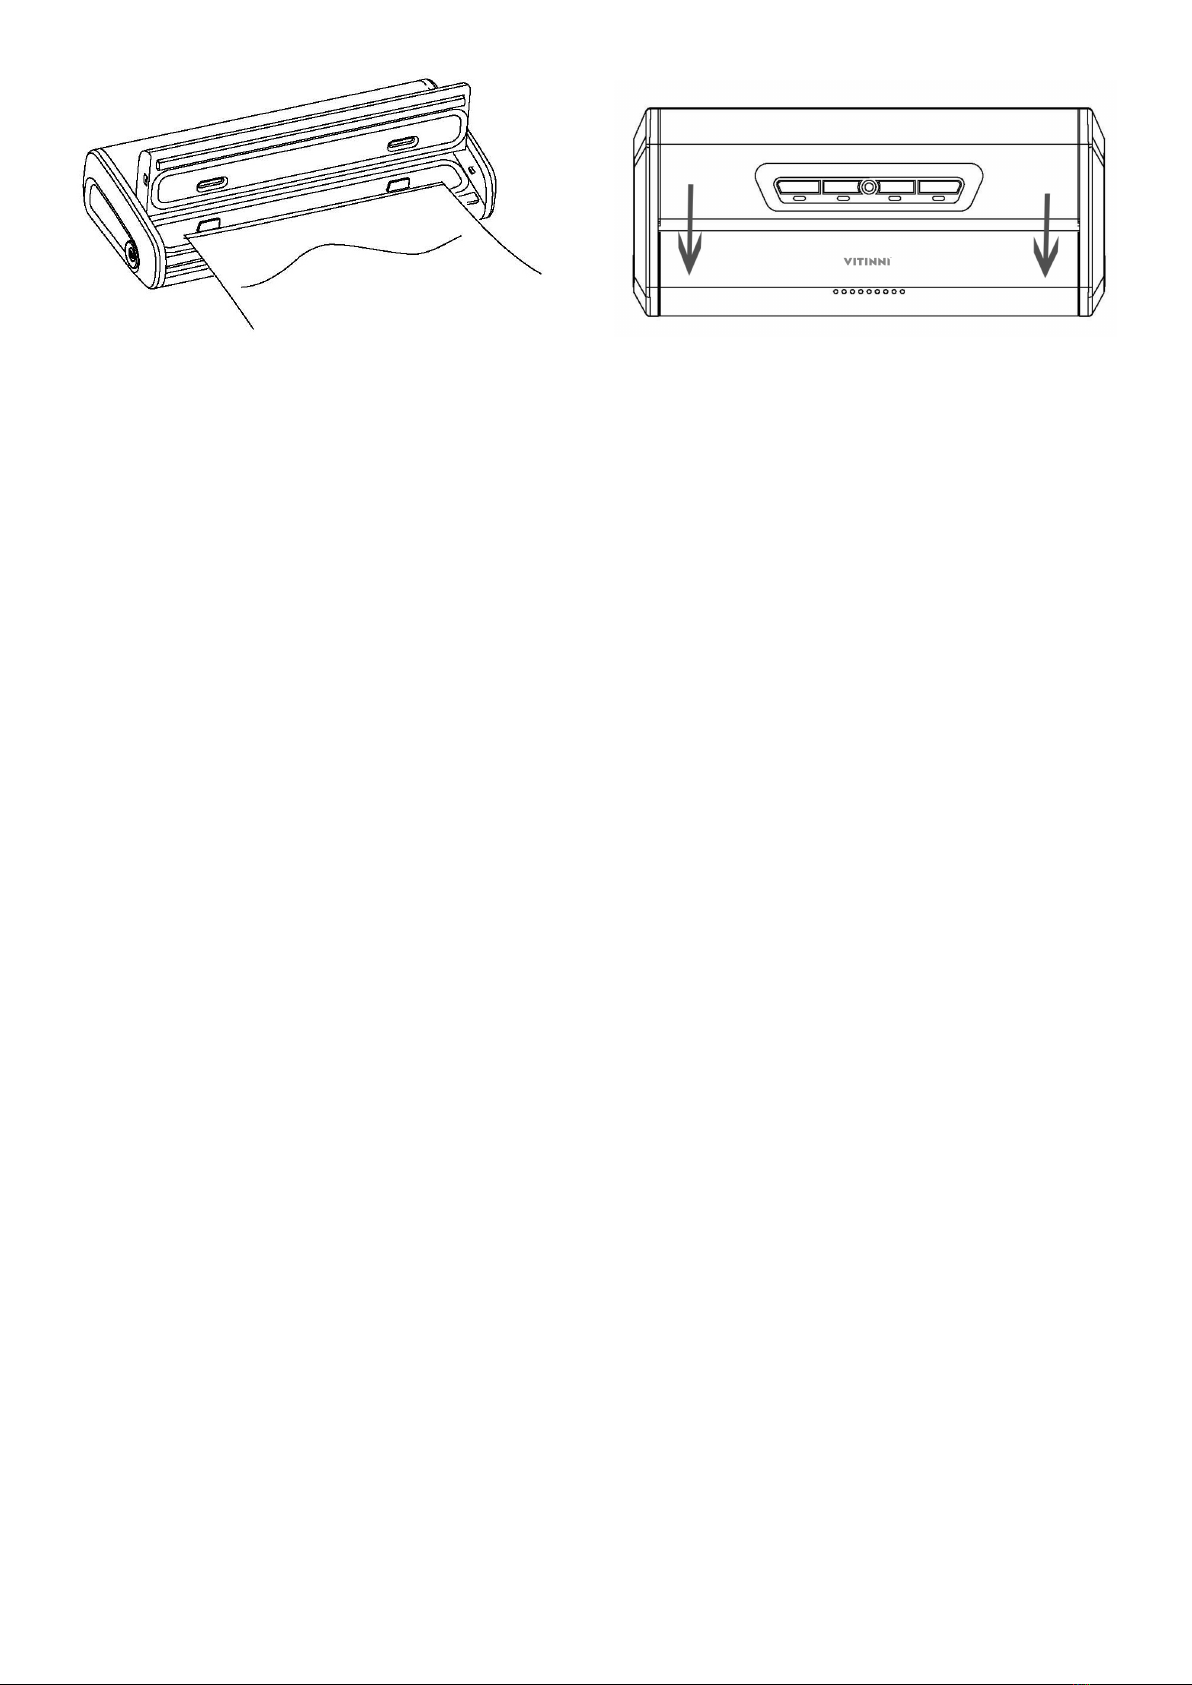
2. Open the lid and place the open end of the bag down into the vacuum chamber.
3. Close the lid by pressing down – if it clicks then it is successfully locked in place.
4. To begin the process, press the ‘Vacuum’ button – the indicator light will turn on during sealing.
5. Once the indicator light is off, press the release button on each side of the machine to remove
the bag.