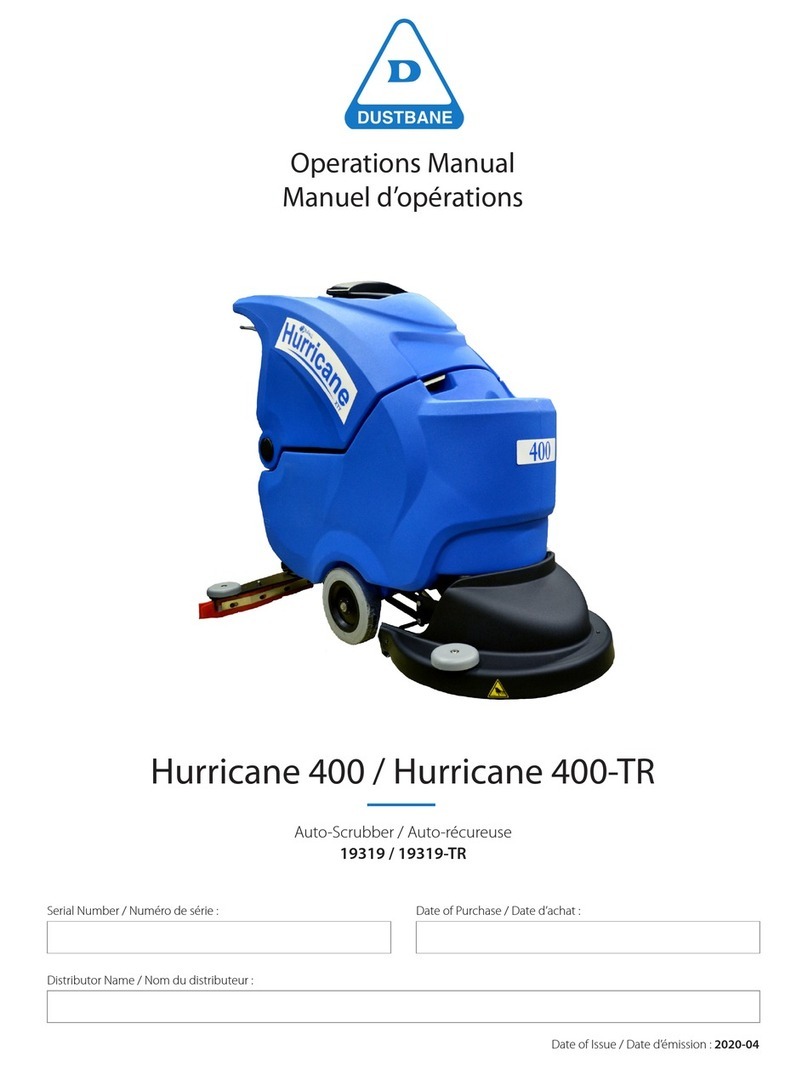
Unoclean UN18C Programming manual

Operator & Parts Manual
Electric Automatic Floor Scrubber
8021040
Model: UN18C
UnoClean
www.unoclean.com
847-683-9990 REV.01(11-2017)
Full operators and parts manual is available at www.UnoClean.com

HOW TO ORDER PARTS
Only use UnoClean Company supplied or equivalent parts. Parts and supplies may be
ordered online,by phone, by fax or by mail.
1. Identify the machine model.
2. Identify the machine serial number from the data label.
3. Ensure the proper serial number is used from the parts list.
4. Identify the part number and quantity.
Do not order by page or reference numbers.
5. Provide your name, company name, customer ID number,billing and shipping address,
phone number and purchase order number.
Please ll out at time of installation for future reference.
Model No.
Serial No.
Machine Options
Sales Rep.
Sales Rep. phone no.
Customer ID Number
Installation Date
READ OPERATOR MANUAL MANUAL CAREFULLY
Specifications and parts are subject to change without notice.
PROTECT THE ENVIRONMENT
Please dispose of packaging materials,old machine components
such as batteries, hazardous fluids, including antifreeze and oil,
in an environmentally safe way according to local waste disposal
regulations.
Always remember to recycle.
UN18C 2
IMPORTANT:To ensure full warranty protection,Please ll out
& return your warranty card.
UnoClean
www.unoclean.com
847-683-9990

SAFETY PRECAUTIONS . . . . . . . . . . . . . . . . . . . . . . . . . . . . . . .4
MACHINE COMPONENTS . . . . . . . . . . . . . . . . . . . . . . . . . . . . . .6
MACHINE SETUP & INSTALLATION . . . . . . . . . . . . . . . . . . 7
MACHINE OPERATION . . . . . . . . . . . . . . . . . . . . . . . . . 8
WHILE OPERATING MACHINE . . . . . . . . . . . . . . . . . . . . . . . 8
TANK DRAINING. . . . . . . . . . . . . . . . . . . . . . . . . . . . . . . . . . . . . . .8
PREVENTATIVE MAINTENANCE. . . . . . . . . . . . . . . . . . . . . . . . . . . 10
BASIC TROUBLESHOOTING . . . . . . . . . . . . . . . . . . . . . . . . . . . . 11
TECHNICAL SPECIFICATION . . . . . . . . . . . . . . . . . . . . . 12
PARTS LIST . . . . . . . . . . . . . . . . . . . . . . . . . . . . . . . . . . . . 13
WEAR & TEAR PARTS LIST . . . . . . . . . . . . . . . . . . . 28
WIRING DIAGRAM . . . . . . . . . . . . . . . . . . . . . . . . . . . . . . 29
UN18C 3
TABLE OF CONTENTS

SAFETY PRECAUTIONS
UN18C 4
OPERATOR MANUAL
This machine is intended for commercial use. It
is designed exclusively to scrub hard oors in an
indoor environment and is not constructed for any
other use.Only use recommended accessories.
All operators should read, understand and
exercise the following safety precautions:
1. Do not operate machine:
– Unless trained and authorized.
– Unless you have read and understood the
operator's manual.
– In ammable or explosive areas.
– If not in proper operating condition.
– In outdoor areas and standing water.
2. Before operating machine:
– Make sure all safety devices are in place
and operating properly.
3. When using machine:
– Go slow on inclines and slippery surfaces.
– Follow all safety guidelines.
– Report and x any damage to machine prior
to operating it.
– Never allow children to play on or around
the machine.
– Do not operate on inclines that exceed
2%(3°).
4. Before leaving or servicing machine:
– Stop on level surface.
– Turn off machine.
5. When servicing machine:
– Read operator's manual thoroughly prior to
operating or servicing this machine.
– Use manufacturer supplied or approved
Flammable materials can cause an
explosion or fire. Do not use flammable
materials in tanks.
Flammable materials or reactive
mentals can cause explosion or fire. Do
not pick them up.

SAFETY PRECAUTIONS
Carefully read and understand this manual before operating this machine.
This machine must be grounded!
This scrubbing machine shall be grounded while in use to protect the operator from electric
shock.Grounding provides a path of least resistance for electric current. This machine is
equipped with a cord having an equipment-grounding conductor and grounding plug. The plug
must be plugged into an appropriate outlet that is properly installed and grounded in accordance
with all local codes and ordinances. Do not remove the ground pin under any circumstances.
This machine is for use on a nominal 110-volt circuit and
has a grounding plug that resembles the plug illustrated
in Figure. Make sure that the machine is connected to
an outlet having the same conguration as the plug. No
adapter should be used with this machine.
This machine is intended for commercial use. It is constructed for use in an indoor environment
and is nor intended for any other use. Use only recommended accessories.
1. Do not operate machine:
– Unless trained and authorized. – Unless you have read and
– In ammable or explosive areas. understood the operator's manual.
– With a damaged cord or plug – With the use of extension cords.
– If not in proper operating condition. – In outdoor areas and standing water.
2. Before operating machine:
– Make sure all safety devices are in place and operating properly.
3. When using machine:
– Do not run machine over cord. – Do not pull machine by cord or plug.
– Do not pull cord around – Do not unplug by pulling on the cord.
sharp edges or corners. – Do not stretch cord.
– Do not handle plug with wet hands. – Keep cord away from heated surfaces.
– Report machine damage or fault
operation immediately.
To avoid electrical shock,please replace the power cord immediately if any
damage is being detected. The replacement must be performed only by an
authorized person or by our customer service center.
4. Before leaving or servicing machine:
– Turn off machine. – Unplug cord from outlet.
5. When servicing machine:
– Unplug cord from outlet. – Use manufacturer supplied or
approved replacement parts.
Flammable materials can cause explosion or fire. Do not use flammable
materials in tanks or pick them up.
OPERATOR MANUAL
UN18C 5

MACHINE COMPONENTS
UN18C 6
OPERATOR MANUAL
Machine Structure
1. Brush cover 2. Brush 3. Cover tank
4. Recovery tank 5. Solution tank 6. 8" wheels
7. Squeegee 8. Control box 9. Trigger
10. Adjusting handle 11. Water filter 12. Ball valve
13. Squeegee lifting handle 14. Power cord hook 15. Brush/pad driving hub
16. Brush plunger 17. Plug of water filling port 18. Knob
19. Clear tube 20. Switch for brush motor 21. Switch for vacuum motor
23. Circuit breaker 24. Power cord 25. Support wheel
9
12
14
17
16
18 19
24
25
12
3
4
5
6
7
8
10
13
15
11
20 23 21

MACHINE SET UP & INSTALLATION
UN18C 7
OPERATOR MANUAL
UNPACK MACHINE:
Be sure and check packing carton for any damage. Immediately report any damage to carrier.
Be careful not to let machine vibrate while carrying, Check contents of package to ensure that
the following items are included: Machine, squeegee assembly, brush/pad driver.
1) Sweep the outside of the machine.
2) Check that squeegee and brush / pad is properly installed.
3) The forward speed of machine can be controlled by turning the handle(10). Turn the handle
clockwise to speed up machine. or turn the handle anticlockwise to slow down machine.
4) Make sure the working surface can support the machine weight, the gradient of the oor can’t
exceed the limit that machine allowed(2%).
INSTALLING THE SQUEEGEE:
1) Loosen the two knobs(18) on the squeegee and slide the squeegee into the slots at the rear
of the squeegee bracket. (the wheels on the squeegee point to the machine.)
2) Tighten the knobs securely.
MACHINE SET UP & PRE-OPERATION CHECKS:
INSTALLING PAD DRIVER OR BRUSH:
1) Turn off machine.
2) Tilt the machine backwards, line up the driving hub with the hole of brush or pad driver, make
sure the three blocks are tted into the three slots of the drive hub.
*If a pad driver is being used, the appropriate pad should be attached to the pad driver rst.
3) Push the plunger which on the brush cover to prevent the driving hub from rotating,then spin
the brush/pad clockwise with your another hand till the clip clamp the block on the brush/pad.
FILLING THE SOLUTION TANK:
1) The ll port is located at the rear of machine,pull the plug out of the hole.
2) Fill solution tank with water. (use a hose which link to a water faucet,water temperature
should not exceed 50° C) The clear tube(19) in the back right of the machine has gallon
markers to help determine the water level in the solution tank(5).
*Depending on the dirty level of the ground, add the proper amount of detergent into the
solution tank.
Do not put any flammable materials into solution tank. This can cause an
explosion or a fire. Only use recommended cleaning chemicals. Contact
your janitorial supply distributor for recommendations on proper chemicals.

OPERATOR MANUAL
UN18C 8
MACHINE OPERATION
Do not operate machine unless you have read and understand this manual.
1) Lower squeegee assembly to the oor by spin the squeegee lifting handle(13).
2) Turn brush motor switch(20) to “on” position.
3) Turn vacuum motor switch(21) to “on” position.
4) Rotate the ball valve(12) handle to vertical position. Solution will not begin to flow until the
operating triggers (9) are pulled.
5) To begin scrubbing, pull on the blue operating trigger(9), when this triggers is pulled, the pad
driver will begin to spin and the solution will begin to ow.
6) Begin scrubbing by moving the machine forward
Do not keep the machine in the same position with the pad / brush spinning,
or you might damage the floor.
7) Adjust solution ow by adjusting the position of ball valve knob.
WHILE OPERATING MACHINE
1) Occasionally open the cover tank(3) to see if there is any foam build-up. If excessive foam is
found, add defoamer to the recovery tank.
Foam must not enter the float shut-off screen, or damage can occur to the
vacuum motor. Foam will not activate the machine's float shut-off device.
2) Occasionally view the clear tube at the back left of the machine to check the amount of cleaning
solution that is left in the machine.
If the squeegee assembly leaves streaks on the oor, raise the squeegee off the oor and wipe the
blades down with a damp cloth.
Do not use your fingers to wipe or remove debris from the blades, as injury
may occur.
When the solution tank runs empty, turn off the brush switch and ball valve of solution tank. Keep
the squeegee down and continue to vacuum until all the dirty water is picked up.
TANK DRAINING
1) Turn the switches on the control panel to “off ” position.
2) Raise the squeegee, transport machine to approved area for draining tank(s).
Any time scrubbing is completed, or when refilling solution tank, the
recovery tank should be drained and cleaned.
If the recovery tank is not drained when the solution tank has been refilled,
foam or water may enter the float shut-off mechanism and cause damage to
the vacuum motor.

UN18C 9
OPERATOR MANUAL
1) Remove the drain hose from the holder, and place the drain hose over the oor drain. Twist off
the drain hose plug to begin the draining process.
2) Clean the recovery tank after every use. Use a fresh water hose to rinse out the recovery
tank. Be careful not to spray water into the oat shut-off mechanism.
If you are storing the machine for any period of time, keep the cover tank open
so the tank can dry completely and smell fresh.
DRAINING THE RECOVERY (DIRTY) TANK
DRAINING THE SOLUTION (CLEAN) TANK
Any time scrubbing operation is completed, the solution tank should be drained
and cleaned.
1) Pull down on the clear tube (back left of the machine) to remove it from the hose barb. This
will allow the solution to ow freely into a bucket or oor drain.
2) Rinse the solution tank with clean water after every use. This will help prevent chemical
buildup and clogging of the solution lines.
3) Once tank is rinsed, ushed and drained, reconnect the clear tube to the hose barb. Be sure
the tube is pushed all the way up on the hose barb.
4) Screw off the cover of the water lter(11) to compeletly exhaust the tank and check the lter
screen, clean it up if necessary.
5) Screw up the cover of the water lter(11),bu sure to install the screen and the "O" ring in the
correct position.
lter screen
"O" ring
lter cover

OPERATOR MANUAL
PREVENTATIVE MAINTENANCE
WARNNING: Before performing any maintenance on the machine, be sure that
the power is turned off, or the batteries are disconnected!
WARNNING: Repairs are to be completed by authorized service centers only.
Any repairs completed by unauthorized persons will avoid the warranty.
DAILY MAINTENANCE
1) Remove pad driver / brush and clean with approved cleaner.
2) Drain recovery and solution tanks completely and rinse out with clean water. Visually check
the recovery tank for debris and clean out as necessary.
3) Raise squeegee assembly off floor and wipe it down with a damp towel. Be sure to store the
squeegee in the up position.
4) Remove the oat shut-off assembly and rinse it out with clean water.
5) Clean machine with an approved cleaner and a damp towel. Don’t spray water to clean the
outside of machine to avoid damage to motor and wiring.
6) Unplug vacuum motor from power source and hose cuff & remove the drain hose from the
holder prior to removing the recovery tank when performing maintenance.
7) Check the condition of the squeegee blade wiping edge, rotate blade or replace it if worn.
UN18C 10
MOTOR MAINTENANCE
1) Contact your local UnoClean Distributor for any motor maintenance.
2) Check the motor brushes every 250 hours, Replace the brushes when they are worn to a
length of 10mm or less.
MONTHLY MAINTENANCE
1) Inspect and clean the recovery tank cover seal. Replace it if damaged.
2) Lubricate all grease points and pivot points with silicon spay and approved grease.
3) Check the machine for loose nuts and bolts.
4) Check the machine for leaks.
MACHINE STORAGE
1) Always store the machine indoors and in its upright position.
2) Always store the machine in a dry area.
3) Always take off the pad driver / brush before storage.
4) Always store the machine with the squeegee assembly raised off the oor.
5) If storing in an area which may reach freezing temperatures, be sure to drain all uids from the
machine prior to storage(include the lter). Any damage caused by freezing temperatures will not
be covered by the warranty.
6) Drain the recovery tank and keep the cover tank open so that it can "breathe" during storage.
7) Drain the solution tank of all uid.
Table of contents
Other Unoclean Scrubber manuals
Popular Scrubber manuals by other brands

Numatic
Numatic TTB 4045/100 Original instructions

U.S. Products
U.S. Products PEX 500-C-TICK Information & operating instructions

Mclennan
Mclennan C510 Operator's manual

Tennant
Tennant T20 LPG Operator's manual

Columbus
Columbus ARA 66 BM 100 operating manual

Numatic
Numatic TTV 678G / 300T Owner's instructions