Unique UGP-80L1 W User manual
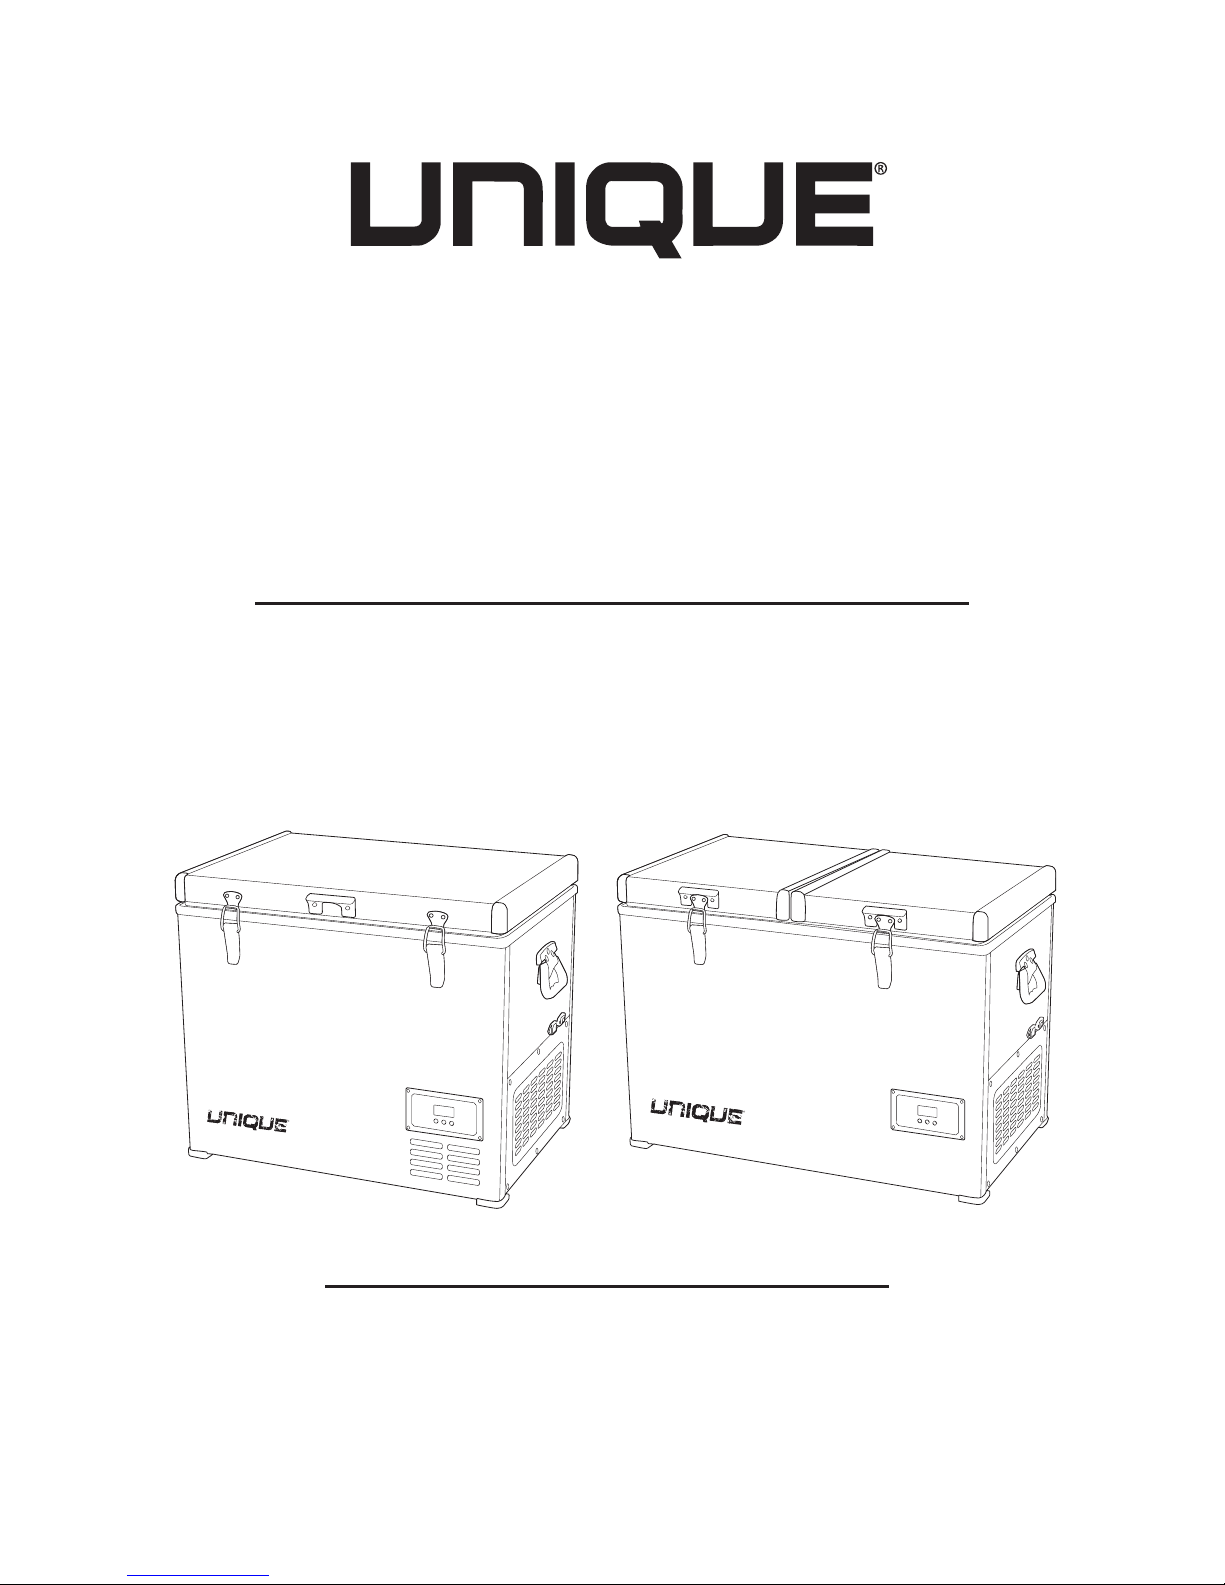
80L / 120L
AC/DC PORTABLE
FRIDGE/FREEZER
OWNER’S GUIDE
80L / 2.8 cu. ft.
UGP-80L1
120L / 4.2 cu. ft.
UGP-120L1

TABLE OF CONTENTS
03 Installation and operation of your Unique portable AC/DC
fridge/freezer
04 Defrosting the cabinet
05 UGP-80L Portable fridge/freezer: features
06 UGP-120L Portable fridge/freezer: features
07 Power requirements
07 Using the connection guards
07 AC power connection
08 DC power connection
08 Replacing the fuse
09 Temperature settings and LCD display
11 12/24V DC battery management settings
13 Connecting to a battery
13 Using solar panels
14 Using portable generators
15 Tips and suggestions
16 Technical specifications
17 Troubleshooting
18 Appliance information
18 Notes
19 Contact us
19 Limited warranty

3
INSTALLATION AND OPERATION OF
YOUR UNIQUE PORTABLE AC/DC
FRIDGE/FREEZER
It is important that your fridge/
freezer is installed and oper-
ated in accordance with the
manufacturer’s instructions to
guarantee the performance,
efficiency and operation.
• Position the fridge/freezer in
a safe and secure location, out
of the reach of rain/snow and
excessive wind. Prolonged
exposure to heat sources or
direct sunlight can aect the
unit’s performance and e-
ciency.
• The normal operation of the fridge/freezer requires heat to be radi-
ated away from the condensers located in the end of the cabinet.
Ensure the vented areas of the cabinet are kept clear at all times to
allow adequate airflow to the compressor.
• The cooling system has been
designed to continue operat-
ing correctly when the fridge/
freezer is positioned on angles
up to 35˚. It is recommended
that the time the unit is ex-
posed to angles over 30˚ is
limited to no more than four
(4) hours continuous opera-
tion.
IMPORTANT: After transit where the fridge/freezer is on
its side or back, ensure fridge/freezer is in a level, up-
right position for 3-4 hours to allow compressor fluids
to redistribute evenly before use.

4
DEFROSTING THE CABINET
If your appliance is being used primarily as a freezer, it is possible
that an ice build-up on the interior may occur. This build up can af-
fect the performance and eciency of the cooling system and must
be removed.
Do not use pointed tools, knives or sharp utensils, or significant force
to remove the ice as this may result in damage to the unit. Turn the
fridge/freezer o and empty the cabinet of food/drinks. Allow the
ice to melt and then drain the water from the cabinet. Use a soft,
clean cloth to wipe down all surfaces and allow the fridge/freezer to
dry completely.
IMPORTANT
This fridge/freezer is not intended for use by children or persons
with reduced physical, sensory or mental capabilities, or lack of
experience and knowledge, unless they are under supervision or
instruction concerning the use of the fridge/freezer by a person
responsible for their safety.
• This is not a toy. Do not allow children to play with or within the
fridge/freezer.
• The fridge/freezer is suitable for outdoor and camping use and
should not be exposed to rain or snow or other inclement weather.
INSTALLATION AND OPERATION OF
YOUR UNIQUE PORTABLE AC/DC
FRIDGE/FREEZER continued

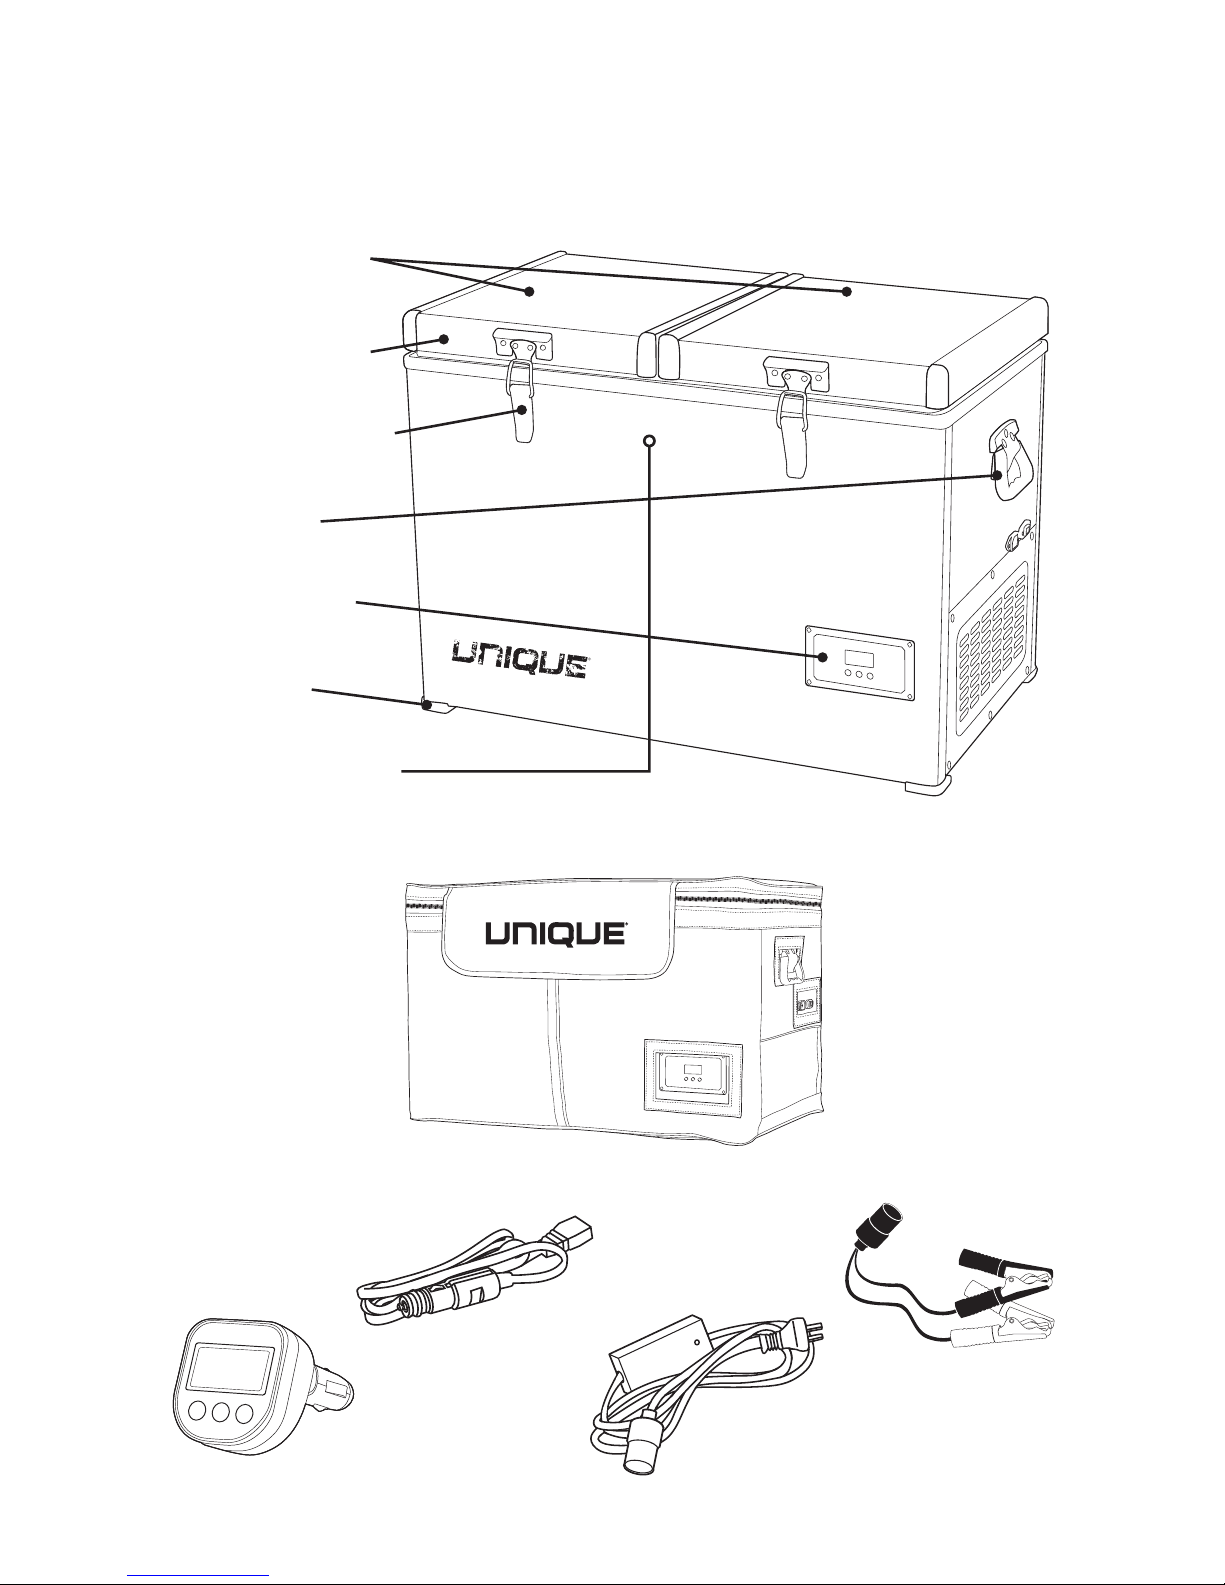
5
UGP-80L PORTABLE
FRIDGE/FREEZER FEATURES
Powder coated
steel exterior
Stainless steel lid
latches
Sturdy side handles
Digital control panel
Protective corners
Protective insulated
cover
Wireless
remote
DC power cord
with 10 amp fuse
Battery alligator
clips
AC power cord
Interior insulated
compartment lids
6
UGP-120L PORTABLE
FRIDGE/FREEZER FEATURES
Dual insulated
compartment lids
Powder coated
steel exterior
Stainless steel lid
latches
Sturdy side
handles
Digital control
panel
Protective
corners
Internal LED light
Protective insulated cover
Wireless
remote
DC power cord
with 10 amp fuse
Battery alligator
clips
AC power cord

7
POWER REQUIREMENTS
The Unique UGP-80L and UGP-120L portable fridge/freezers are
designed to operate on AC and DC voltage inputs.
AC input Voltage is required to be 110V AC at 50 - 60 Hz
DC input Voltage is require to be 12 or 24 DC +/- 10%
Velcro connection guards on
either end of the DC power cord
and the battery alligator clips or
AC power cord.
Velcro connection guards
wrapped around each other to
secure connection.
AC POWER CONNECTION
USING THE VELCRO
CONNECTION GUARDS
The Unique UGP-80L and UGP-120L portable fridge/freezers are
supplied with an approved 2 pin AC power cord. It is recommended
that this cord is not lengthened as this may result in a voltage drop
and reduced performance.
To ensure a secure connection between the DC power cord and the
battery alligator clips or AC power cord, the ends of the Unique
UGP-80L and UGP-120L power cords are supplied with velcro con-
nection guards.
• Insert DC power cord (cigarette lighter end) into the female end of
the battery alligator clip or AC power cord.
• Wrap the velcro ties from either cord end around each other to
ensure a secure connection and no loss of power.

8
DC POWER CONNECTION
REPLACING THE FUSE
1
2-3
4-5
The Unique UGP-80L and UGP-120L portable fridge/freezers are
supplied with a vehicle DC plug (cigarette lighter plug). It is recom-
mended that this cord is not lengthened as this may result in a volt-
age drop and reduced performance.
When connecting the fridge/freezer to DC, plug the power cord into
the DC socket on the fridge/freezer and then plug the other end of
the power cord into the DC supply.
The supplied DC power cord comes with an in-line fuse. If the red
indicator light on the DC cigarette plug is not illuminated, there is
either no DC voltage being supplied or the fuse is blown. See below
for fuse replacement instructions.
*Only use the DC power cord that is supplied with the fridge/freezer.
The Unique UGP-80L and UGP-120L portable fridge/freezers are
supplied with 2 additional replacement 10A fuses. These can be
found in a plastic bag attached to the cord. If the indicator light on
the DC power cord is not illuminated, it could mean that the fuse has
blown. Here is how to replace the fuse:
1. Unscrew the black
plastic end cap from
the DC power plug.
2. Unscrew the metal
threaded tip of the DC
power plug to expose
the cylindrical 10 amp
fuse.
3. Remove blown fuse and
replace with a new fuse.
4. Replace metal threaded
tip of DC power plug and
screw back into place.
5. Replace black plastic
end cap of the DC power
plug and screw into
place.
Black plastic end cap
Metal threaded tip
10 A fuse

9
TEMPERATURE SETTINGS
AND LCD DISPLAY
Both the fridge/freezer control panel and the wireless remote read-
out display the following information:
• the current set temperature
• the actual internal cabinet temperature
• the supply voltage at the inlet connection to the fridge/freezer
Follow the same steps when using either the on the fridge/freezer
control panel or the wireless remote read-out.
To use the wireless remote, simply plug it in to a suitable 12V DC
(cigarette lighter plug) and within 5 to 10 seconds it will connect to
the fridge and will display the same information as per the display
on the fridge.
Battery monitor
voltage setting
Fan symbol spins
when compressor
is running
Cabinet temperature
settings
Snowflake symbol indicates
compressor is in maximum
speed mode
(NOT RECOMMENDED FOR
SOLAR AND BATTERY USE)
Battery
symbol
flashes
when the
battery
monitor is
activated

10
TO SET THE TEMPERATURE
IN THE LEFT CHAMBER
STEP 1
Push the SET button once, the
digital display on the left will
start to flash with the tempera-
ture that the control is currently
set to.
STEP 2
To change the setting push the
UP or DOWN button until you
reach the desired temperature.
The display will flash several
times before returning to the
current cabinet temperature.
To change the temperature
setting repeat steps 1 and 2.
TO SET THE TEMPERATURE
IN THE RIGHT CHAMBER
STEP 1
Push the SET button twice, the
digital display on the right will
start to flash with the tempera-
ture that the control is currently
set to.
STEP 2
To change the setting push the
UP or DOWN button until you
reach the desired tempera-
ture. The display will flash sev-
eral times and then stop on the
temperature you have set. The
display will flash several times
before returning to the current
cabinet temperature.
To change the temperature
setting repeat steps 1 and 2.
TEMPERATURE SETTINGS
AND LCD DISPLAY continued
NOTE
The fridge/freezer will automatically start to operate after 2-3 min-
utes when the DC input power source is connected.
Other manuals for UGP-80L1 W
1
This manual suits for next models
1
Table of contents
Other Unique Freezer manuals


