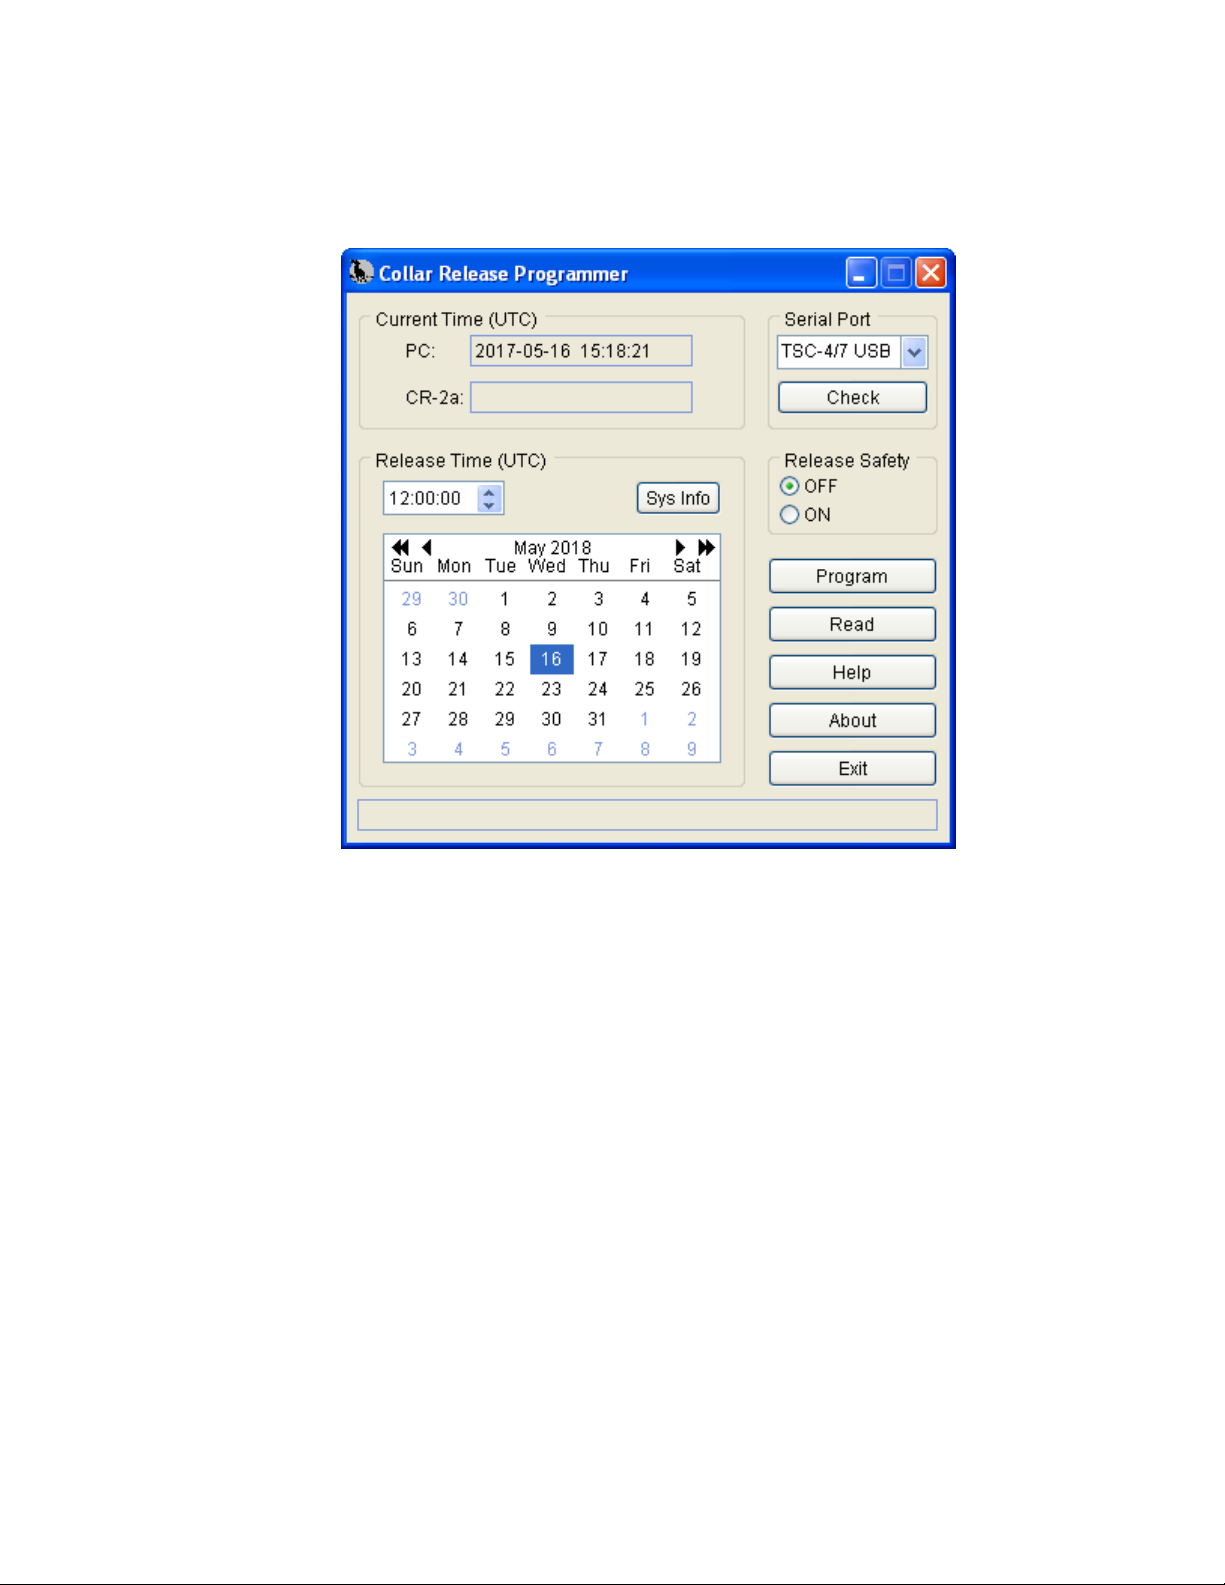
3.6 Placing the CR-2a in Safe (Storage) Mode
Occasionally, a wildlife study will encounter a complication requiring that a new collar (or one
recovered from the field) sit idle on the shelf for an extended period of time. In such cases,
Telonics recommends that the collar release device be placed in safe mode during the storage
period. This is done primarily to prevent an unintended release, and also has a side benefit of
conserving CR-2a battery energy. When a new study opportunity presents itself, the CR-2a can
be re-programmed and deployed. To place the CR-2a in safe (storage) mode:
1. In the Release Safety group, select ON. With the Release Safety ON, the unit will not
release. In this case, the release time parameters are not applicable, and are so noted by the
program.
2. Click the Program button. A message will be displayed informing you that the Release
Safety is on, and will prompt you to continue or cancel the operation. Once underway,
programming typically takes about 5 to 10 seconds. If an error is encountered during the
process, a message describing the failure will be displayed. When the programming and
verification procedure is complete, a message will be displayed indicating successful
completion along with the programmed Release Safety state. The unit is now properly
configured for storage.
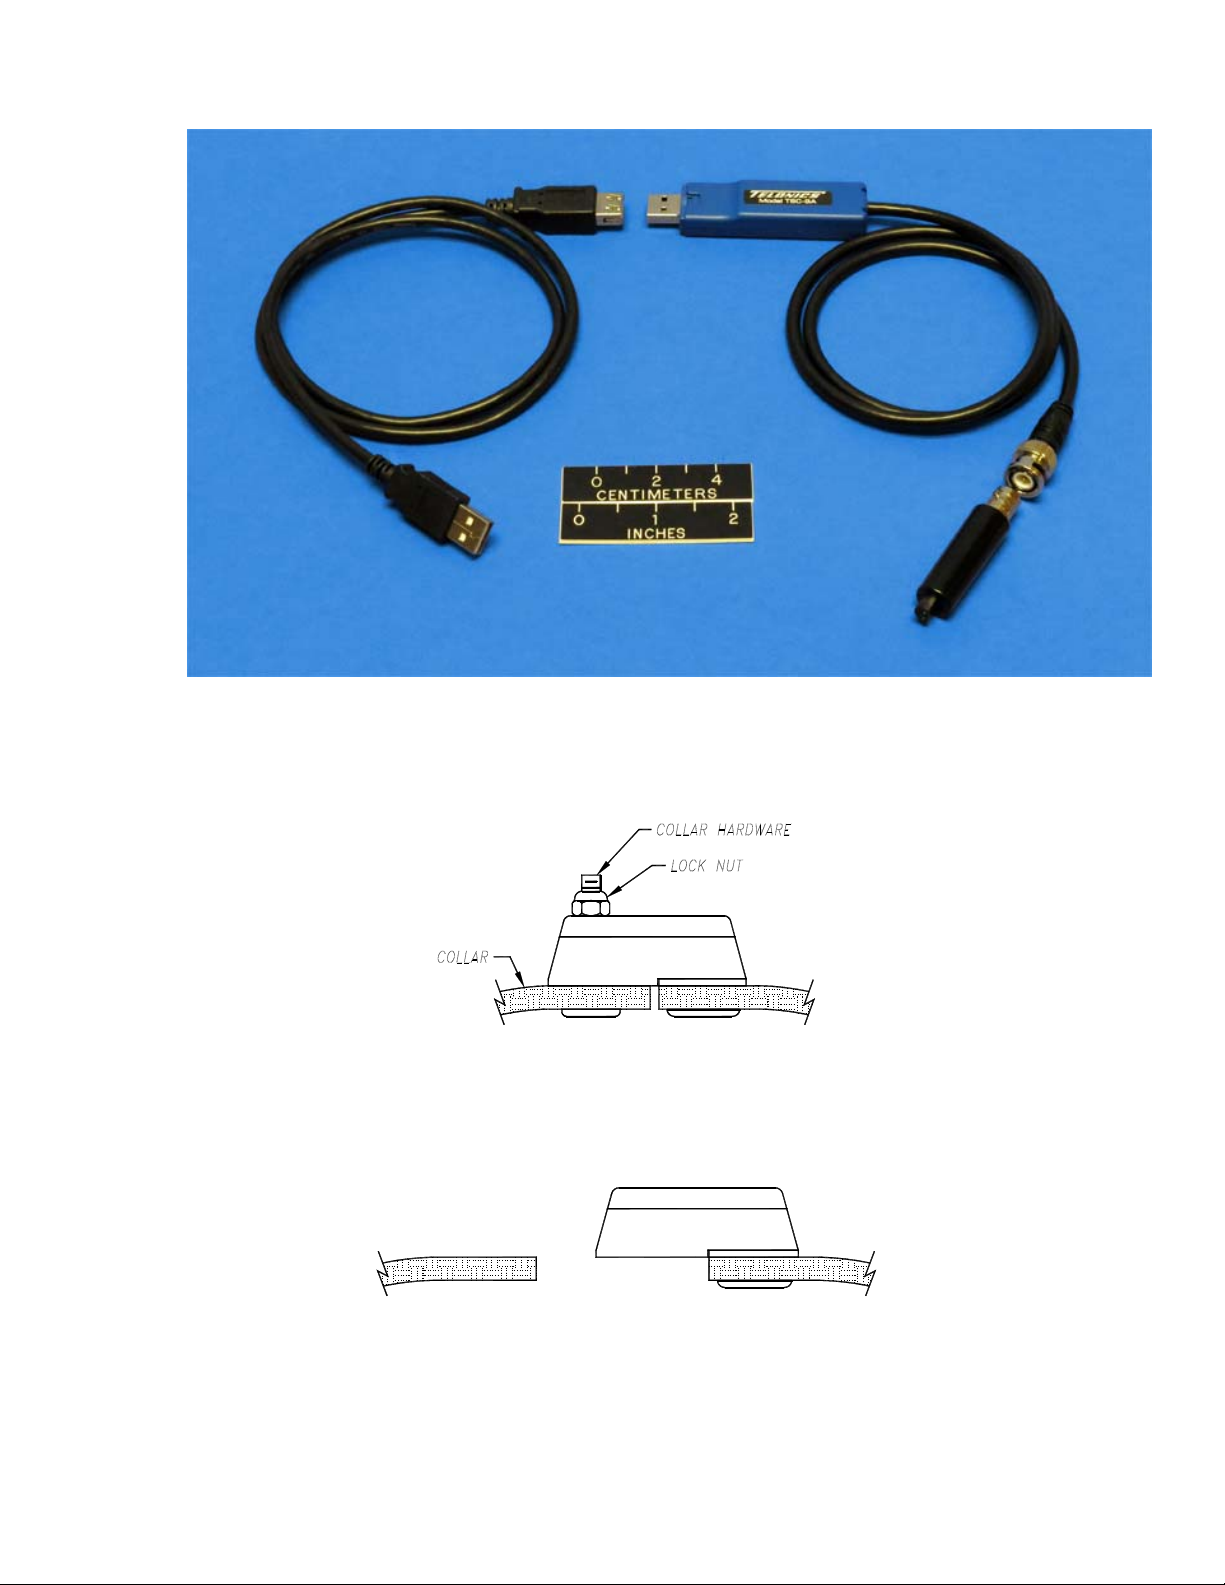
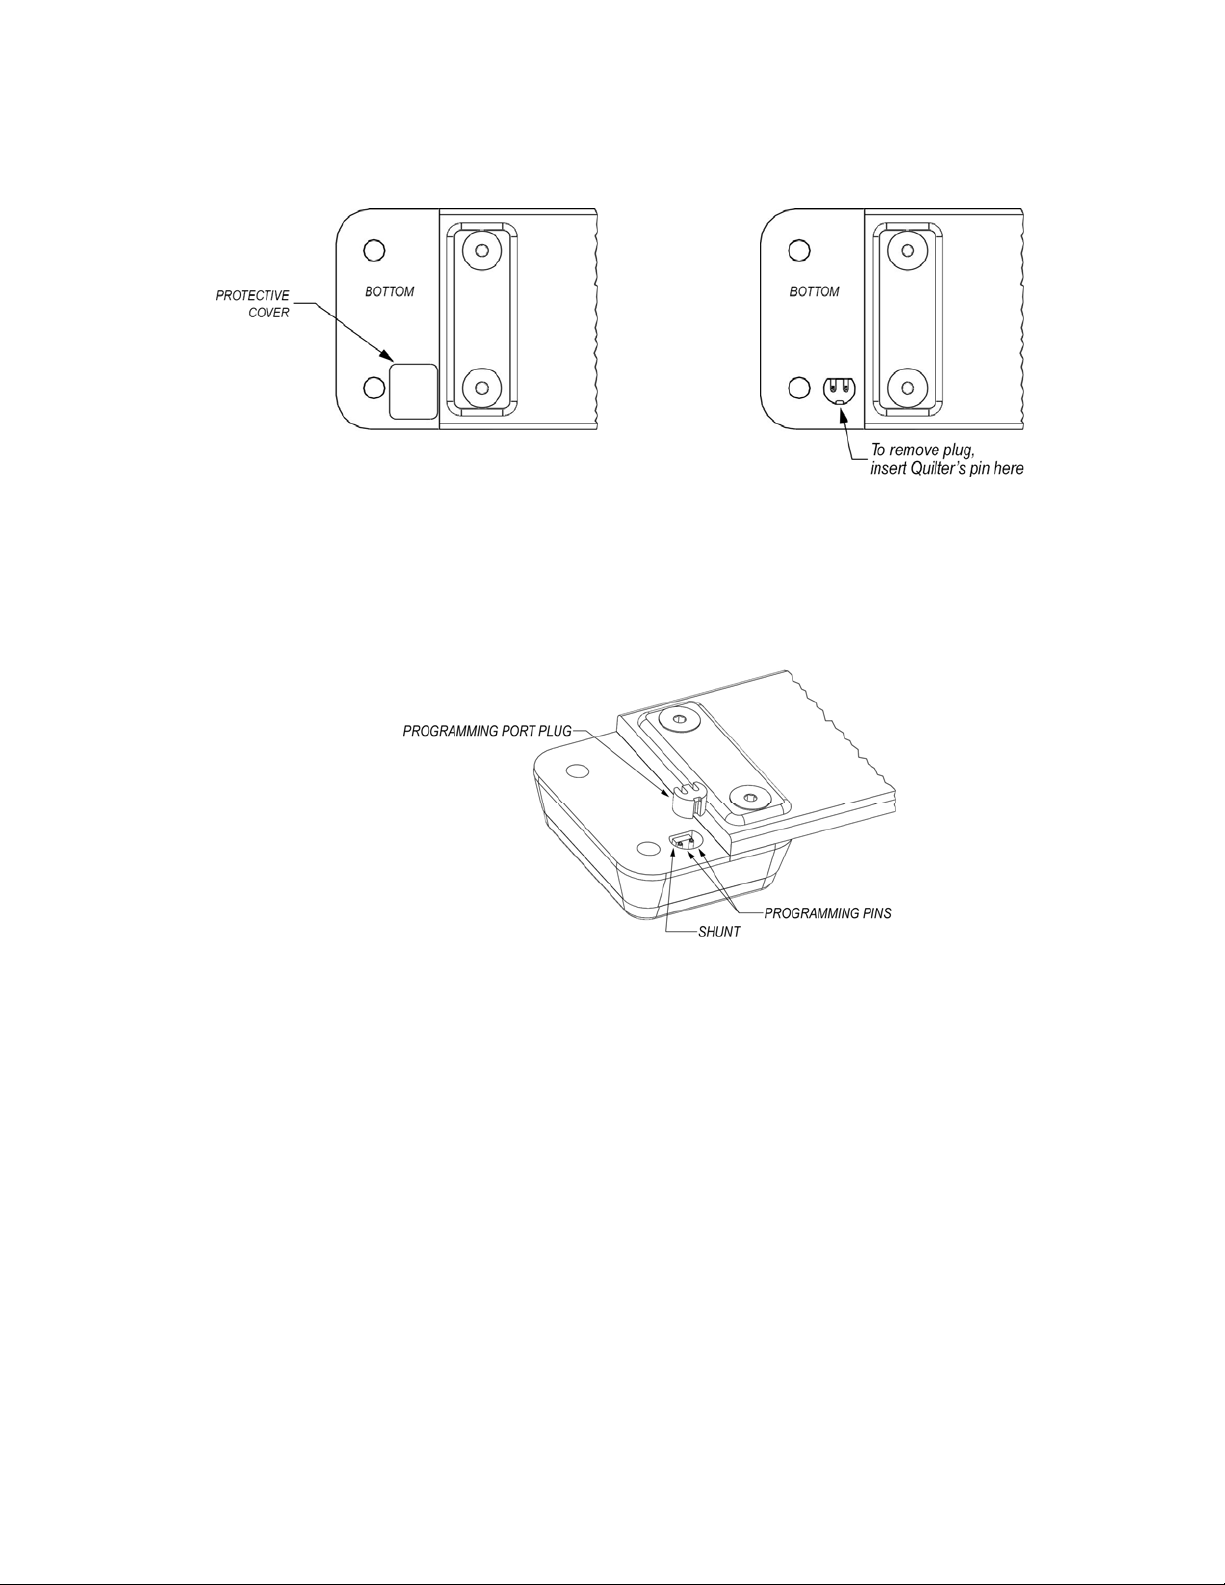
3.7 Disconnecting the Interface Cable from the CR-2a
When reading/programming is complete, disconnect the adapter and cable. Ensure that the
bottom of the CR-2a and the programming port are free of dust and debris and then re-install
the conductive rubber shunt, programming port plug, and protective cover. The following
protective cover choices are available and are in descending order of preference:
•A new protective cover from the CR-2a accessory kit (see section 5.1).
•The protective cover that was removed prior to the read/program procedure, only if the
cover is still in good condition (no tears) and adhesive side is clean.
•Duct tape. Be sure to cut to proper size so that it does not overlap the metal latch plate.
Note: Keep in mind that there are two goals associated with the protective cover: 1)
prevent dirt and debris from getting into the programming port and 2) retain the
programming port plug, which protects the programming pins from damage due
to incidental contact with studs on the collar hardware during re-assembly.
Note: Extra shunts, programming port plugs, and protective covers are available in an
accessory kit (see section 5.1).
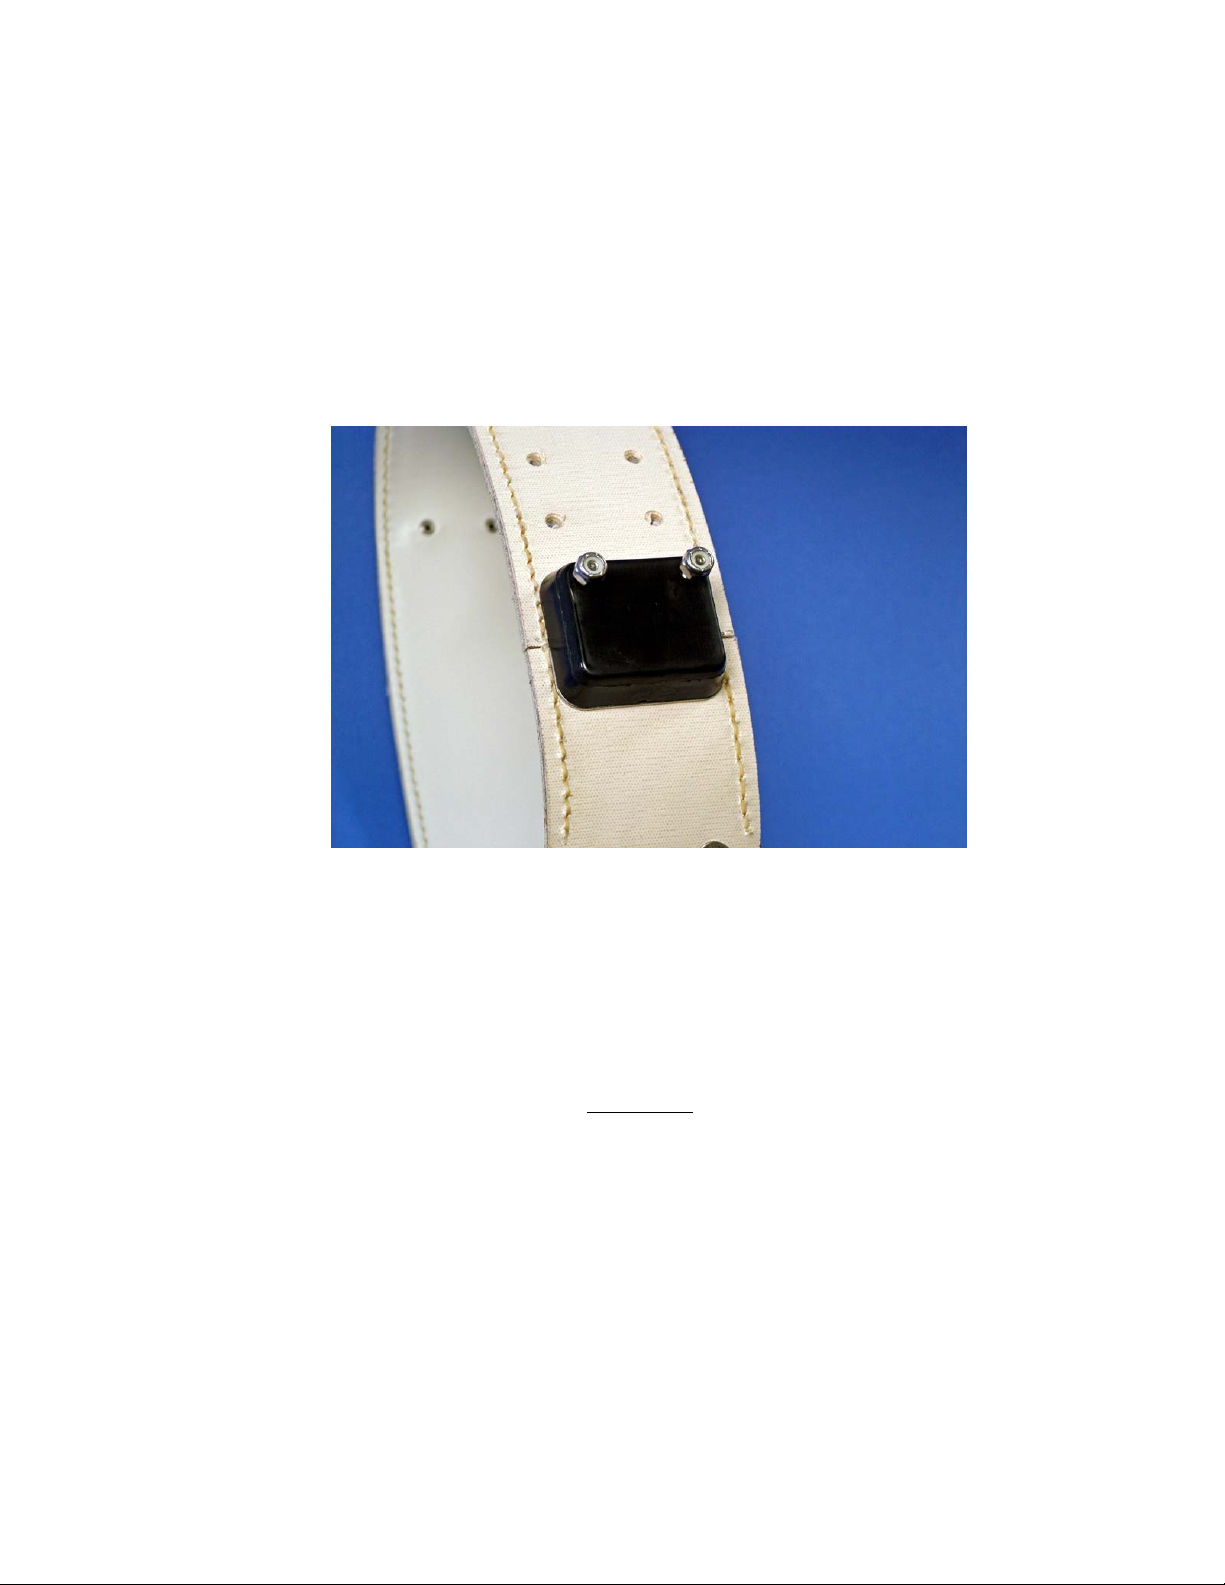
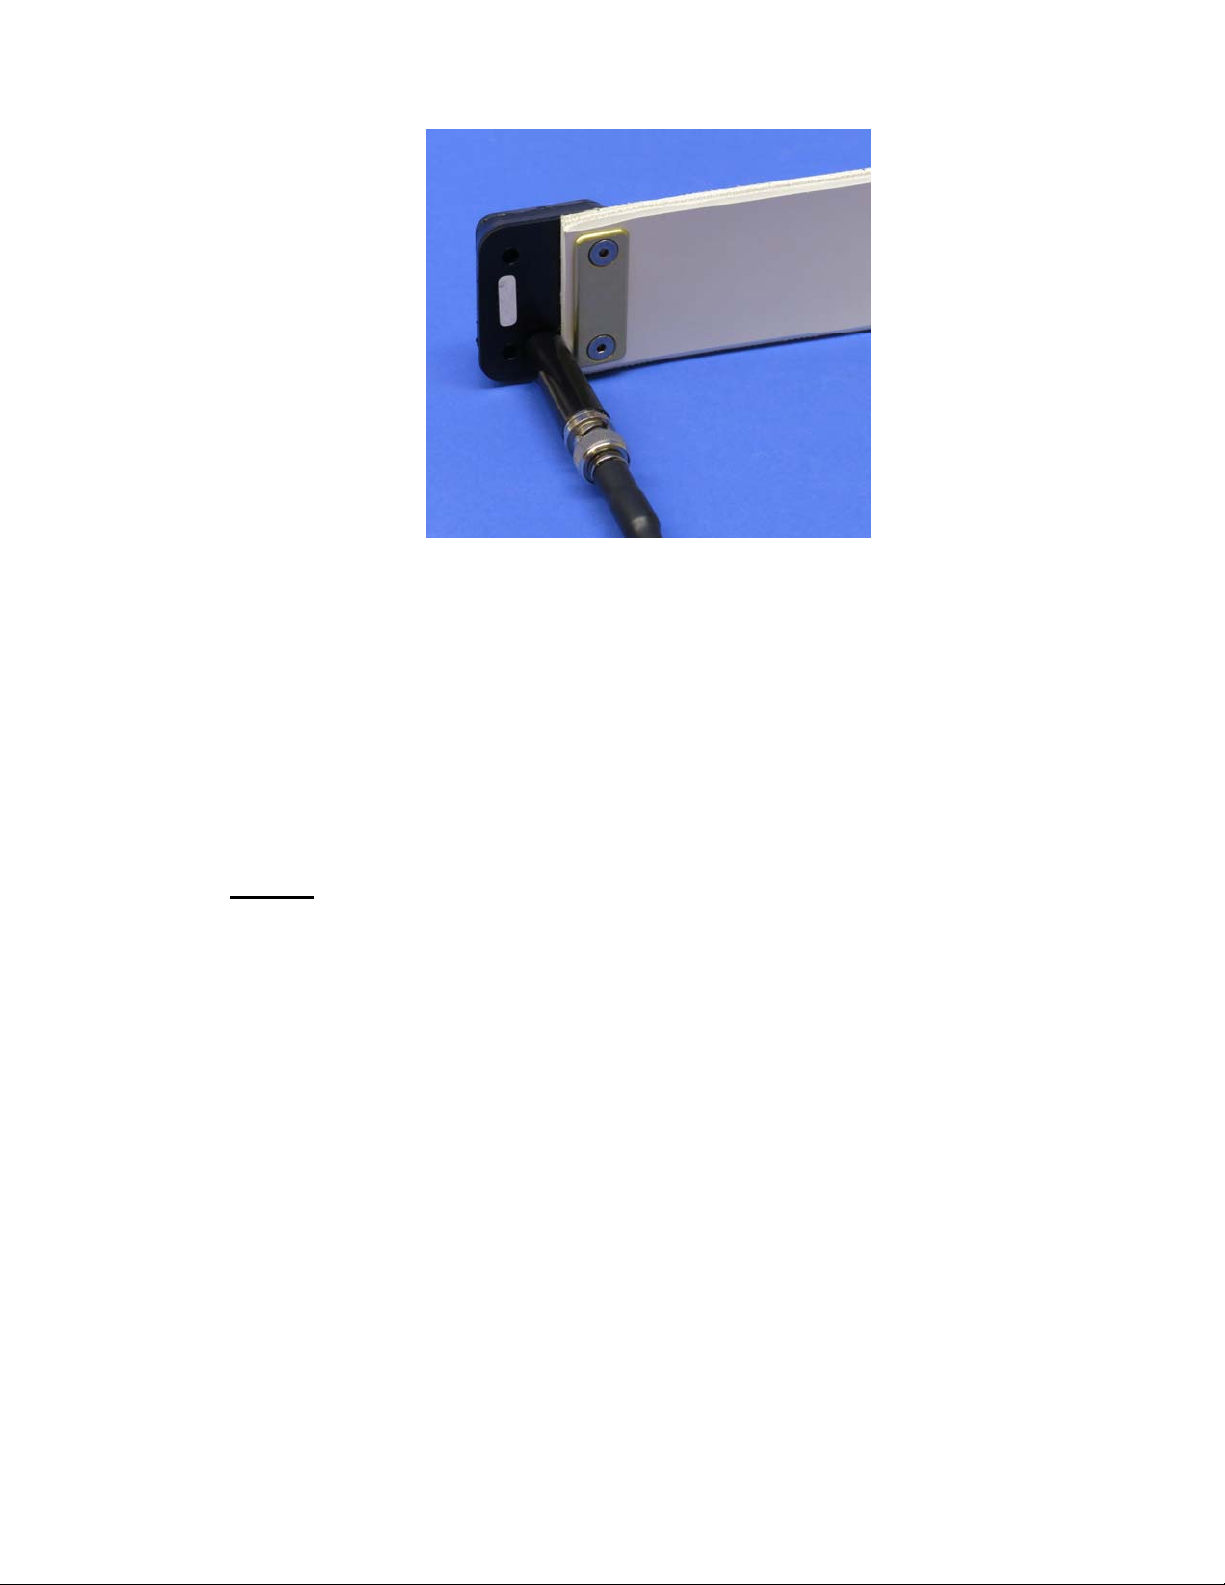
4STANDARD COLLAR INSTALLATION INSTRUCTIONS FOR CR-2a
Note: The following describes the installation of a CR-2a Collar Release mechanism onto a
Telonics collar that has been designed and built to accept the mechanism.
4.1 Standard Installation Instructions
Locate the latch on the bottom of the collar release mechanism and the latch cavity on collar
end (Figure 11). If the latch cavity does not contain silicone lubricant, fill it approximately half
full before assembly. Silicone lubricant is available in an accessory kit (see section 5.1).
PB006318 Rev M Discontinued model – For Reference Only Page 10 of 15